Week 9 - Attachment Feature Creation (Ribs & Screw Boss) - Challenge 1
Objective:
To create the rib for the center console coin holder considering the design rules.
RIB:
One of the ways to strengthen a part is by adding one or more rib to the design. Ribs are thin protrusions that extend perpendicular from a wall or plane to provide added stiffness and strength.
If a wall is too thick on a part it can cause wraping and sinkage in parts, often causing the whole design to be rejected Ribs solve this problem by providing additional support for thinner walls.
Procedure:
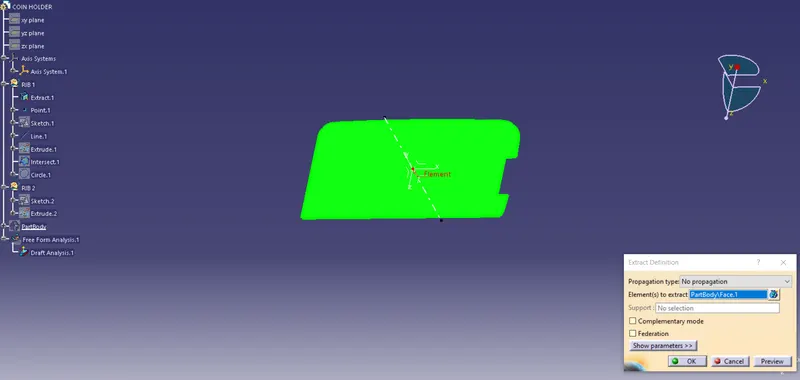
Extract the base surface of the coin holder.
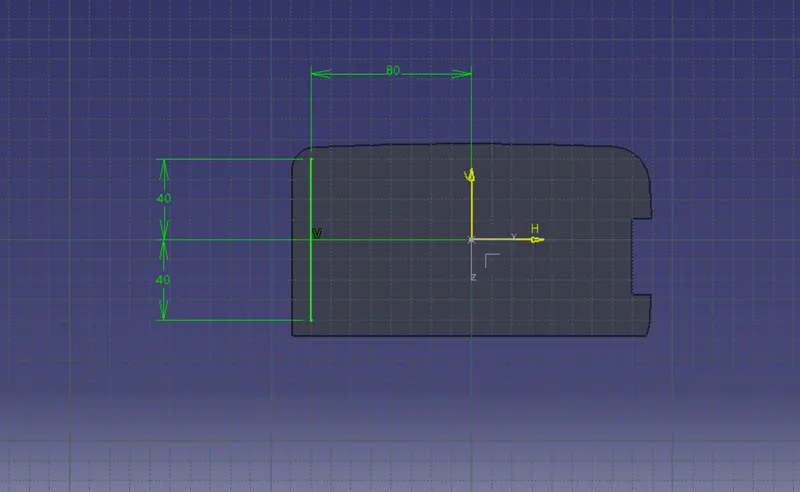
Open the positioning sketch. Draw the line. Constraint it and define it as an output feature.
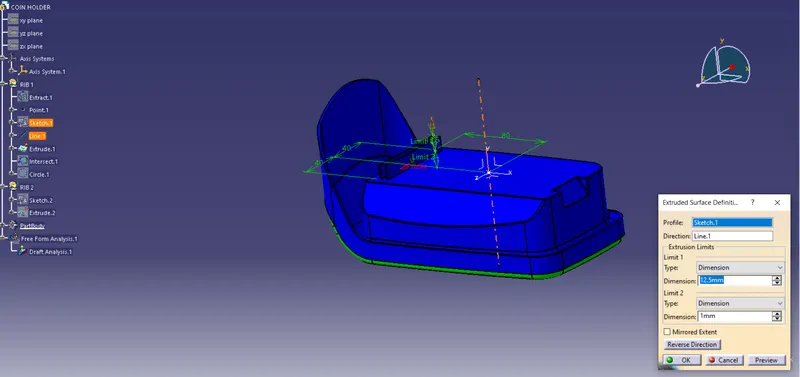
Then extrude the output line using extrude command.
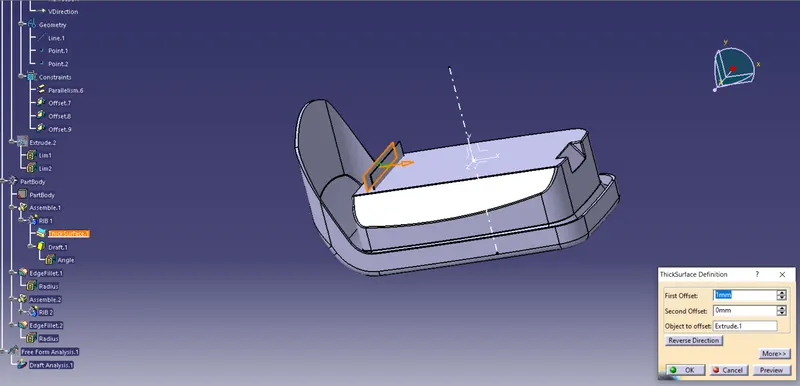
Go to the part design. Create the part body and add thickness to the body.
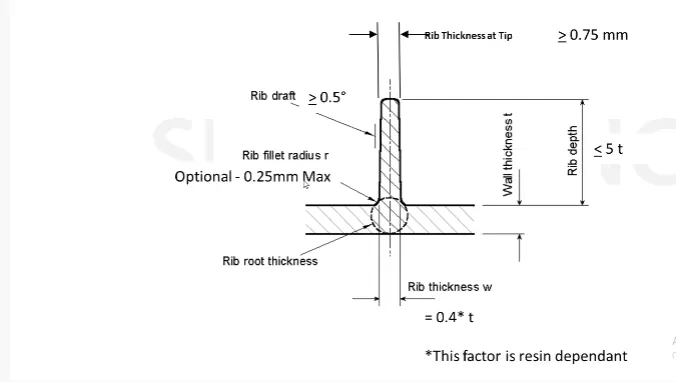
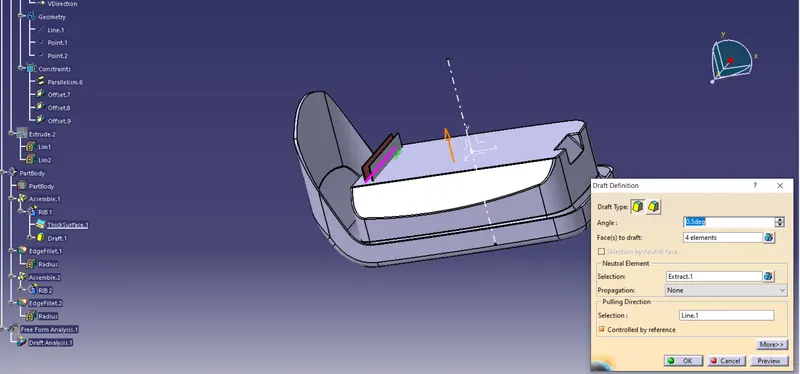
Draft the thickned body with an angle of 0.5 degree.
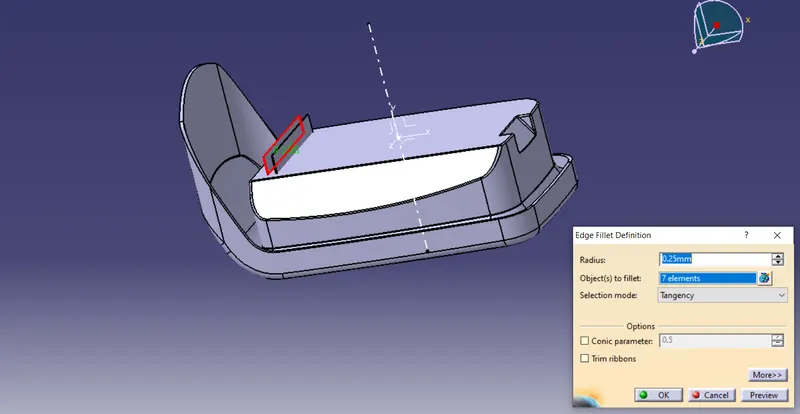
Give the fillets to edges of 0.25 mm all sides.
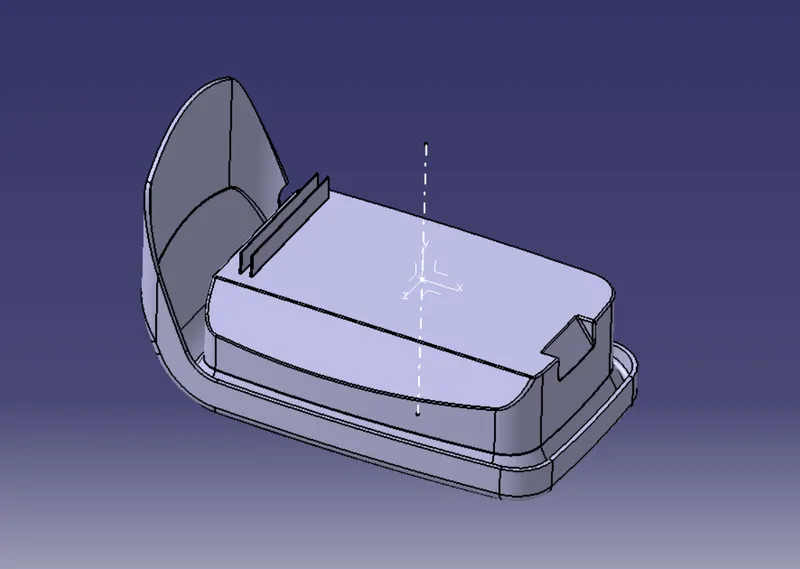
Assemble the Rib to the main body.
Repeat all the steps once again to create another rib at distance of 2:1 ratio.
Using formula
Y/X = 2 mm
height of the rib = Y = 12.5 mm
distance between the ribs = X = 12.5/6 = 6.25 mm
Now, create the intersection with XY plane.
Create the tritangent circle by selecting the extracted curves and lines.
Now measure the height, thickness and distance.
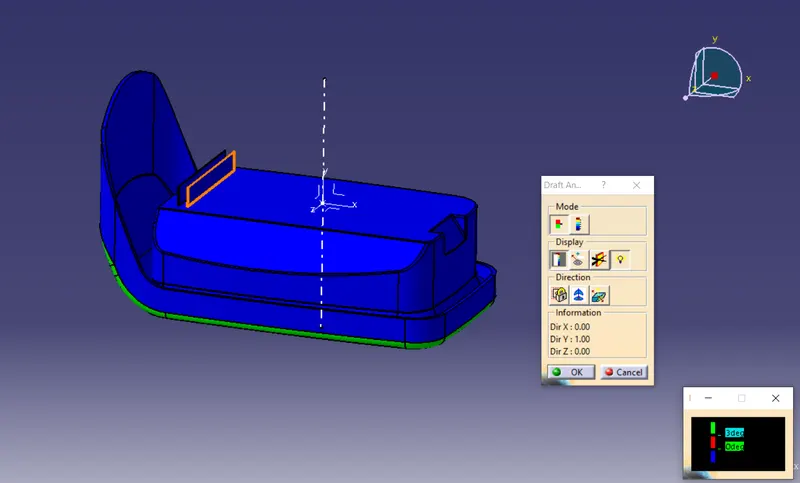
Draft Analysis.
- Click on the feature draft analysis.
- Select the compass and position the axis system on the tooling axis.
- Click on the body to draft angle colour difference.
Result:
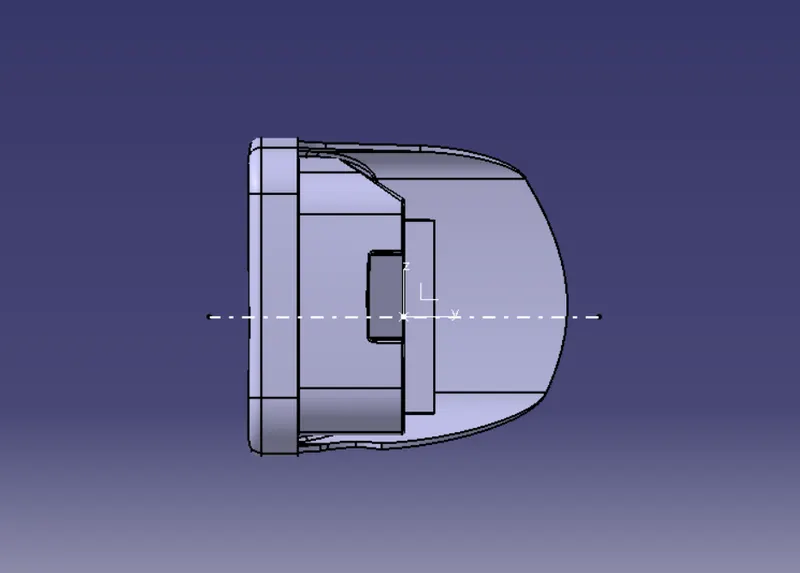
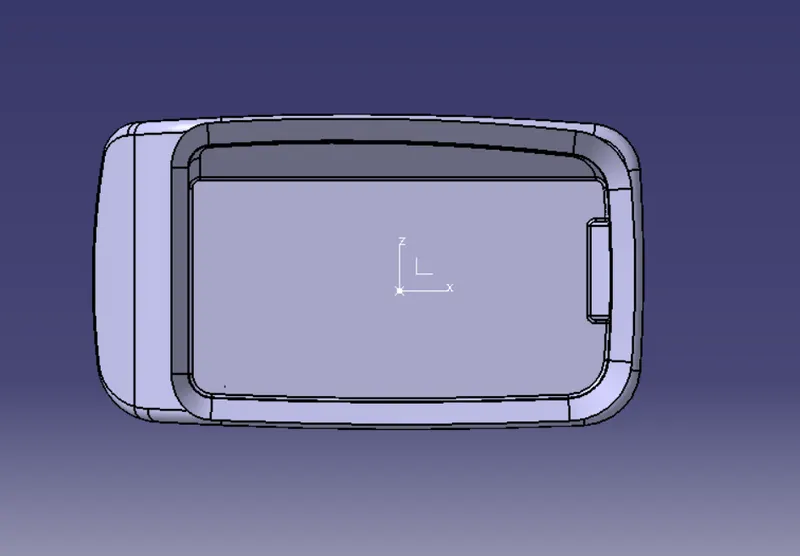
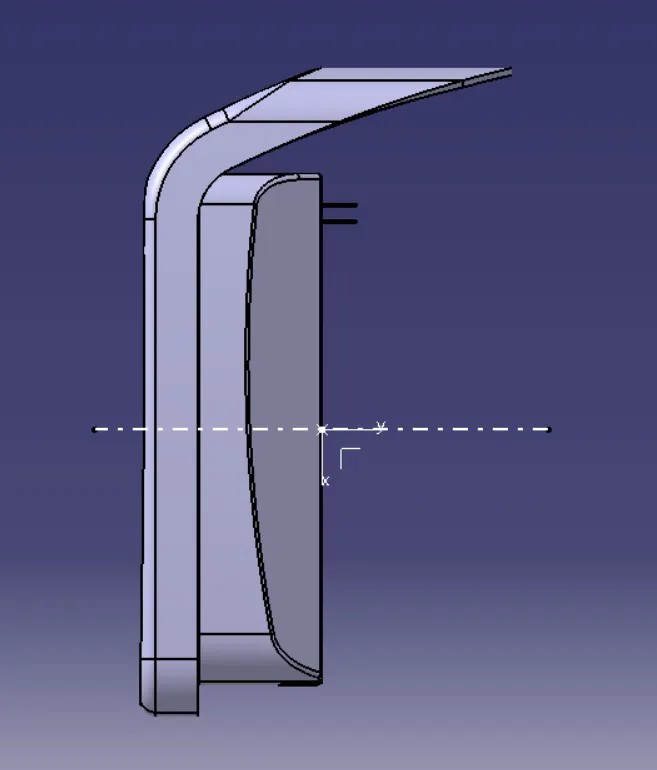
The ribs are created.
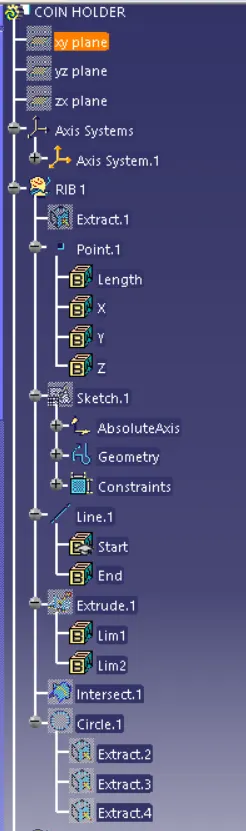
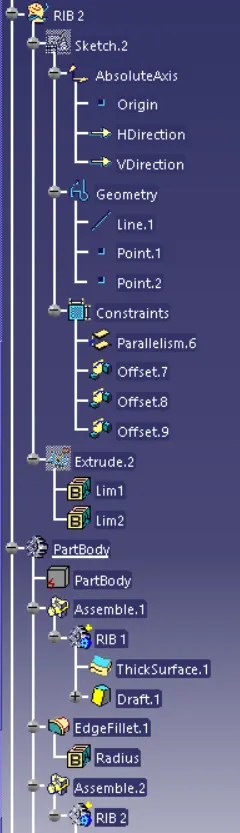
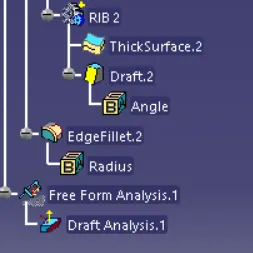
Feature tree: