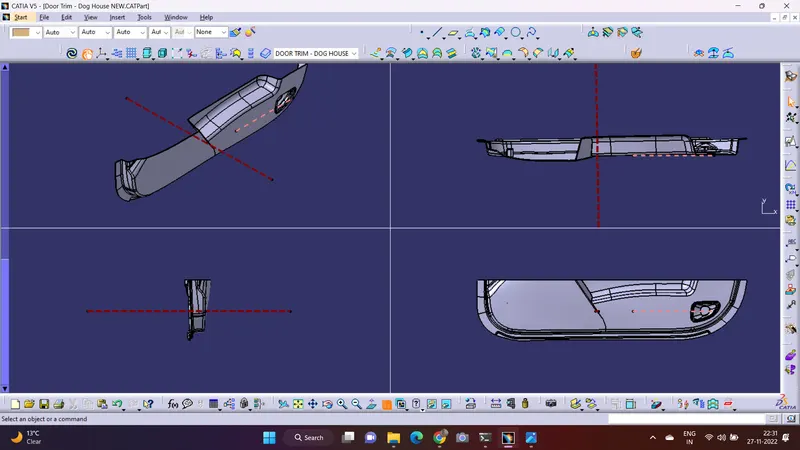
Week 9 - Attachment Feature Creation - Challenge 2
DOG HOUSE CREATION ON DOOR TRIM
C is where the doghouse contact's the back side of the surface
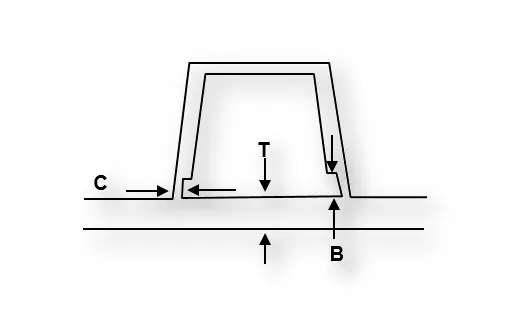
Doghouse wall thickness at the intersection of the part wall (C) should be 40% or less than the main wall stock (T)
Height of (B) should be between 3-6 mm
Dog House Design:-
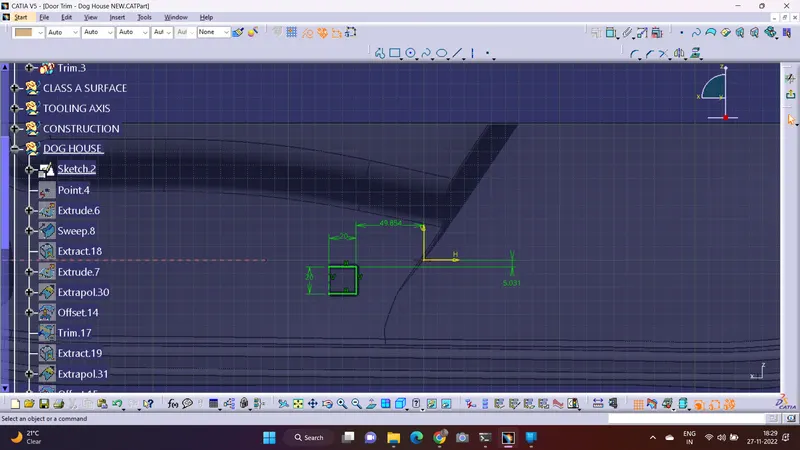
The surface is not a plane surface, the suface is in the the of a curvature so we can't just extract the Class A surface and start the sketch from there in this case we need to take a point and create a axis system on that point and then give the refrence for x to core tooling axis, and for y give it to tooling axis and with that create a axis system and on that basis create a sketch.
Then using sweep command with tooling direction and draft it at an angle of 1.5 degree for the outer surface, and always remember that when the draft for outer part of dog house the draft angle will always be at 1.5 degree.
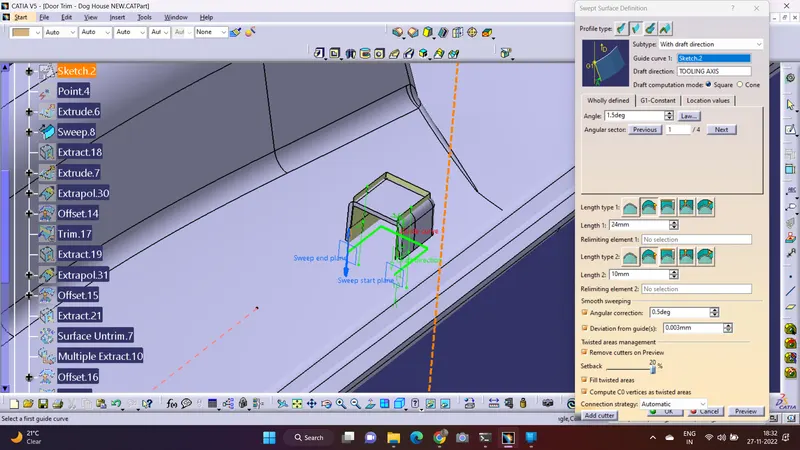
And then after that close the upper surface, but in this case we can't take the Class A surface and offset it so we can use the Extrude command for creating the top surface by creating a line or taking a boundary from the sweep after that,
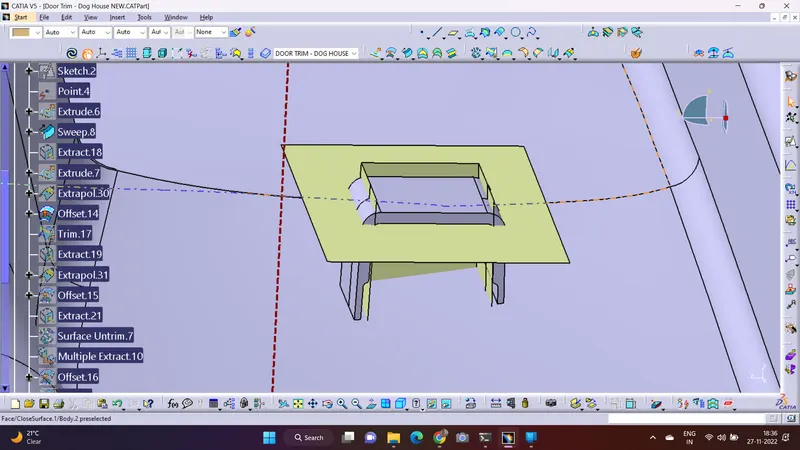
After that perform the trim command for creating a close surface from upper side of the body,
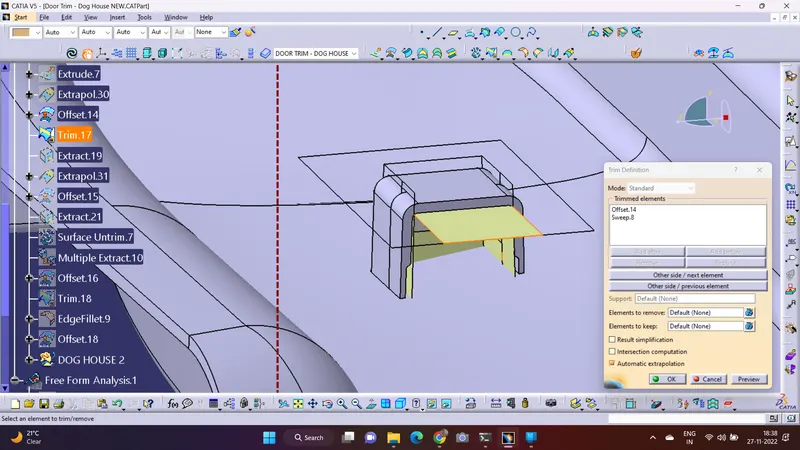
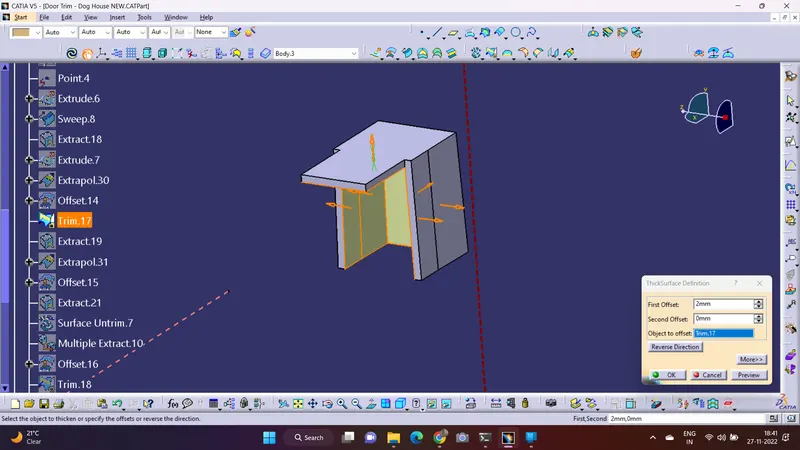
After that we need to convert the dog house surface to dog house thickened part by applying part thickness as 2 mm.
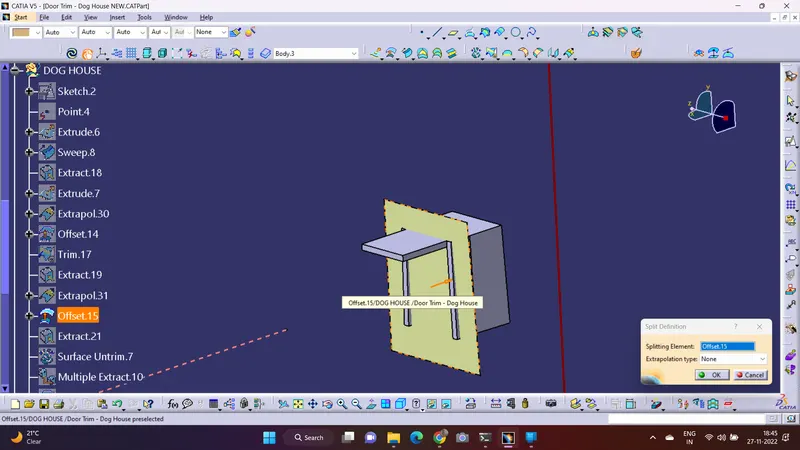
After that as we can see above there is some portion at the top that is more than required for the dog house so we need to cut that and we can do that by using the split command for it, and taking the reference as a surface from the dog house itself and then offset it to the front,
Ater doing that we need to give draft to inside surface of the doghouse so for that draft we'll keep the angle as .5 degree and for this draft we also need to create a new tolling axis and for that tooling axis we'll give the direction to z axis, the need to create the new tooling axis is because with main tooling axis the inside portion of the doghouse won't clear in the draft analysis,
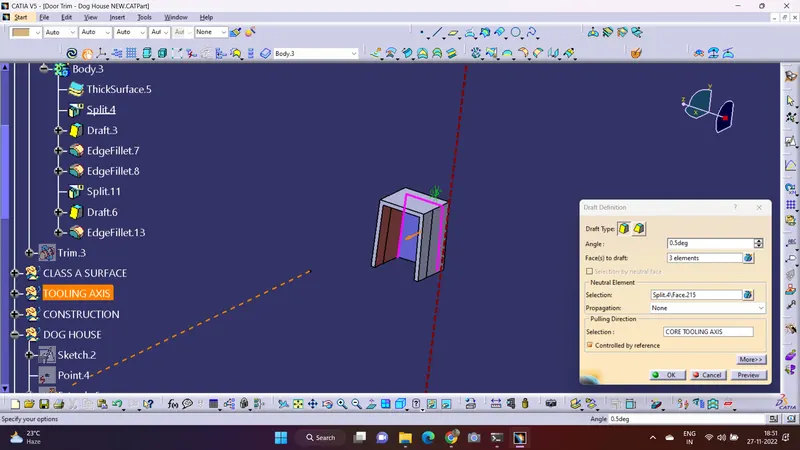
And after that we can give the outer and inner fillet to the doghouse and outer fillet being 3mm and the inner fillet being as 1 mm.
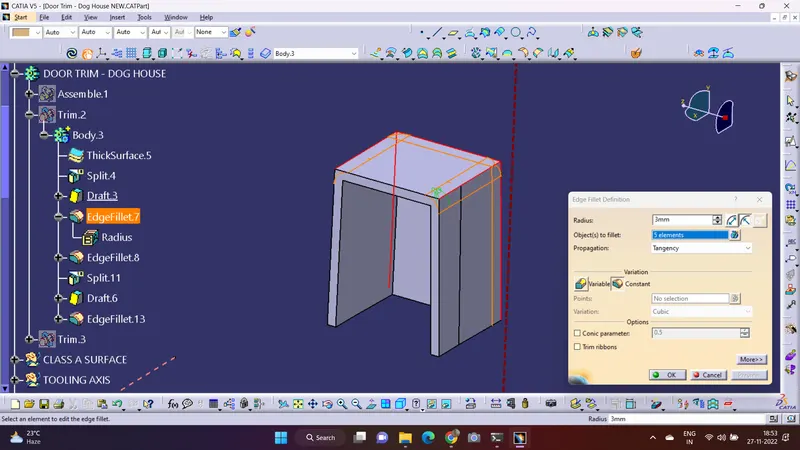
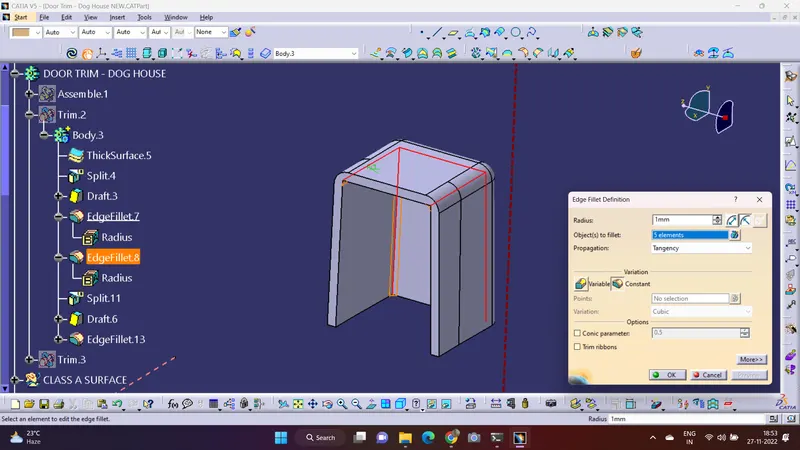
Now we'll create the C and B section as shown in in the design rules, so for that we'll take the extraction from the inner part of the doghouse after that we'll take the wall of the doghouse and offset it to as design rules being the height of wall between 3 to 6 mm and that extrapolate the wall and that perform the trim command for creating the C
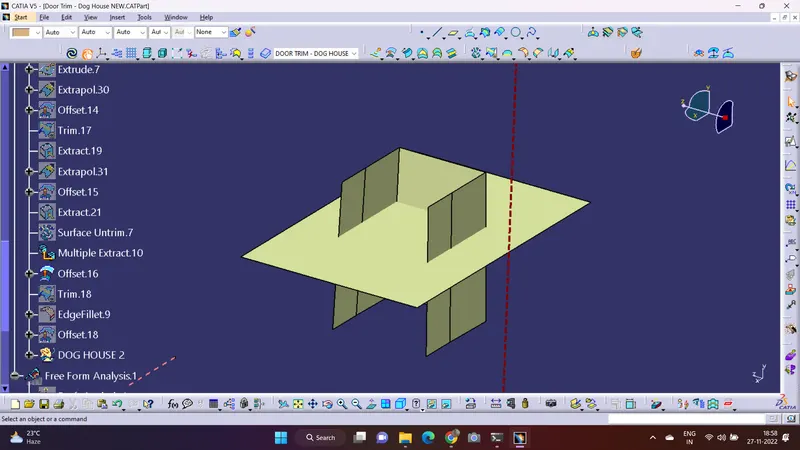
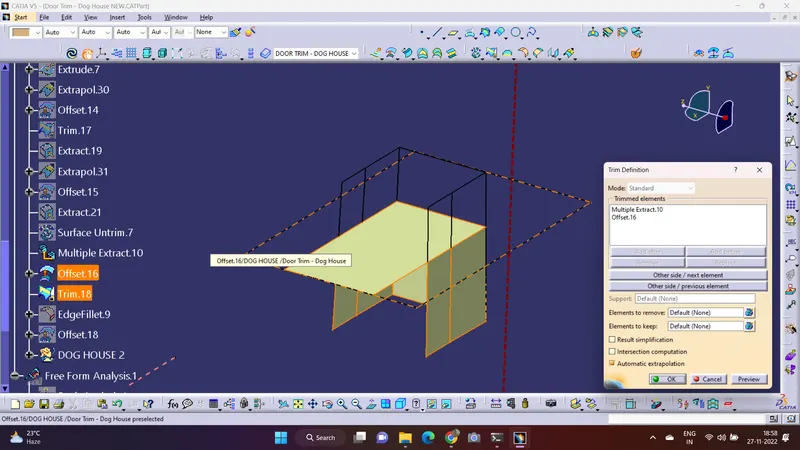
Then offset the C in doghouse as given in the design rules the thickness should be 40% or less than the main wall stock so the offset will be 1 mm. After that we'll use the command to perform it.
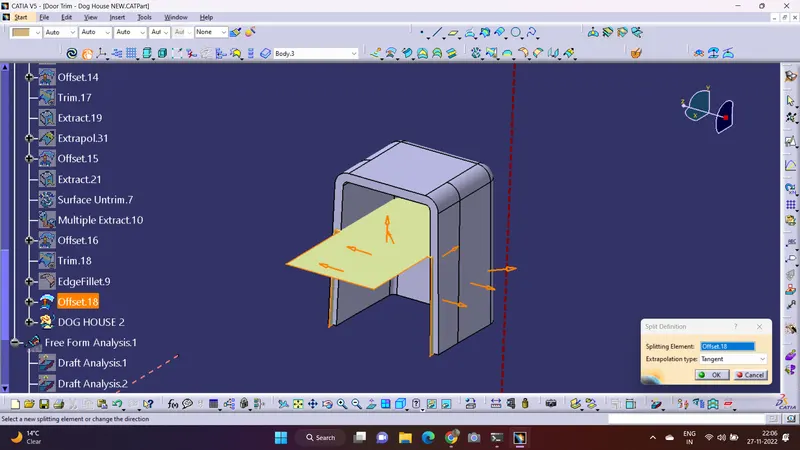
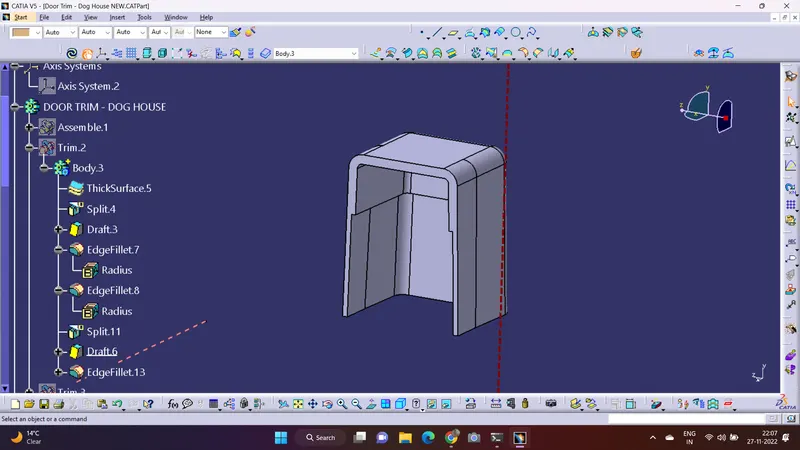
Ater that we'll give the draft to the part that we just split and also provide it with fillet, so the draft angle will be 0.5degree and the fillet will be 0.5mm
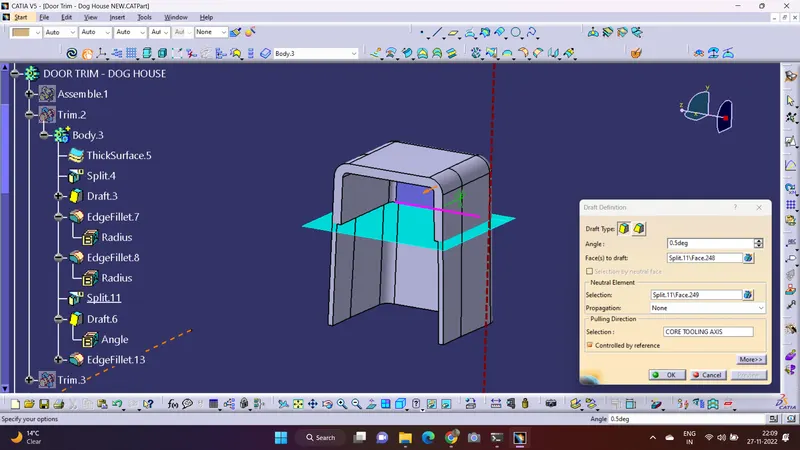
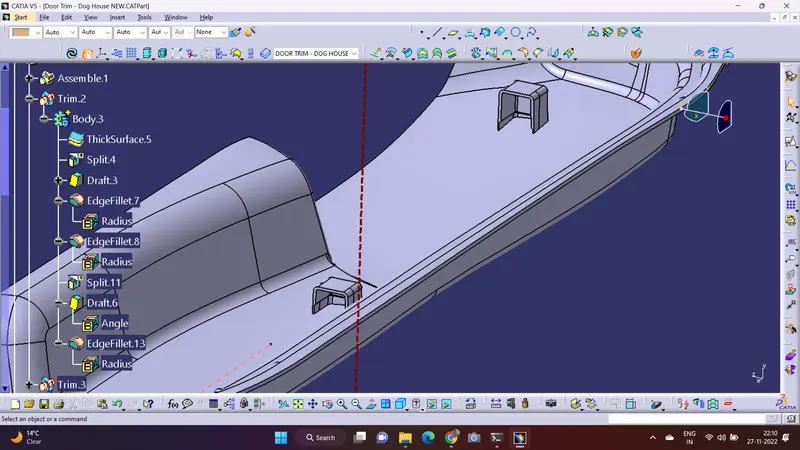
DRAFT ANALYSIS
Now We'll perform the draft analysis on the Object's we created, for the doghouse we'll place the compass on the main tooling axis and then lock the compass after that we'll change the angle to 1.45 degree we will not use 1.5 degree proper cause there can be a little variation in the object so to be on the safe side we use the draft angle as 1.45 after that we'll click on the object and check the draft analysis,
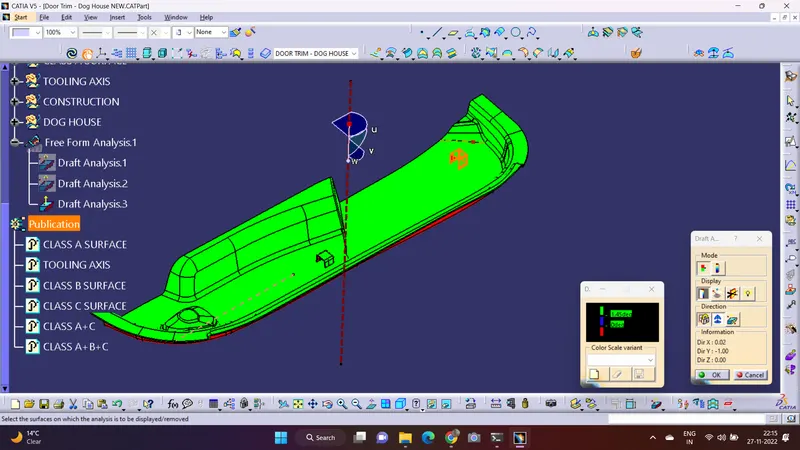
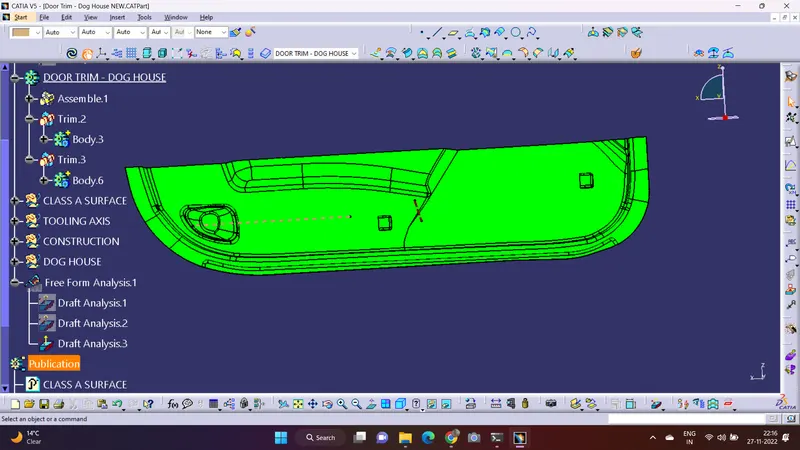
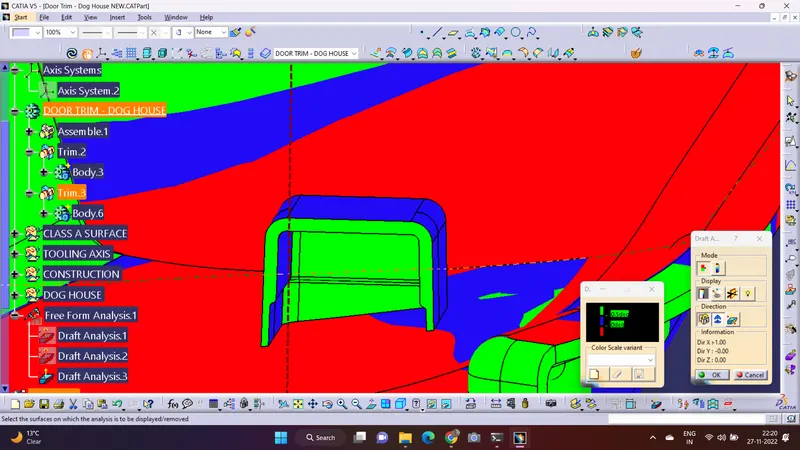
Now for performing the draft analysis on the inside of the dog house the procedure for that is entirely different, In this we have to place the compass on the Side core tooling axis and then lock it and after that change the draft angle to 0.5 degree and then click on the CAD now we can see that our draft is correct.
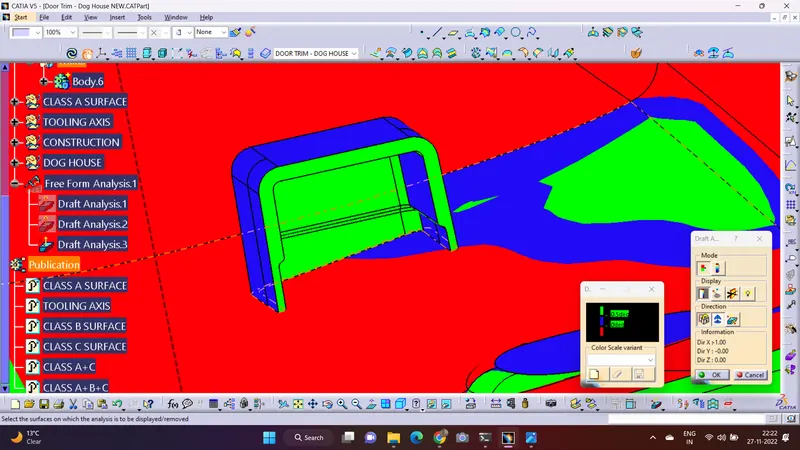
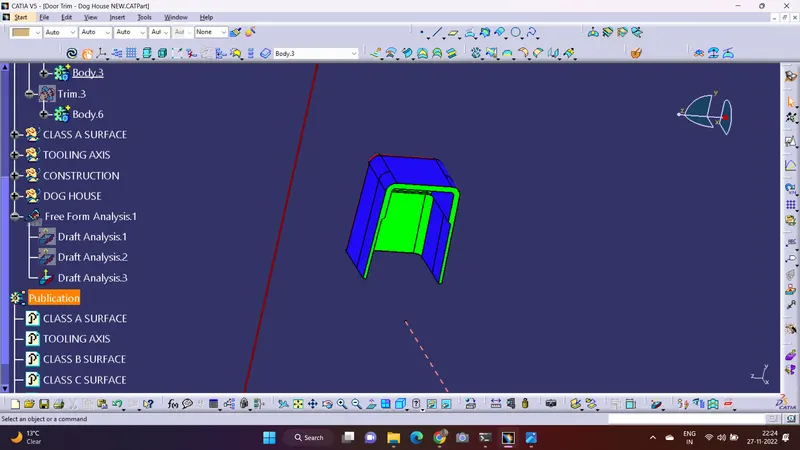
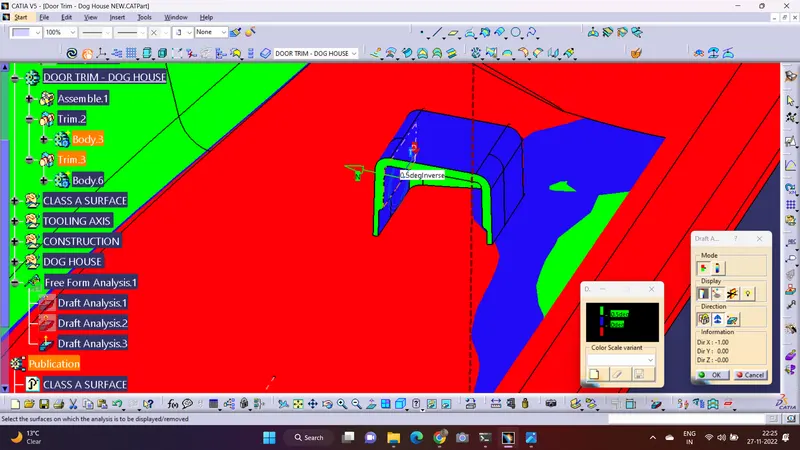
VARIOUS ORIENTATION
ISOMETRIC VIEW
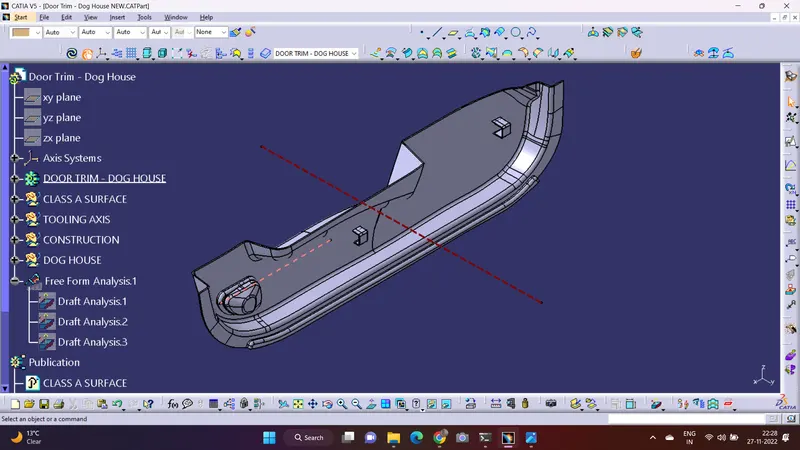
MULTI VIEW