Week 8 - Challenge 2 - Switch Bezel Design
Switch Bezel Design
Objective:-
To create the Switch Bezel Plastic component through the given Class A surface. The tooling axis for the given Class A Surface should be created meeting the requirements of the draft angle and to perform the Draft analysis on the model.
Take the Thickness of the component to be 2.5mm.
Aim:-
- Proper Tree Structure.
- Geometrical sets with proper name.
- All the sketches are to be created under the geometrical set.
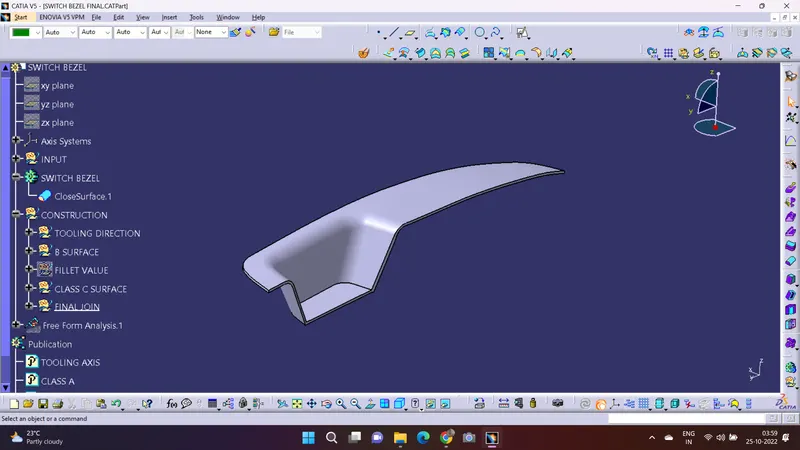
- Use the Close Surface feature to make a solid body from the surface.
- Publications: Use the publication option and publish the below
- Tooling axis
- Class A,B, and C surface
Introduction:-
The control panel bezel is the frame part of the window switch that holds its switch covers and buttons into place. Moulding is the method used to manufacture the plastic trims of an automotive by most OEM's, hence by considering the manufacturing consideration the switch bezel is designed.
Design consideration:-
- Class - A surface should be aesthetically smooth and good.
- Class - B surface should have all the supporting features like ribs.
- Parting line should coincide with the B surface since flashing couldn't affect the aesthetic of Class - A.
- Class - C surface should also pass the draft analysis.
Catia model:-
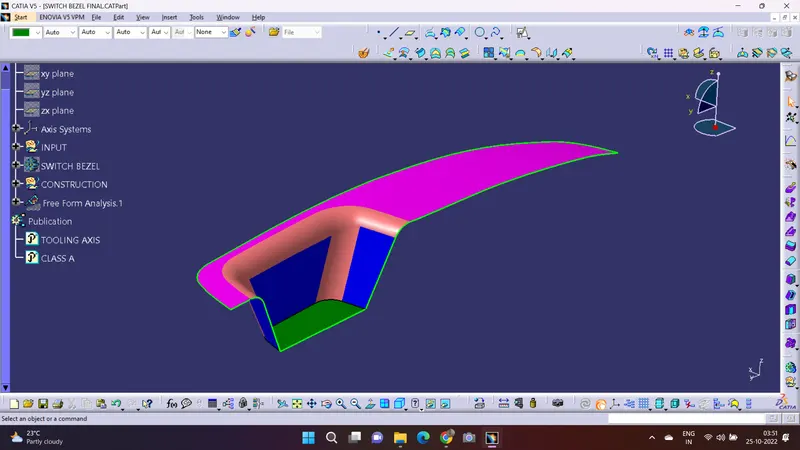
A surface
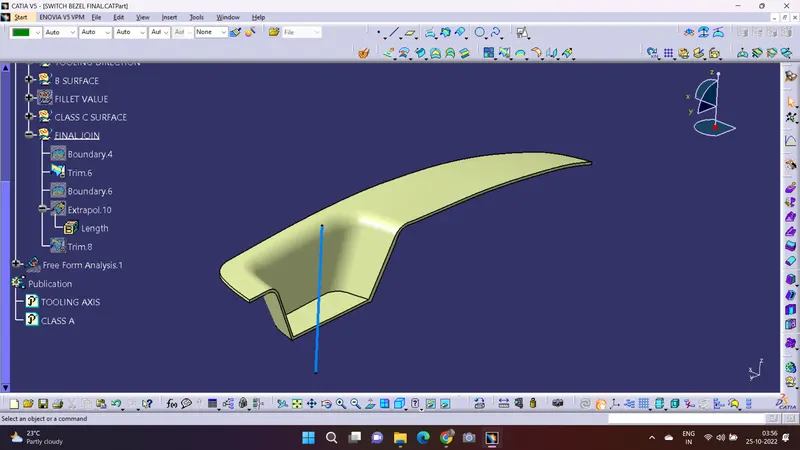
Tooling axis:-
The Tooling Direction is basically the direction that the mold pulls apart. The mold is built in two separate pieces, basically. You have a Cavity side and you have the Core side. The Core pulls apart from the Cavity and that's the Dyeline or Tooling Direction.
Screenshots of the Solid model with various orientation:
Isometric View
Top View
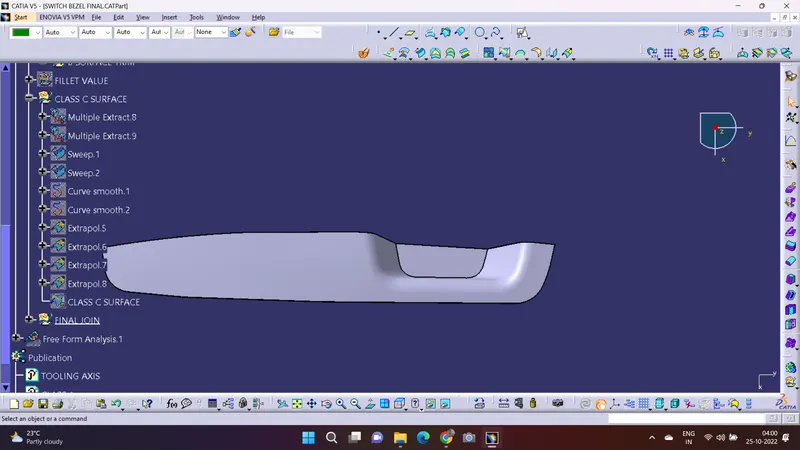
Back View
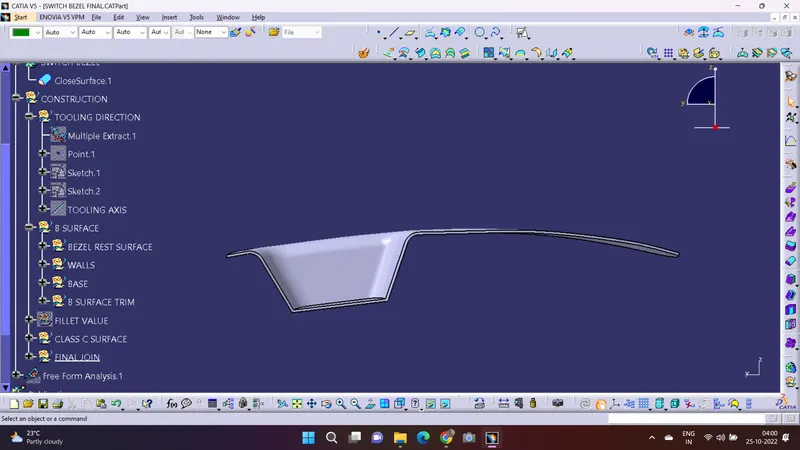
Side View
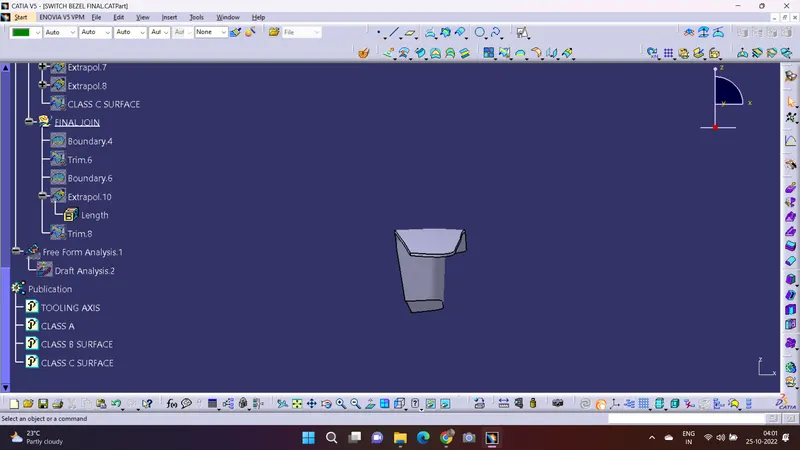
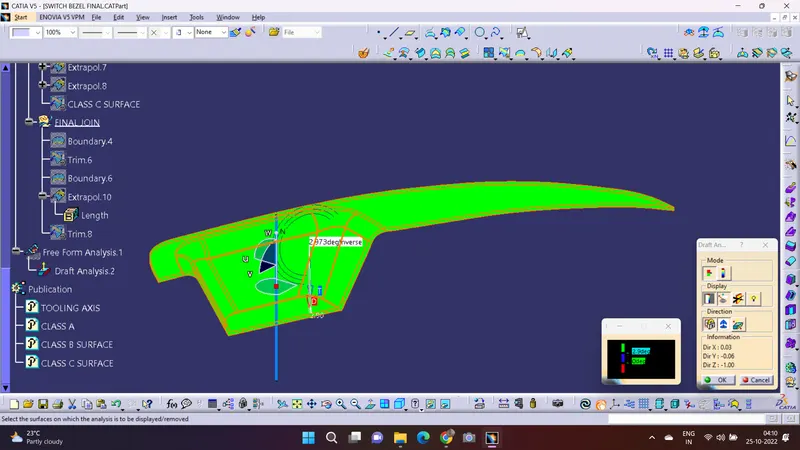
Draft Analysis:-
The Draft Analysis command enables you to defect if the part you drafted will be easily removed. This type of analysis is performed based on color ranges identifying zones on the analyzed element where the deviation from the draft direction at any point, corresponds to specified values.