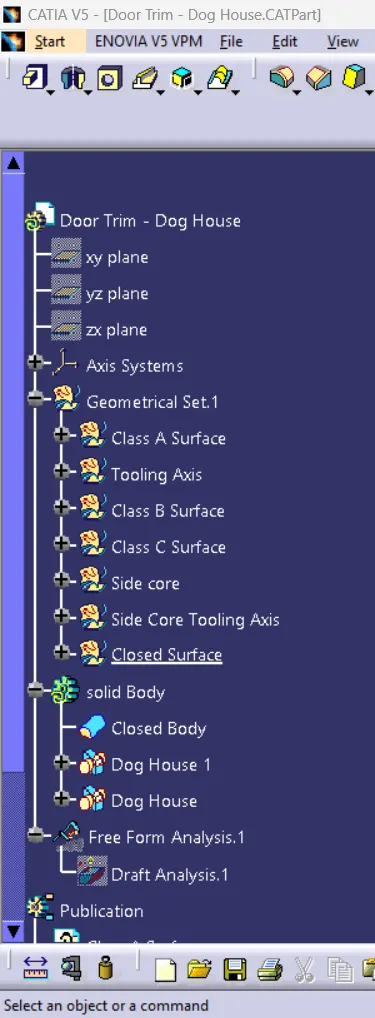
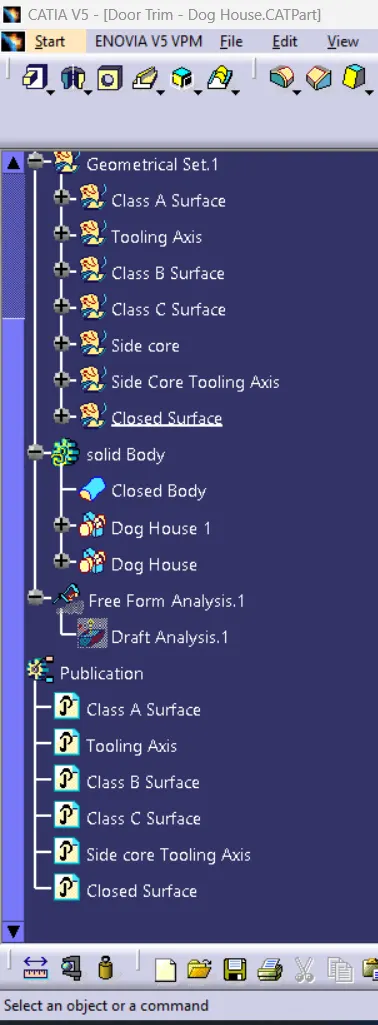
Week 9 - Attachment Feature Creation - Challenge 2
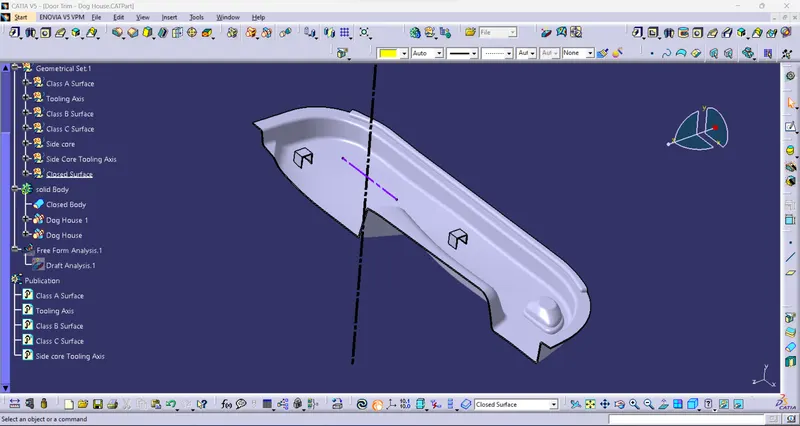
Tooling Axis:
- Tooling Axis is a line in which the core & cavity is open.
- create an intersection on both sides to check the center of the axis
- To create a point using the surface to generate the line to the center of the tooling axis.
- To change the name to Tooling axis.
Side Core Tooling Axis
- To create a point using the surface to vertical Tooling line the line to the center of the tooling axis.
- To change the name to Tooling axis.
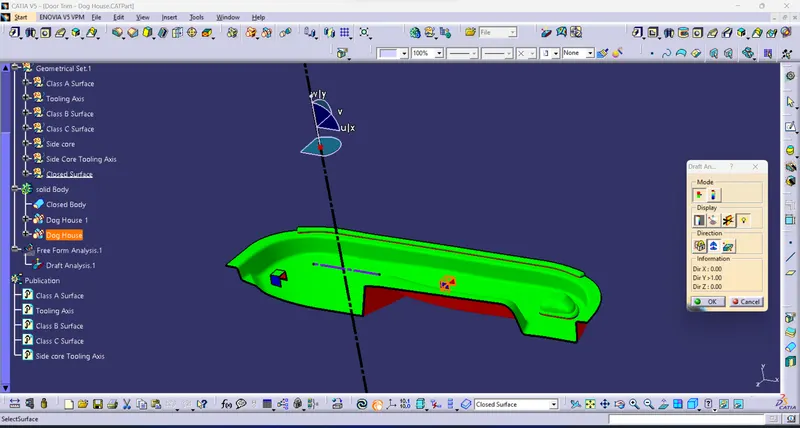
Drafting Analysis
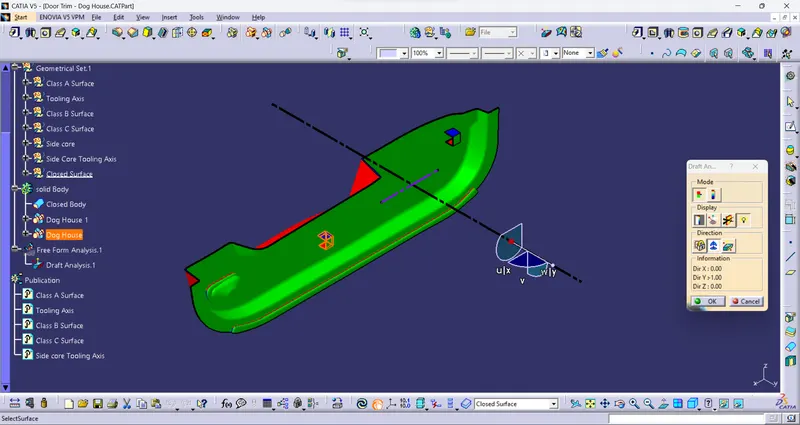
- Analysis of the draft angle of the completed solid model.
- I am using this command to check the possibility of the draft angle for tooling direction.
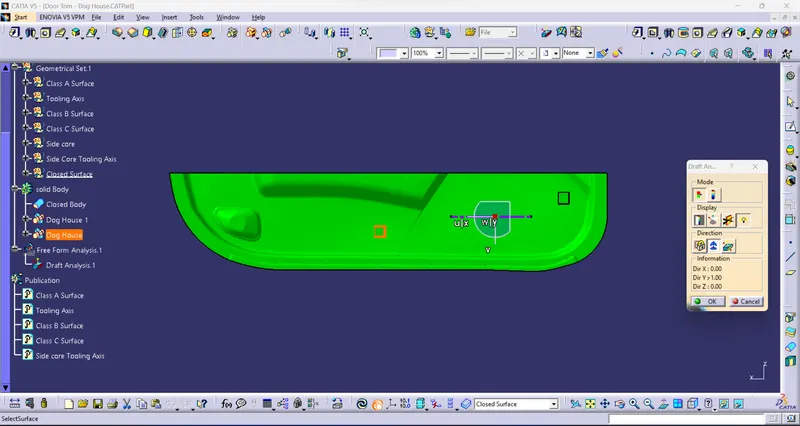
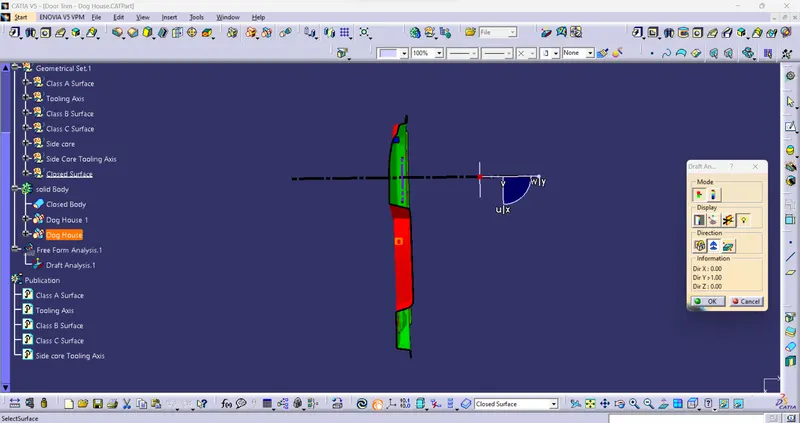
- The green color in the correct body or possible side.
- Blue is between the 0 to 3° angle.
- Red is a negative angle not possible.
- This draft analysis uses the tooling direction to analyze all the angles of the solid surface.
View:
Isometric View:
Front View:
Top View:
Dog House
Draft analysis:
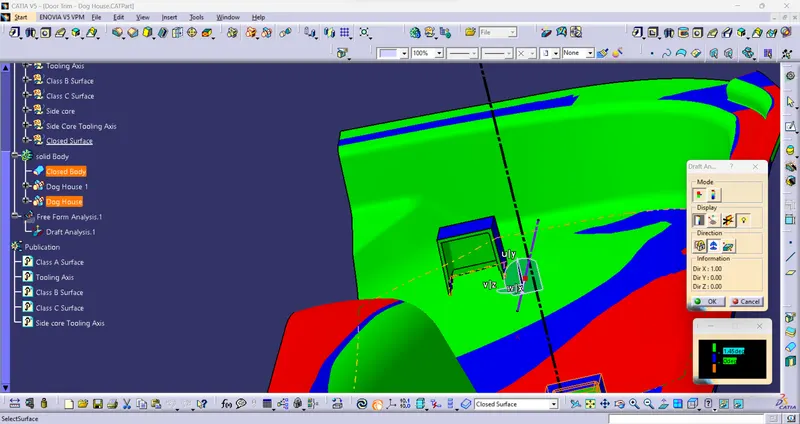
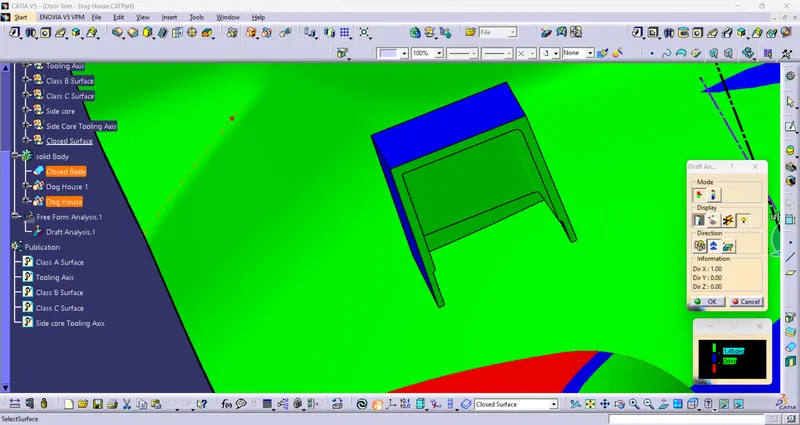
Dog House:
- The dog house is a feature to avoid shink marks.
- Solve length issue.
- have a provision for screw bosses.
Dog house guidelines:
- draft
- dog house walls
- part surface
- bottom of doghouse
- wall thickness
- height and width
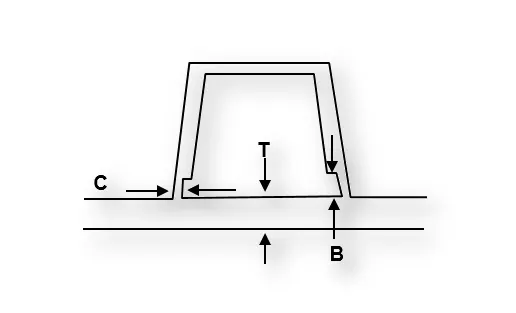
Dog house :
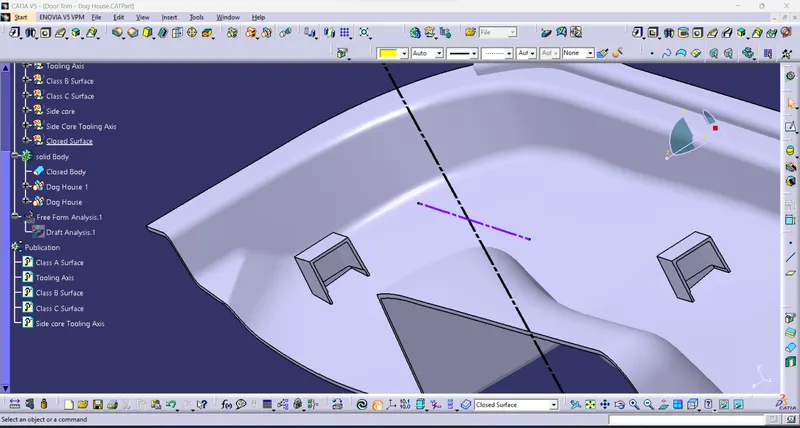
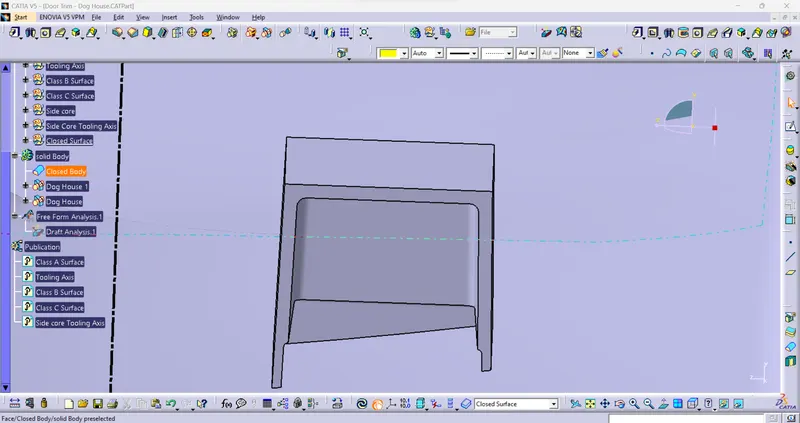
Surface modeling :
Class A surface:
- class a is an input to get stylish.
- check the class A surface to fully closed surface or not.
- the use to create class B surface.
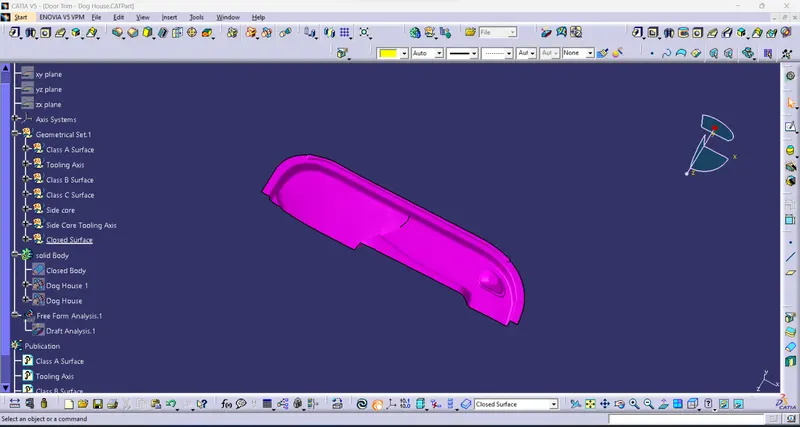
Class B surface:
- Class B surface has Extracted the surface from the class A surface.
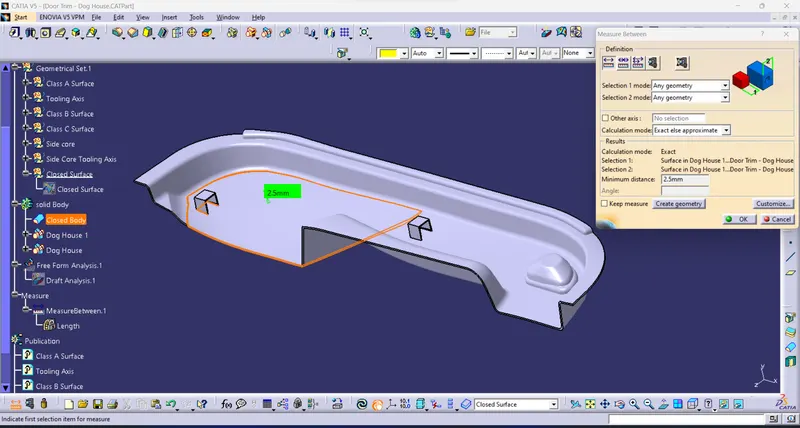
- First, offset the surface for a 2.5mm thickness.
- Finally, create a class B surface
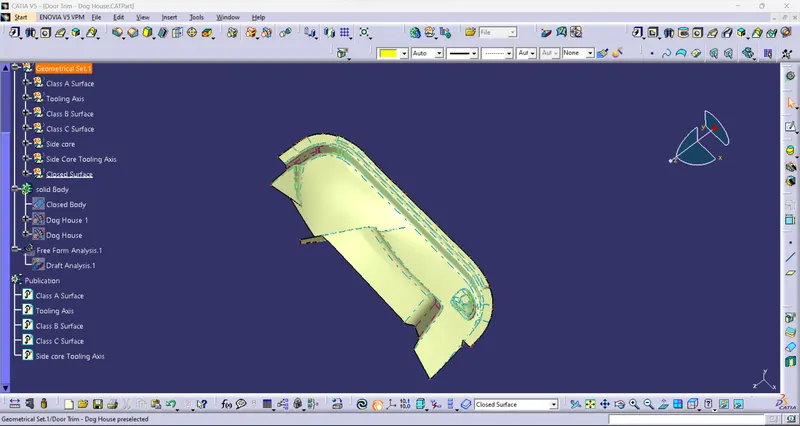
Class C Surface:
- create class C surface used to Sweep command to close the surface then trim the body.
- to close the surface.
- To get the closed surface
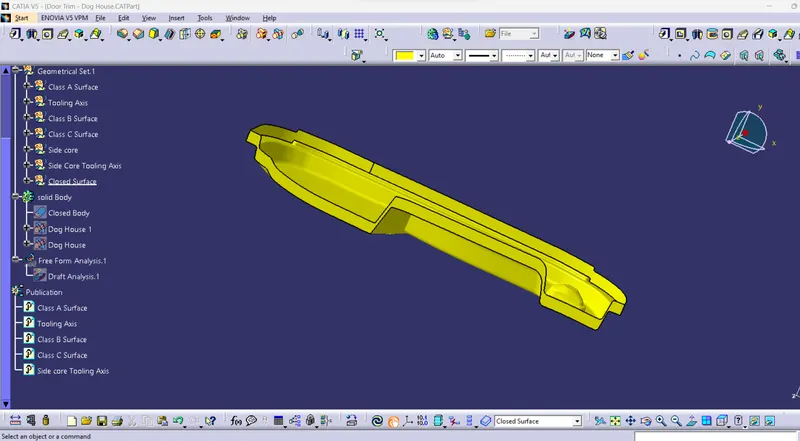
Closed Surface:
- Trim both class c and class B surfaces to get the closed surface.
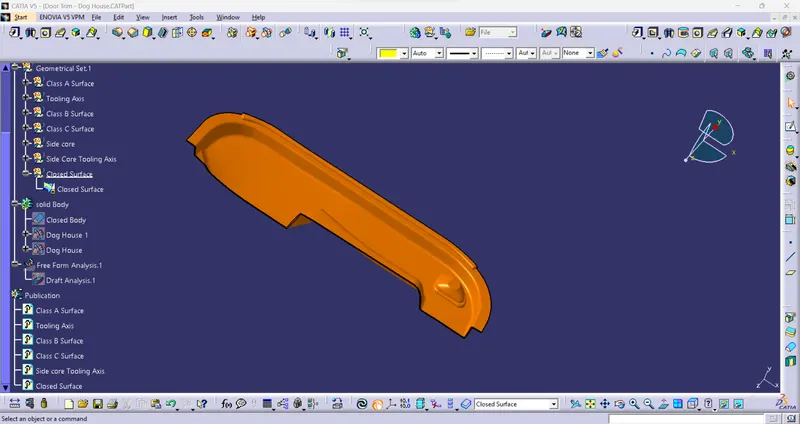
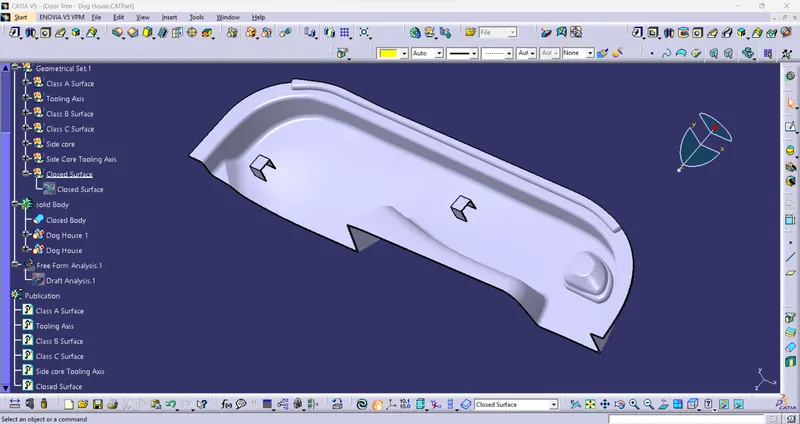
Solid Body with Dog Houses:
Tree Management: