Week 9 - Attachment Feature Creation - Challenge 2
AIM - To Create the boss and Dog House for the Centre console coin holder considering the design rules.
PROCEDURE -
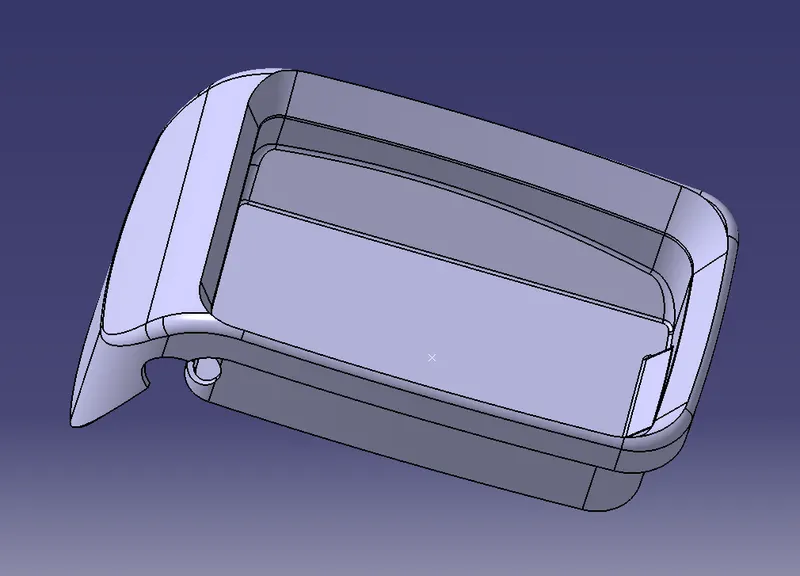
The coin holder part is shown below:
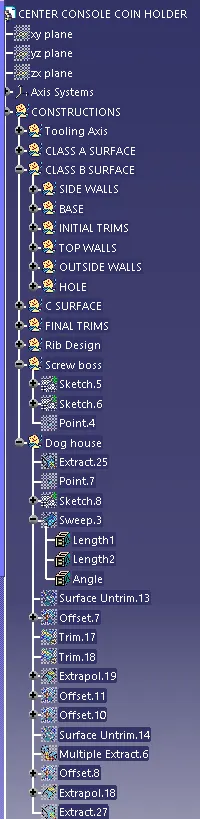
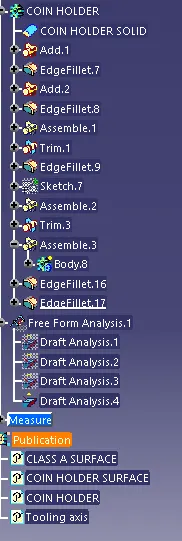
The tree structure of the component is shown below:
Tooling axis - The tooling axis is defined as the direction in which the mold opens or core and cavity opens and closes. The selection of the correct tooling axis is important to ensure the component is taken out perfectly and also the cost of the component should be less.
I will start by insering a geometrical set and naming it as a tooling direction. For creating the tooling axis i will analyze the model and see from which direction i can see the whole model. so here the direction i have chosen for the tooling axis is along y-direction because along y-direction the whole model is visible properly.
For creating the tooling axis first i will extract the base from the class A surface. And will create a point on the center of that base. Then i will insert an axis system on that point. since i have chosen the Y direction as my tooling axis i have to make sure that the tool should clear in both x and z-direction. so for x-direction, i will not create an intersection because there are no surfaces that would cause a problem during ejection. But for z-direction, I will create an intersect. The intersection parameters are shown below:
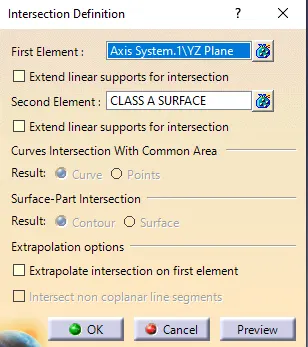
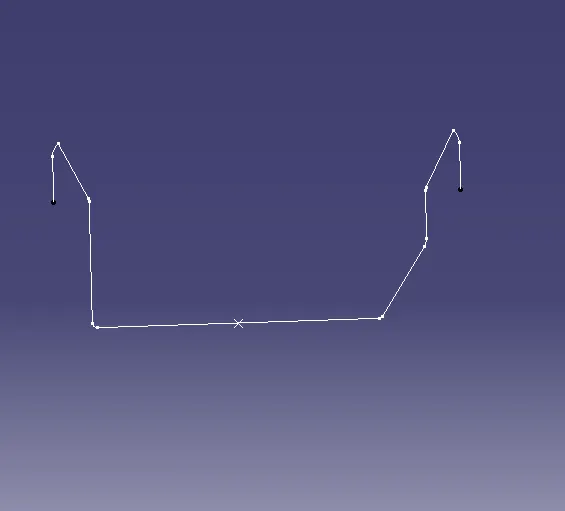
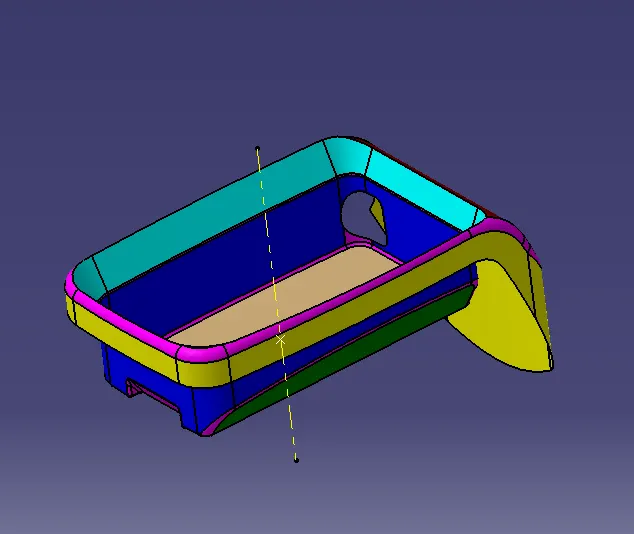
Here in the above fig., u can see that there are some lines that would not be perpendicular to the tooling axis but it will not cause any problem because most of the lines are drafted outwards so they will not intersect with the tooling axis. so for creating the tooling i will just simply create one line along the y-direction which will be my tooling axis. The tooling axis is shown below:
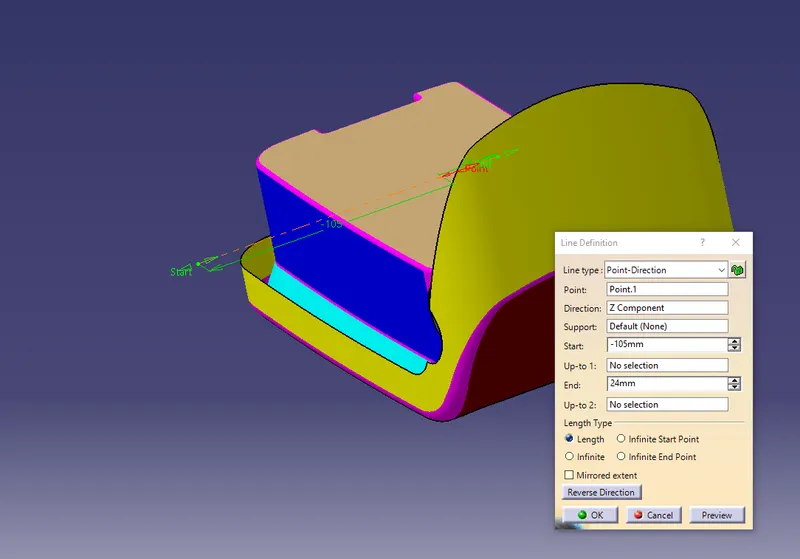
Now for clearing the inside portion of the dog house I will create another tooling axis because the main tooling will not clear the dog house. so for constructing that tooling axis, I will use the same point on the main tooling axis, and from that point, I will just create one line along z-direction and that will be the tooling axis for the side core or side core tooling axis. The tooling axis is shown below:
Now i will design the screw boss according to the design rules.
screw boss - Bosses are used for the purpose of registration of mating parts or for attaching fasteners such as screwsor accepting threaded inserts (molded-in, press-fitted, ultrasonically, or thermally inserted). The boss can be strengthened by gussets at the base, and by attaching it to nearby walls with connecting ribs.
The design guidelines for Screw boss are shown below;
- Draft - 0.5 degrees on walls of boss
- Thickness - Typically 40%* of the nominal wall at the base.
- Height to Diameter Ratio - 3:1
- Radii - 0.25mm maximum radii.
So for creating the boss i will extract the back surface and create a sketch on that. The sketch is shown below:
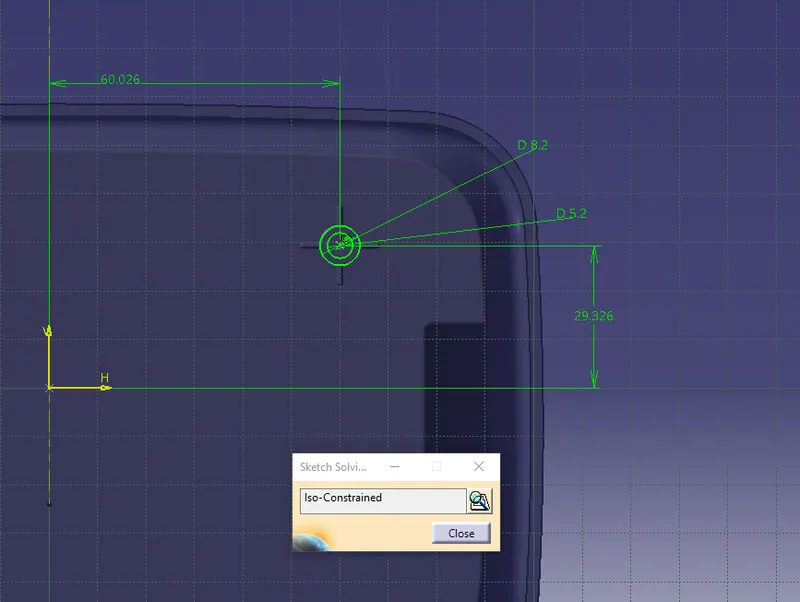
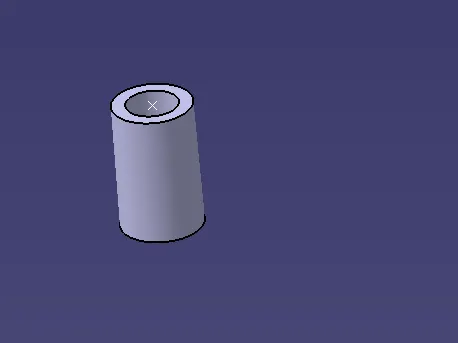
considering the wall thickness i have taken the outer radius in the above sketch. Then i will pad the sketch and will provide a draft of 0.5 degrees satisfying the design rule. The boss is shown below:
Then i will create another sketch for the ribs which will support the boss. The sketch of the ribs is shown below:
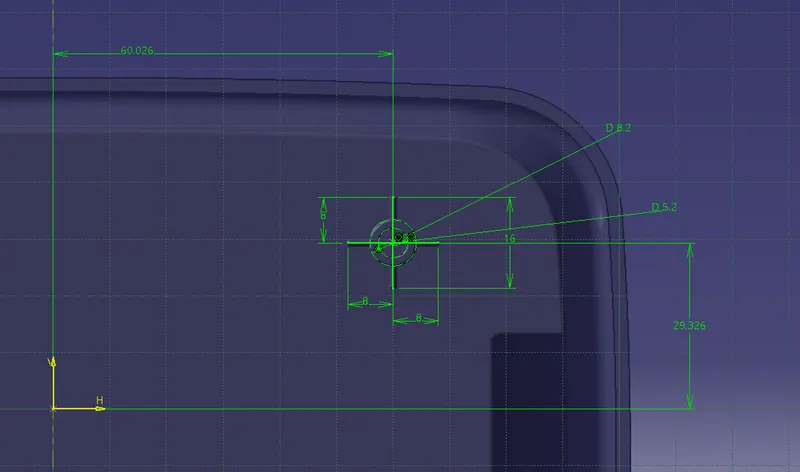
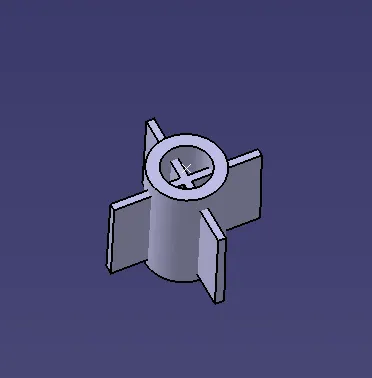
I will pad this sketch as well and will provide the draft of 0.5 degrees to this also. so basically I will follow all the design rules for the ribs here.
Then i will union trim and will assemble it to the coin holder. The assemble is shown below:
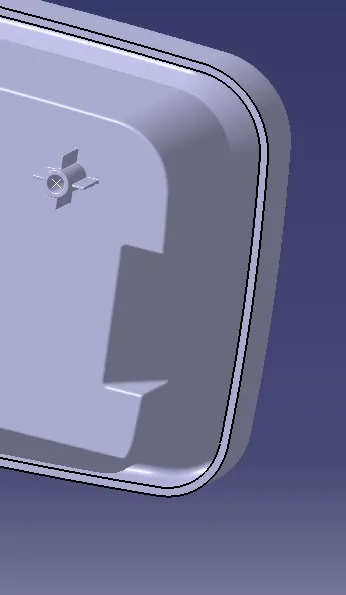
Then I can translate it to any side if I want more bosses.
After creating the boss I will design the dog house.
Dog House - Dog house is an engineering feature used in the plastic trim design. Doghouses are used as supporting features. Sometimes other engineering features like snaps; locators, etc. are mounded on them to increase their strength. Dog houses are subjected to draft analysis to prevent breakage of the component during ejection from the mold cavity. Dog house and other engineering components are built on B-surface.
The design guidelines regarding the dog house are shown below:
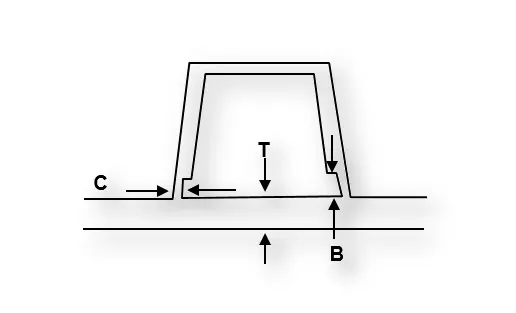
"C" is where the doghouse contacts the backside of the surface
-
Doghouse wall thickness at the intersection of the part wall ( C ) should be 40% or less than the main wall stock ( T ).
-
Height of ( B ) should be between 3.0 – 6.0 mm
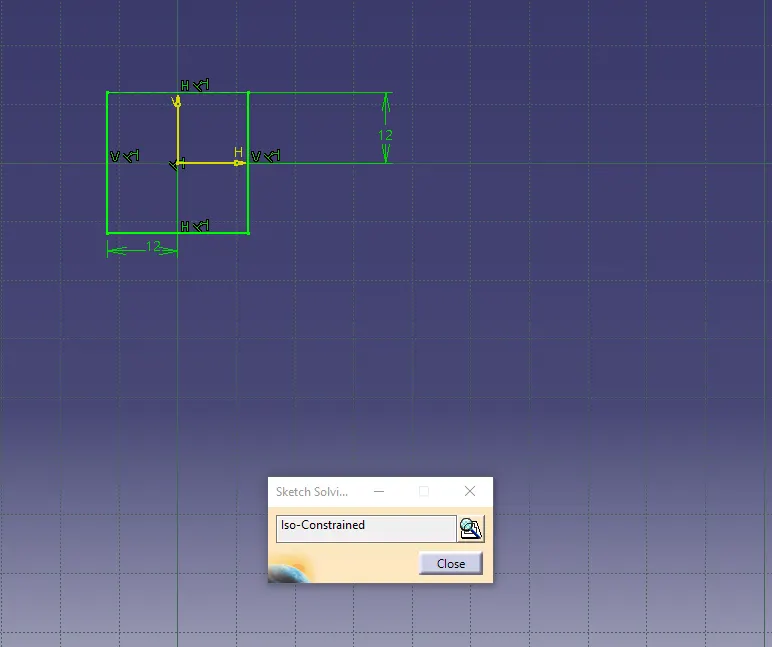
For creating the dog house I will first create a point in the center of the bush. Then I have extracted the back face and created a sketch on that the sketch is shown below:
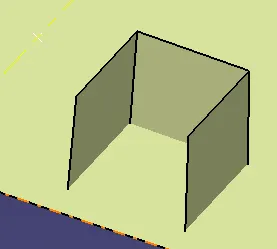
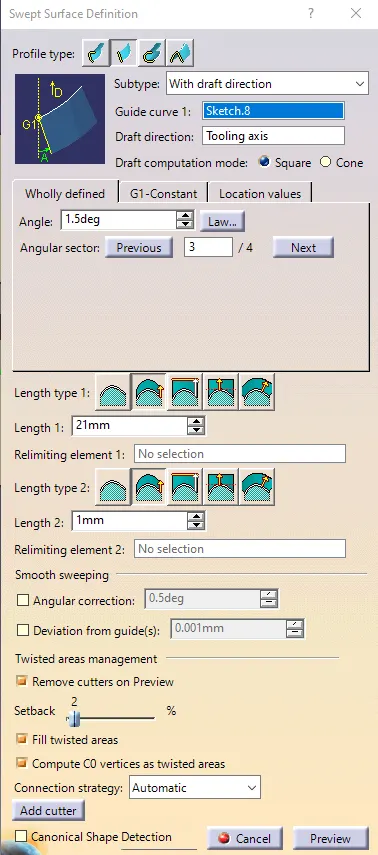
Then I have swept the sketch. The sweep parameters are shown below:
After sweeping, I have closed the surface from the top by offsetting the surface and then I have thickened the surface. The parameters are shown below:
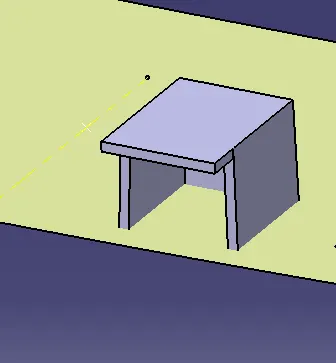
Then to make it proper I have extracted the nack surface of this thickened body and offsetted it to a certain distance and split it. the split is shown below:
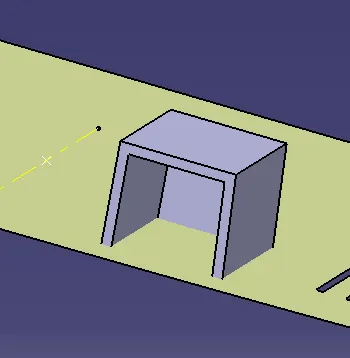
Then I have provided the fillets considering the design rules. The filleted body is shown below:
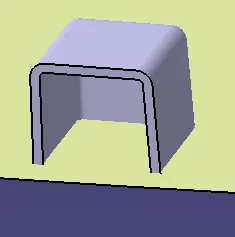
Then to remove that lower portion of the dog house. so for that, I have offset the base to 4 mm considering the design rule and i have trimmed it.
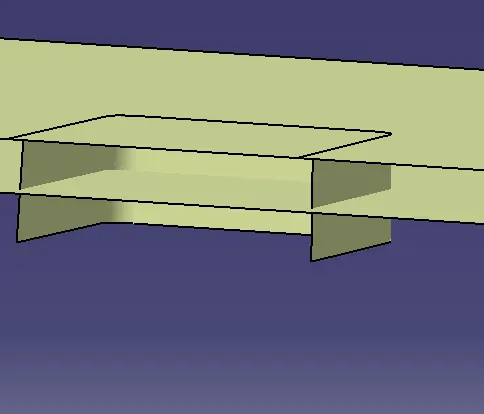
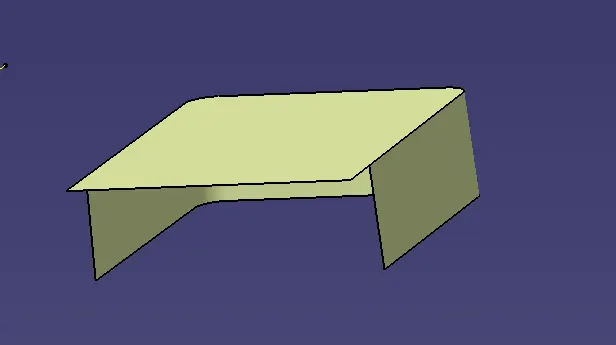
Then I have extracted the inner surface of the dog house and offsetted it to 1 mm again considering the rule that Doghouse wall thickness at the intersection of the part wall ( C ) should be 40% or less than the main wall stock ( T )
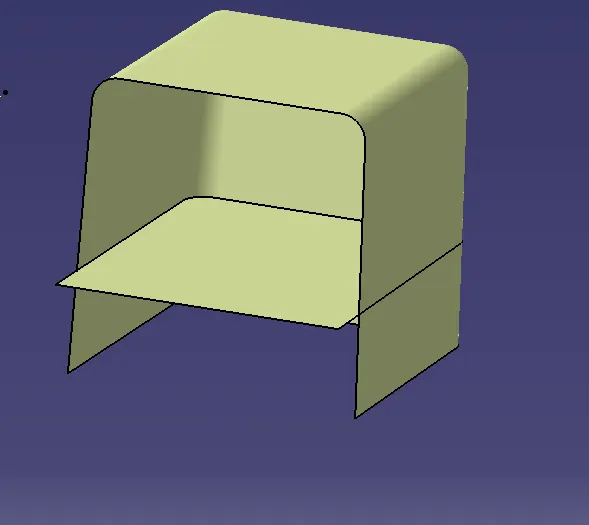
Then I have split the surface with the body in part design. The result after the split is shown below:
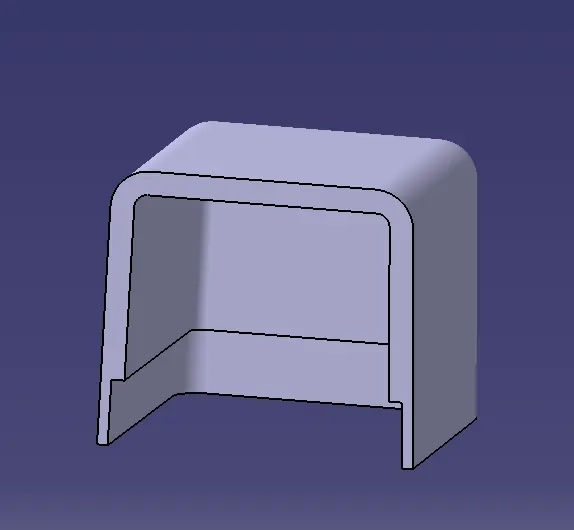
Then I have provided the drafts on the inside is well of 0.5 degrees. and provided the minimum fillets also.
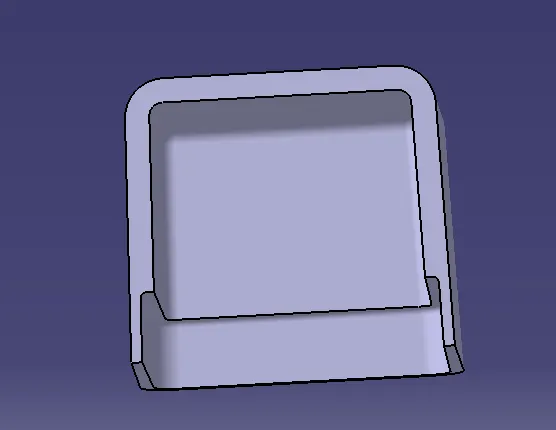
Then i have added it to the main part body of the coin holder. i have translated the boss that i created to the top of the dog house.
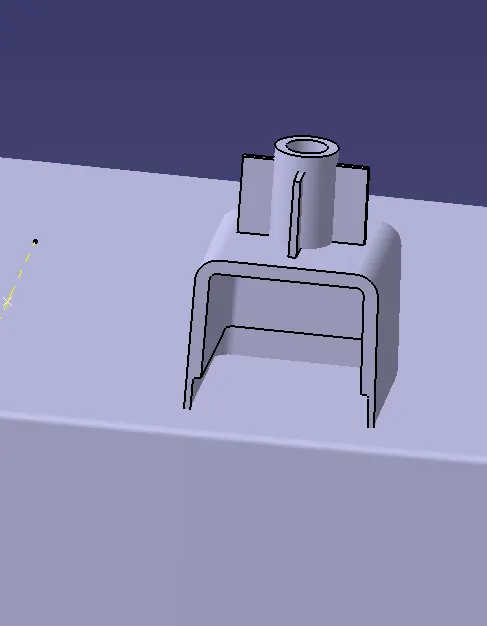
So here the dog house will make sure that there will be no sink marks and also it will solve the length issues.
After designing the bosses and dog house i have done the draft analysis.
Draft analysis - Draft analysis is a technique to analyze whether the component created is manufacturable or not based on the draft conditions applied. So here I will provide the direction in which the component should be ejected to get the easy removal. My direction will be the tooling axis that I have created.
The minimum draft value for the Automotive plastic component is 3 degrees and those for the texture faces 7 degrees od draft is suitable. The draft is provided to the component for easy removal from the mold in case of the plastic components.
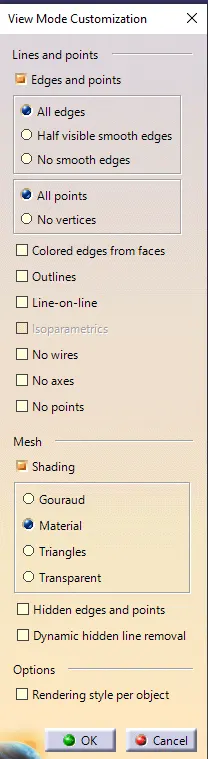
So here I will change the customize view parameters and will select the material mode.
Then I will go insert and select the analysis and in the analysis, I will select the draft analysis. The draft analysis block is shown below:
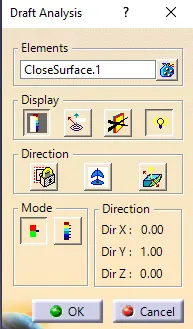
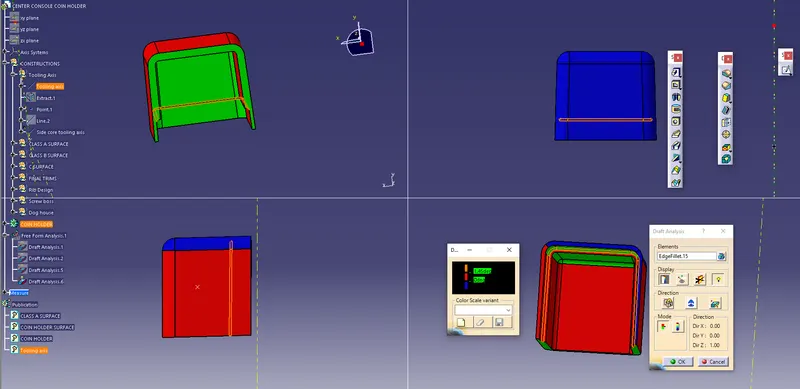
In the above fig. under the display, section selects the color scale and turn on the light effect for proper visualization. then under the direction section, I will click on the compass and will drag the compass from vehicle zero to my tooling axis. and then I will click on the lock feature and will select the class on the surface. The result is shown below:
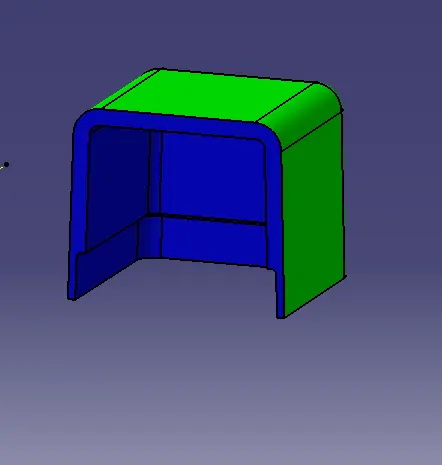
The color scale is shown below:
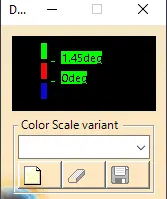
In the above fig. The Green color shows that the draft provided is more than 1.45 degrees
The Red color shows that the draft provided is between 0 and 1.45 degrees
The Blue color shows that the draft provided is negative
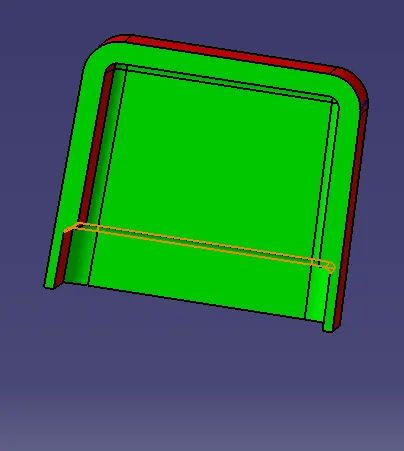
now for clearing the inside portion of the side core I will use the side core tooling axis. So again I have done a new draft analysis for clearing that inner portion.
The side core analysis is shown below:
The color scale is shown below:
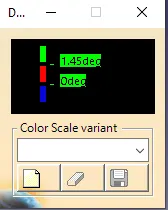
In the above fig. The Green color shows that the draft provided is more than 1.45 degrees
The Red color shows that the draft provided is between 0 and 1.45 degrees
The Blue color shows that the draft provided is negative
RESULT - The creation of boss and dog house is done and the draft analysis is also done and the result is shown below:
Draft analysis considering the main tooling axis:
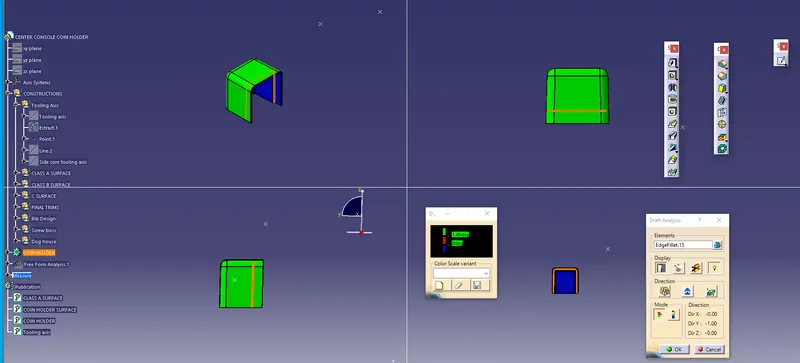
Draft analysis considering the side core tooling axis:
CONCLUSION - This concludes the creation of the boss and dog house and the draft analysis of the component.