Week 9 - Attachment Feature Creation - Challenge 2
TOOLING AXIS CREATION
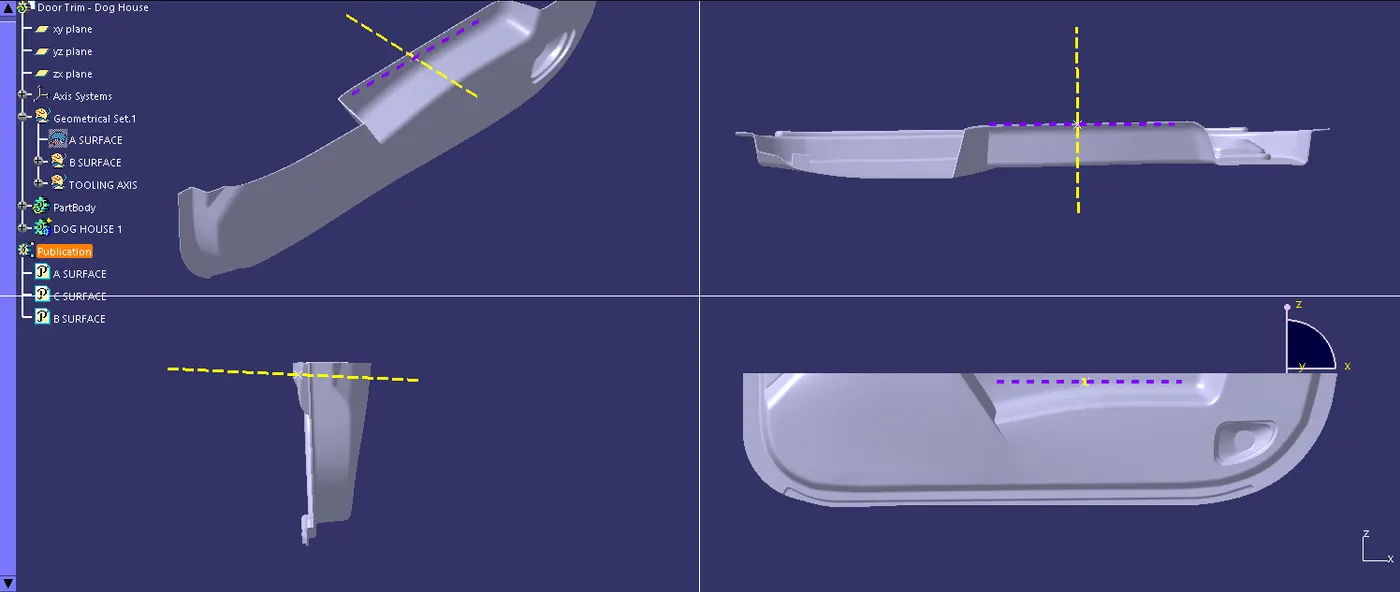
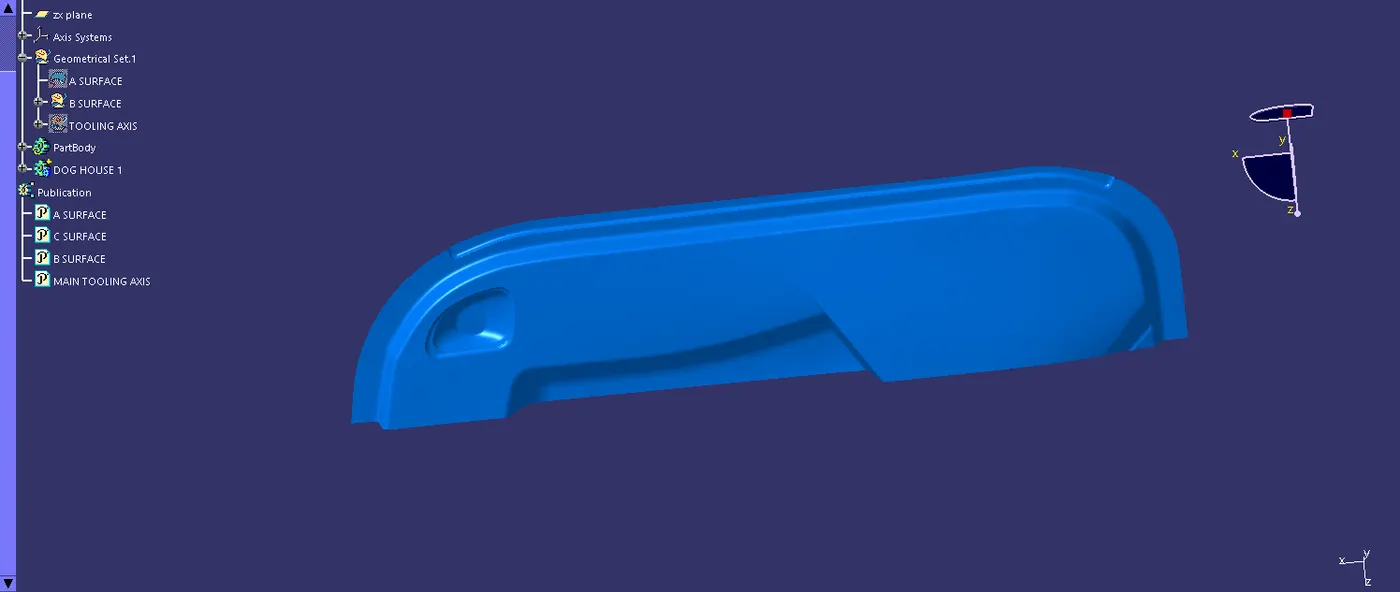
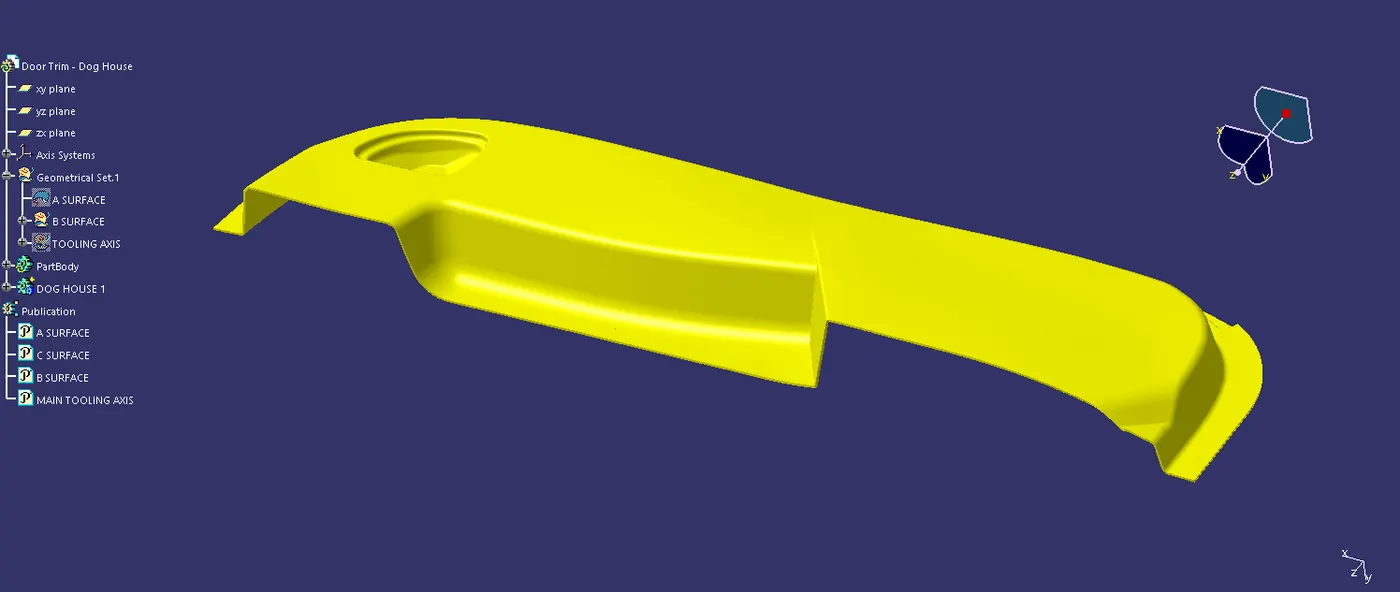
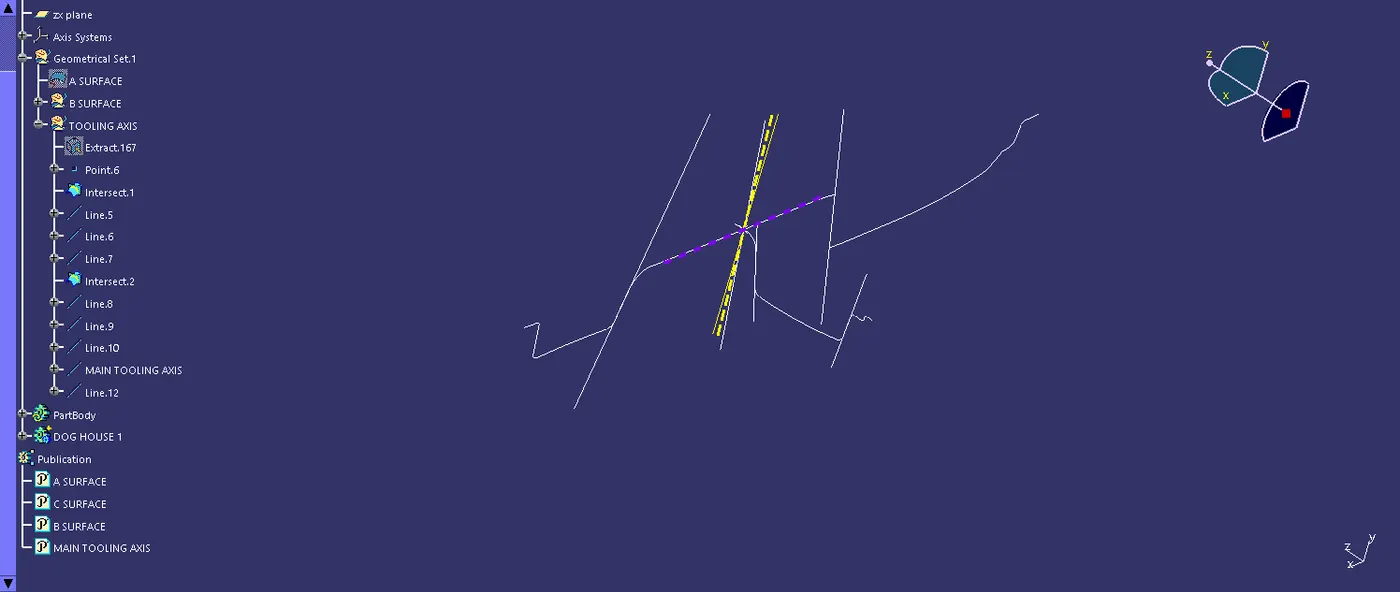
first, I took the deepest surface of the part .from my thought I took the outer surface of the A surface, then extracted it, made a point on the extract, then created an axis with respect to that point. after that, I made the first intersection of the A surface in the X-Y direction which is the longest side of the A surface. then created the 2 lines on both inclined parts, like in the above picture then bisected these two lines with respect to the point in the center .now we got the axis for the X-Y direction.
after the X_Y axis, I took the Y-Z axis and made the intersection of the A surface. (shortest side of A surface).
on the intersection made two lines in the inclined part line in the picture shown above. and bisected it with respect to the point in the center. now this is our axis for the Y-Z direction
after that we have to bisect the 2 axis created in both directions, through this we will get the main tooling axis (marked in the picture with yellow color)
draft analysis
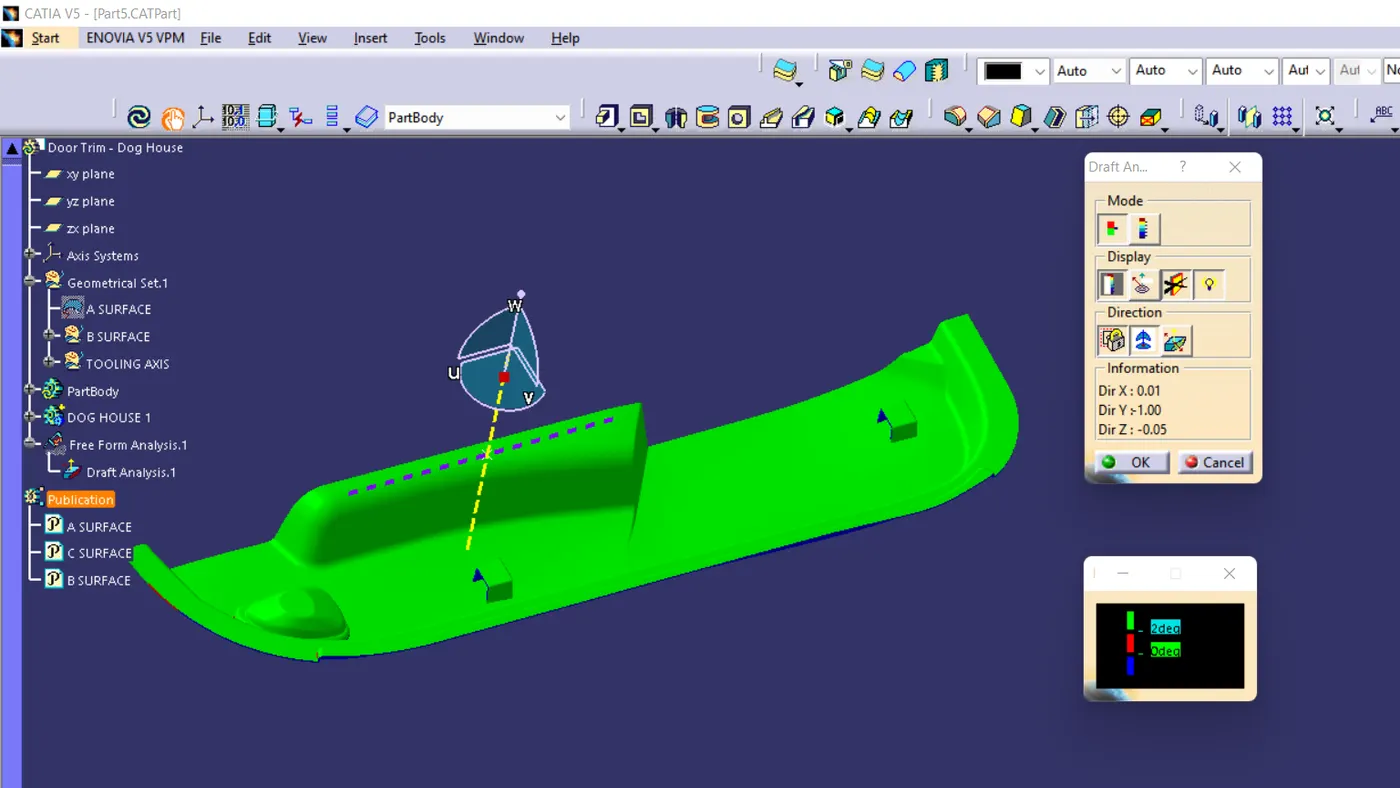
change the martial mode to the material- take the draft analysis-
draft analysis is made by the analysis tool,after the part is created the martial shading is changed to material by using the customize using parameter - choose the material option -after that come back to the feature draft analysis - here select
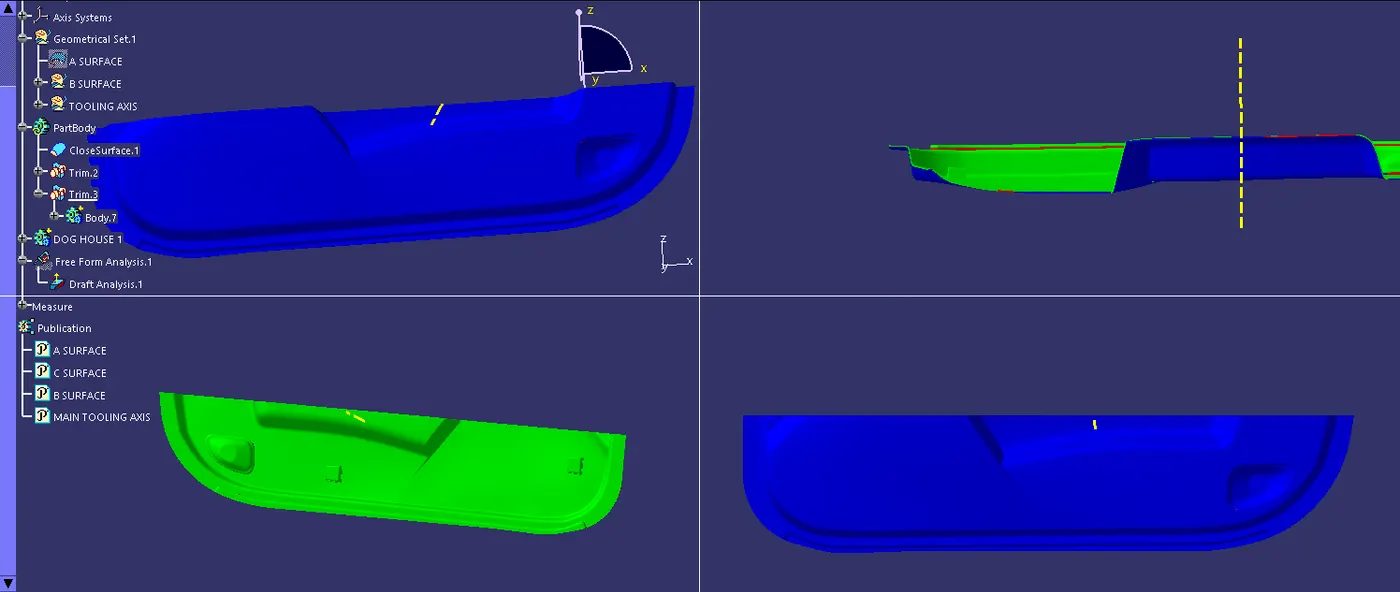
the compass to change the direction of tooling. -after clicking the compass icon align with the tooling axis - locking it using a nearby option called lock . by now a red cross will appear at the mouse pointer and the color of the part will turn green. blue or red or green shows the draft is good and attained good value .red shows the neutral .blue shows negative