Week 8 - Challenge 1 - Base Bracket Design
EXPLANATION OF TOOLING AXIS CREATION
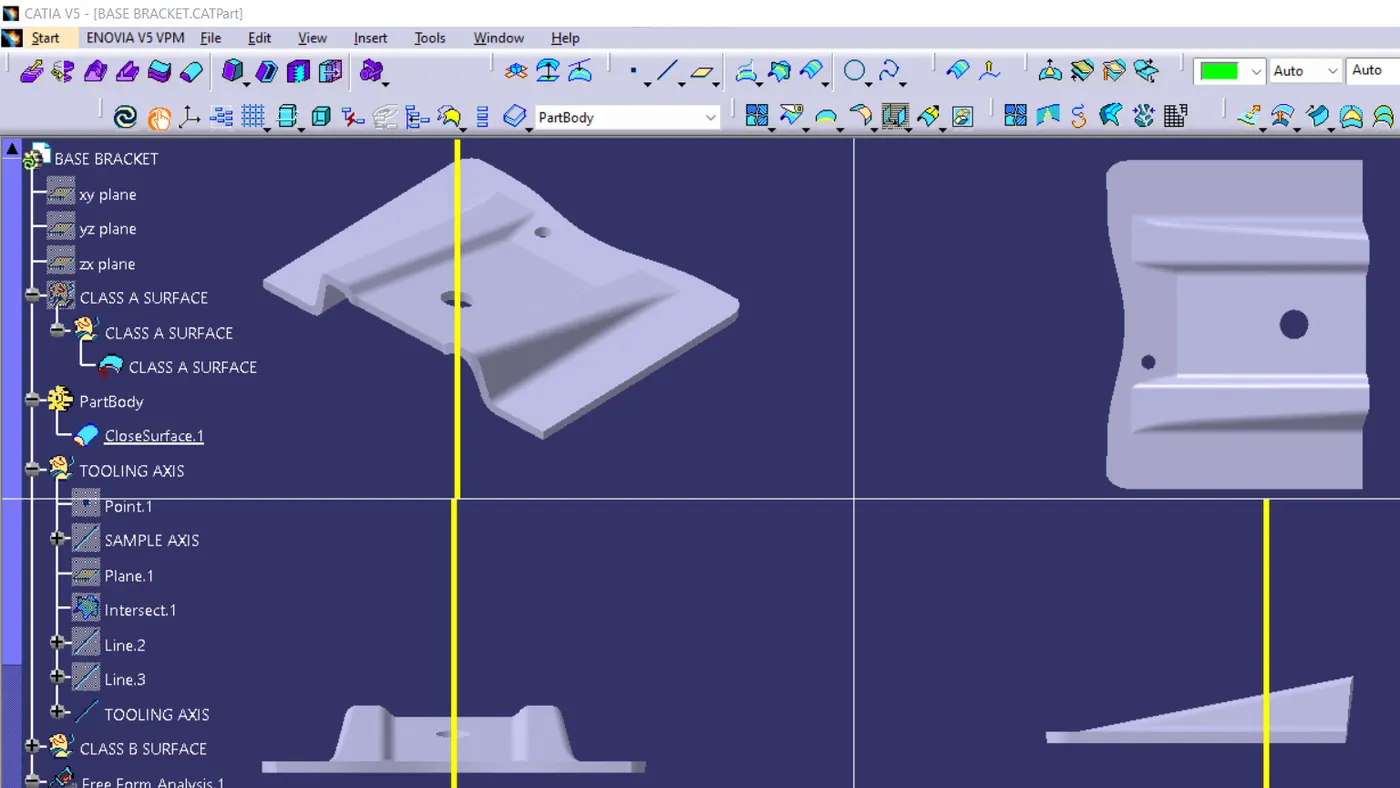
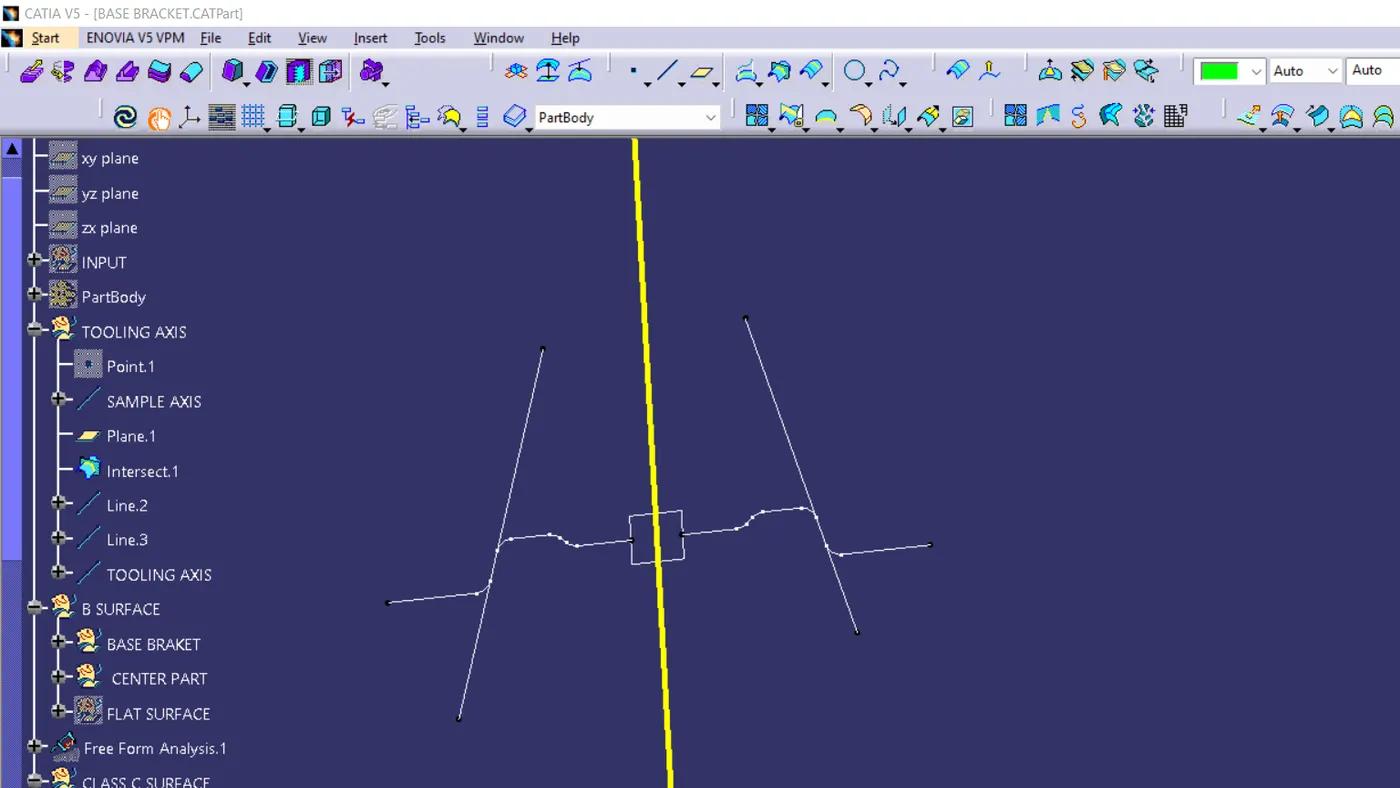
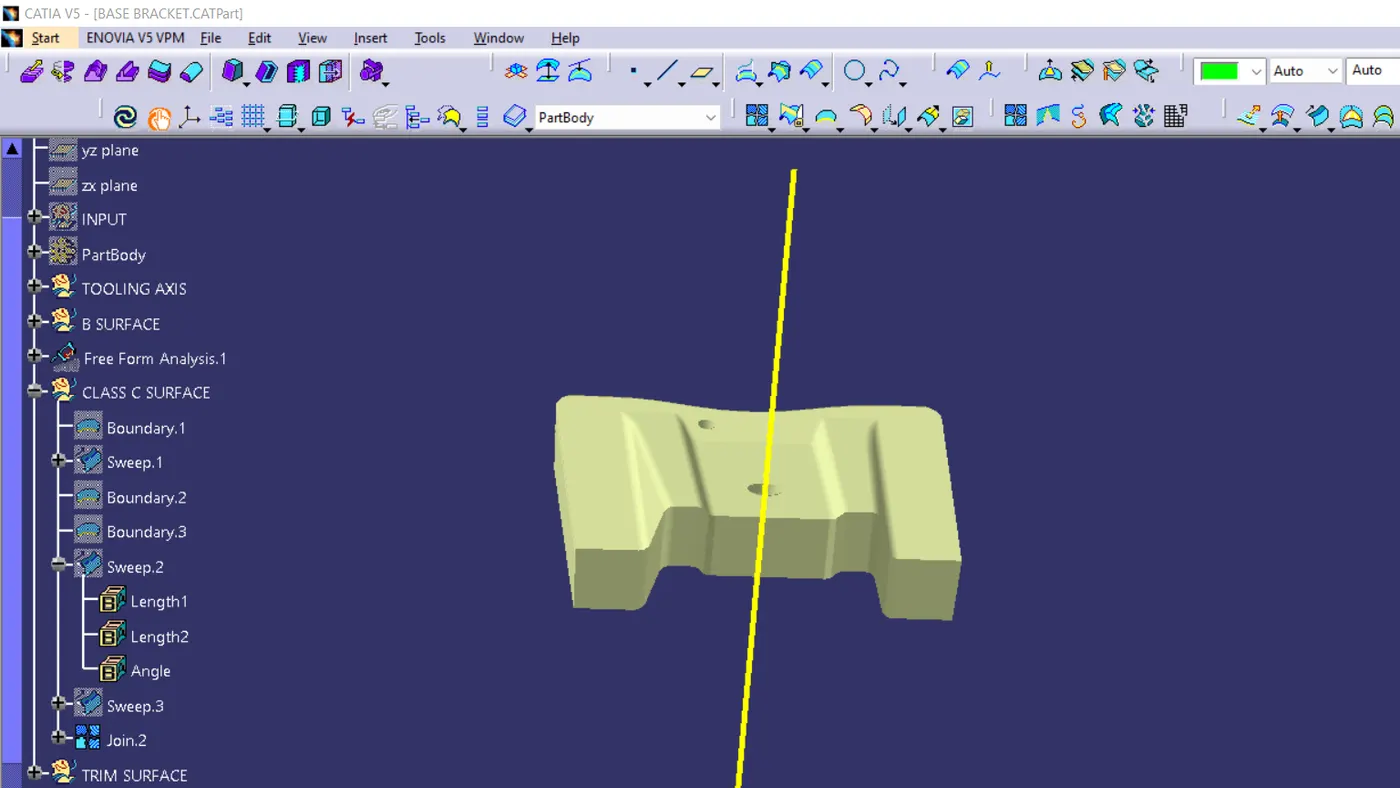
when we look over the part the z direction seems good for the tooling axis, because it shows both the circles and the inclination of the part. but the remaining directions do not show the proper view of the part. after find the inclination part which will cause the tooling propagation. so we making the tooling axis with respect to the inclined area. but it will be perpendicular to the base. we make the intersecting line through the yz plane and with the help of the point which is created on one of the circles. and the plane was created on the same point
after making two inclined lines in the direction of the dummy axis line, bisect the 2 lines with the point we created. the dummy axis line is created for ensuring the direction of the tooling axis would not change from the planned direction
draft analysis
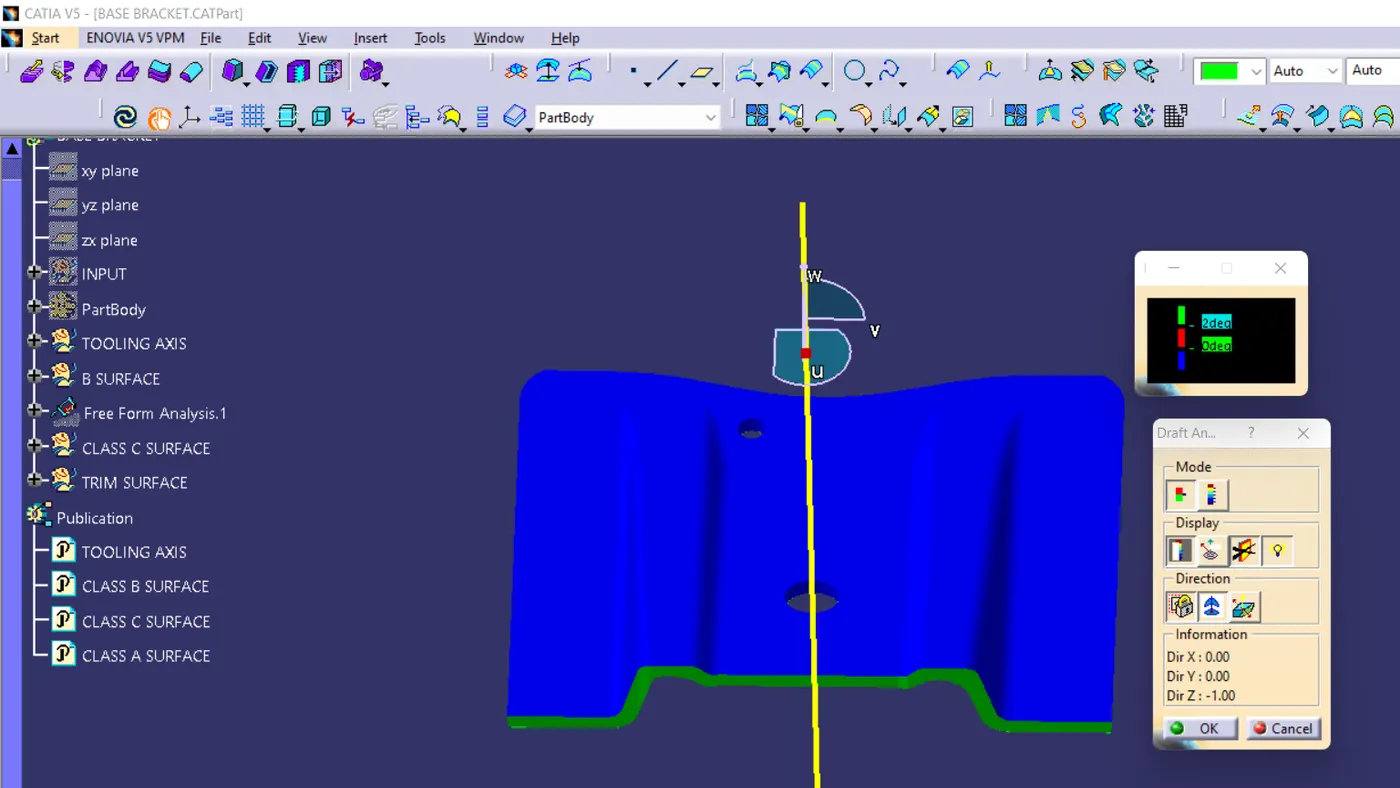
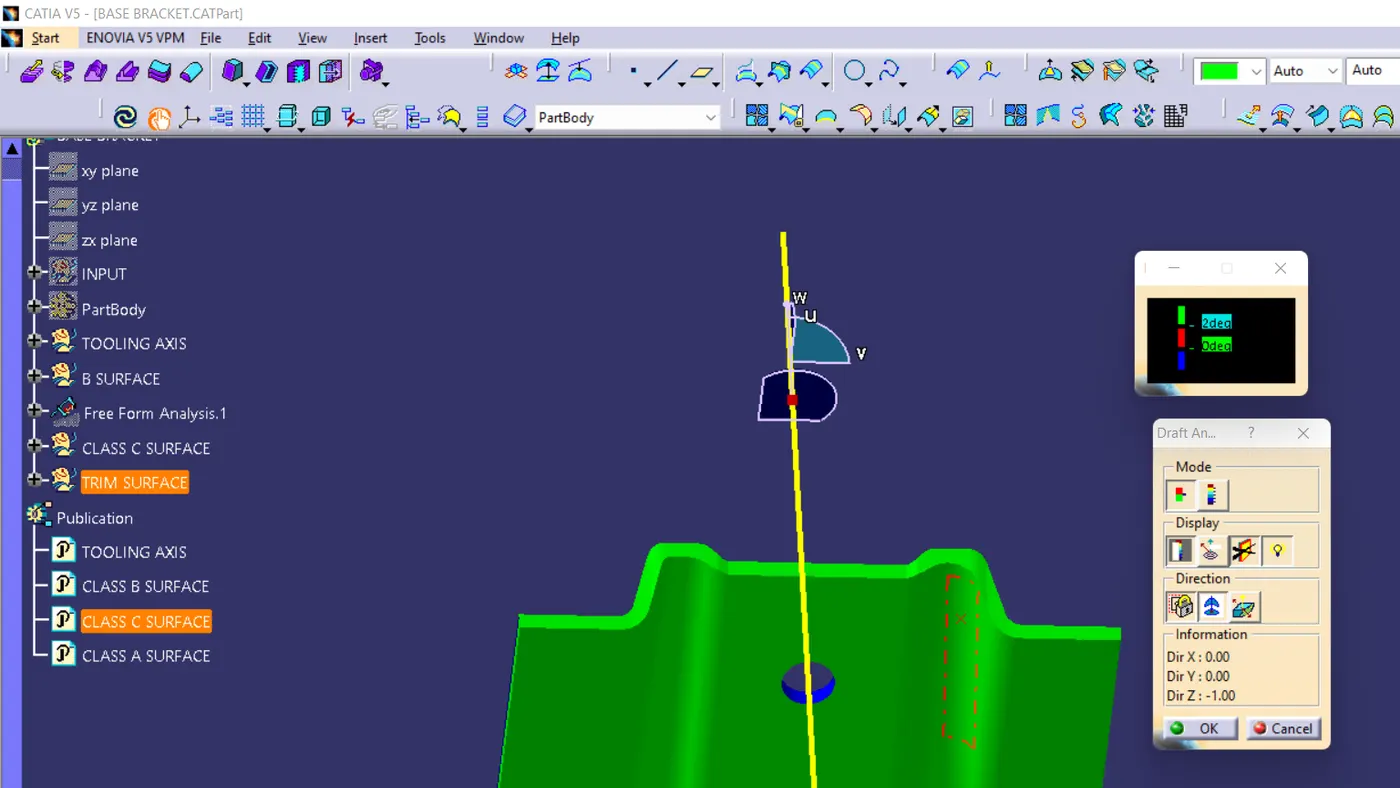
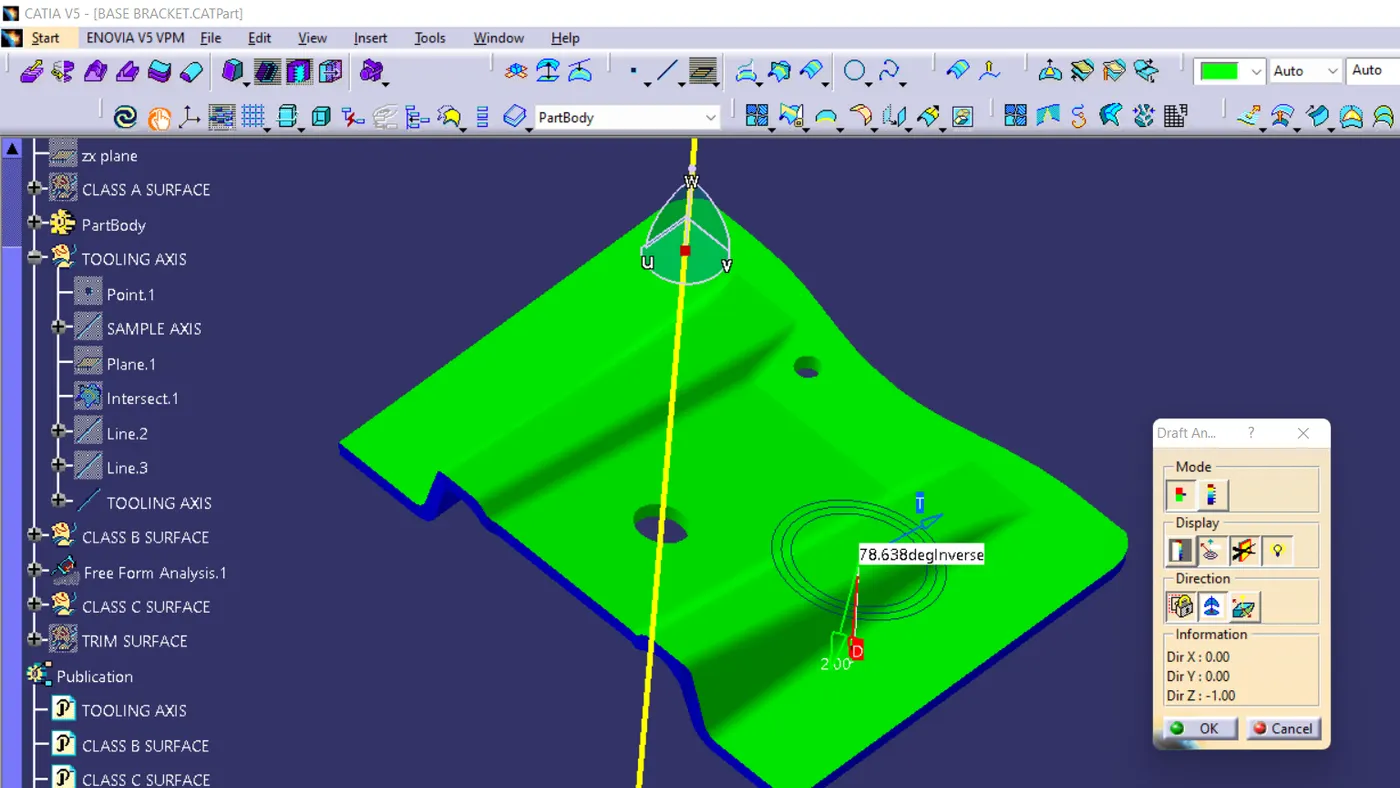
draft analysis is made by the analysis tool ,after the part is created the martial shading is changed to material by using the customize using parameter - choose the material option -after that come back to the feature draft analysis - here select
the compass to change the direction of tooling. -after clicking the compass icon align with the tooling axis - after that lock it using a nearby option called lock . by now a red cross will appear at the mouse pointer and the color of the part will turn green. blue or red green show the draft is good and attained good value .red shows the neutral .blue show negative