Week 9 - Attachment Feature Creation - Challenge 2
AIM:
To create Door Trim and Dog house and add thickness to it and generate the Draft Analysis on a solid surface final component.
PROCEDURE:
1.Check for any openings in the given Door Trim model by using BOUNDARY. In BOUNDARY > select edges - select the surface to create the boundary at the openings.
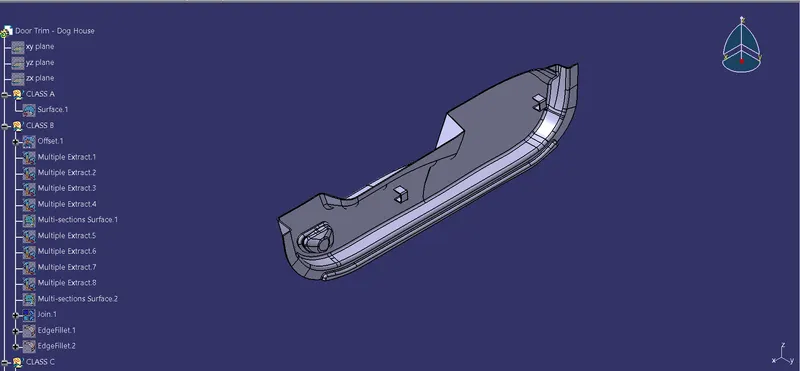
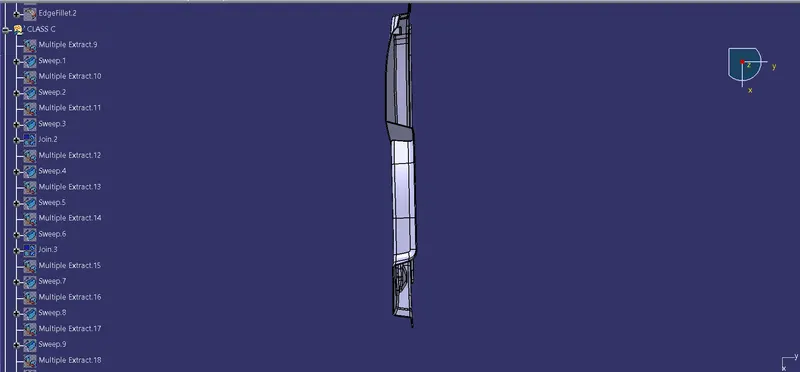
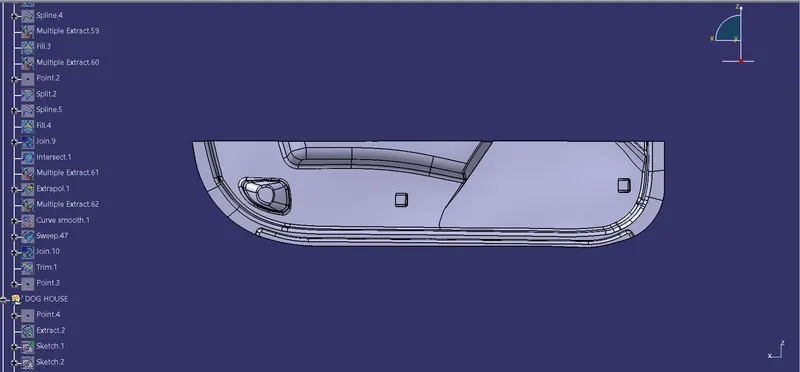
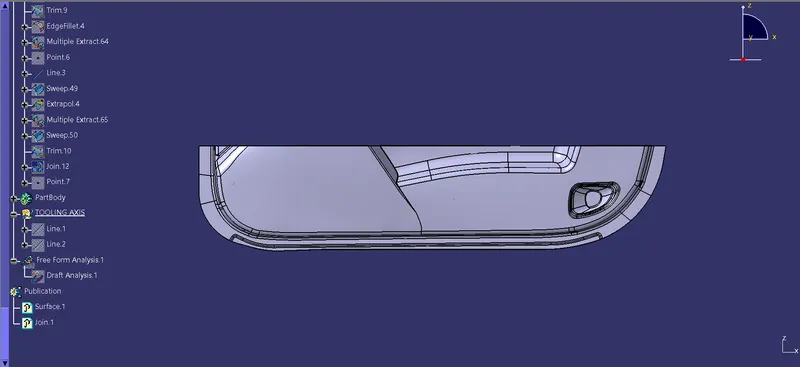
BISECTING METHOD:
CREATING TOOLING AXIS:
2.Create a point at the center of the base by using Point Definition by extracting the surface and selecting the surface.
3.Create an Axis system at the point that is created at the surface using Axis System Definition by selecting the point.
4.Now create an intersection in the ZY plane by Intersection Definition for the Door Trim.
5.Now using Point-Point in Point Definition extend the line to take reference drafted lines on both sides and bisect those lines to get the direction in the ZY plane.
6.Create an intersection in the ZX plane and create a Tooling axis in the ZX plane.
7.Bisect those two tooling axis lines and create a Main Tooling axis(Blue) and name the bisected line as Main Tooling Axis and do the draft analysis for the Class A surface.
DRAFT ANALYSIS
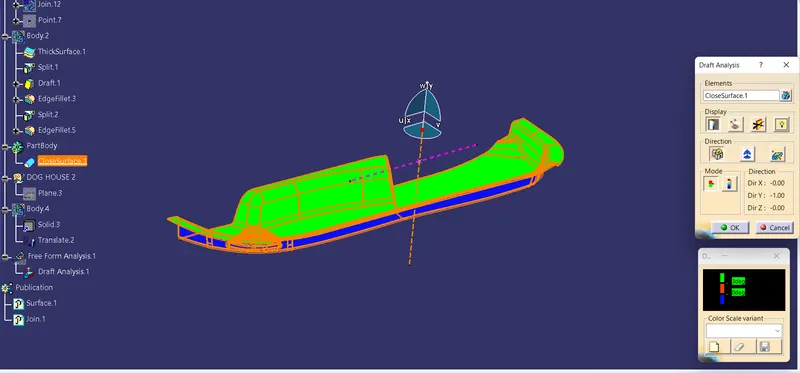
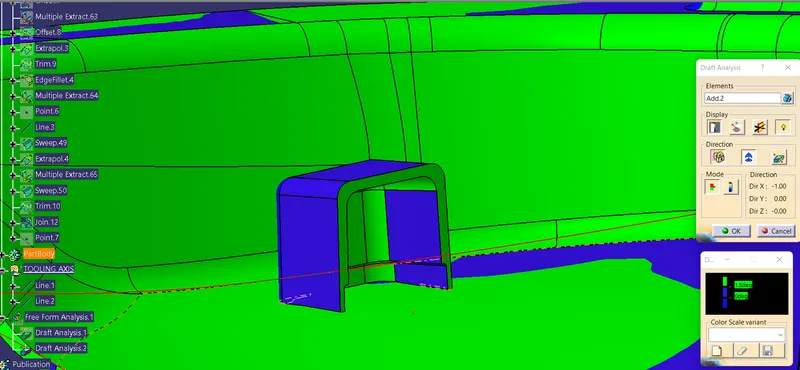
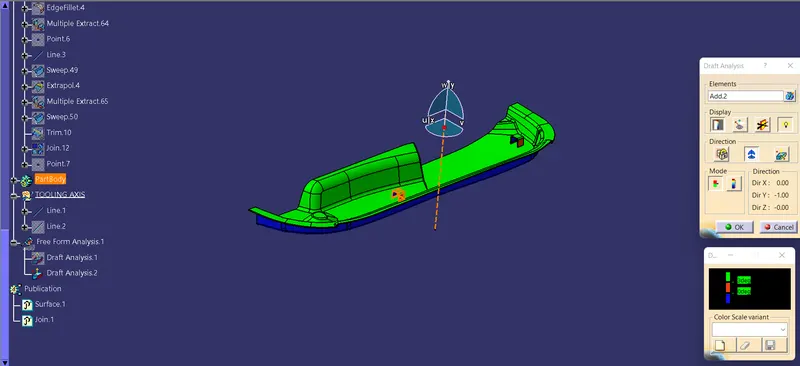
The Draft Analysis command enables you to detect if the part you drafted will be easily removed. This type of analysis is performed based on color ranges identifying zones on the analyzed element where the deviation from the draft direction at any point, corresponds to specified value.
1. Before going to draft analysis go to customized view parametre> under mesh> check material and then click ok.
2. Now for Draft analysis go to insert>> analysis >> feature draft analysis.
3. Use the compass to define the draft direction.
4. In the colour scale change the draft angle to 3degree.
5. The component changes to green in indication of passing draft angle.
6. Use running point to check the angle on the component.
7. The draft analysis is complete.
CREATING B SURFACE:
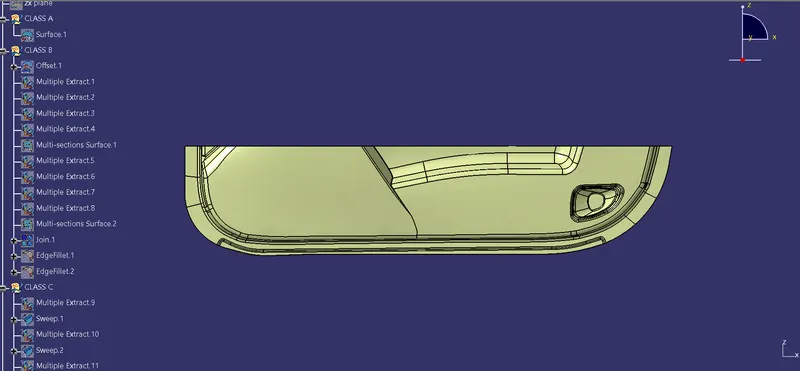
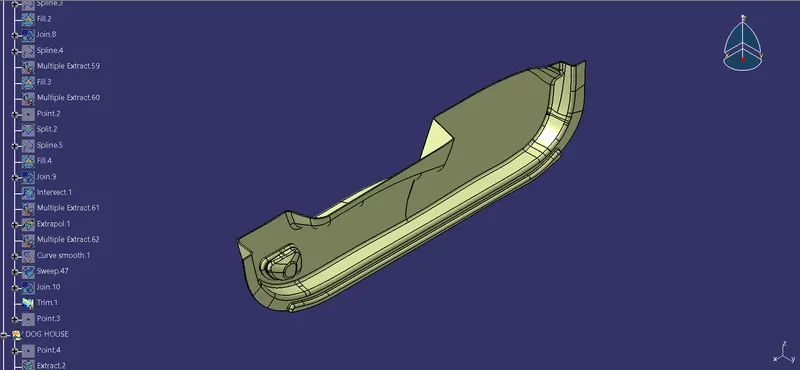
9.Now create the Plastic design for the given Class A surface of the Door Trim by creating the Class B and C surfaces.
10.Create a Geometrical set in a tree and name it.Extract the side wall surface of the Door Trim by Extract option by selecting the face.Select the faces.
11.Untrim the extracted surface using the Untrim option by selecting the surfaces.
12.Extrapolate the Untrimmed surfaces using the Extrapolate option.In Extrapolate Definition: Boundaries - select the edge of the Untrim surface and Extrapolate - untrimmed surface and offset the surfaces to 2.5mm in the opposite direction to the Class A surface.
13.Extract the base surface and block and do the same process and offset the surface to a distance of 2.5mm in downward direction.
14.Trim the Excess portion of the surfaces using the trim option.
15.Do the same process for inclined walls surface and outside wall surface by extracting and offsetting the surface and trim the component.
16.Add the fillets at the wall's edges.
CREATING C SURFACE:
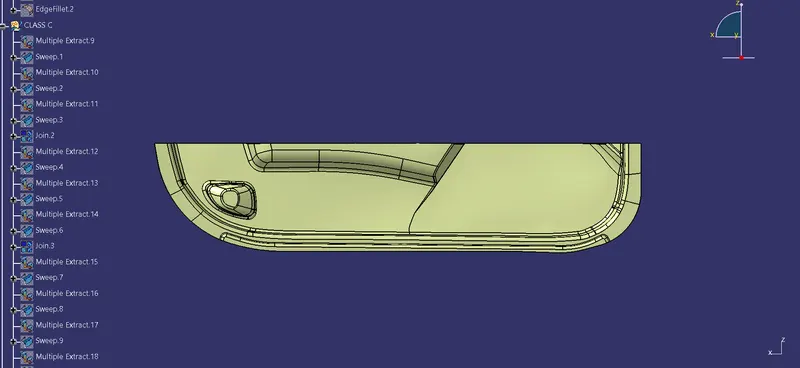
17.Create the class C surface for class A surface by using the Multi extract option by selecting the boundaries.Create a smooth curve for the extracted boundary.Select the extracted boundary.
18.Extract the outer boundary walls and Replace the Multi extract boundary with the Smooth curve.
19.Now using the Sweep option create the C surface by selecting the Subtype as - with reference surface and Guide curve as - Boundary which is extracted and Reference surface as - Extracted boundary surface and Angle of 90 - 93 degrees to maintain Draft Angle.
20.Join the surfaces and trim the surfaces with Class B and Class C.
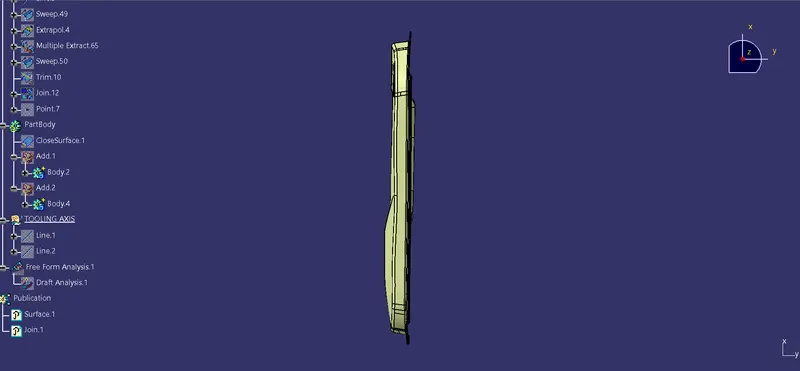
21.Check for any open boundaries in Plastic design and create the solid surface for the design in Part design using a closed surface option.
22.Now do the draft analysis for the solid component tooling axis and check for the draft angle as it should be in green in colour in the tooling axis.
CREATING DOG HOUSE:
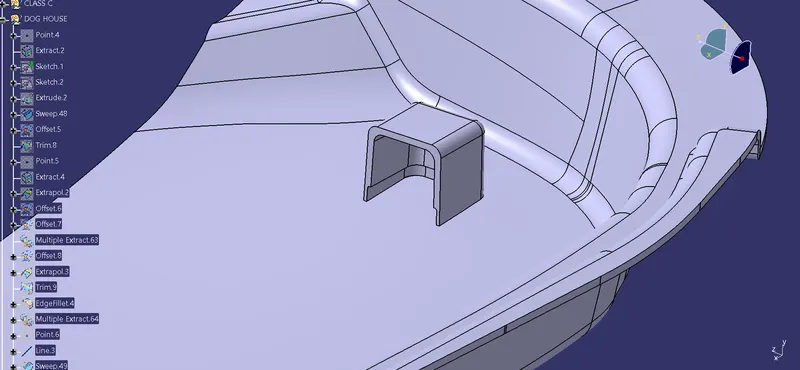
28.Create a sketch on the extracted base surface where the the dimensions should be more than the screw boss
29.As for the Dog house one of the sides should be opened,make one side as a construction line.
30.Extrude the sketch by using the Sweep option with the 1.5 degrees to the height of 20mm towards top and 1mm towards bottom.
31.To cover the top surface,offset the extracted base surface to a distance of 20mm and then trim it and fillet the edges with 1mm.Pad the extruded surface to outside with the thickness of 2mm.Create the tooling axis for Side Core(Yellow).
32.Cut the uneven surface at the open side by extracting the opposite surface and offset it to a distance towards the open surface and split the part in Part design by using the Split option.
33.Draft the inner walls with 0.5 degrees.Now create backside contact surface by offsetting the extracted base surface to a distance in between 3 - 6mm height (B) and Sweeped surface to a distance of 40% of the main wall thickness(C).Trim the surface.
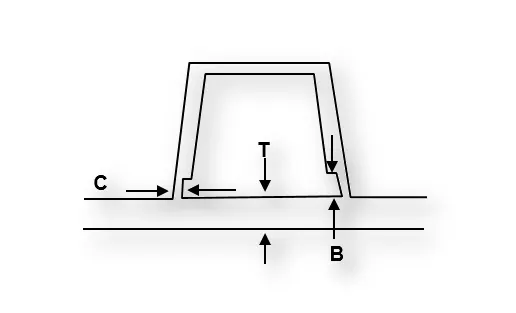
34.Split the offsetted Surface with the body to get the cut on backside of Dog House.Draft the Splitted area with 0.5degrees and fillet the surface with the radii of 1mm and then translate the the Screw Boss to the top of Dog House and Add it to the Dog House and Add then component to the Main component.Do the Draft Analysis on the final component in both tooling axis.
RESULT:
Created the Plastic design for Door Trim and Dog house and added thickness to it and generated the Draft Analysis on a solid surface for Final Component.