Week 9 - Attachment Feature Creation - Challenge 2
ATTACHMENT FEATURE CREATION CHALLENGE
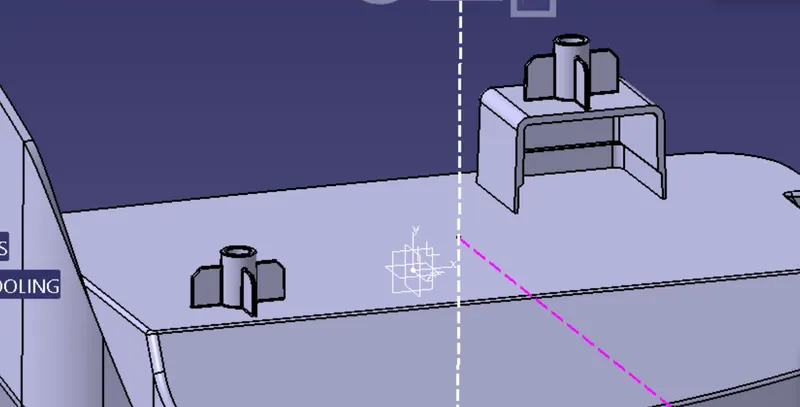
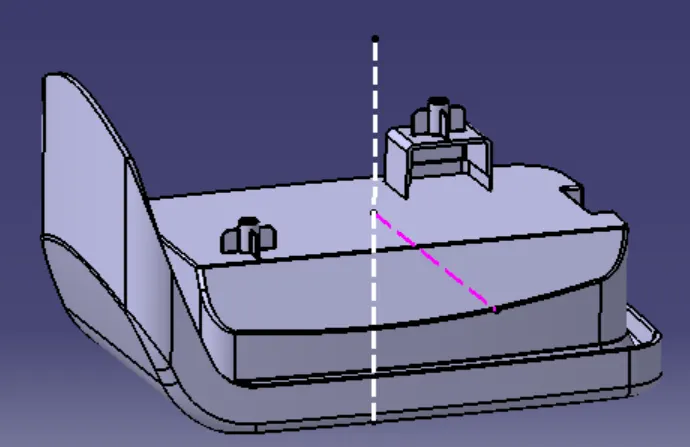
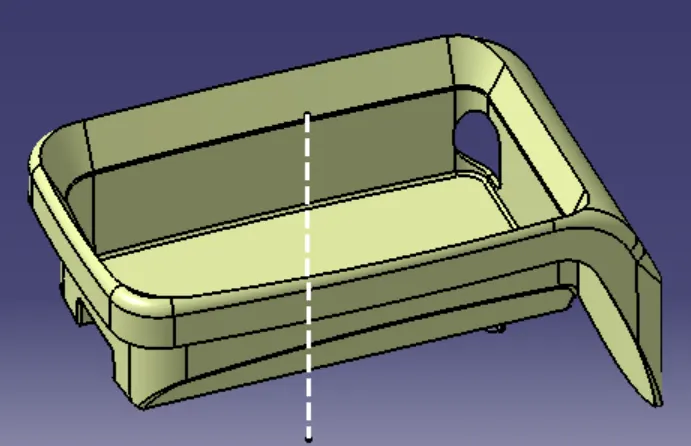
Screw boss and Dog house on Coin holder component :
SCREW BOSS:
1) The Screw boss is a feature that is used on a plastic part to enable fasteners for a proper seating.
2) We use the Switch bezel part and create screw boss on the B surface of the body.
Tooling axis:
We use the same main tooling axis created for the Coin holder component.
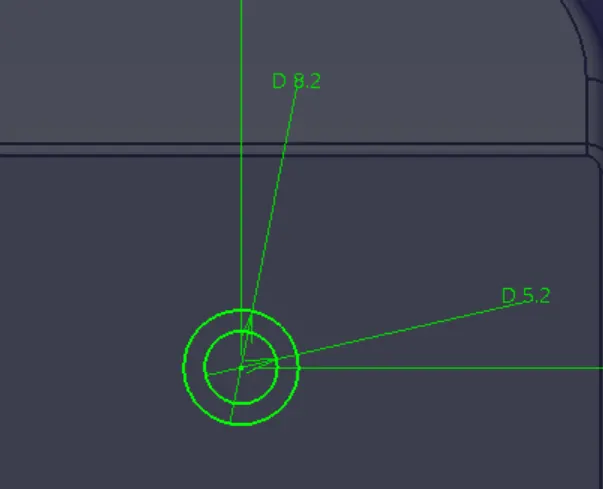
- Initially we make the sketch based on the size of the bolt we will use for fastening. As of the design guidelines for screw boss, the thickness should be minimum 40 % of the nominal thickness. Based on that we draw the inner and outer circles.
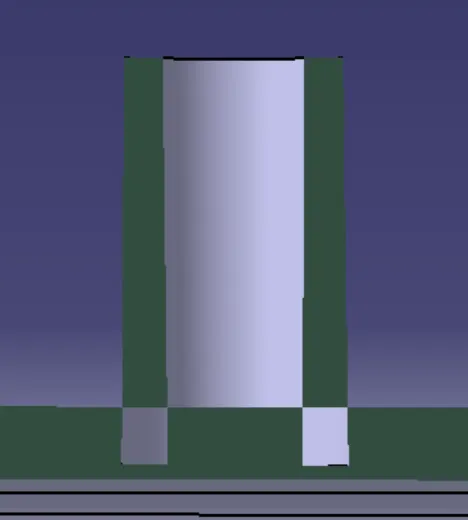
- By using PAD command we elevate the feature and then DRAFT should be applied on the outer as well as inside surface of the screw boss.
- Now the supporting gussets/ribs should be drawn to add strength to the screw boss.
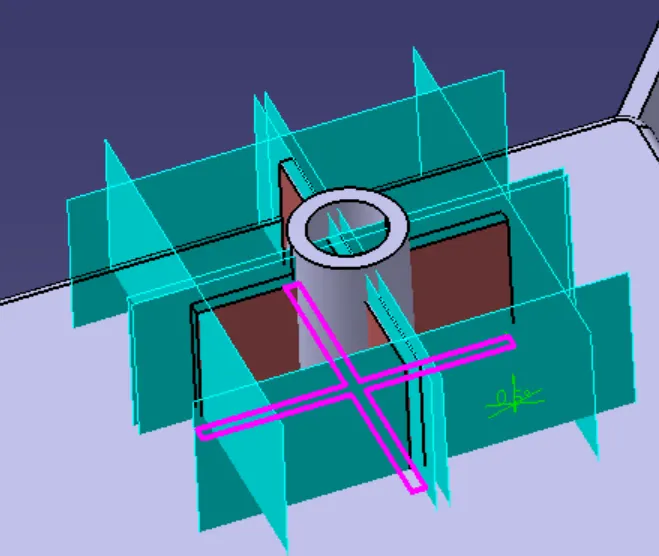
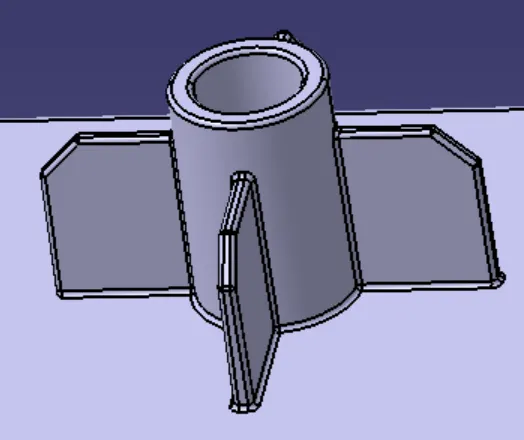
- All the faces of ribs is also drafted to ensure that the Screw Boss clears the MAIN TOOLING DIRECTION.
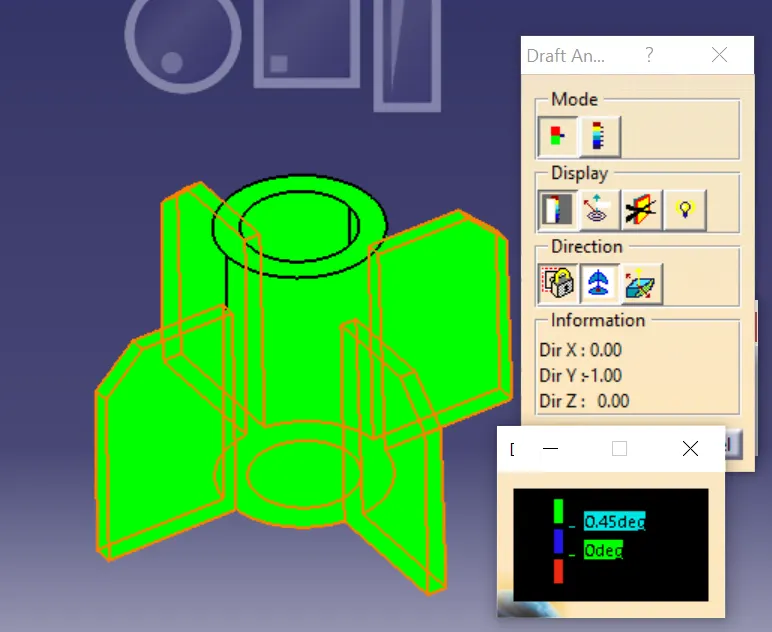
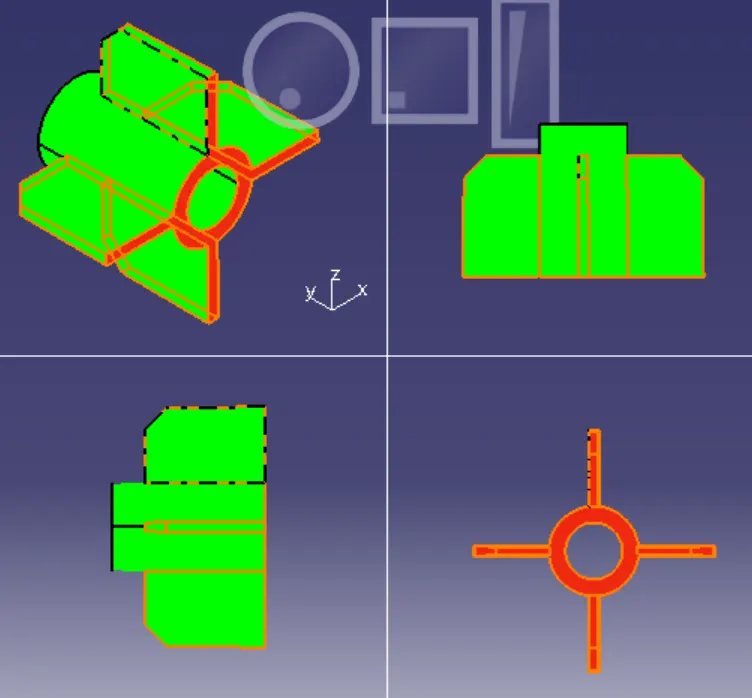
Draft analysis of SCREW BOSS
Since we have given a draft of 0.5 degrees on all faces , by selecting a value below 0.5 in the draft analysis bar gives a green region.
DOG HOUSE :
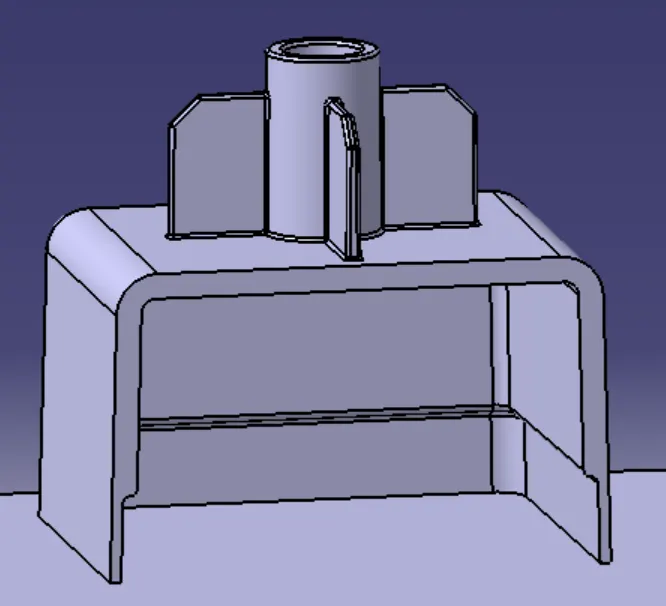
1) The dog house is also one of the attachment feature used on plastic part for fastening / assembly purpose but this actually helps elevate the height requirements when a screw boss or a snap feature has to be placed high.
2) The dog house also helps avoid SINK defects on the A surface since the lower half of the dog house is thinner than the upper half.
Tooling axis:
We use the same main tooling axis created for the Coin holder component. The outer faces can be cleared using the Main tooling direction.
- Initially we make the rectangular profile and SWEEP it by applying a draft angle of 1.5 degrees on all the faces.
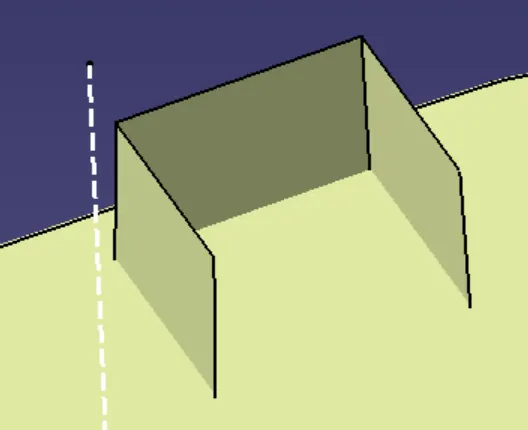
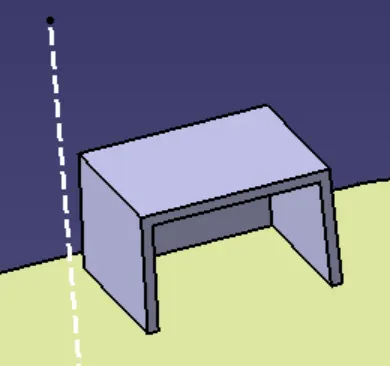
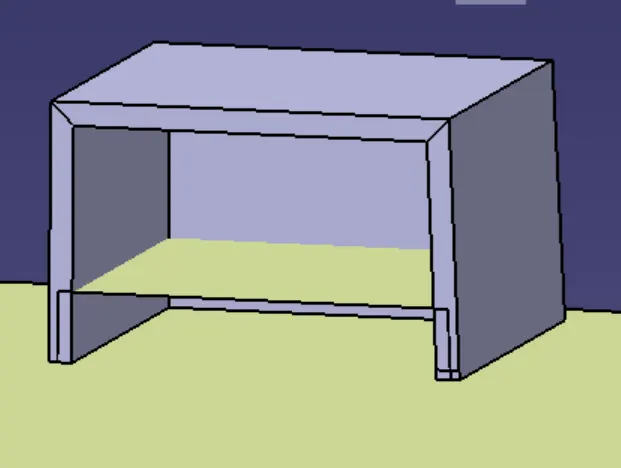
- Then form the top surface by offsetting the base of the coin holder part.
- Using Thicksurface command add thickness to the DOG HOUSE (2mm)
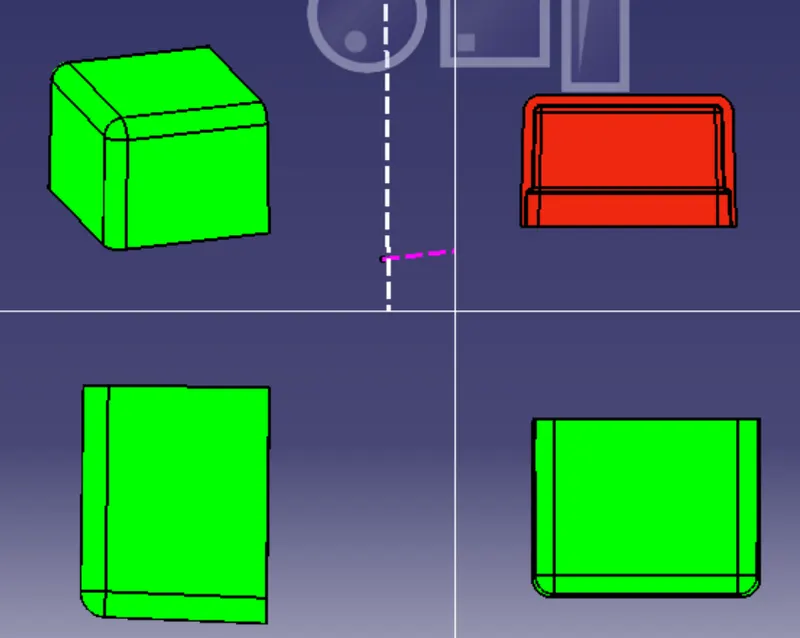
- Now when we examine the feature we can see that the inside surface of the dog house cannot be cleared by Main tooling.
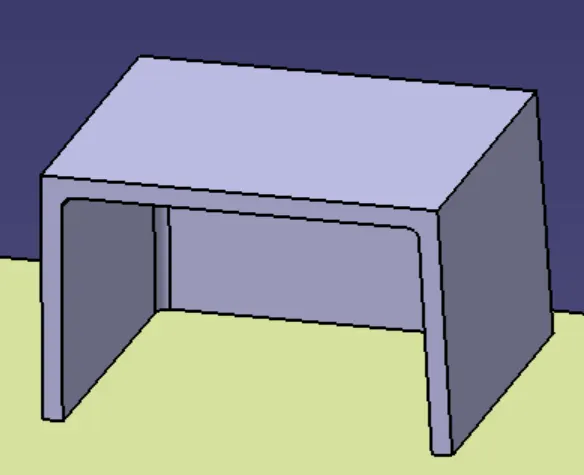
Side core tooling:
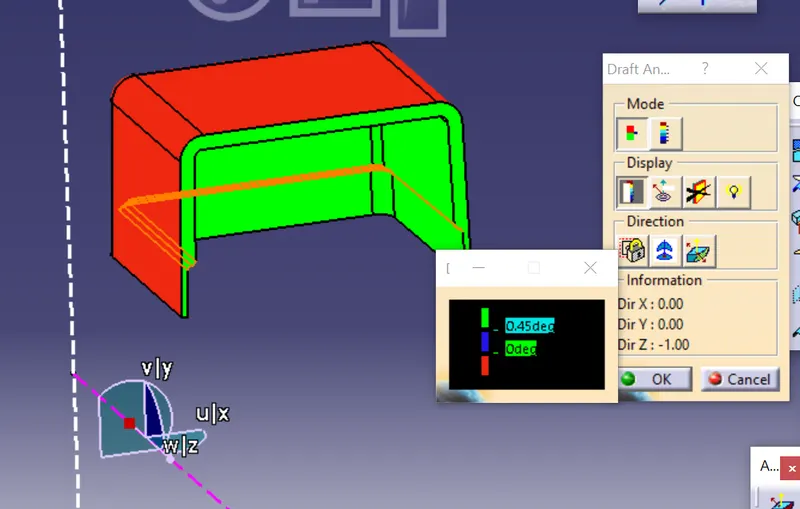
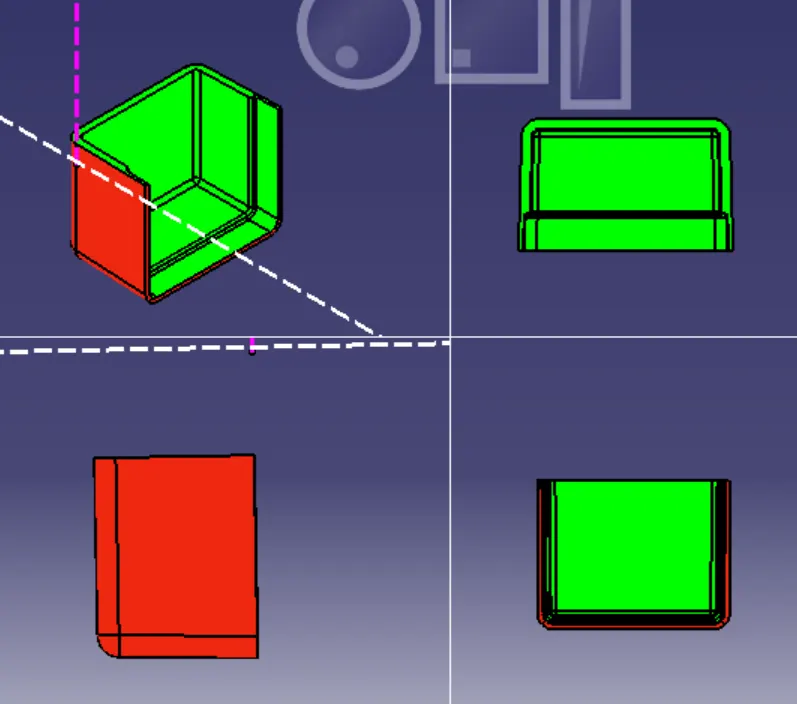
- The side core axis is created normal (along Z direction) to the back wall of the Dog house. This tooling should clear all the inner faces of the dog house satisfying the minimum draft requirements.
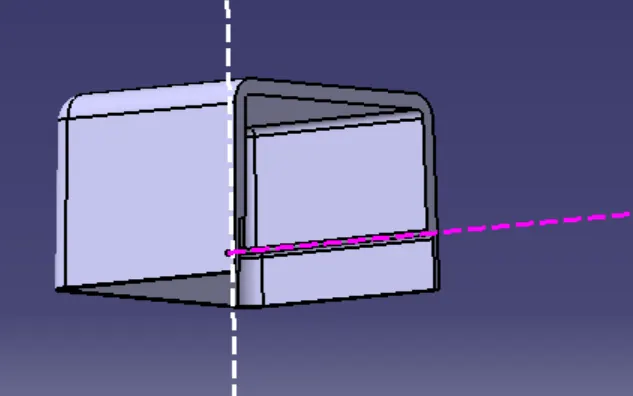
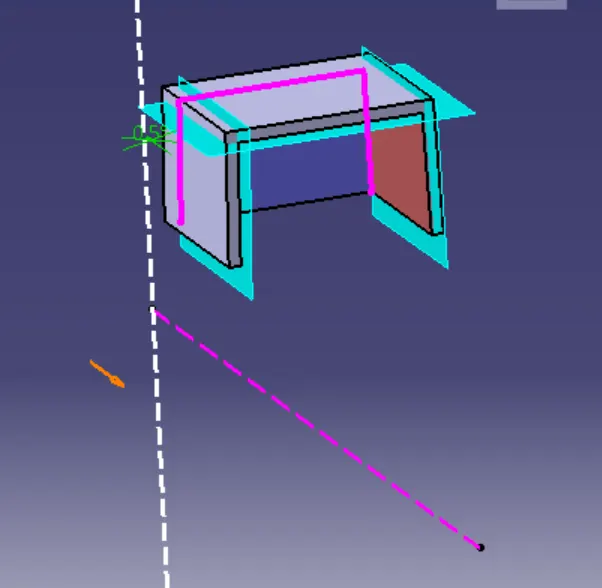
- Now the inner surface of the dog house is offset by 1mm since the minimum thickness of where the dog house meets the plastic part should be 40%.
- This thin area of the dog house helps avoid the SINK issues on the plastic part.
- And then draft of 0.5 degree is applied on all these inner offset surface and also on the top surface by choosing the SIDE CORE AXIS as pulling direction and the back wall as the neutral element.
- Finally fillet is applied on all the sharp edges. Now we can check the draft analysis clears all the faces of the dog house by choosing MTA and Side core axis.
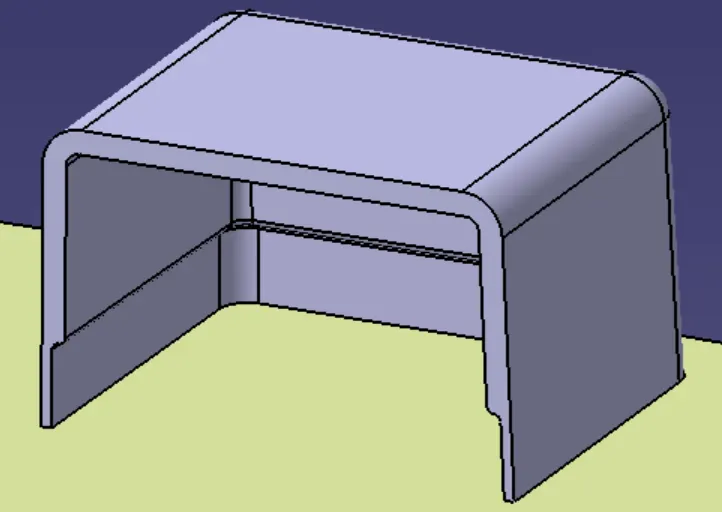
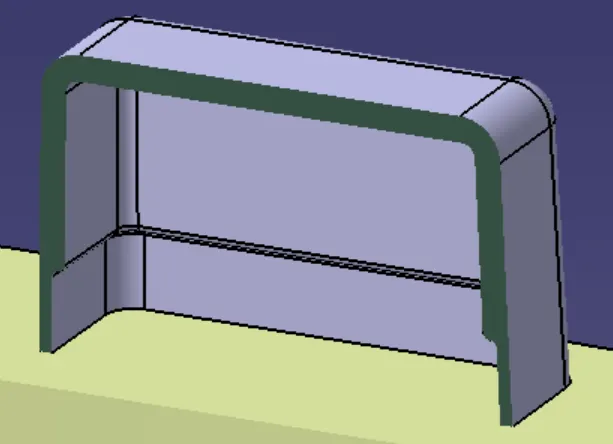
DRAFT ANALYSIS OF DOG HOUSE
ALONG MAIN TOOLING AXIS
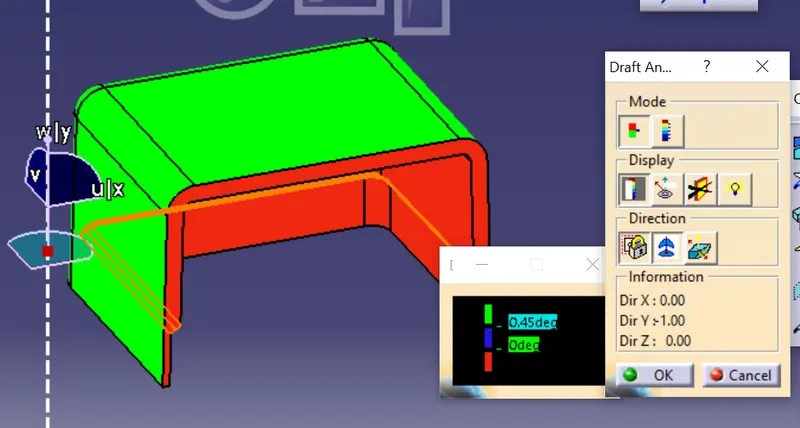
ALONG SIDE CORE AXIS
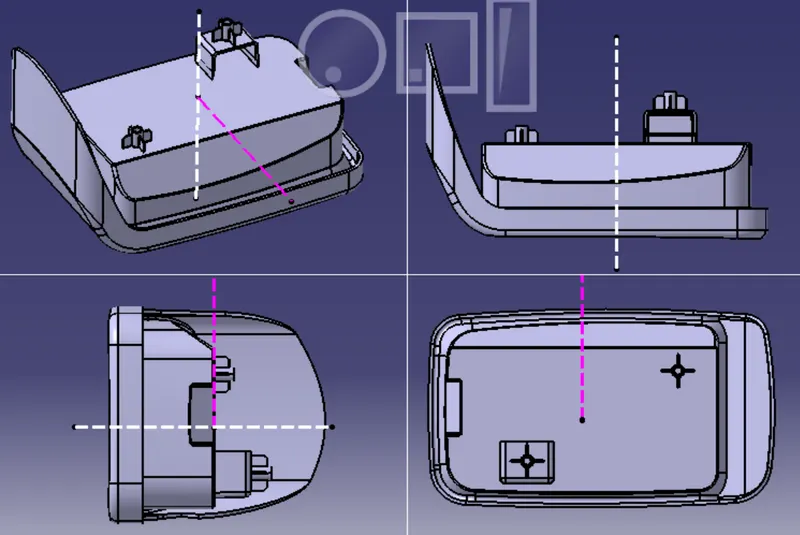
VARIOUS VIEWS OF THE DESIGN
- To indicate the usage of dog house we can move the previously constructed screw boss on top of the dog house and hence we can understand how the DOG HOUSE is utilised in real time for a plastic product.