Week 9 - Attachment Feature Creation - Challenge 2
Step 1 - Download Door trim CAT PART For Dog House i.e a given class A surface
Step 2 - Creating Tooling Axis
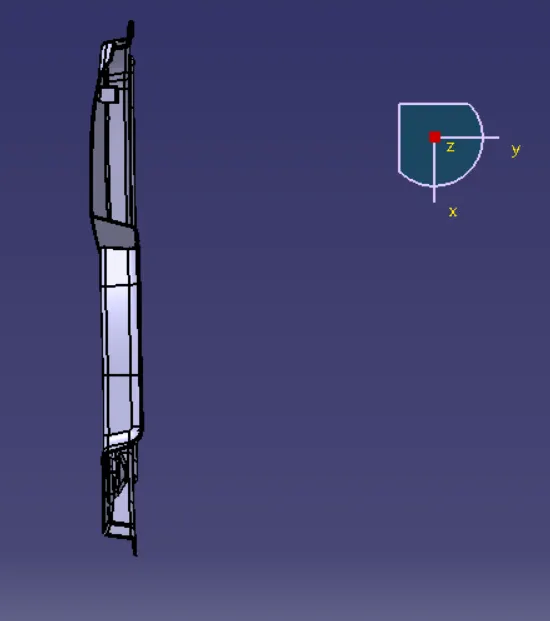
- Simply Check in which direction i.e X, Y, And Z direction the tooling axis will clear the surface properly.
- So we find Y direction is the best possible direction for the tooling axis.
Step 3- Creation of Class B surface
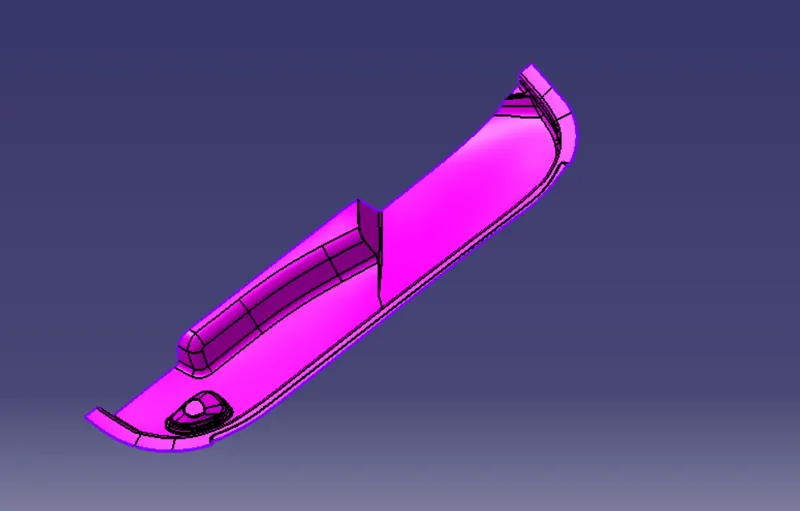
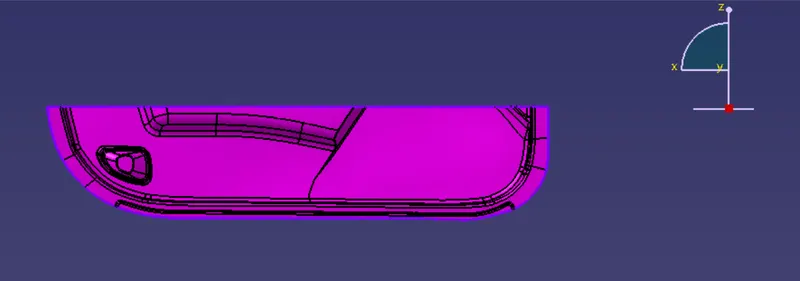
- To create the initial surfaces, an exact offset of the Class-A surface is taken at 2.5 mm within.
- Multi-section surfaces, Extrapolate, and multiple extract commands were used to create missing surfaces.
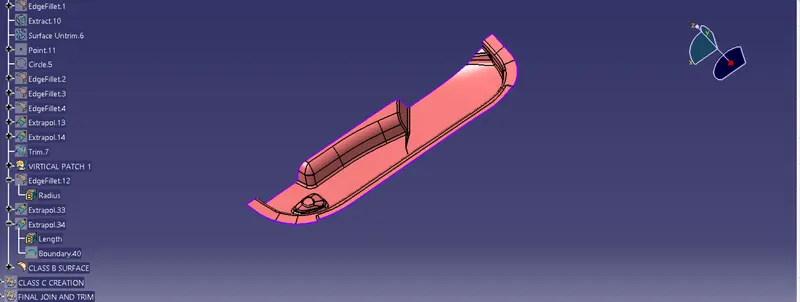
Step 4 - Creation of Class C surface
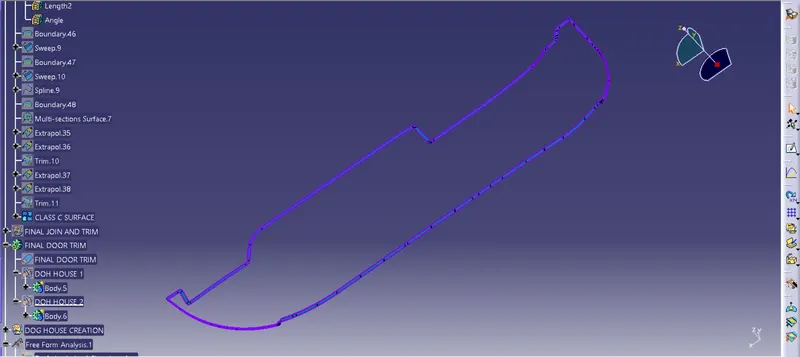
Step 5 - Final Join And Trim
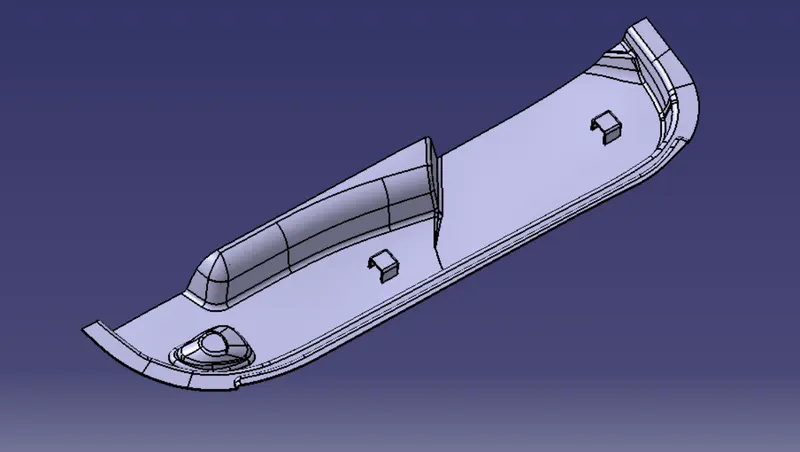
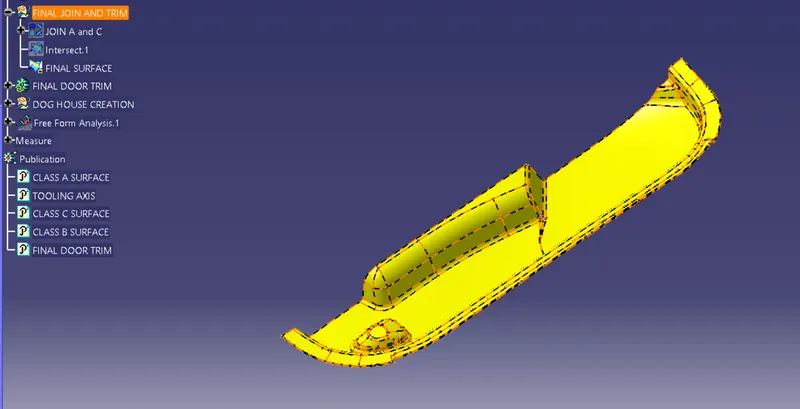
Step 6 - Close the Final Surface
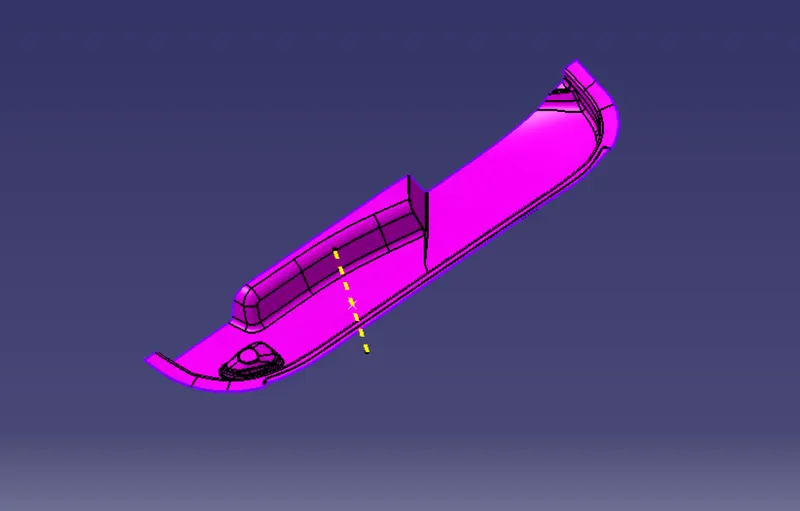
Step 7 - Creation Of Dog House and Side Core Axis
- First Draw a sketch and use sweep command
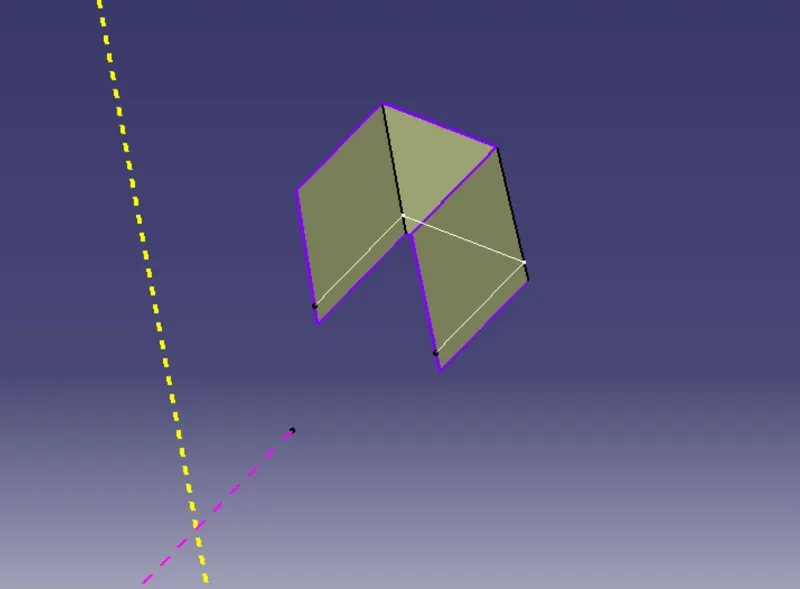
- Then use a Thicken Command and provide a draft angle along with an edge fillet.
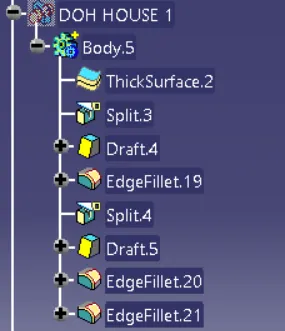
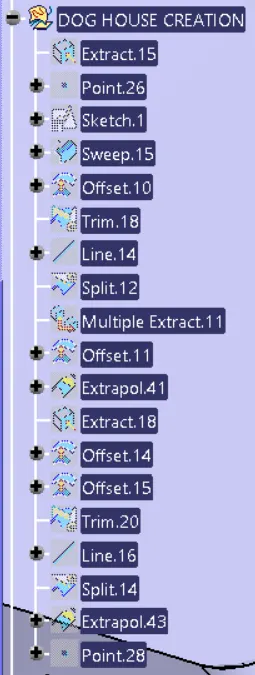
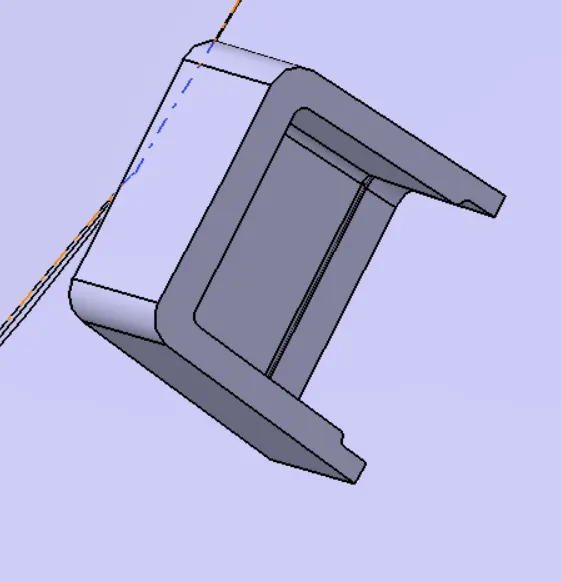
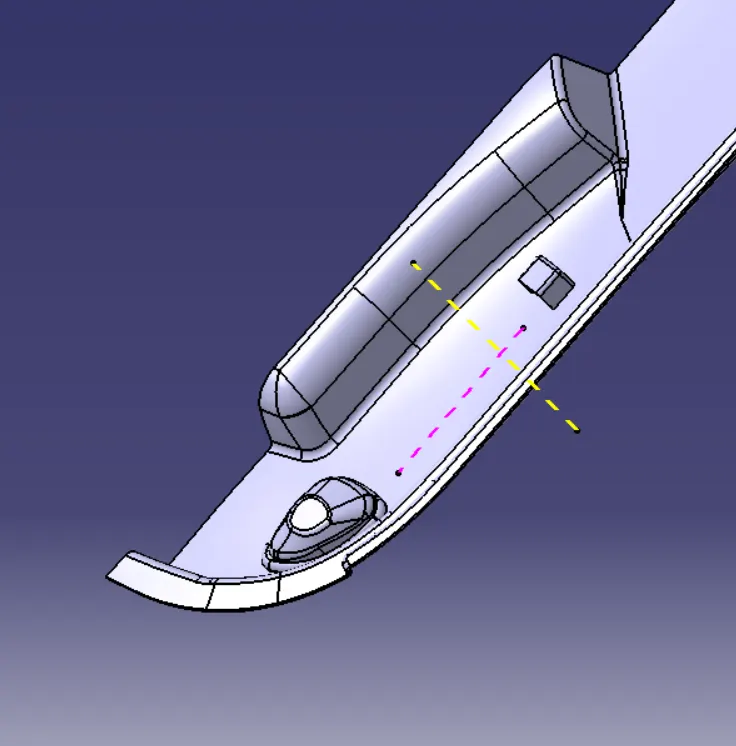
- The pink line is a Side Core Axis.
Step 8 - Draft Analysis of Class A surface
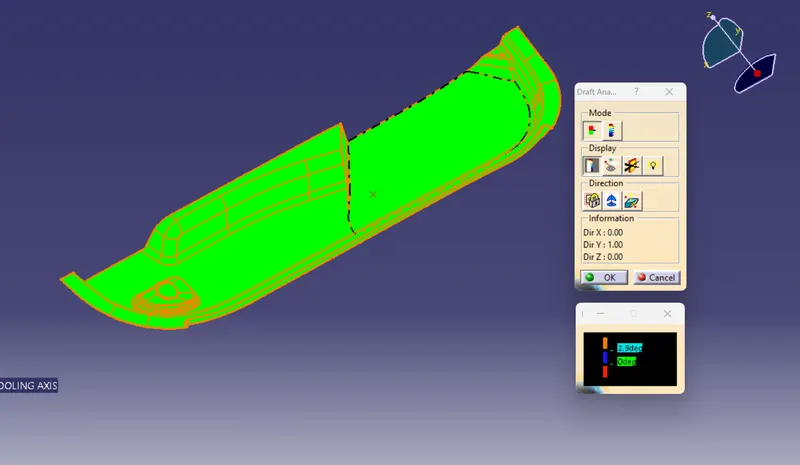
Srep 9 - Draft Analysis of Final Surface
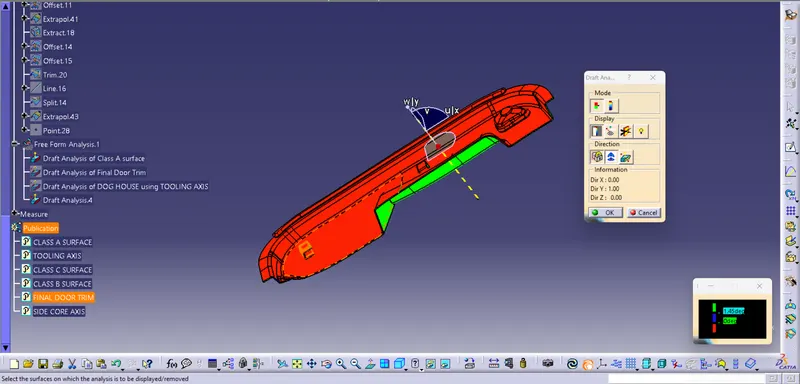
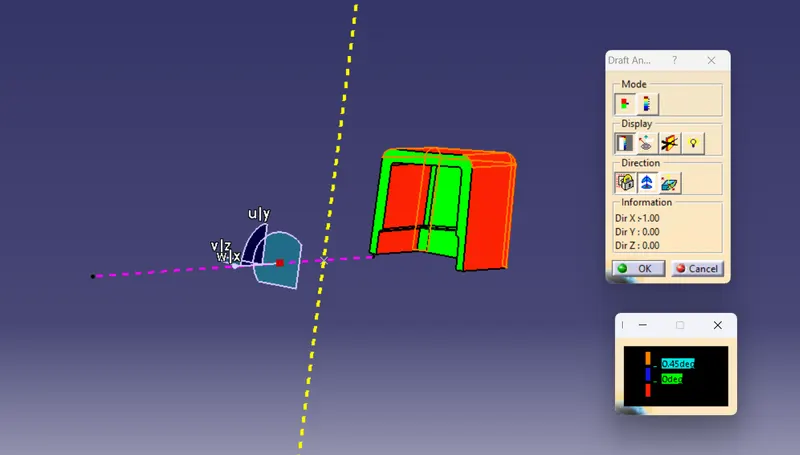
Step 10 - Draft Analysis of Dog House
- Draft analysis was carried out utilizing the "Dog tooling axis" on "Dog houses" with a value of 1.45 degrees of draft.
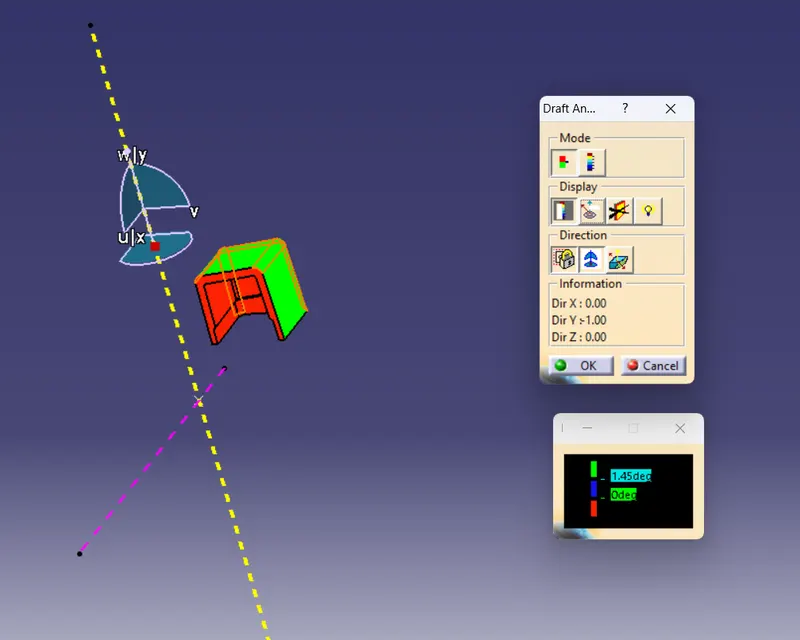
- Draft analysis was carried out utilizing the "Dog Side Core tooling axis" on "Dog houses" with a value of 0.45 degrees of draft.
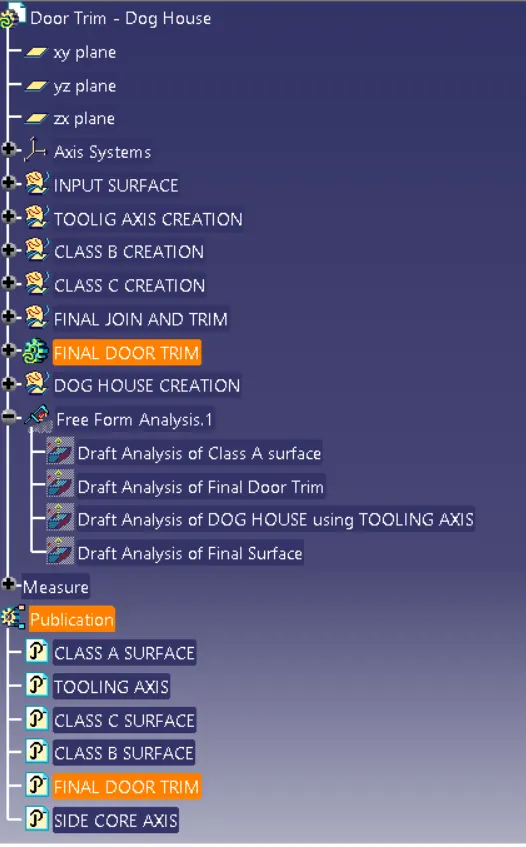
Tree Structure
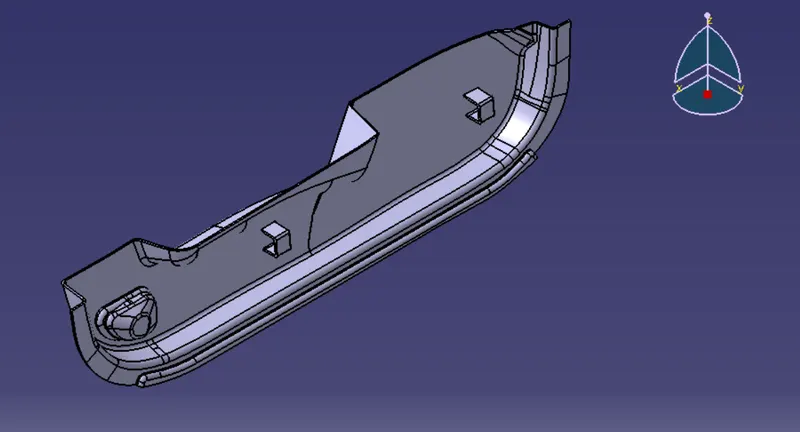
Screenshots of the completed design in various orientations (Isometric, Front, Side, and Top View)
Isometric View
Front View
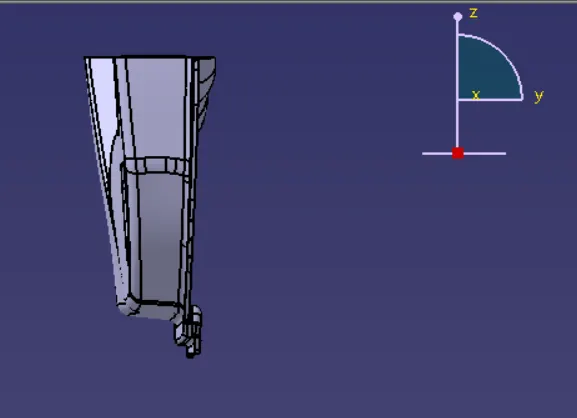
Side View
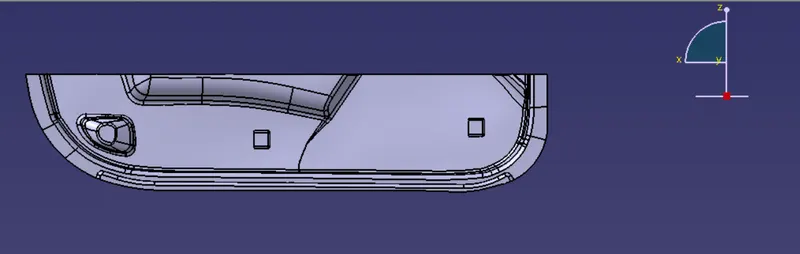
Top View