Week 9 - Attachment Feature Creation - Challenge 2
Door trim with Dog House
To create door trim with dog house by considering all design rules.
1. Draft analysis made class A surface , for that tooling axis have to created in coorect direction. In the direction tooling axis mold opens. In this design i have created the tooling axis using point direction method.
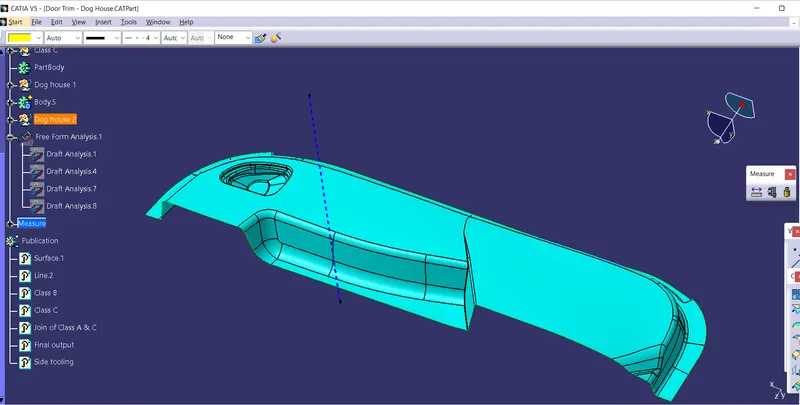 Class A surface & Tooling Axis
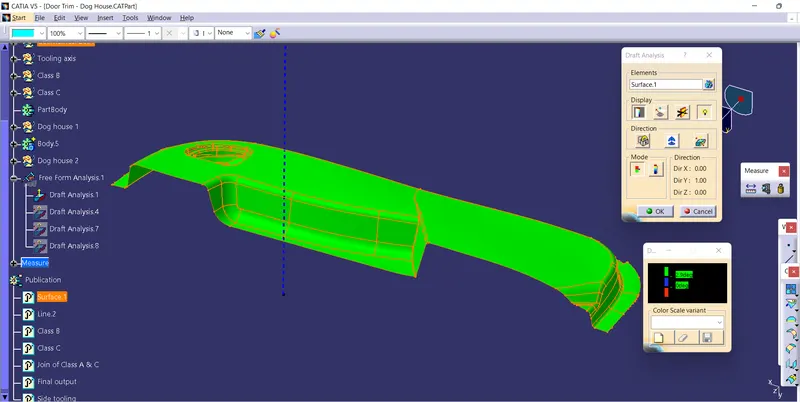 Draft analysis on Class A
2. To create Class B , Class A surface offset to 2.5 mm in upper side. In that offset some of the fillet are missing. So all the surfaces exatracted from offset expect fillet and extracted surfaces are extrapolated and trimed. later new fillets where given to class B surface.
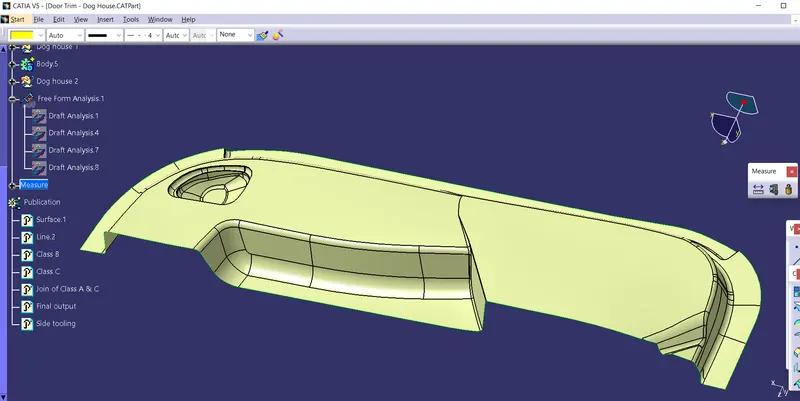 Class B surface
3. To create Class C surface all Boundaries from Class A surface Extracted and Sweep with draft direction and reference to surface. In some of the fillet areas are Class C surface creted using multi section.
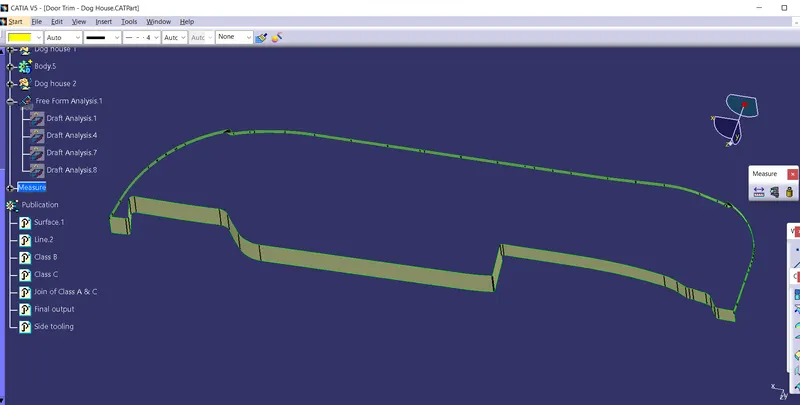 Class C surface
4. To get final output from surface workbench Class A B & C surfaces are Joined using. First Class A surface Joined and Join of Class A & C trimed with Class B.
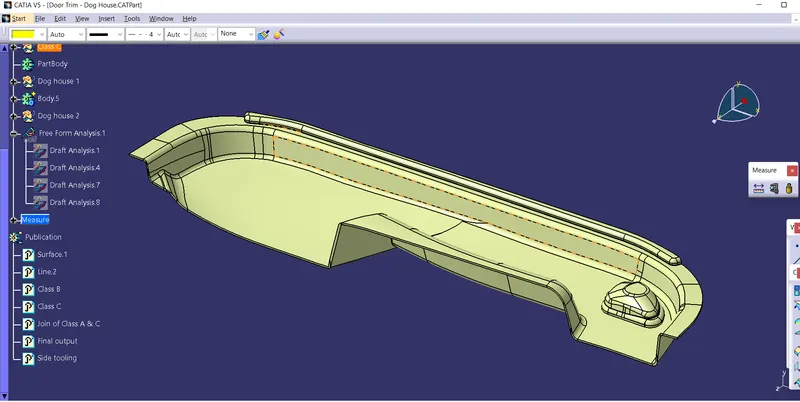 Join of Class A B & C
5. To make plastic component surfaces are made into solid in part workbench and draft analysis made on solid part in that most of the surfaces are in green color means with minimun draft of 3 degree.
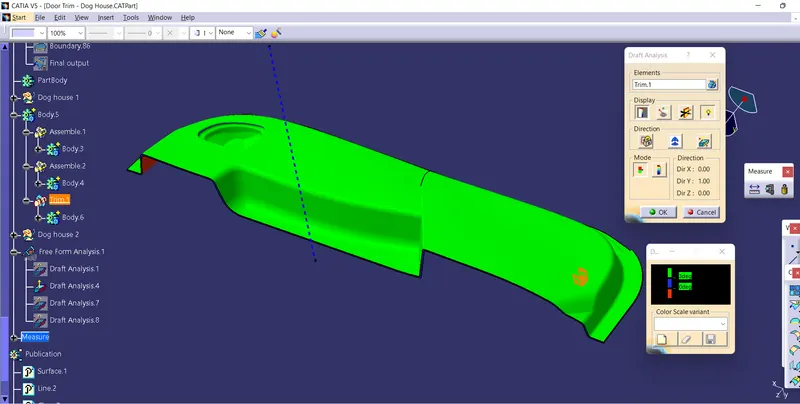 Draft Analysis
6. On solid part Dog house was created. The main advantage of dog house is to avoid Sink marks. The base thickness of the dog house should be 40 percent of the wall thickness and Side core tooling axis is created for Dog house with the side core draft analysis made for dog house.
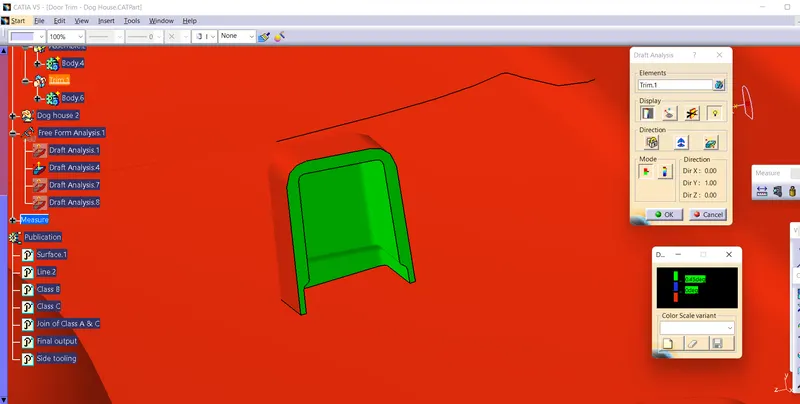 Draft analysis on Dog house.