Week 9 - Attachment Feature Creation - Challenge 1
- RIbs are manily used in vehicles or any automotive part for heat trasnfer as well as strenthening of the particular part.
- One of the ways to strengthen a part is by adding one or more ribs to the design. Ribs are thin protrusions that extend perpendicular from a wall or plane to provide added stiffness and strength.
- Designers commonly try to increase the strength of a part by making its walls thicker
- We will see how to create the ribs for a given part (coin holder)
The main steps in creating ribs are as simple as creating the solid extrution and giving an draft angle, later adding edge fillets as needed.
- First we will create the sketch required, accodring to the ribs design requirements, each rib should be placed at 1/3rd the distance of the thickness, so we get around 6mm of distance including the final thickness of the rib itself.
- Then the part is extruded, whcih will be at a hieght of 5 x thickness of the material, which gives us the height of 12.5mm.
- Next Thickness of the rib is to be added, whhich asscodring to the design requirements is 0.25 x thickness of the material, which gives us around 1mm of rib thickness.
- Then we add the draft angle for each side accordingly, and as per the requirements, we need 0.5 degree of draft angle.
- next we have to add the ribs to the main part so as to create a single part.
- Once that is done, we add fillets to the ribs, which as per the requriemtns is 0.25.
- After that, to check this all we add an intersection along the centre of the ribs to see if all are connected and is as per the design requirements.
- FInally, we add a small cirlce in the area connecting the ribs and the part, to confirm if the design requirements have been achieved.
- Thus we have created ribs for the given part.
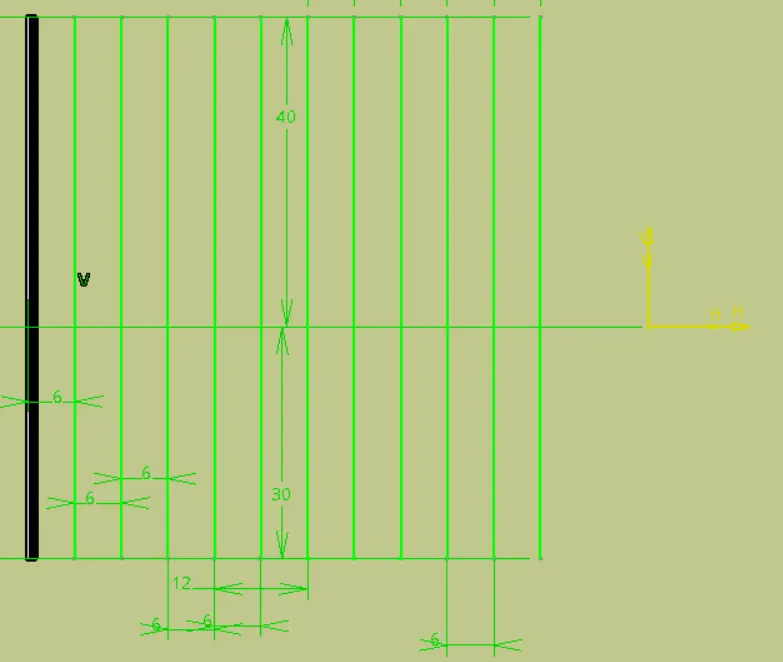
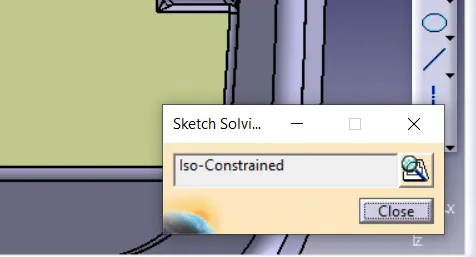
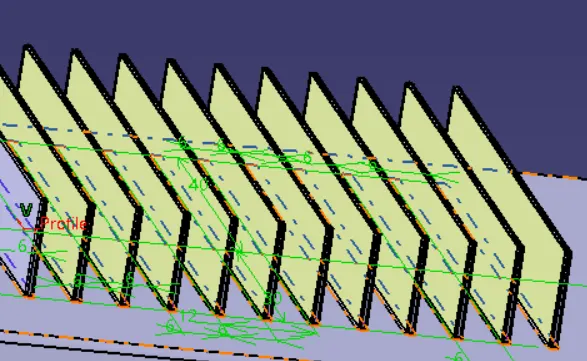
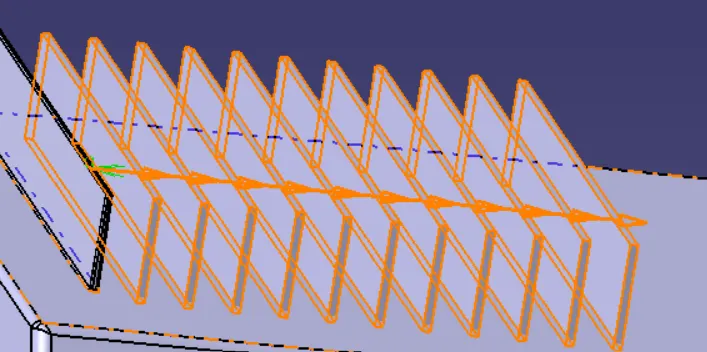
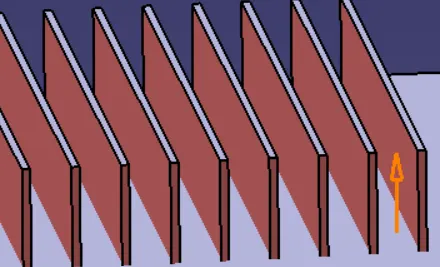
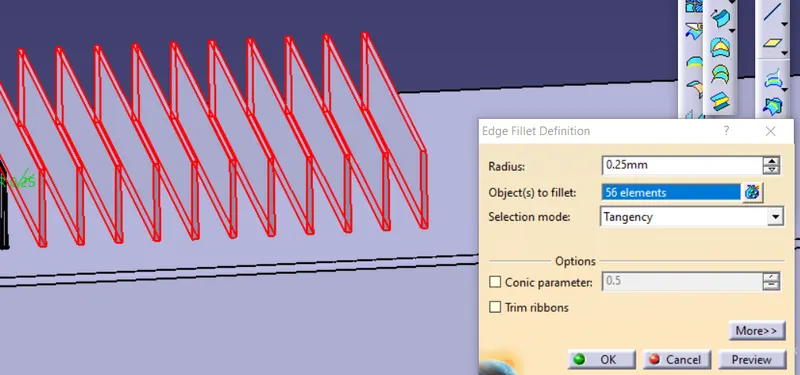
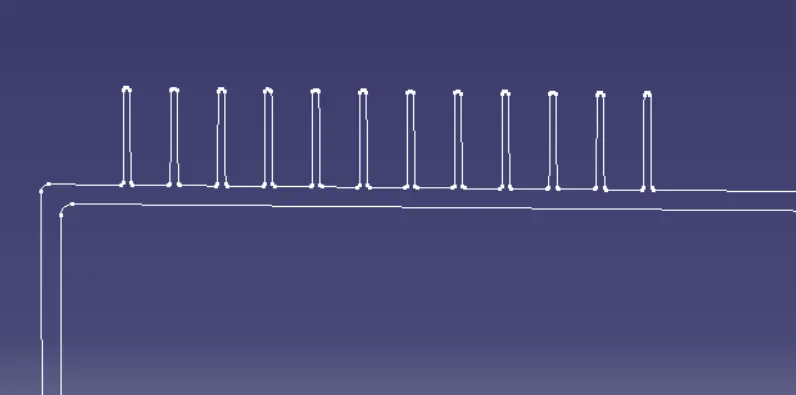
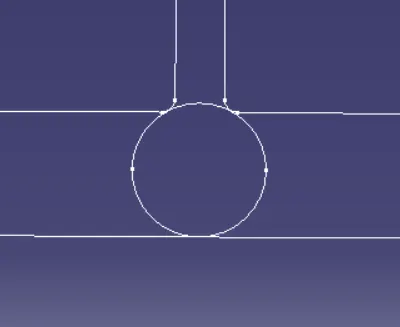
Images for the ribs
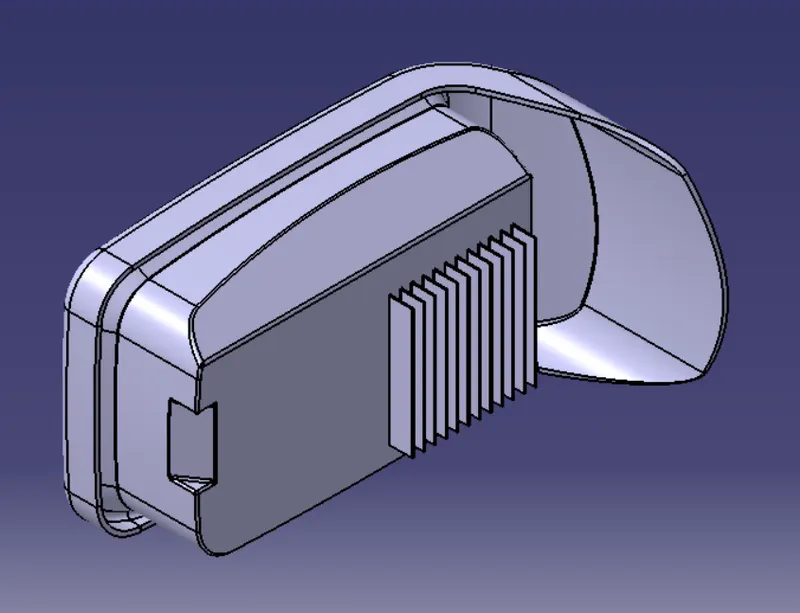
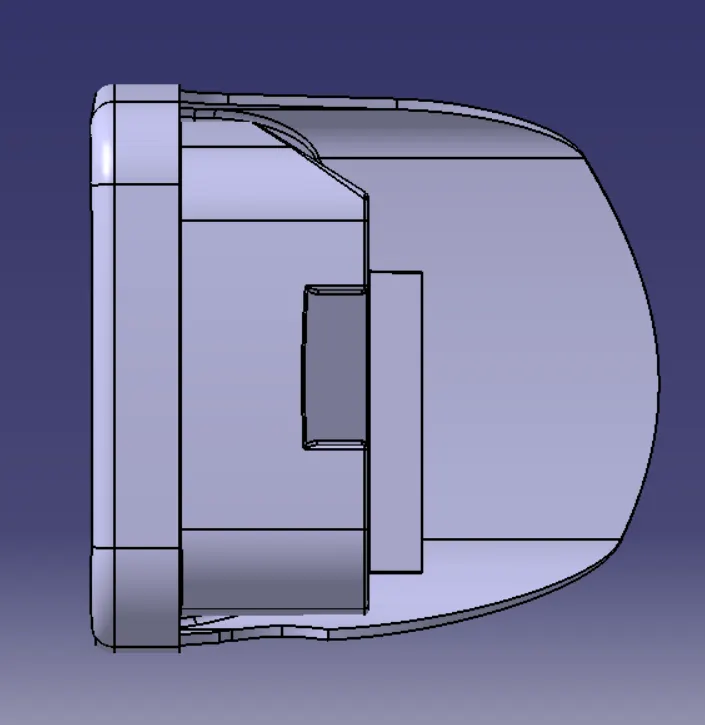
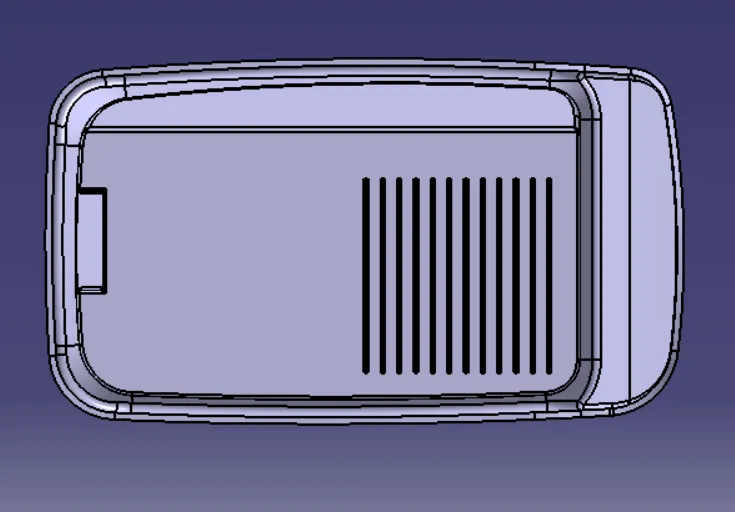
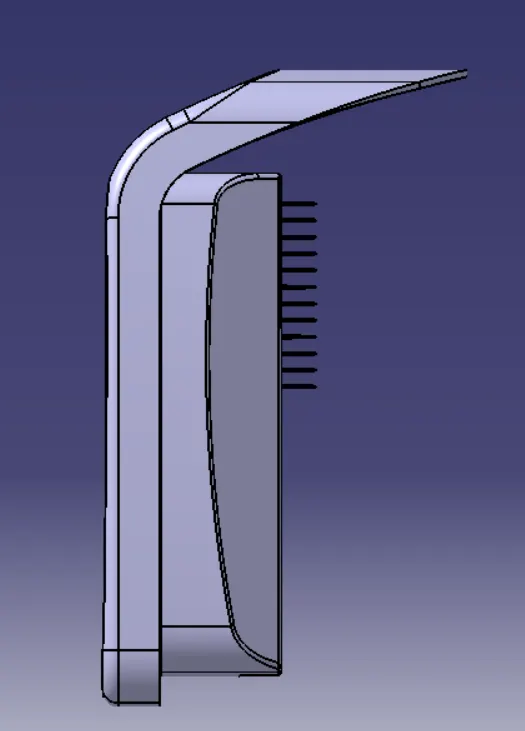
(Note - part attached in the challenge did not open, so i used my previous part to do the ribs.)