Week 9 - Attachment Feature Creation - Challenge 1
Tooling Axis Creation -
1.
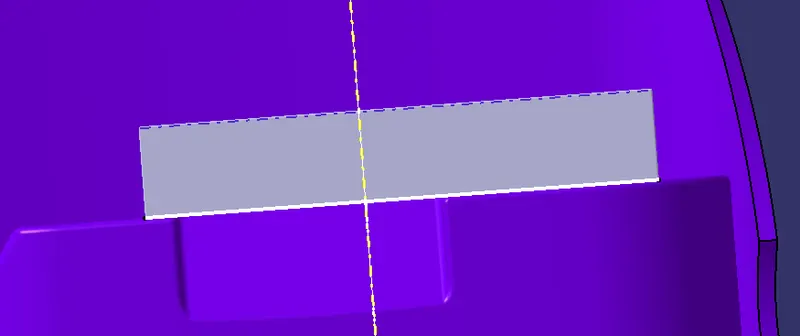
For creating the tooling axis we followed certain steps to ensure the axis is correct. Initially we se for any gaps in the sloid or the class A submission by either creating a join and analysing it or by creating a boundary for the element so we get to know if there are any openings.
2.
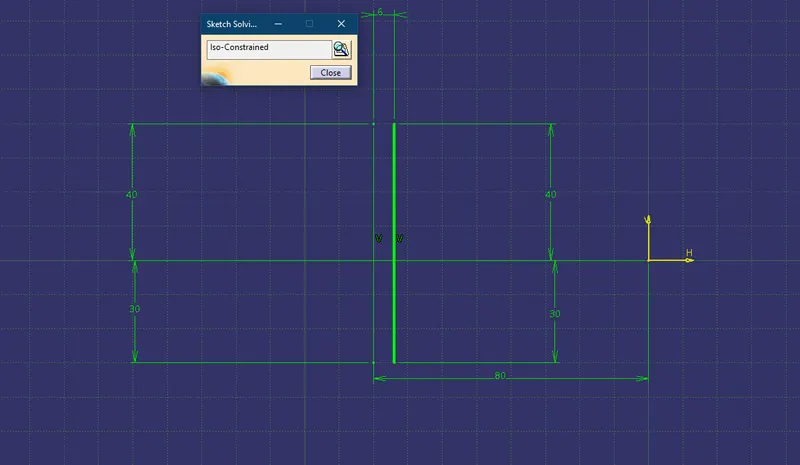
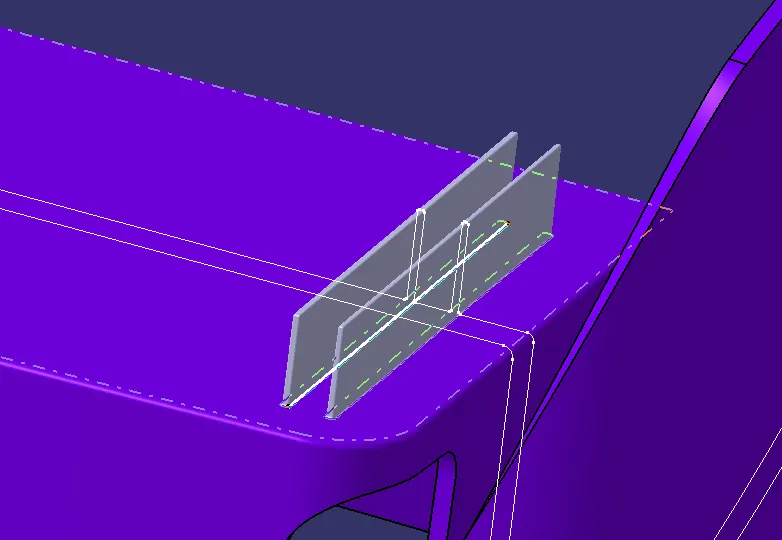
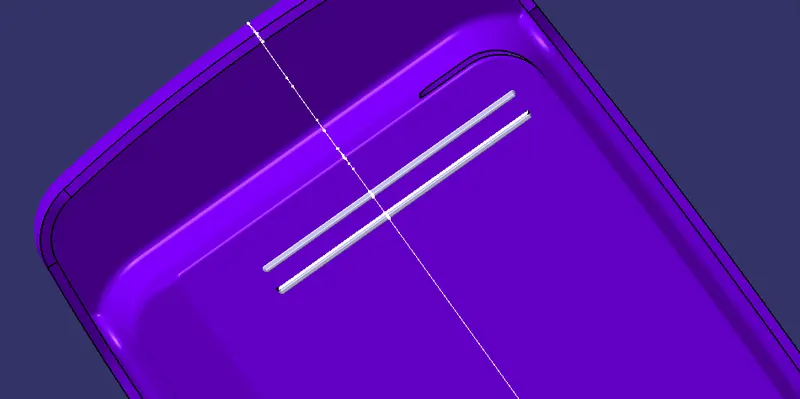
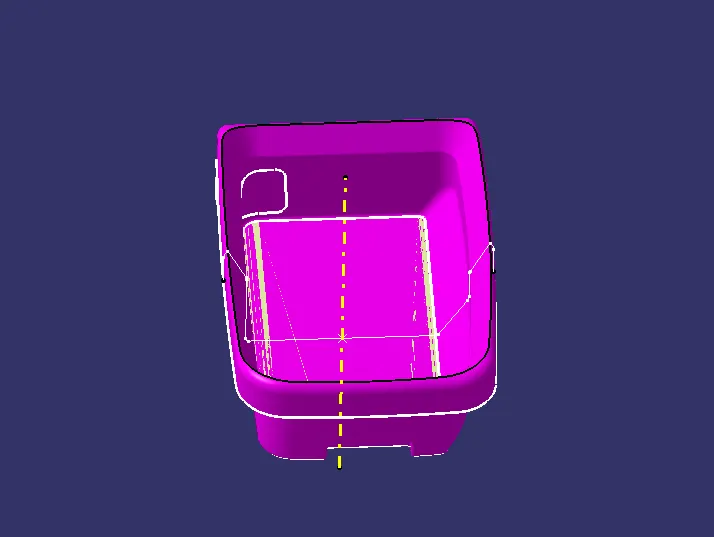
Here in this case we have straight surfaces in the class A so we create a straight tooling axis from the surface given below for the pit.
Draft Analysis -
For Draft analysis we go to Insert - Analysis - Feature Draft Analysis
Make sure the View parameter is on customise - Material
Click on the Compass Icon and bring that to the tooling axis ang get it allined as per requirement
We have a small popup stating colors for the specific draft angles and the colour of the component too changed to one of them showing the draft angles.
By clicking on the icon we can also check angles on specific surfaces,
Thus, Draft analysis is Concluded.