Week 9 - Attachment Feature Creation - Challenge 1
Obejtive:
To Create Ribs on Coin Holder Design.
Procedure:
Creation of Rib-1 & Rib-2:
- To create Rib-1 ,Extract the base surface of the Coin Holder.
- Create a Point on the surface with distance 0mm.
- Create a position sketch on XY Plane, with reference as point.
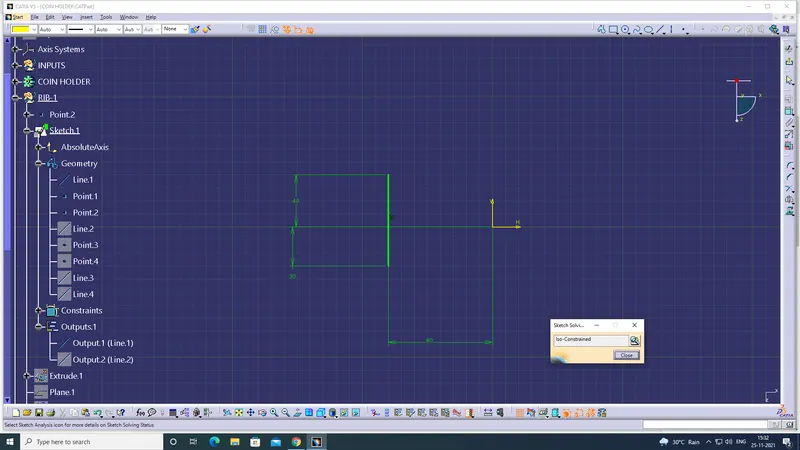
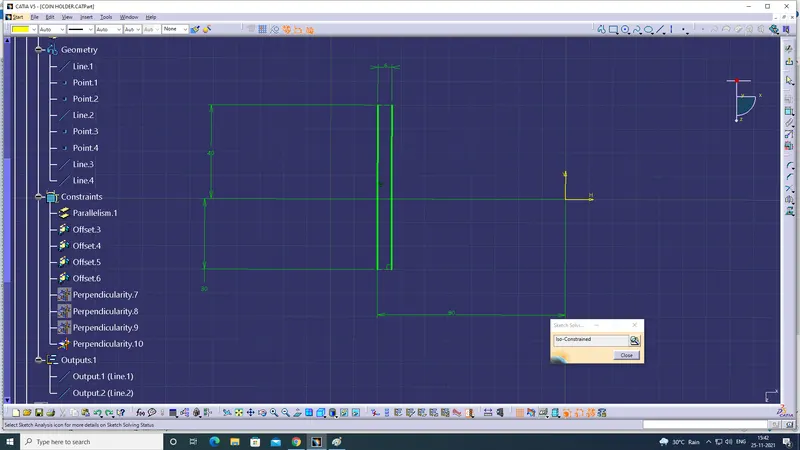
- Draw a Line on the sketch give necessary dimensions to make it Iso-constrained and exist the sketch.
- Use Extrude command on the line, along the tooling direction by giving lengths to extend. Rib Height= 5*t = 5*2.5mm=12.5mm
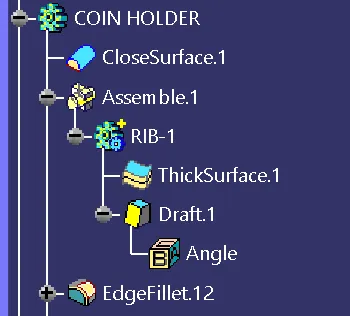
- Insert a Body as RIB-1
- Make the extruded line to thicken by selecting on the Part Desgin workbench and on Thick surface command. Rib Thickness=0.4*t , t=2.5mm, Rib Thickness=0.4*2.5mm= 1mm.
- Draft the edges by selection of surfaces to be drafted + Neutal element+Pulling direction(Tooling Axis). Rib Draft=0.5deg.
- Rib Thickness at Tip=0.86mm
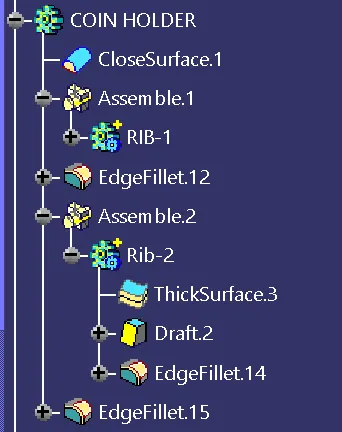
- Define the Body(Coin Holder) and select the Body(Rib-1) and assemble the Rib-1 to the parent Coin Holder.
- Select Edge fillet command and give radius on ribs. Rib Radius= 0.25mm
- Draw a Plane on the XY PLANE with point as reference.
- Select the Intersect command, fist element= Coin Holder, second element=Plane. Intersect appears for the coin holder and the rib.
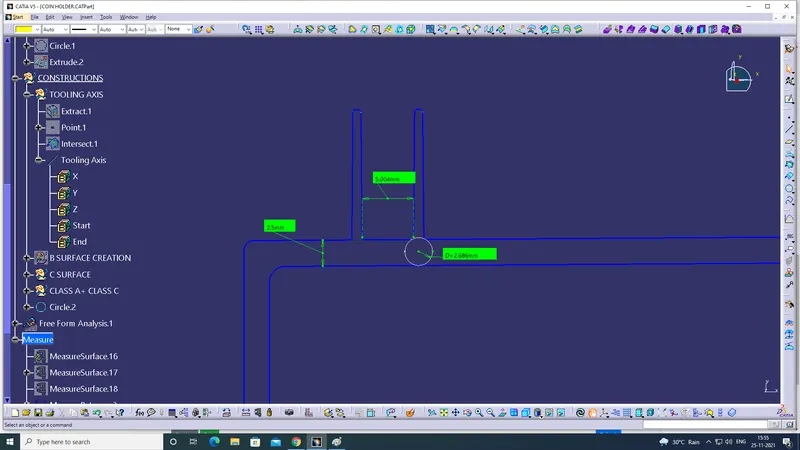
- To create Rib root thickness = Y/X>3.
- Y= Rib Height/Spacing distance>3.
- Spacing Distance=12.5/3 = 4.16mm (i.e ~5mm)
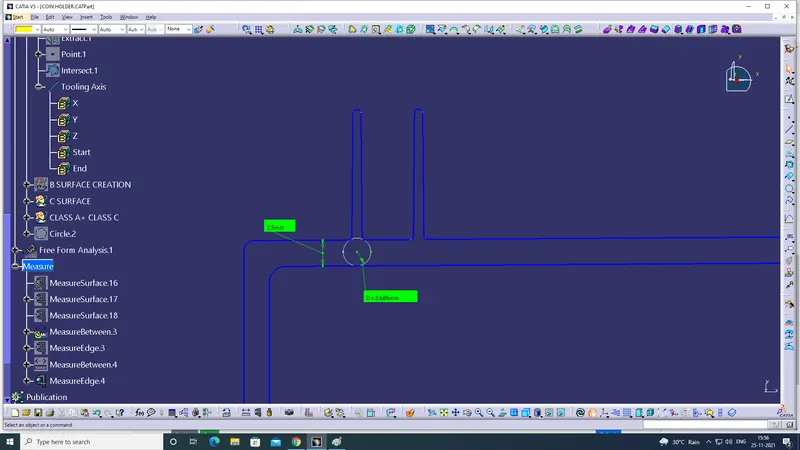
- Draw a Circle with Tritangent condition by selecting 3 elements to form a Rib wall thickness..
- Rib Root Thickness= 2.68mm
Screenshot of Sketch.1 for Rib-1 is Iso-constrained:
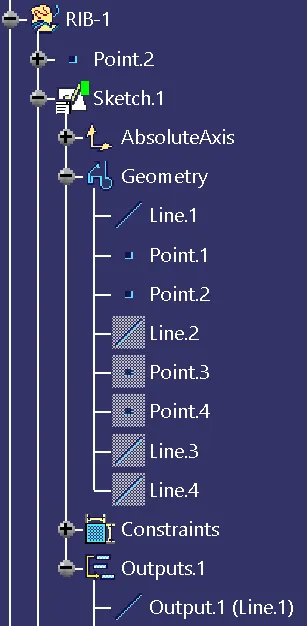
Screenshot of Tree Struture of Rib-1:
Screenshot of Rib Root Thickness Creation For Rib-1:
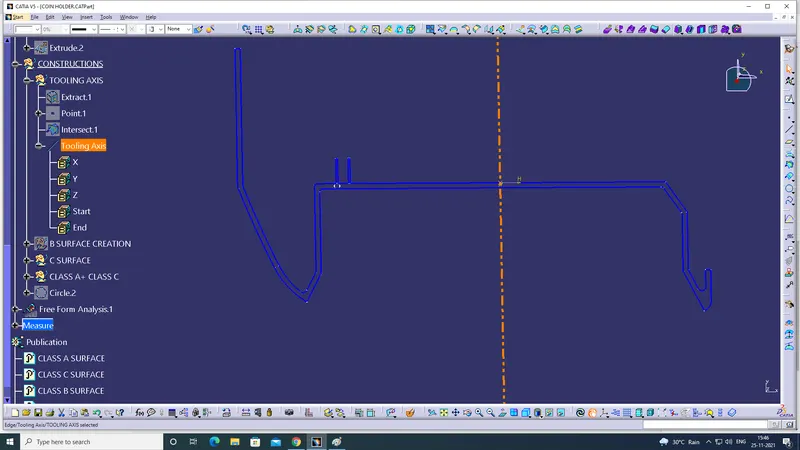
Screenshot of Rib-1 Assembled with Coin Holder:
Screenshot of Sketch.1 for Rib-2 is Iso-constrained:
Screenshot of Rib-2 Assembled with Coin Holder:
Screenshot of Rib Root Thickness Creation For Rib-2: