B-Side Feature Creation (RIBS)
RIB CREATION:
OBJECTIVE:
To Create the B-side features by adding the Ribs in CATIA v5.
Plastic Part Design:
RIBS:
Rib features help in strengthening the molded part without adding to wall thickness. In some cases, they can also act as decorative features. Ribs also provide alignment in mating parts or provide stopping surfaces for assemblies. However, projections like ribs can create cavity filling, venting, and ejection problems. These problems become more troublesome for taller ribs. Ribs need to be designed in the correct proportion to avoid defects such as short shots and provide the required strength. Thick and deep ribs can cause sink marks and filling problems respectively. Deep ribs can also lead to ejection problems. If ribs are too long or too wide, supporting ribs may be required. It is better to use a number of smaller ribs instead of one large rib.
DESIGN RULES:
These are the rules to be followed while designing the plastic parts along with the ribs.
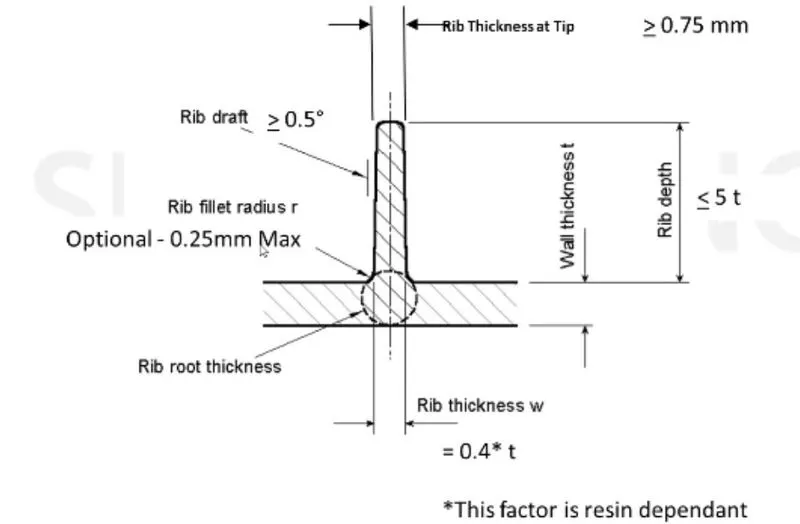
DIMENSIONAL CALCULATIONS OF RIB:
- The thickness of the given part is 2.5mm, so here we are taking ‘t=2.5mm’.
- As per the rules about the draft angle, we are taking 0.5deg which is ≥5.
- Rib depth is taken as 12.5 which is ≤5t (I,e 5*2.5 =12.5).
- Rib thickness is taken as 1mm which is 40% of wall thickness (2.5*40% = 1mm).
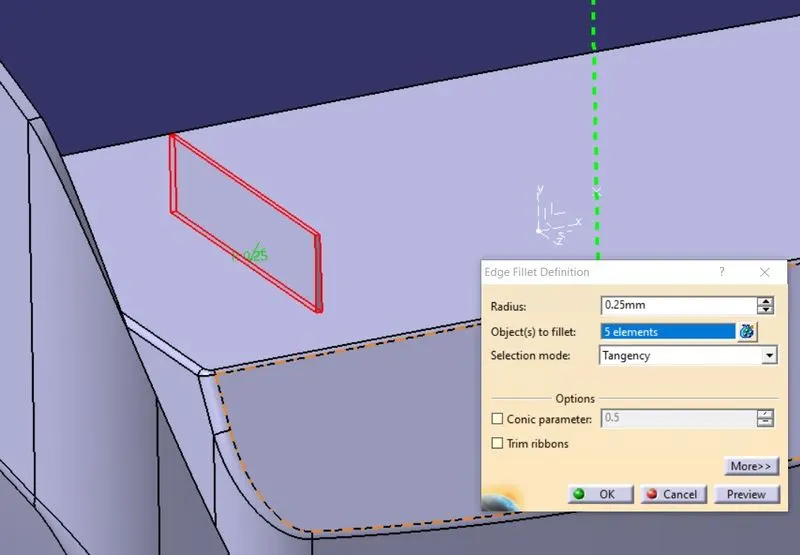
- Rib fillet radius is taken as 0.25mm As per rules.
Now we must satisfy the other values like Root thickness, thickness at the tip by designing the rib on the coin holder by taking these dimensions into consideration.
DESIGN PROCEDURE OF RIB:
- Import the coin holder part into the surface workbench,
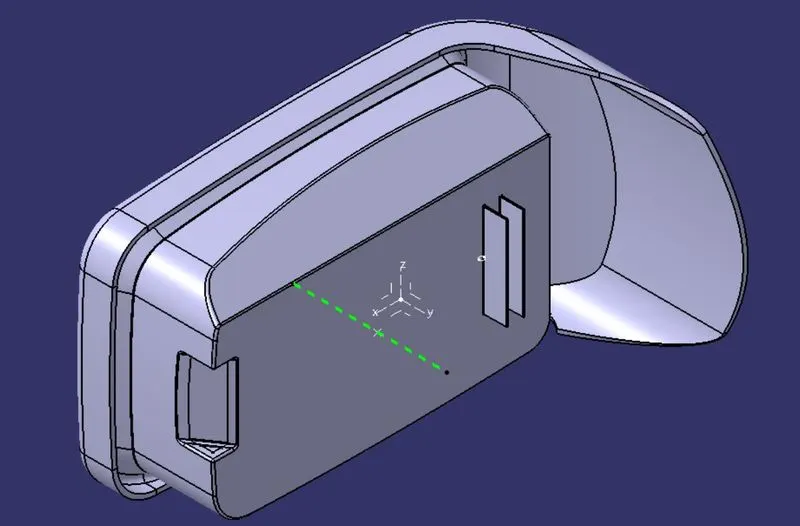
- Extract the appropriate face of the body as shown in the figure,
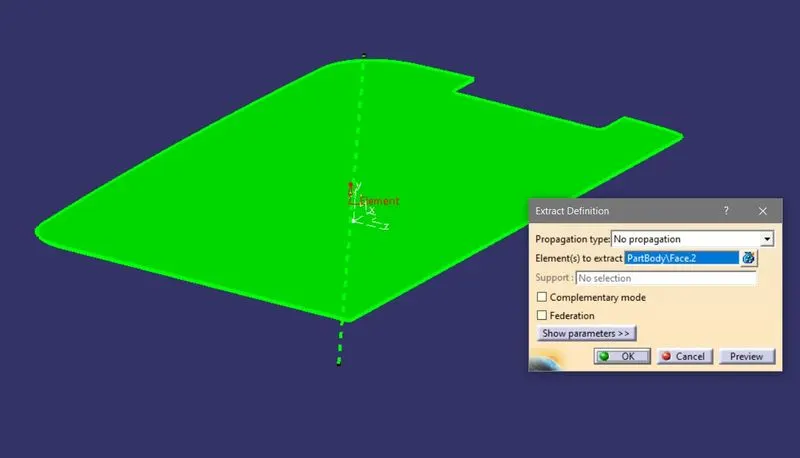
- Create the point at its center by using a point the surface feature,
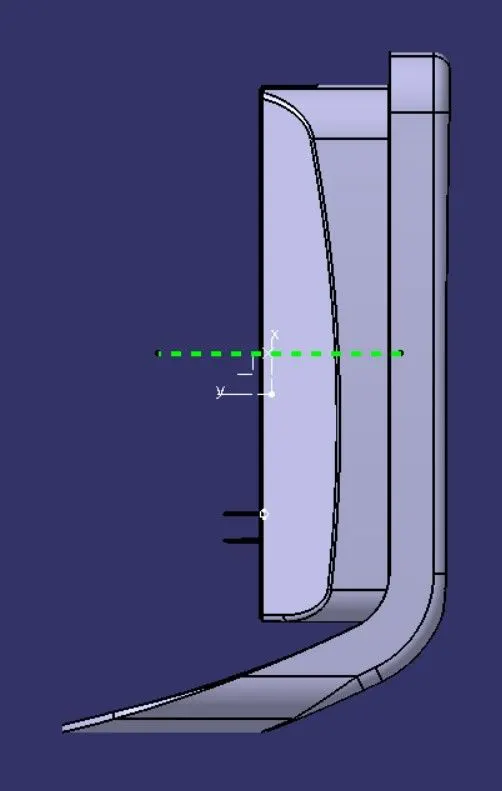
- Now add the tooling axis by creating a line that is 90degrees by choosing the center point.
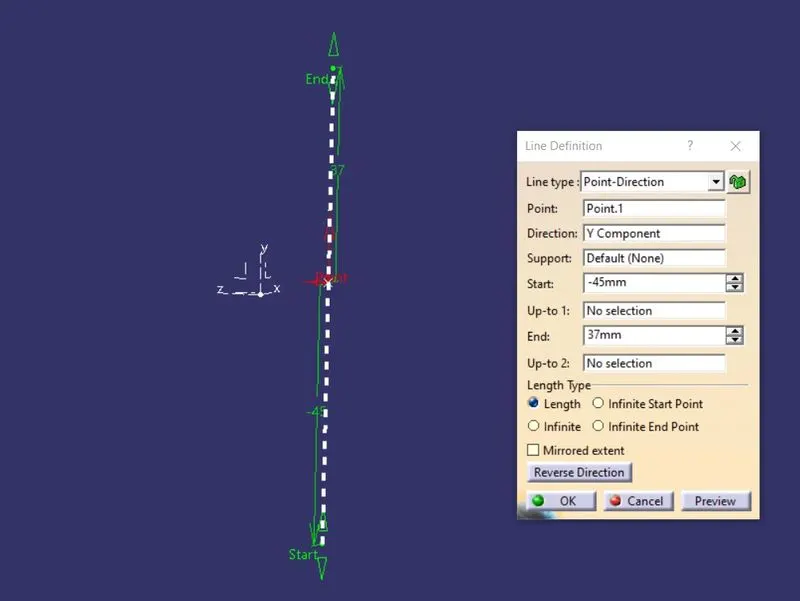
- Then select the sketch feature and create a line according to the requirements by fully constraining.
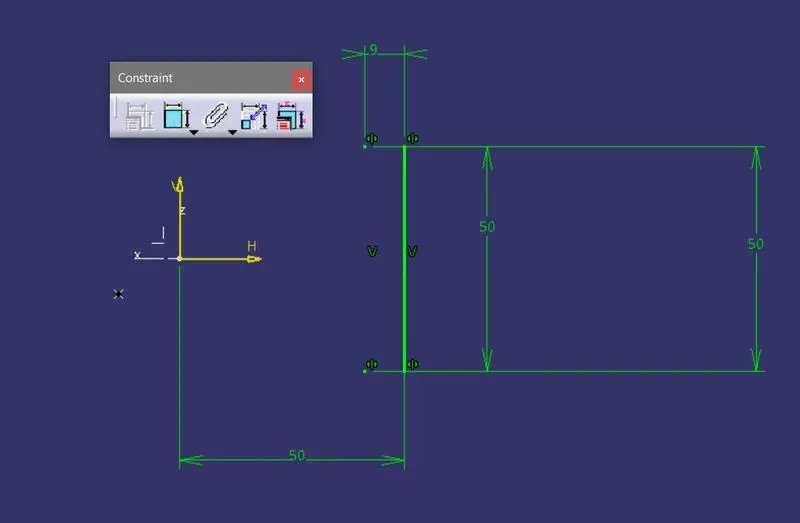
- By using the extrude feature and main tooling axis create a surface for the rib.
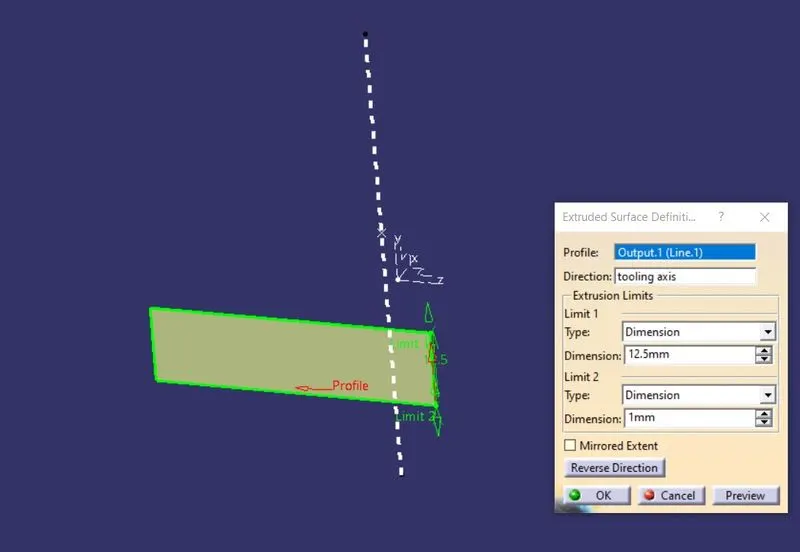
- Then add the thickness to the Rib with the proper dimensions and ensure it is created as per requirement.
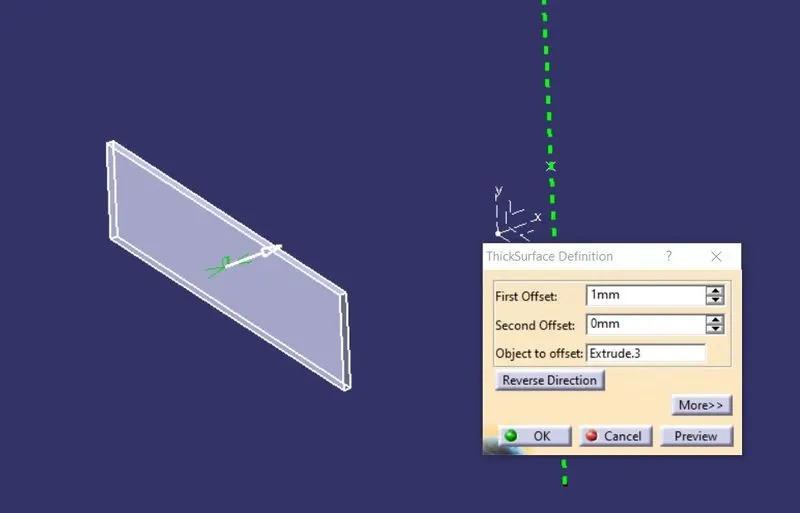
- Now add the draft on all the faces of the rib with an 0.5 degrees draft angle.
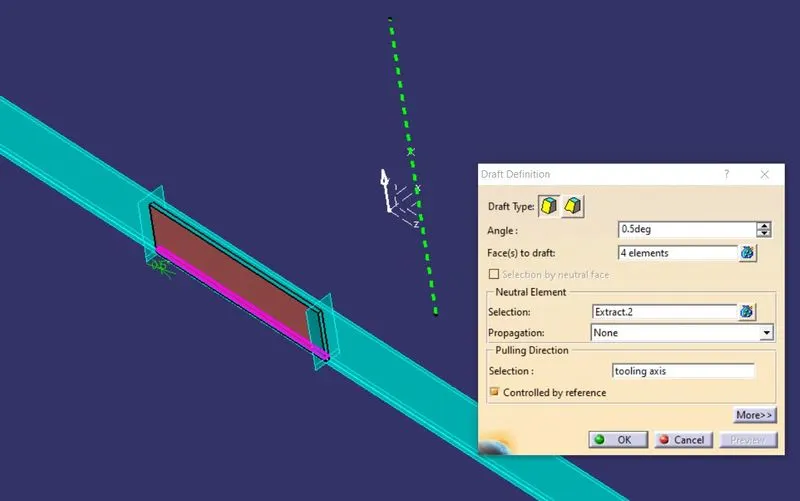
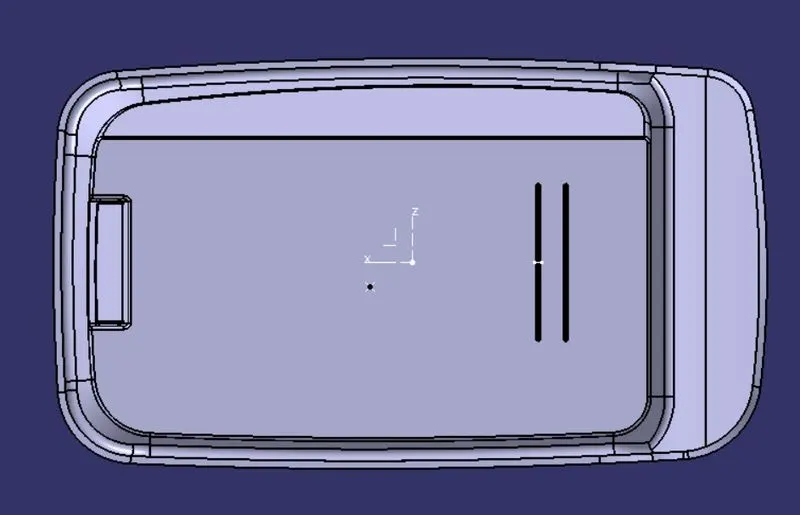
- Add another rib beside it by following the 2:1 rule. (i.e 12.5/2 =6.25mm), it should be greater than or equal to 6.2mm, we have taken it as 9mm.
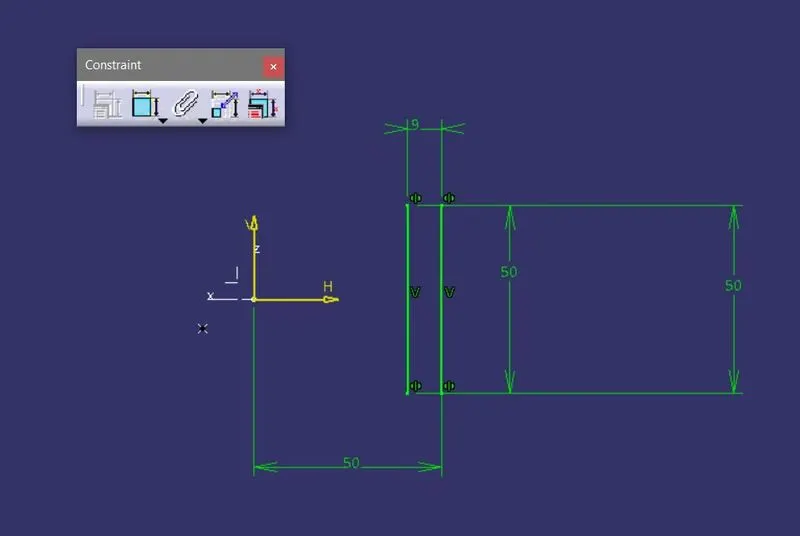
- Then add the Two ribs to the main part by using Boolean operations.
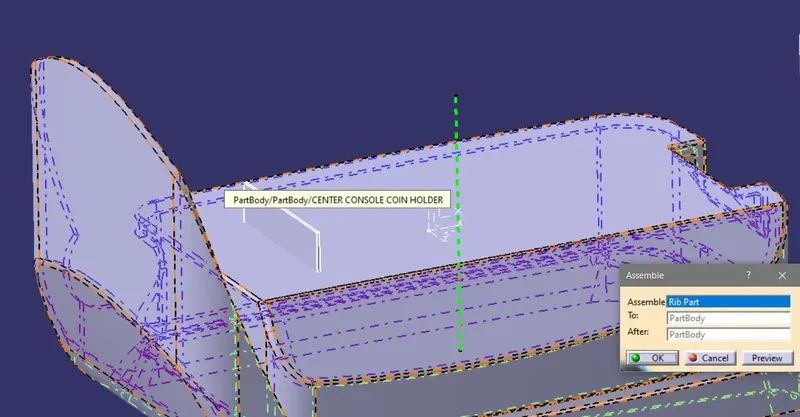
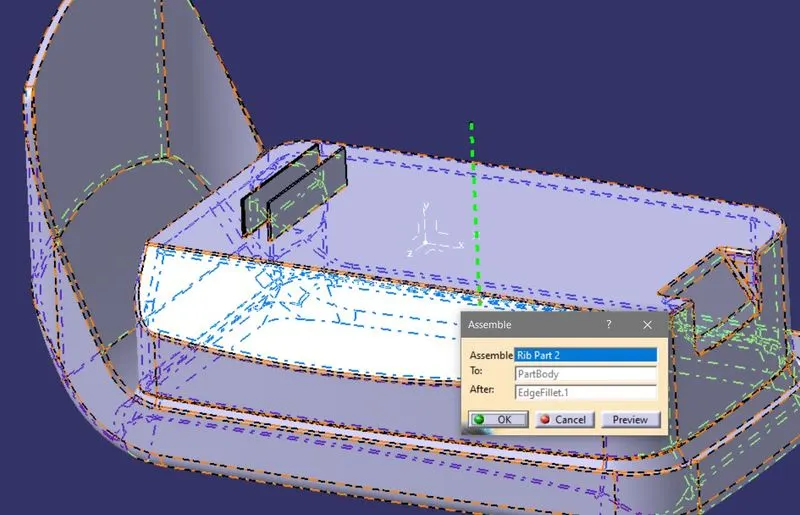
- Add the fillets to the ribs with a 0.25mm radius to reduce the stress on the part.
- Now perform the draft analysis and check for the draft.
- Take the center plane as a reference to make the intersection with part.
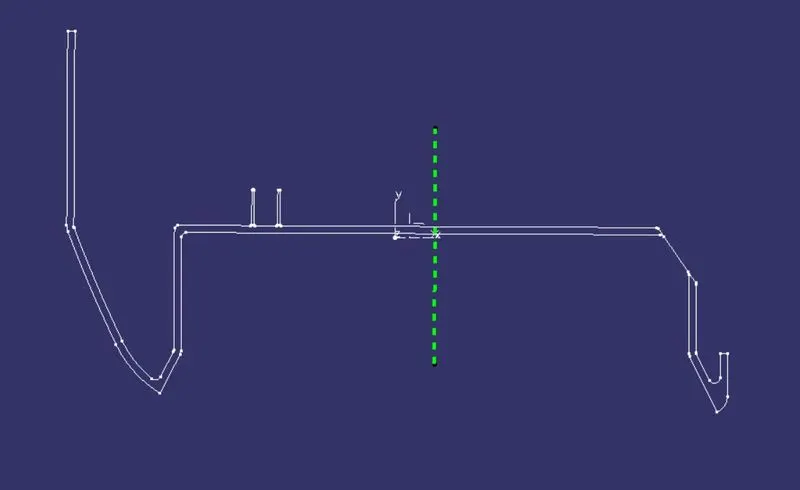
- Add the circles to find the rib root thickness by extracting the sketches from the intersection.
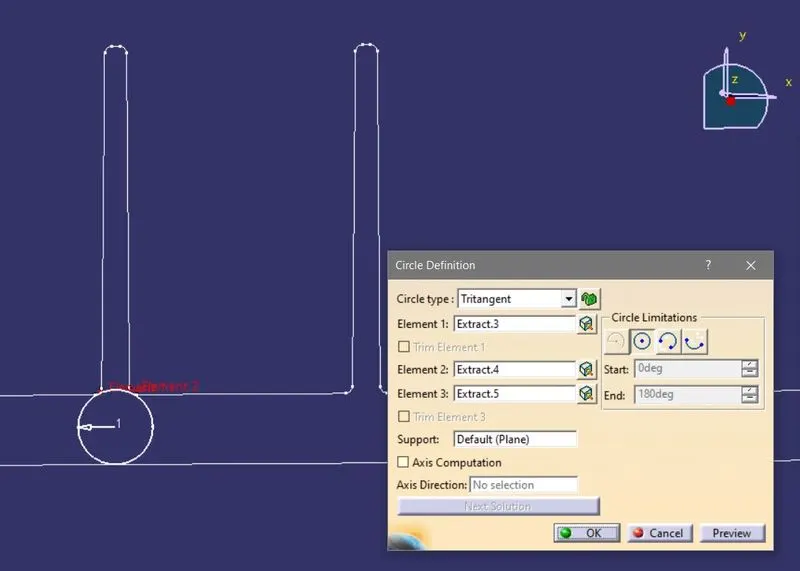
- At last check for the required values whether they are under consideration or not.
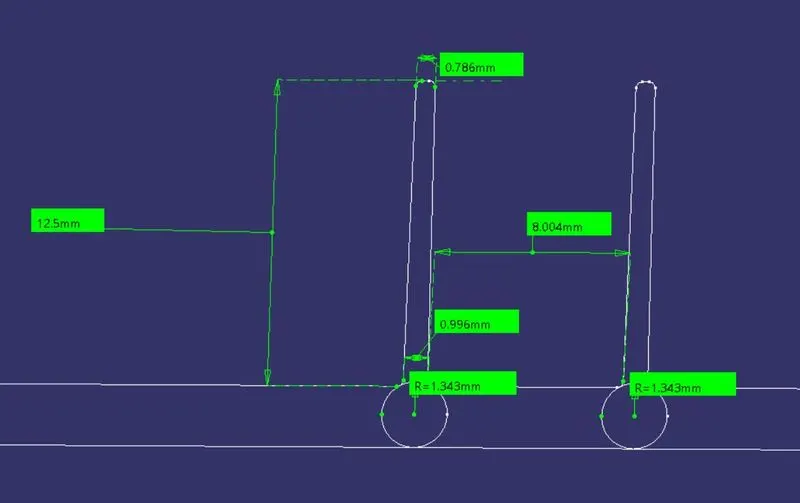
Therefore we got rib root thickness is 1.32 and rib thickness at the tip is 0.786mm( which is <0.75mm)
CONCLUSION:
Added B-side feature to the part and performed measurement check for good results.