Week 9 - Attachment Feature Creation - Challenge 1
Note-Tooling axis, Draft analysis, class B and Class C surfaces and final part is already done and explained. So now in this report onlyattachement feature creation is explained.
Title- Attachment Feature Creation for Centre console coin holder.
Objectives- To create the rib for the Centre console coin holder.
Introduction-
- This report demonstrate the attachment feature rib creation for the Centre console coin holder designed part with industry principle.
- Tooling axis, Draft analysis, class B and Class C surfaces and final part is already done and explained. So now in this report only attachment feature creation is explained.
- The plastic component is designed with surface and part design technique in CATIA.
Theory-
Class B surface contains all the engineer data required for the model to be completed. This data involves designing of various features. Some of the major feature of the class B surfaces are- Ribs, Screw Boss, Dog House.
Ribs-
Ribs provide a means to economical stiffness and strength in molded part without increasing over all wall thickness.
Ribs also facilitate-
- Locating and arresting component of an assembly
- Providing alignment in mating parts
- Acting as stopper or guides for mechanism
Design Rules for ribs creation-
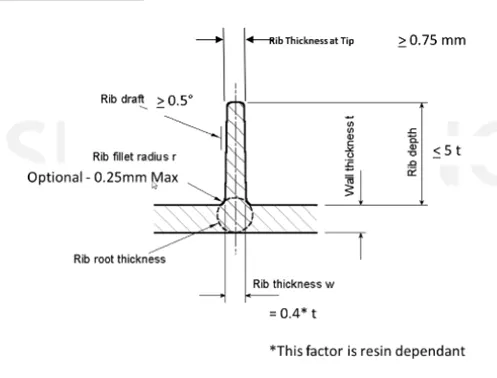
- Draft- Minimum draft 0.5° per side of component, but this value should not be high because we will not create top surface or molten metal can’t reach up to that point.
- Thickness of rib- It should be 40% of wall/ component thickness or 0.4* T.
- Height of rib- It should be ≤ 5 times of component thickness i.e 5*T.
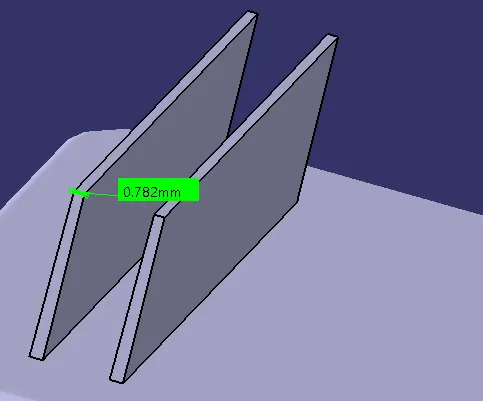
- Minimum thickness at top – ≤ 0.75mm
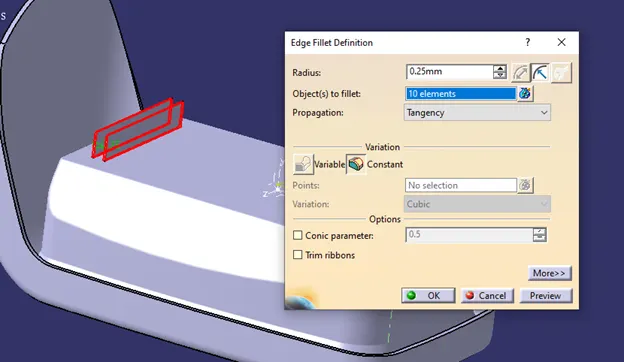
- Fillet Radius-0.25 mm Max.
- Spacing- Rib should be spaced if rib are more than 1. For steel material rib should be spaced between-
H/W ratio- 3:1 for steel and 2:1 is preferred.
Where, H is height of rib and W is space between ribs.
- Rib root thickness- it should not be more than 30% of wall thickness.
- Rib on opposite side of wall should be offset.
Procedure for creation of ribs-
- Extract the base surface of coin holder part from Class B side .
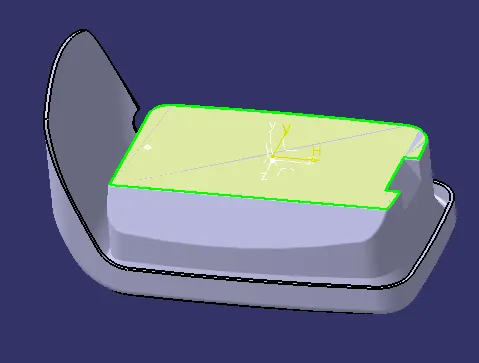
- Create a line on extracted surface, make sure that we are using position sketch on surface or XY plane. Make sketch iso-constrained.\
- Convert both the line into output feature.
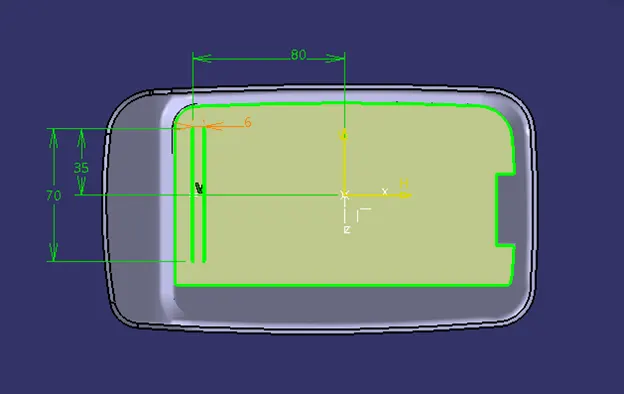
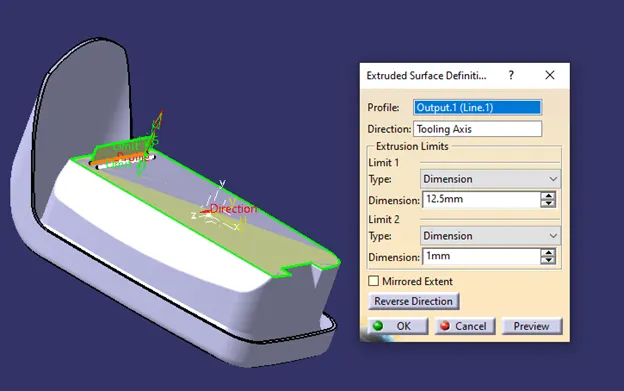
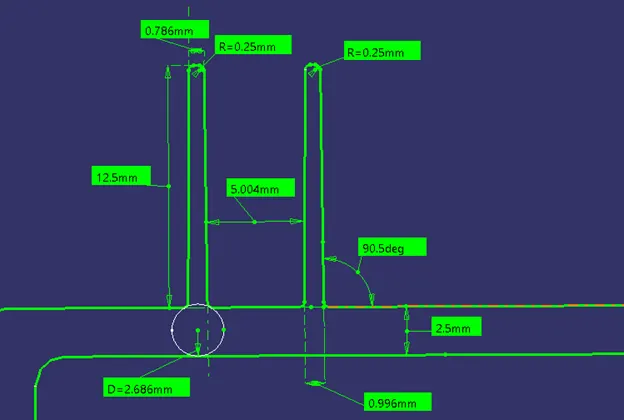
- Extrude the created sketch / output feature lines along direction of tooling axis. For the extrude distance use design rule which is mention above i.e 5*t =5*2.5 12.5 mm and 1mm in opposite direction.
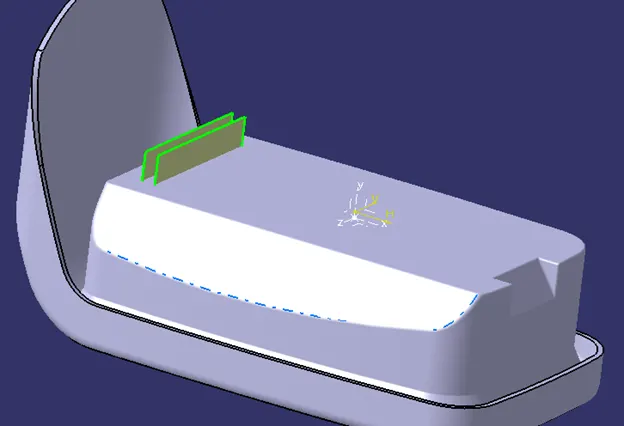
- Insert a new body and go to part modeling. Thicken the 1st extruded surface, here also take design rule into consideration i.e thickness of rib should be 0.4*t= 0.4*2.5 = 1mm.
- Assemble the thickened part into main coin holder part.
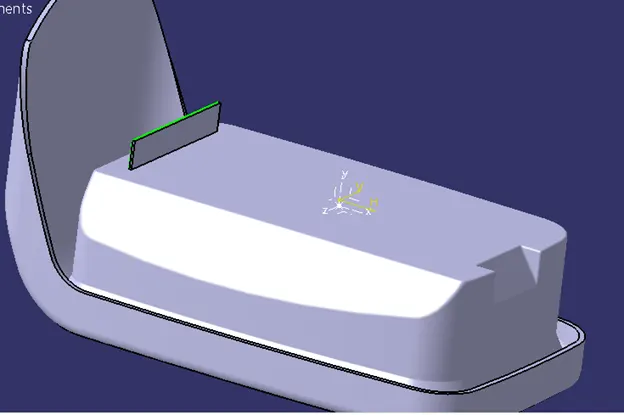
- Similarly work on second rib also.
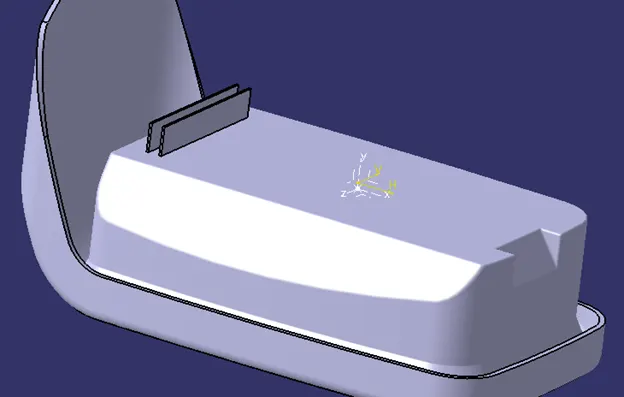
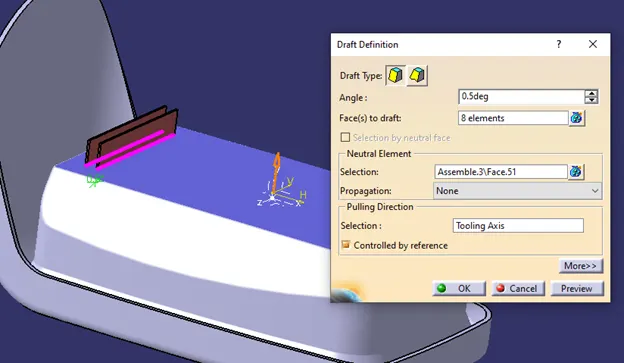
- Here we got two ribs. Now we will work on other feature to make them fit for manufacturing. Give draft of 0.5 ° in all vertical direction along tooling axis and neutral element is extracted surface.
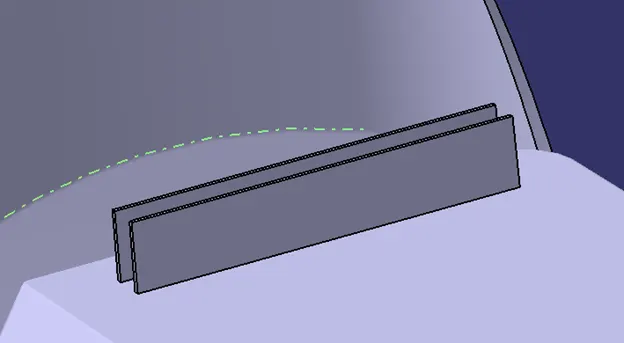
- Measure the top rib thickness, it should be more than 0.75mm.
- Apply edge fillet of R0.25 mm to both ribs surfaces.
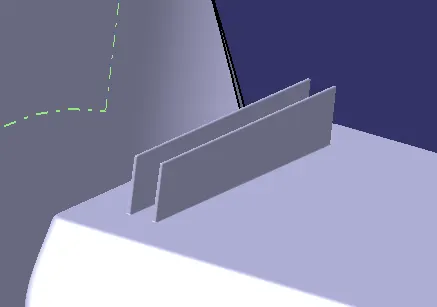
- Rib root thickness should be within the limit. For that first create plane parallel to XY plane at tooling axis point. Take intersection of whole coin holder body with ribs at the created plane.
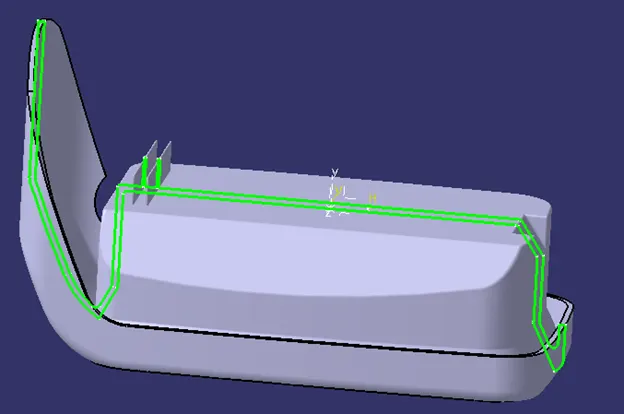
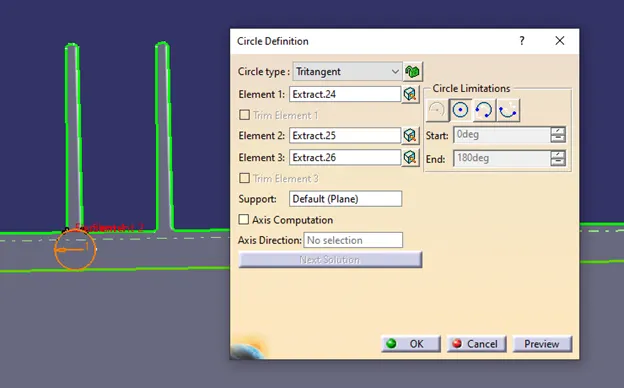
- Create a circle by using tritangent type in surface modelling. Even though it is circle but we can see it as few sided polygon so we can correct it from Tool>Options>Display>Performance>Proportional.
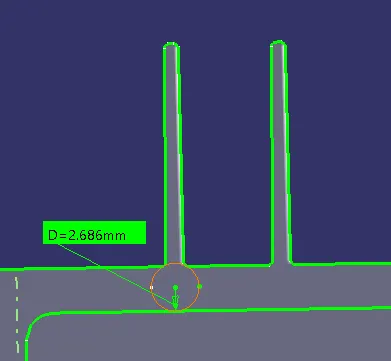
- Now we can measure the diameter of circle which should not be more or less that 30 %of the wall thickness= 0.3*2.5
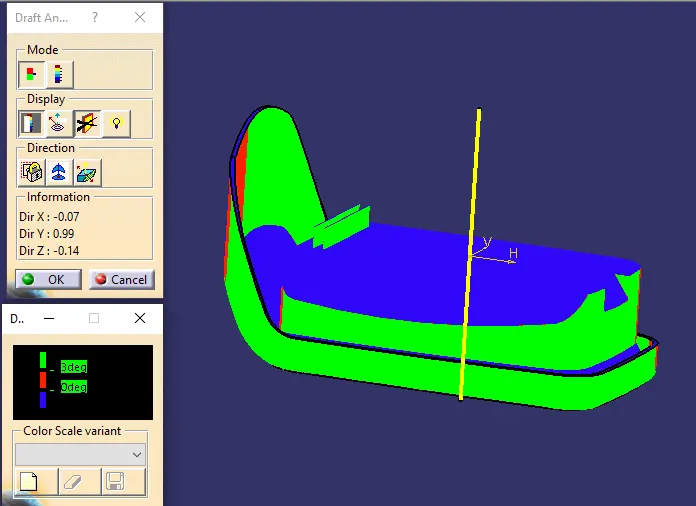
- Draft analysis on coin holder component with rib-
After tge outer features ribs are created go to insert select analysis amd click on draft analysis. Select on compass and align compass with tooling axis. click on component to see color scale.
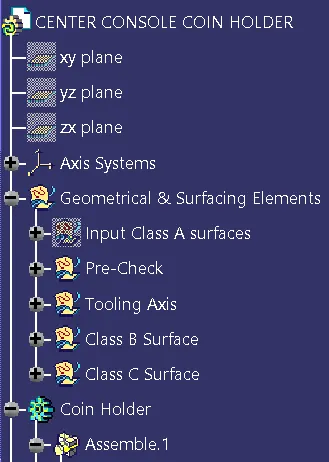
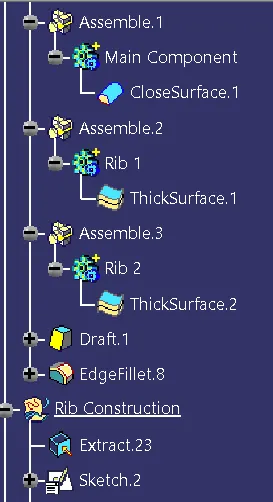
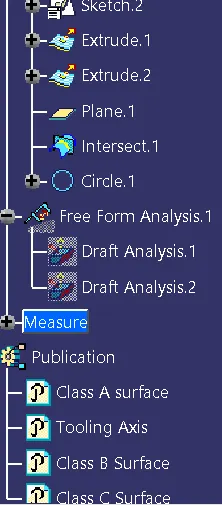
- Screenshots of the expanded Tree Structure for the Geometrical Sets , Surfaces and the Part Body
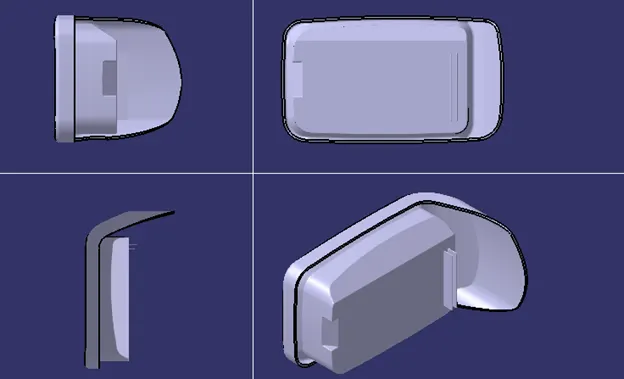
- Screenshots of the completed design in various orientations (Isometric, Front, Side, and Top View)