Week- 8 - Solid meshing
CHALLENGE 12: SOLID MESHING
OBJECTIVE:
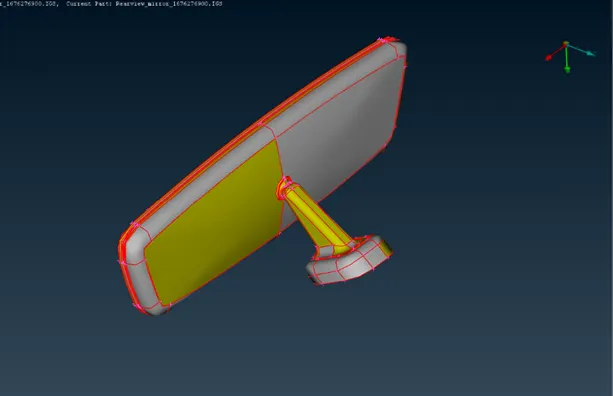
To conduct geometry cleanup and volume mesh the Rear-view mirror component CAD model as per the given quality criteria.
CAD MODEL:
PROCEDURE:
- Importing CAD model:
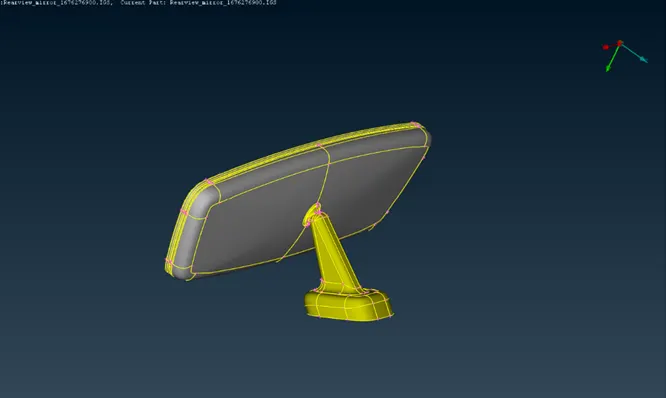
- Open the geometry model. Use Topology option to clear the cons and check the model orientation using Entity Drawing Style in Menubar.
- Geometrical Clean-up:
- Check for geometrical errors using Checks Manager option. Execute the geometry after selecting the required options.
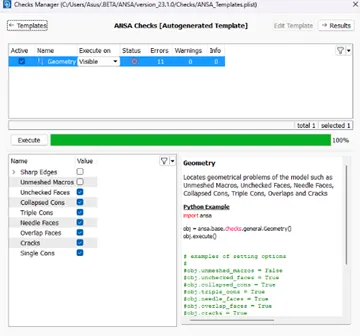
- Clear the errors using auto-fix option in Checks Manager from Tools menu.
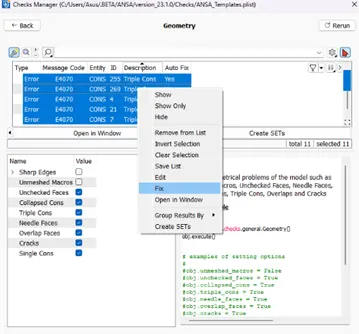
- Rerun the geometry check again for zero errors.
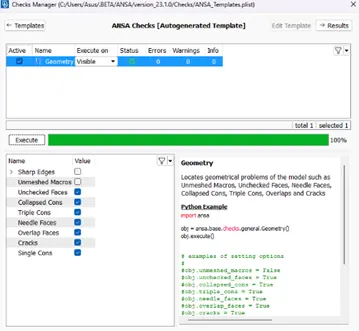
- Store Lock the unbounded geometry parts separately.
3. Quality Criteria and 2D Meshing:
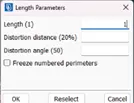
- Change the Length Parameter to value 1 for both Perimeter and Macros.
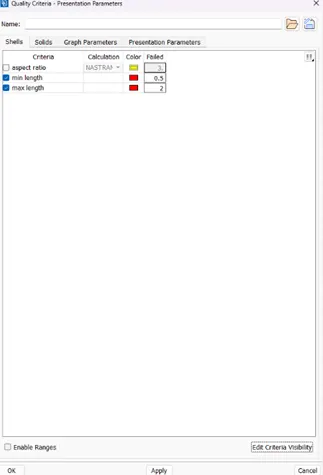
- In Shell section, select and enter the minimum and maximum element length value required in the Quality Criteria box from Utilities menu.
- Input the required mesh length and minimum length in Mesh Parameters from Utilities menu.
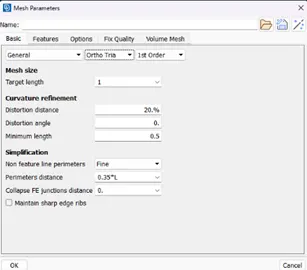
- Select Classical Mesh option from Mesh module.
- Use suitable option from Mesh Generation menu.
- Ortho-tria from Options List can be used for meshing curved areas for better result.
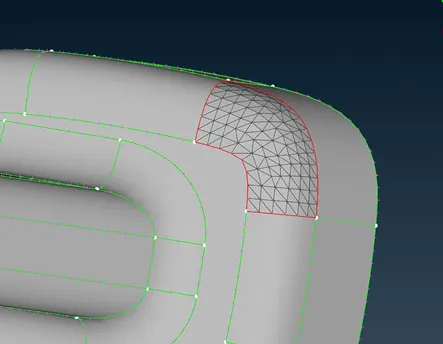
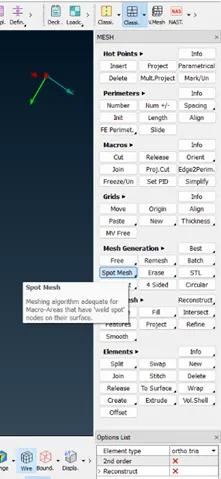
- Tria from Options List can be used for meshing flat areas due to less complex mesh requirement.
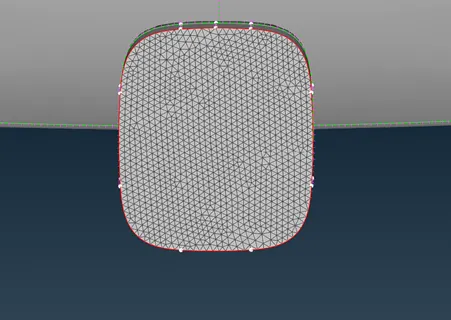
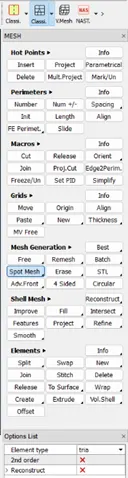
- Mesh the features sequentially and use Shadow Drawing Style to view the mesh quality deviations.
- Correct the mesh flow and quality using Mesh options, if required.
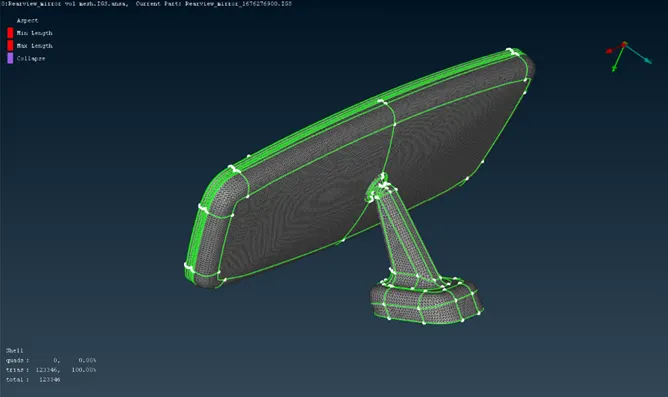
4. Volume Meshing
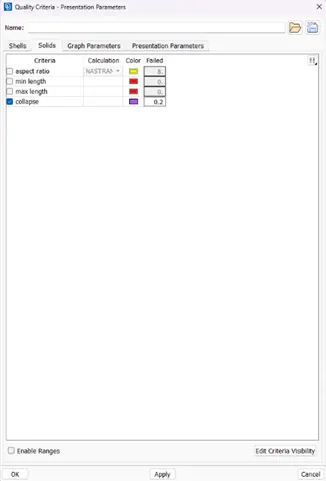
- In Solids section, select Collapse and enter value required in the Quality Criteria box from Utilities menu.
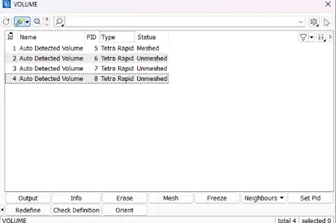
- Select and add the part required in the Volume Mesh.
- We can specify mesh type as Tetra Rapid or Tetra FEM.
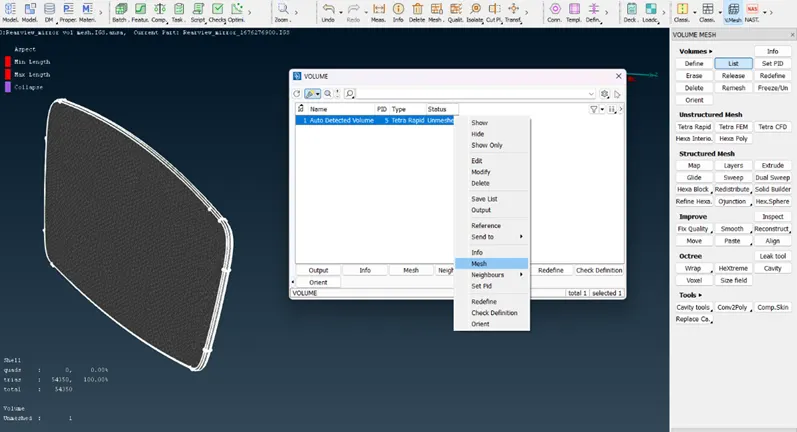
- Mesh the selected volume.
- Volume can be viewed using Bounds option from Drawing Styles menu.
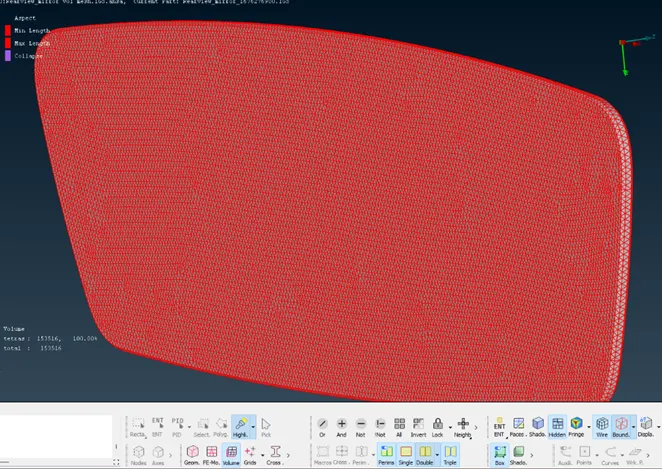
- Check for Collapse quality in the created volume.
- Similarly add each part in the volume mesh.
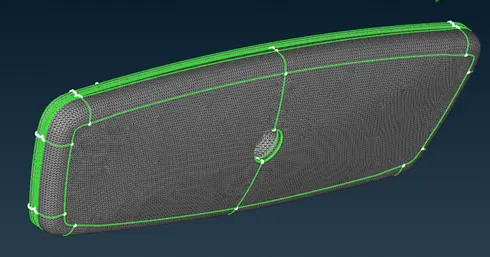
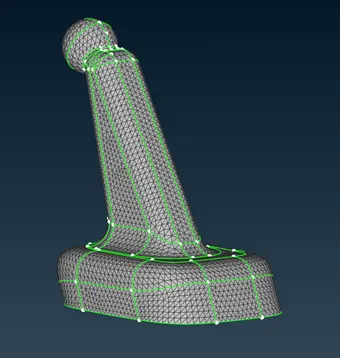
- Mesh all the parts and check for Collapse quality.
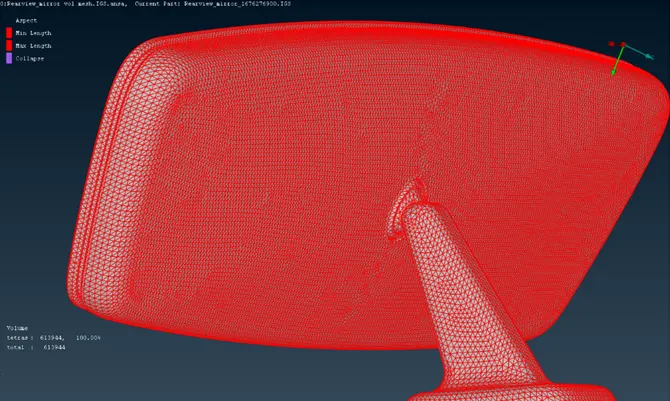
5. Final Model:
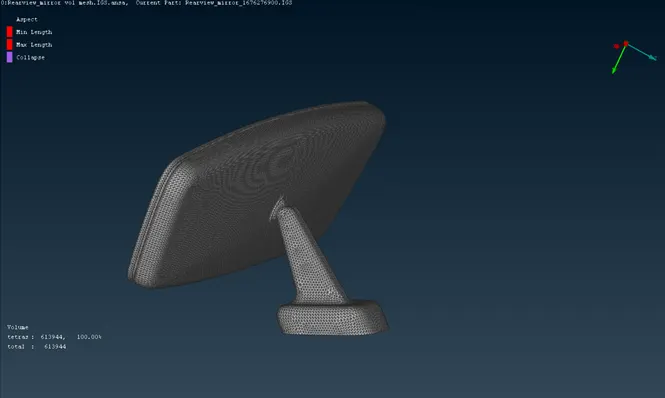
RESULTS:
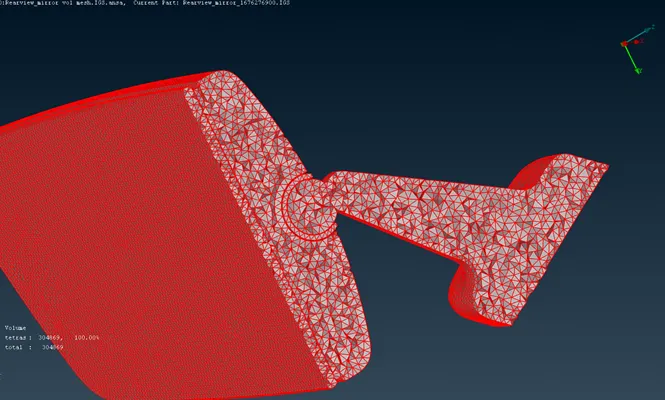
The given Rear-view mirror component has been completely meshed using tetra volume mesh and maintaining all the given quality criteria. The mesh formed is an Unstructured mesh.