Week- 8 - Solid meshing
AIM:
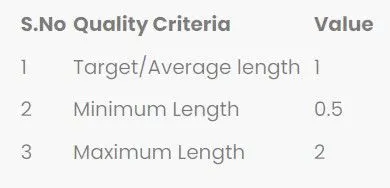
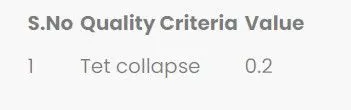
For the given Rear view mirror component, check for the geometrical errors and mesh the Surfaces with the given 2D element Quality criterias and use tetra elements to mesh the Volumes defined in the model and check for the below quality after Volume meshing.
GIVEN DATA :
Steps involved in the procedure:
- To check all the geometry error and to fix them..
- To generate mesh with good flow in the given quality criteria.
PROCEDURE:
- Open the Ansa work bench ANSA v22.1.0.
- Import the given model from the downloads
- In ANSA we can import all the CAD Software file formats like IGES,STEP,etc.
- And we have to define the material and to orient the components.
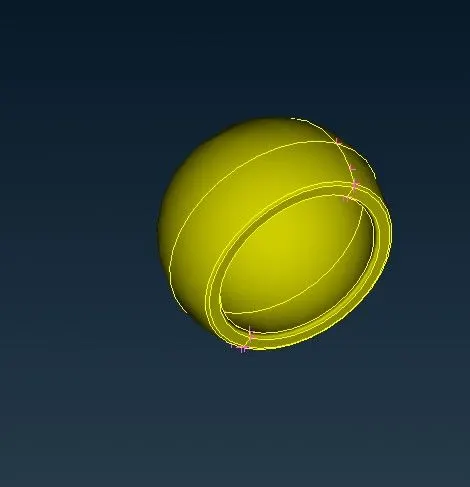
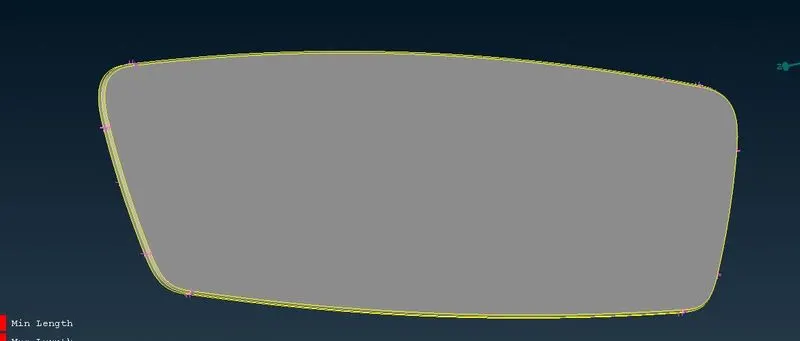
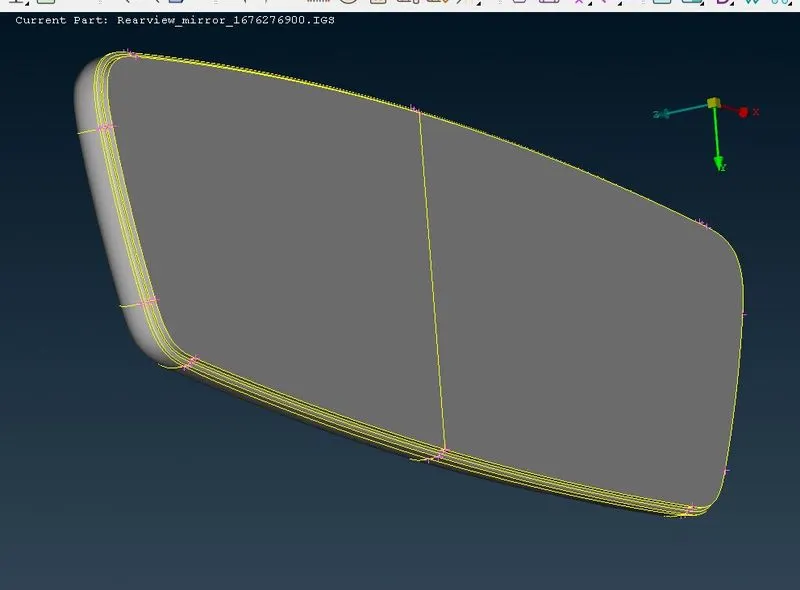
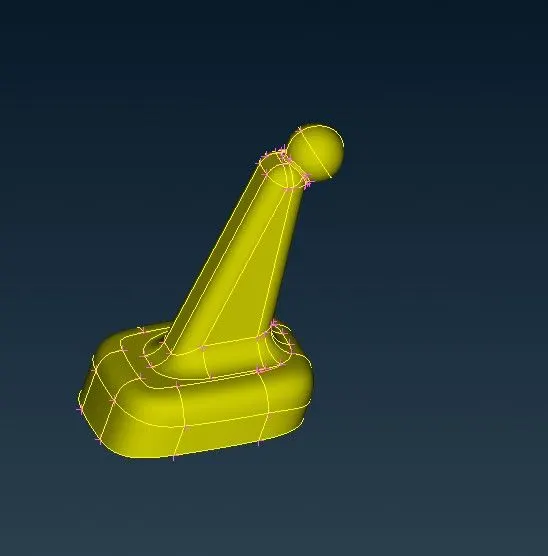
- The model consists of the 4 components listed below.
Given model:
STEP 1:
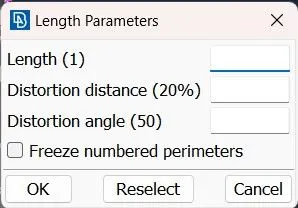
- Before doing the geometry checkup we have give the length for every component to mesh properly.
- Mesh Module >> Perimeters >> Length.
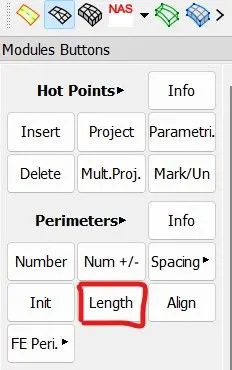
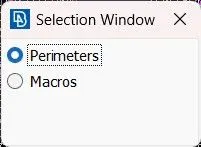
- Then the length of the perimeters and macros should be given 1.
STEP 2:
- We have to fix the geometrical errors in the parent component.
- Tool Bar >> Checks >> Geometry.
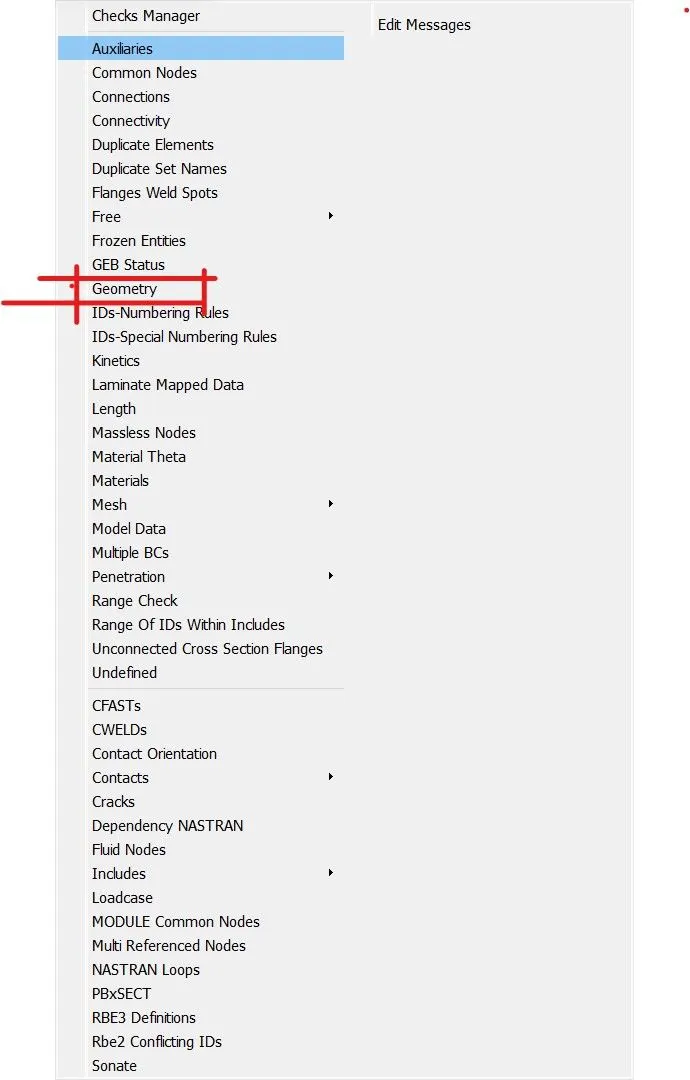
- After clicking on the check geometry and executing it,The geometric errors will be displayed.
- there were only very few errors.
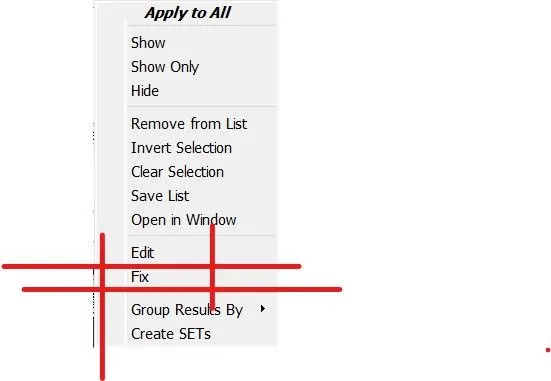
- We can fix that geometric errors by manually or automatically by using the auto fix option.
STEP 3:
- For solid meshing we don't have to create the midsurface.
- we can straightly go for meshing.
- while meshing an solid component,we have to do only tria and ortho tria meshing
STEP 4:
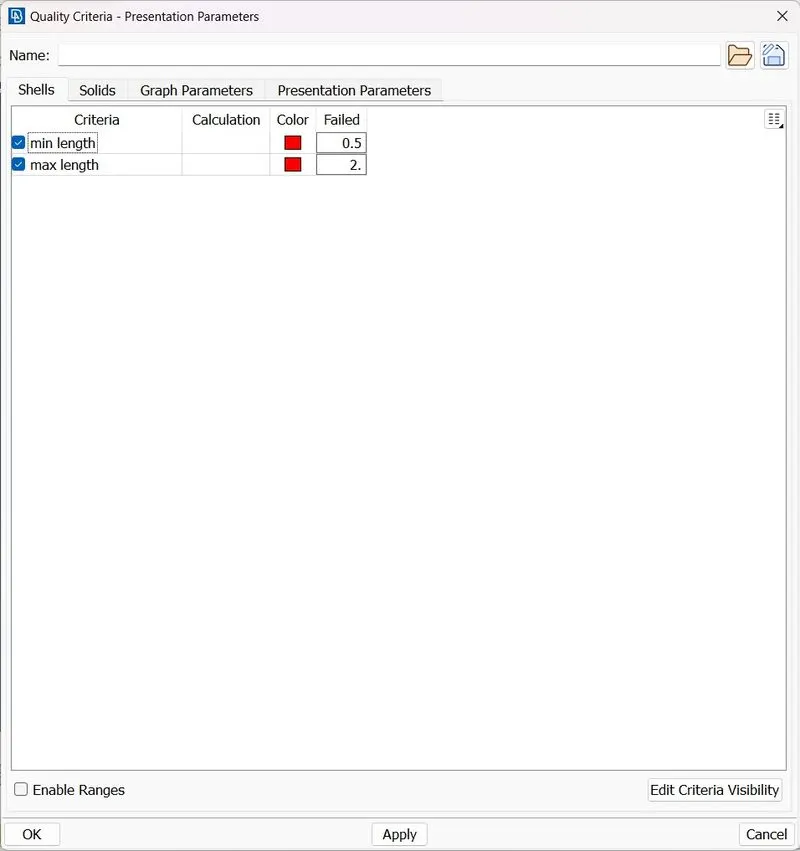
- Before meshing the given data is added to the quality criteria of the components and the target length
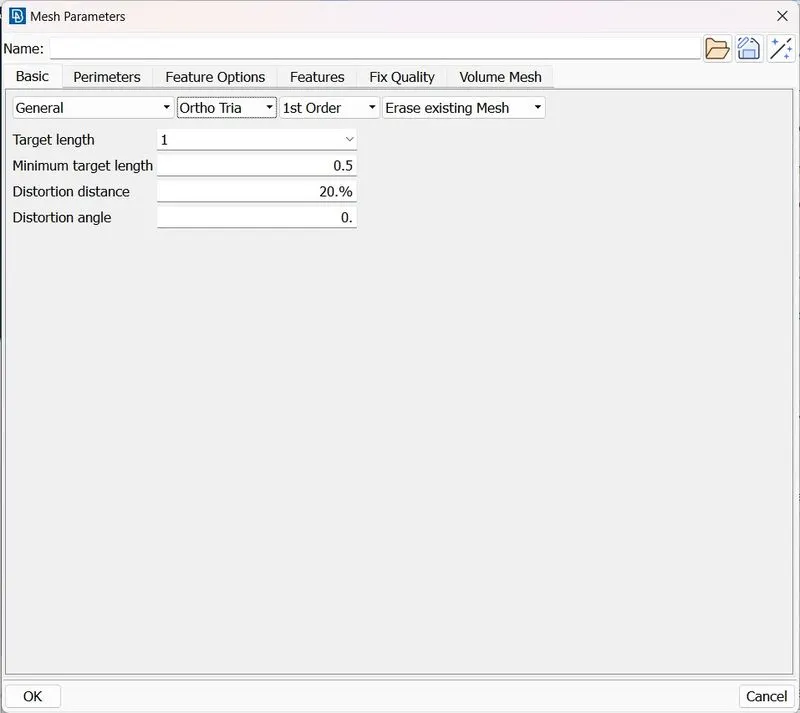
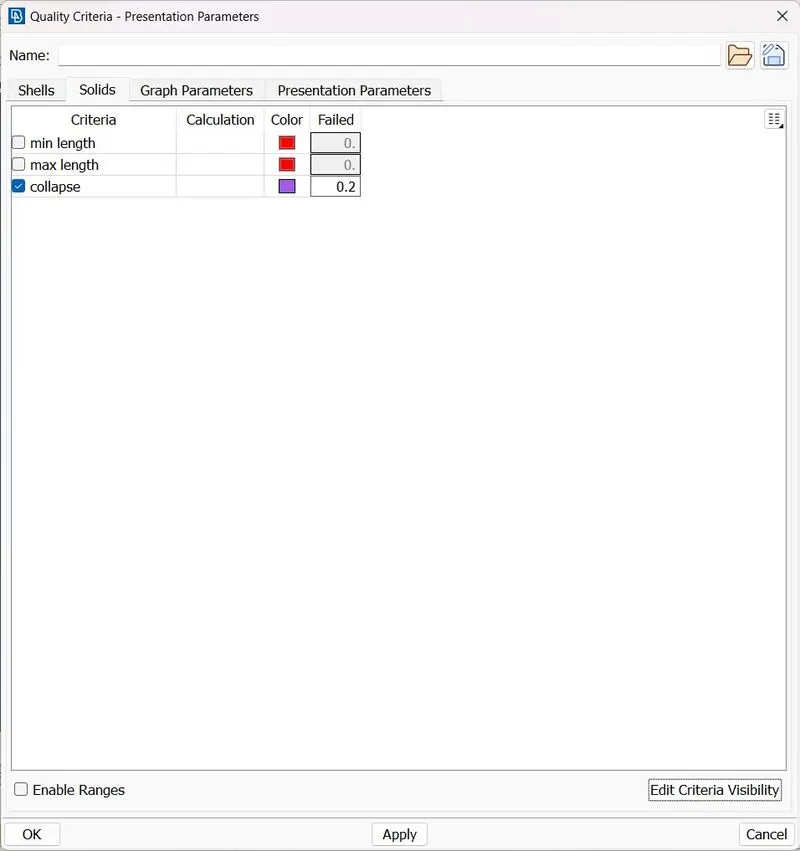
- in solid tab we have to check only the collapse criteria.
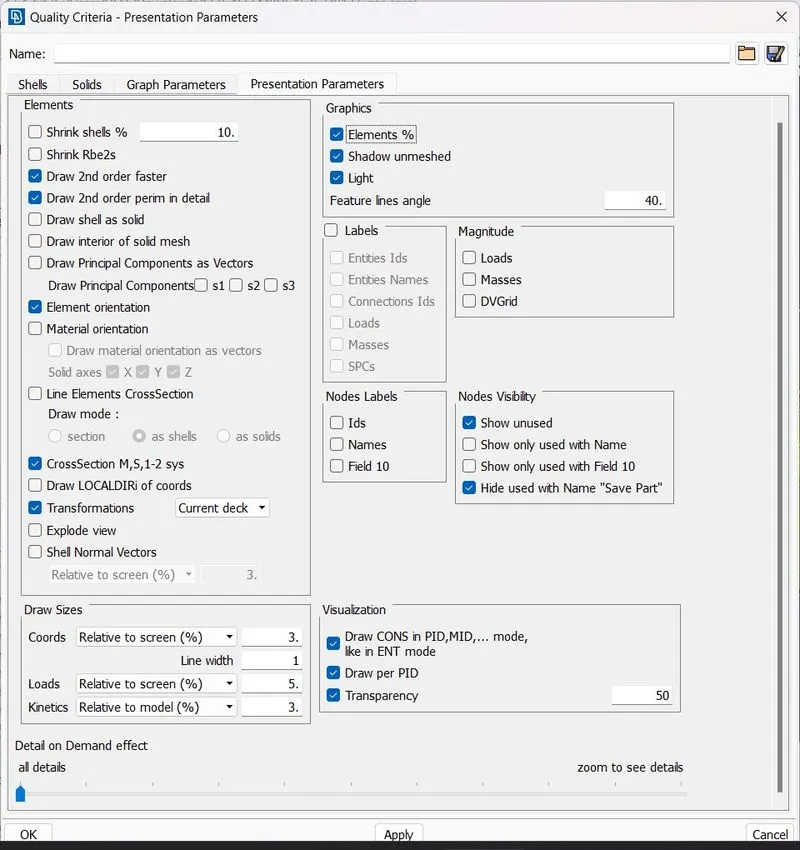
- And in presentation parameters element percentage and all details are turned on for better visibility.
STEP 5:
MESHING:
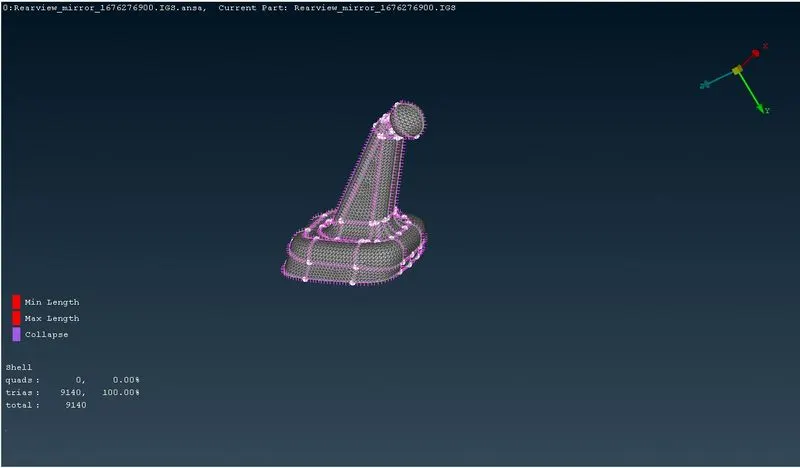
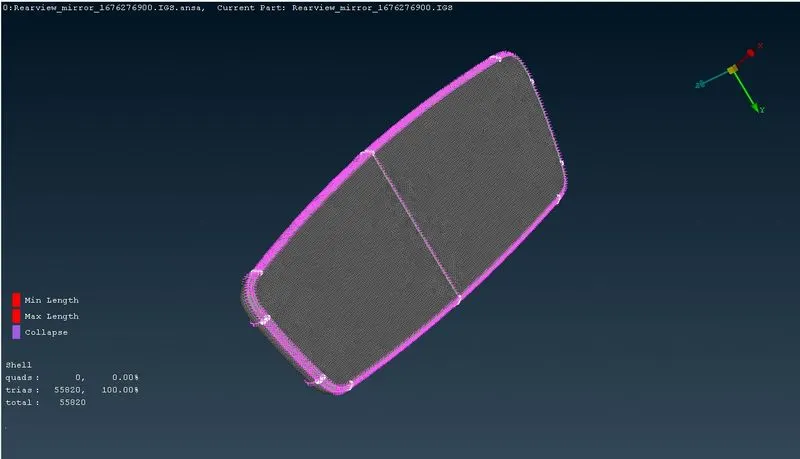
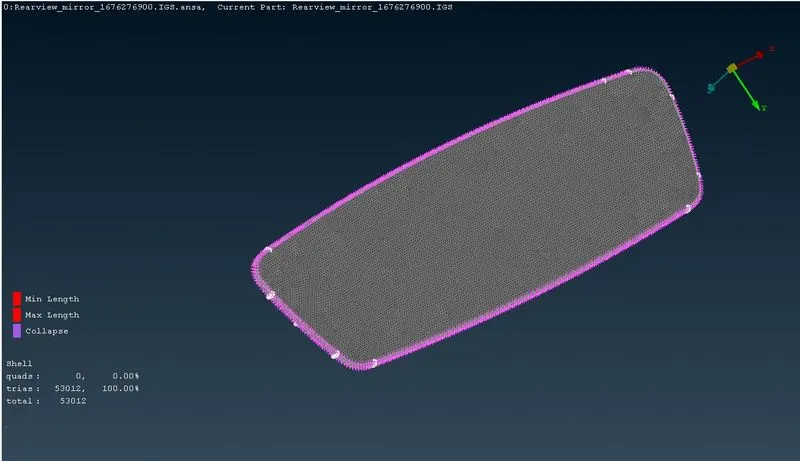
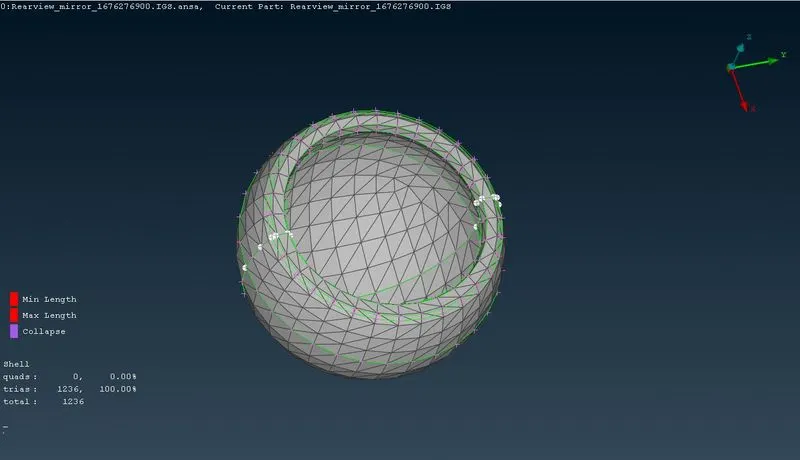
- Now we can go ahead and mesh the component. The spot mesh tool is used (Mesh Generation > Spot Mesh). For regions that are flat and not as complicated, the tria mesh can be used. The option to switch to tria is in the bottom left options section after selecting the spot mesh tool.
- In the more complex regions (such as fillets and hemmings), we can make use of the ortho tria tool, which is another mesh type available from the same set of options.
- After each mesh iteration, we will need to reconstruct the mesh using Shell Mesh > Reconstruction. For this to be effective, the neighbouring mesh is selected as well. This ensures the reconstructed mesh is of good quality and flow.
STEP 6:
VOLUME MESH:
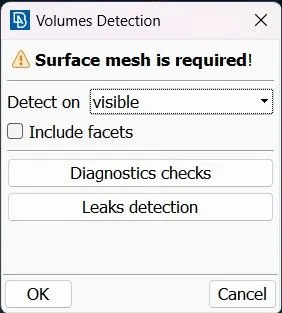
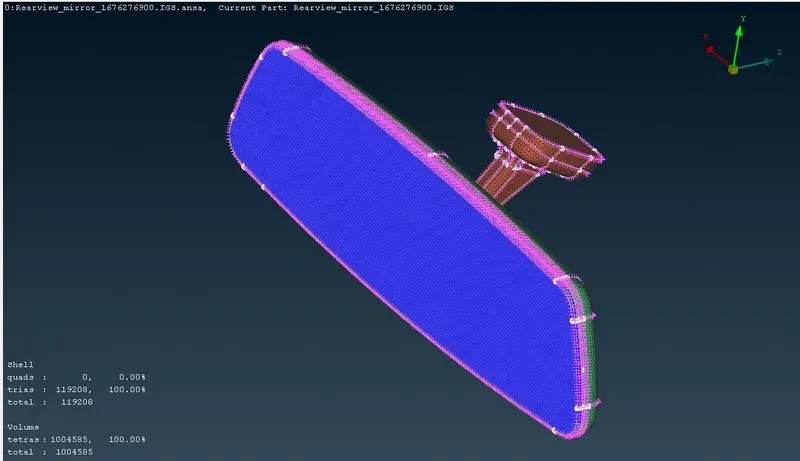
- After meshing all regions (and ensuring there are no off elements), we can proceed to the next step of assigning volumes automatically to each set of closed-shell elements.
- This is done by using Volumes > Define >visible.
-
All the volumes are identified this way.
-
There should be 4 volumes as shown.
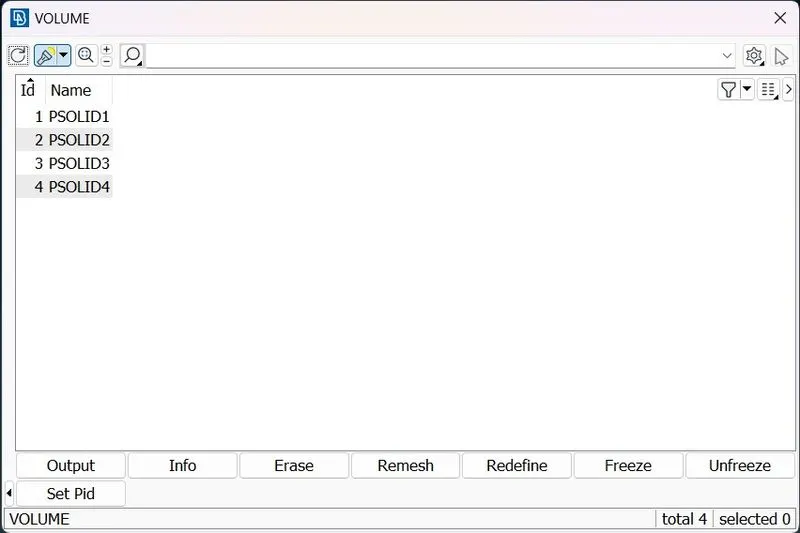
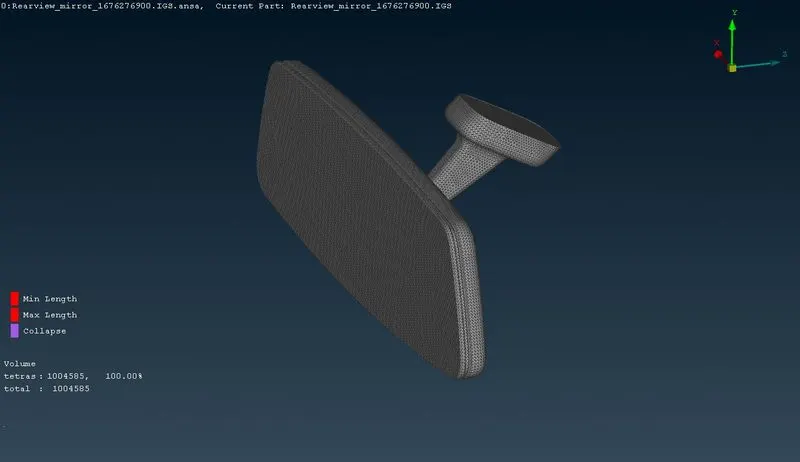
- After that, we can rt. click each volume and remesh them using either one of the tetra FEM algorithms. Doing so it generates the solid mesh elements.
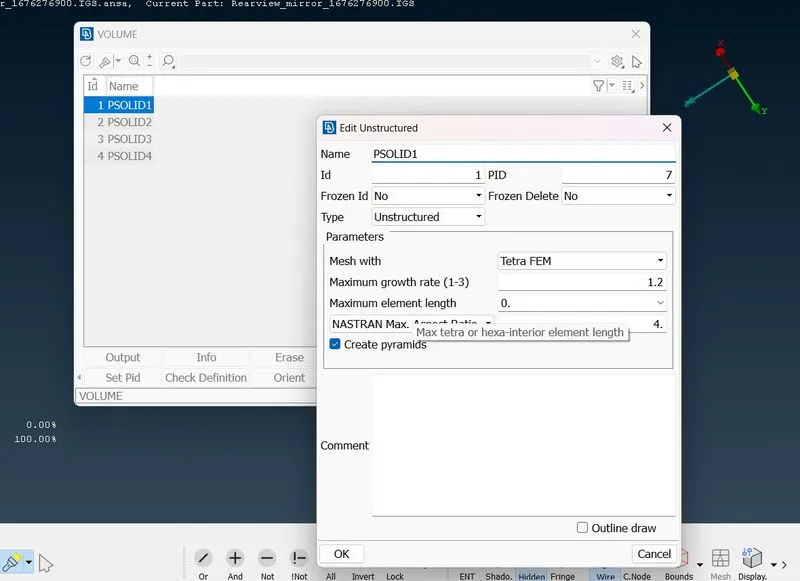
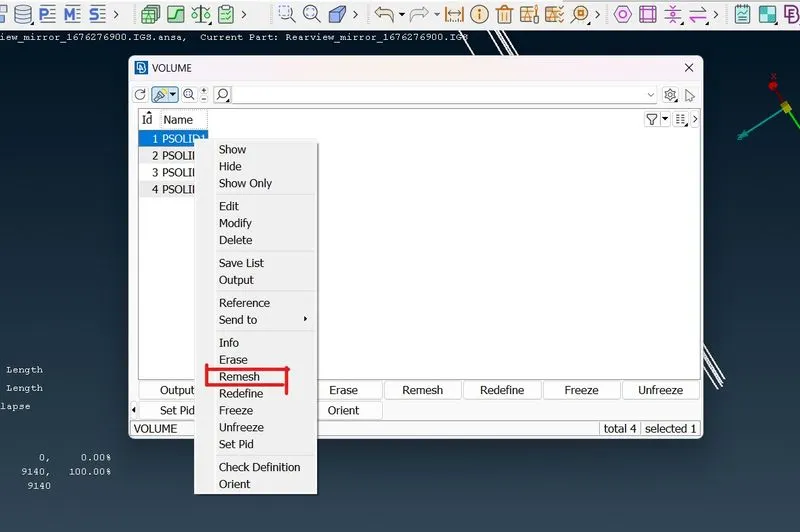
- Next we need to check the solid elements to see if any fail for the tet collapse criteria by switching to hidden mode. There are two ways to fix tet collapse failures. One is by using the Fix Quality tool from the volume mesh module (Improve > Fix Quality)
- The other method ist he MV free tool can be used (Grids > MV Free) which is available in the mesh module. This lets us manually drag particular nodes of the failing element such that the height of the tetra element can be increased. This helps pass the tet collapse criteria.
- An example of the generated 3D elements
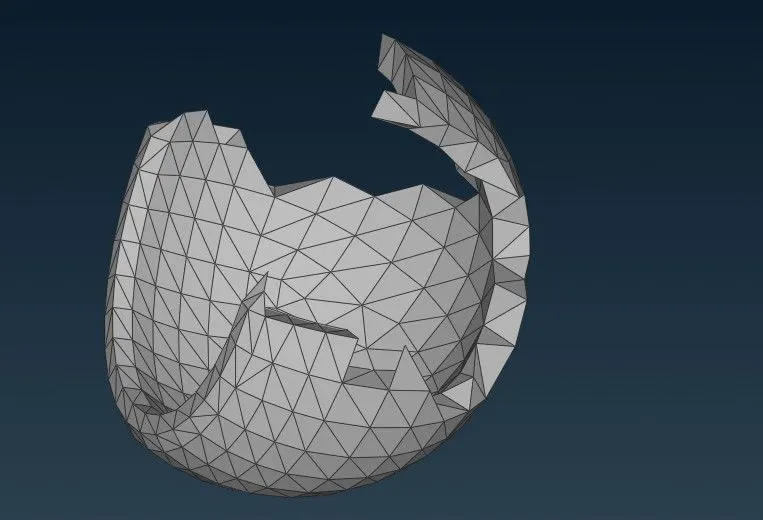
volume mesh components:
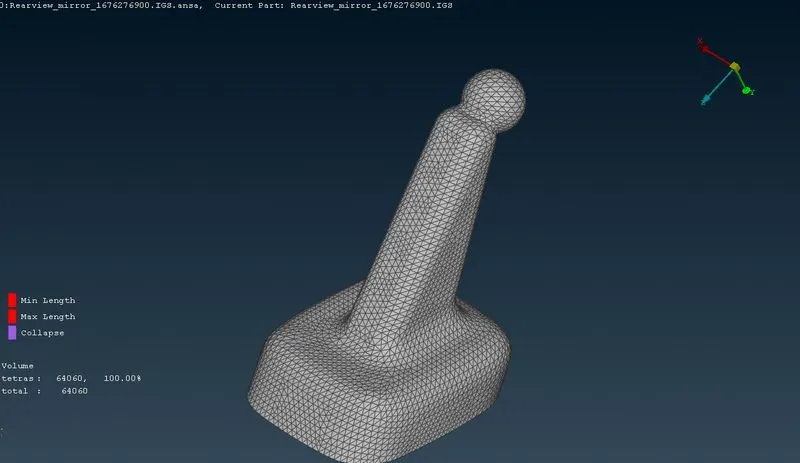
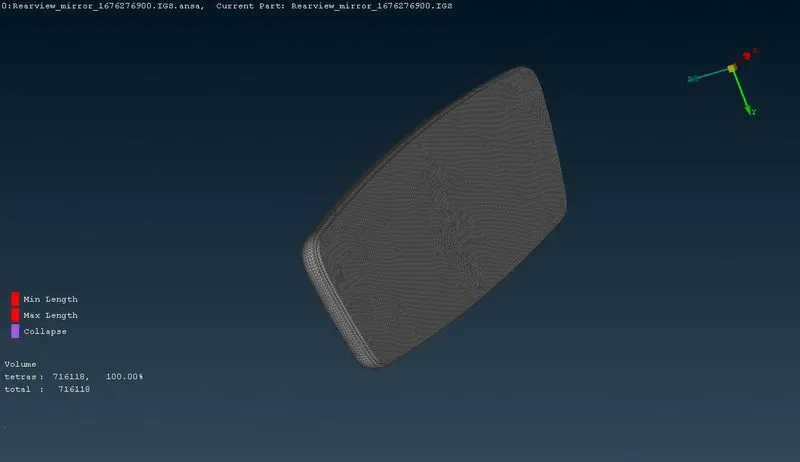
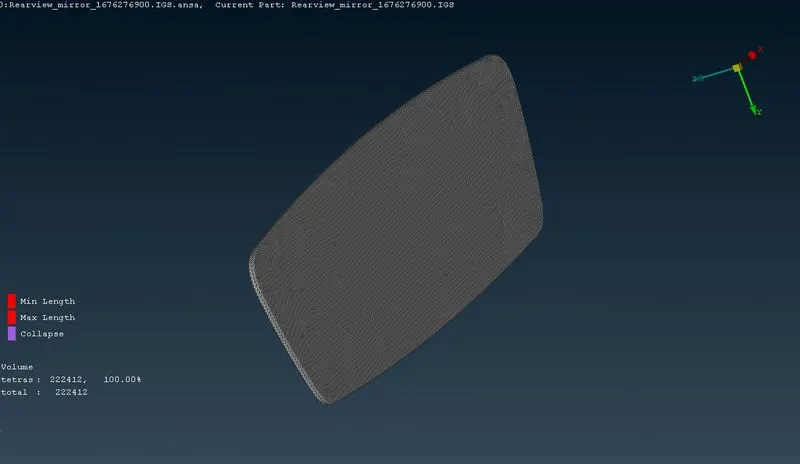
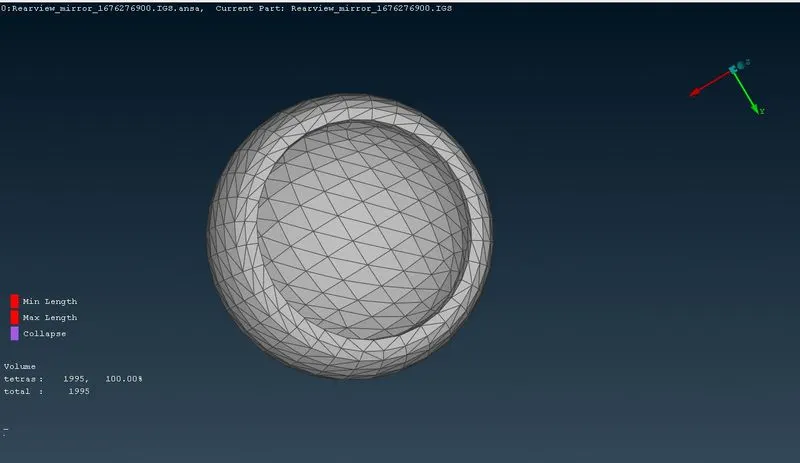
final model image:
LEARNING OUTCOMES:
- Learned some tools related to solid meshing.
- Learned to assign volumes for closed shell element regions.
- Learned to fix tet collapse failures.
- use of the ortho tria and tria mesh types through the spot mesh tool.
CONCLUSION :
The given component was geometrically fixed and meshed as per the given requirements and criteria and the generated shell mesh was used to create the solid mesh.