Week - 8 - Morphing
AIM; To understand the concept of Morphing and its applications in the New Design Modeling techniques. We have to alter the design of the given geometry with these morphing method.
MORPHING;
- Morphing is the Design change terminology or used to change the design of any componenet without any Numerical Inputs.
-
It is used to adjust the shape and size of the component to the new size and shape without disturbing the connectivity and the boundary conditions, the Geometry of the CAD will not change and it will apply only the coordinates of the nodes change.
- It not only applicable for CAD model and also uesd for Meshed Component without any changes occuring to the mesh regions.
- This Technique is widely used for Design modifications etc.
PROCEDURE;
- Import the given models in to the GUI area.
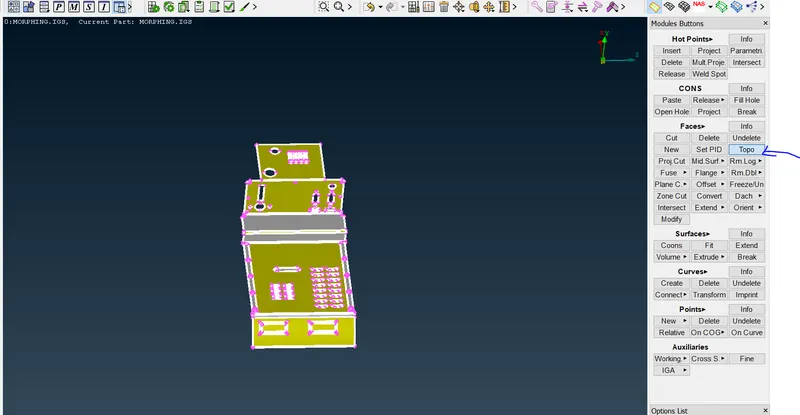
- Perform the Topo cleanup to the model.
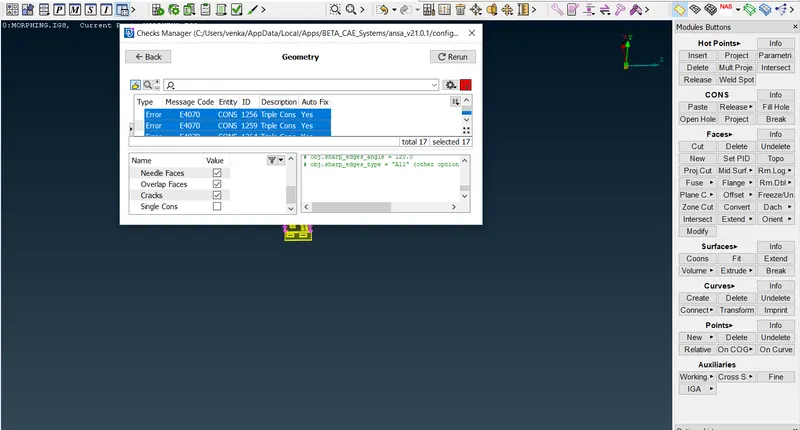
- Need to clear all the geometry checks and it will clear from all errors.
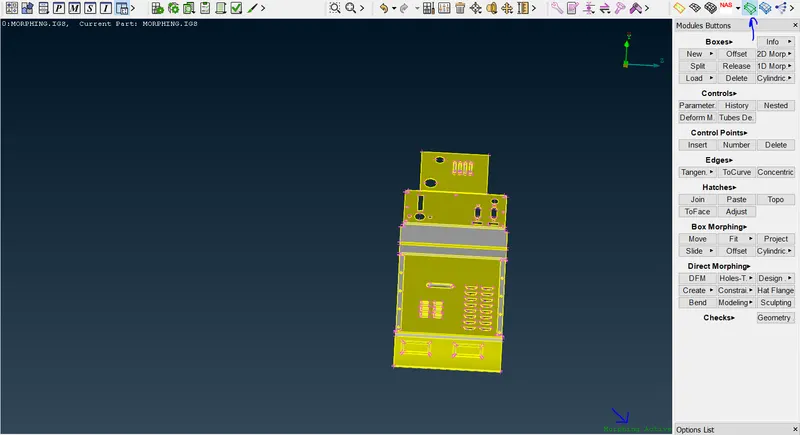
- For change the new design modifications GO TO THE Morphing Tab.
- By using New, Split, and move options we will changes the design modifications.
Model 1;
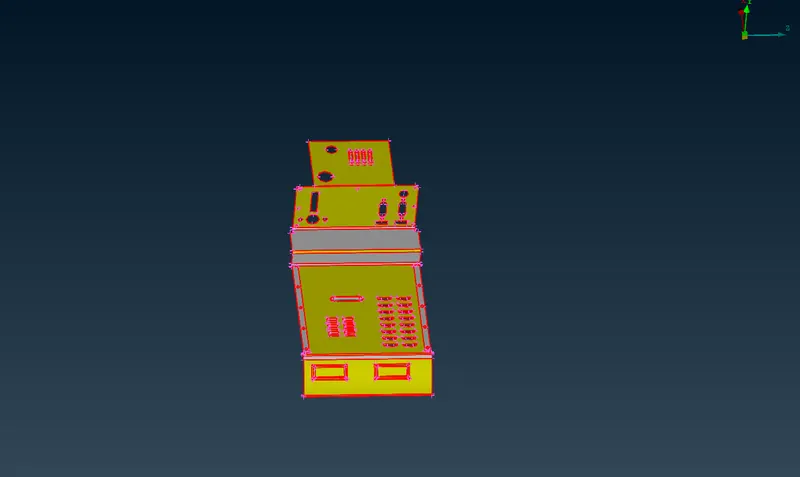
Topo
GEOMETRY CHECKS;
Go to the Morphing Deck;
- Go to Morph tab, Where Morphing active will be seen in the right below the GUI Area window.
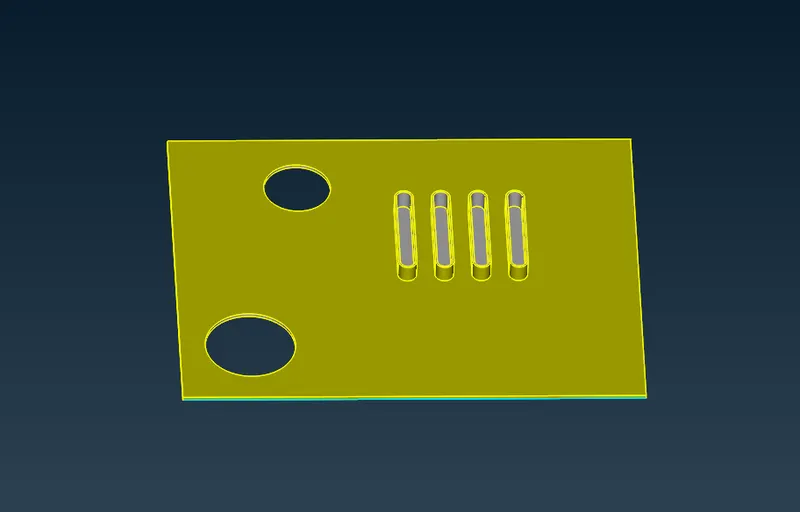
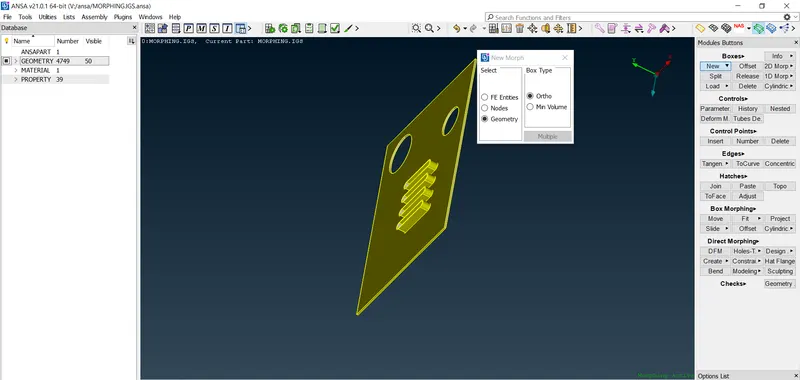
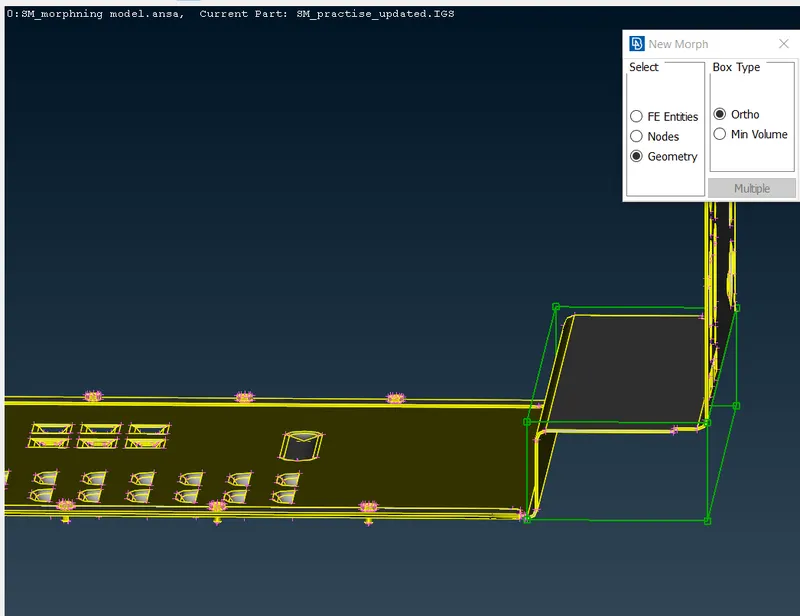
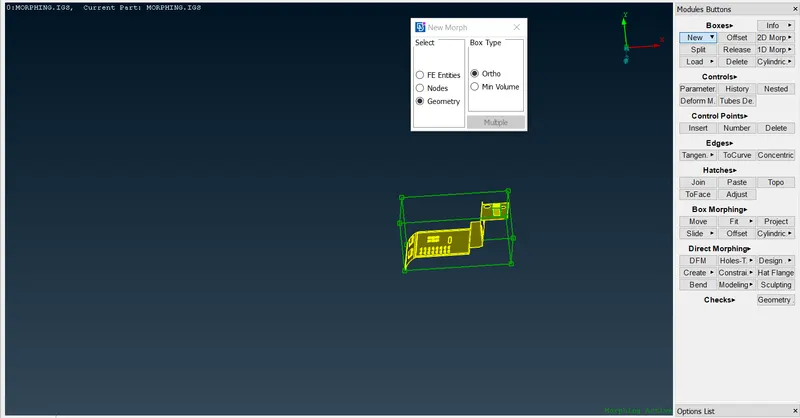
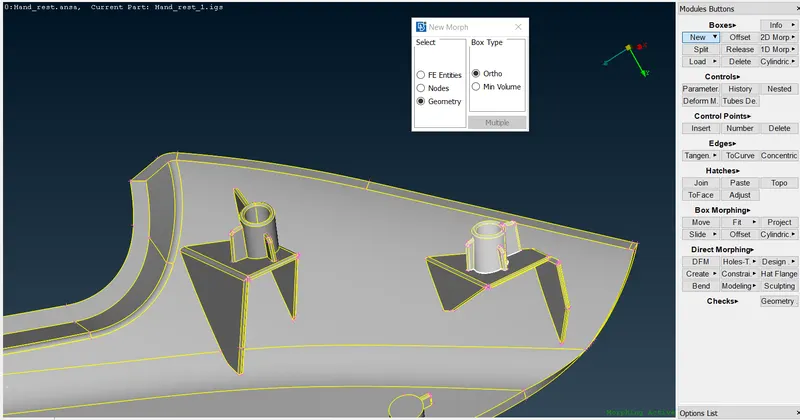
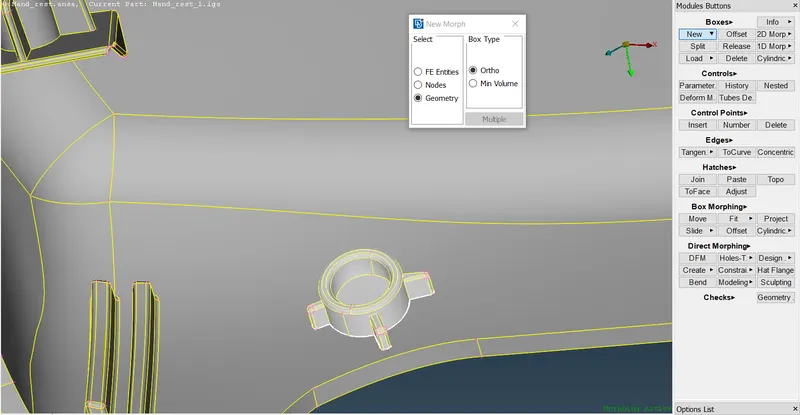
In order to change the dimensions of the model,In the morphing deck, we go to the Boxes option where we have to select the New ortho >Geometry select.
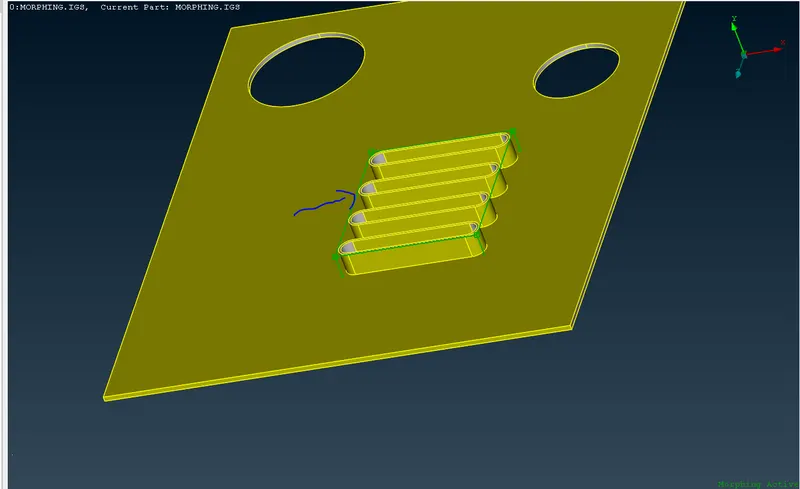
Now it will creates an Morphing box around the selected area of geometry.
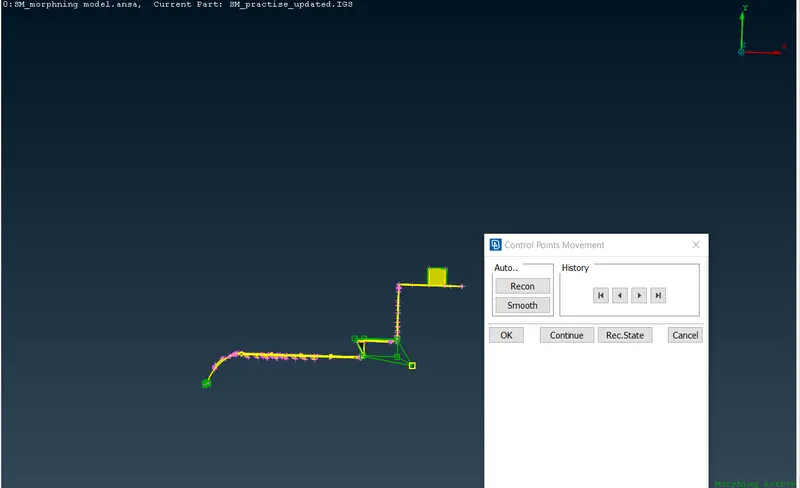
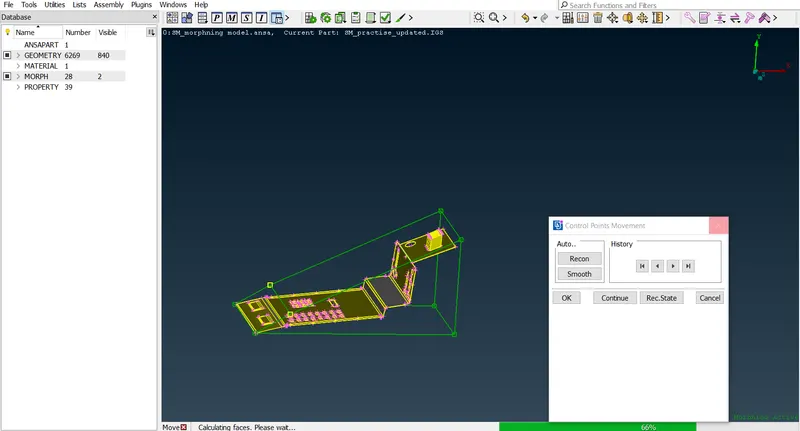
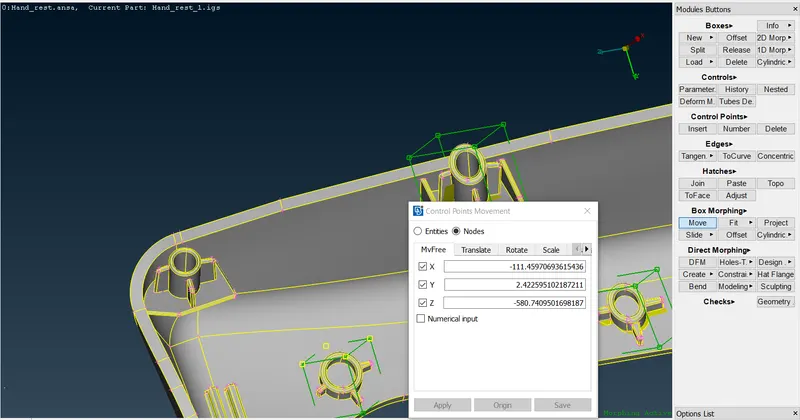
- For changing the design of a geometry we have to move the nodes of the geometry in an apporiate manner.
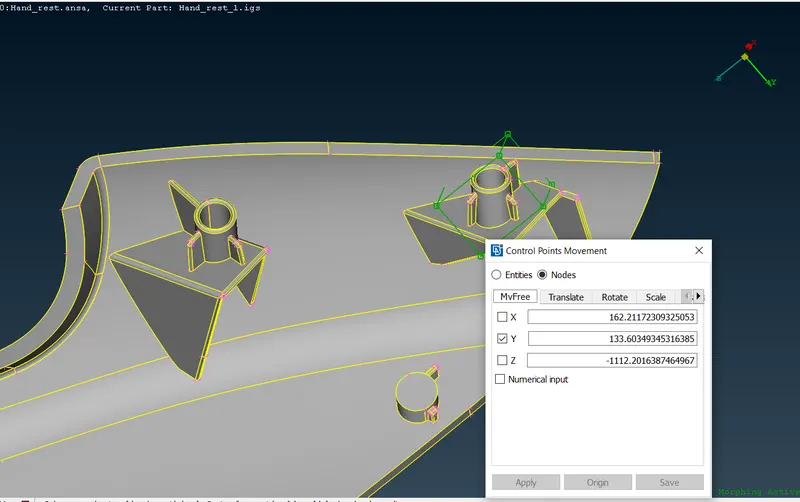
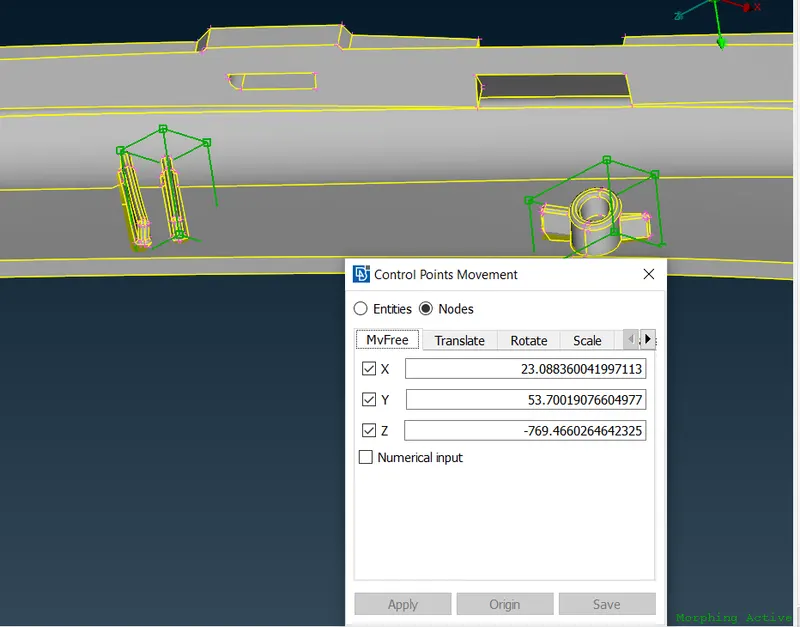
- These Morphing will have control grids and these control grids is moved by manuallay or some input values.
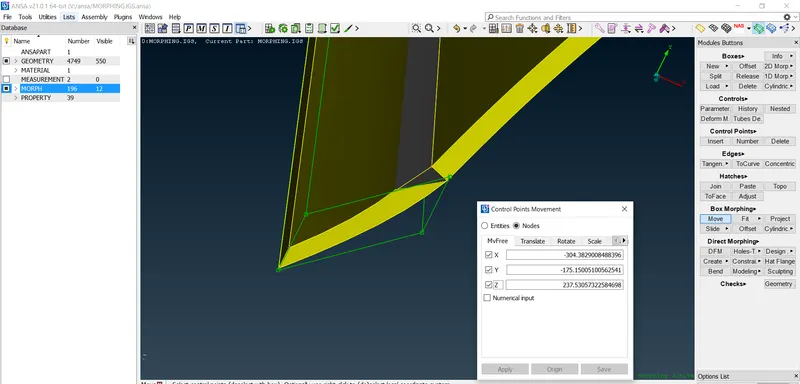
- In this option it will shows X,Y,Z Directions and we have to move the geometry by taking reference of these Axis.
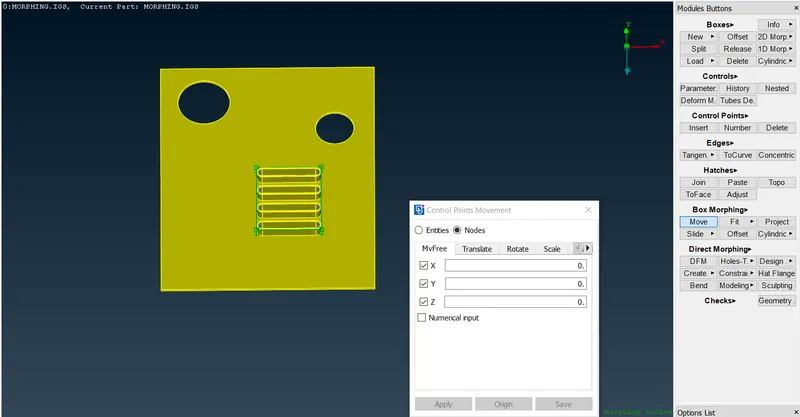
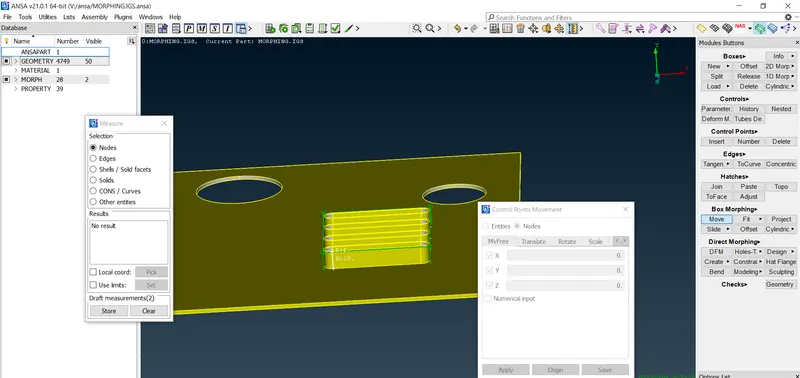
After conforming click on middle mouse button, where it changes the design of an component.
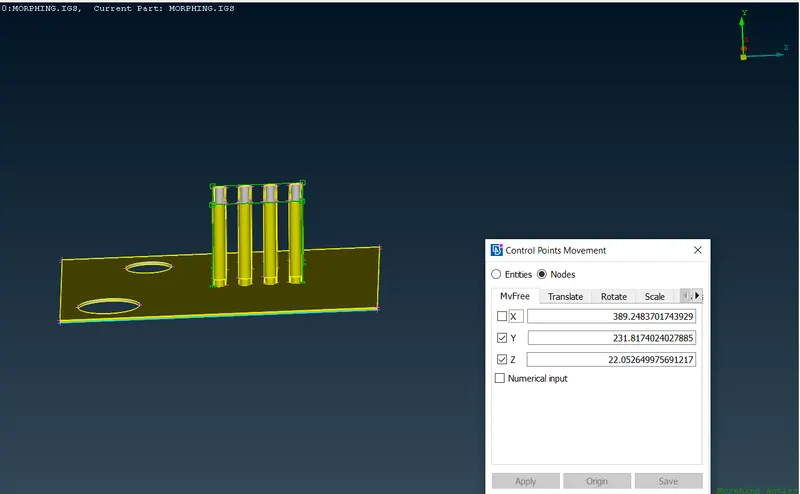
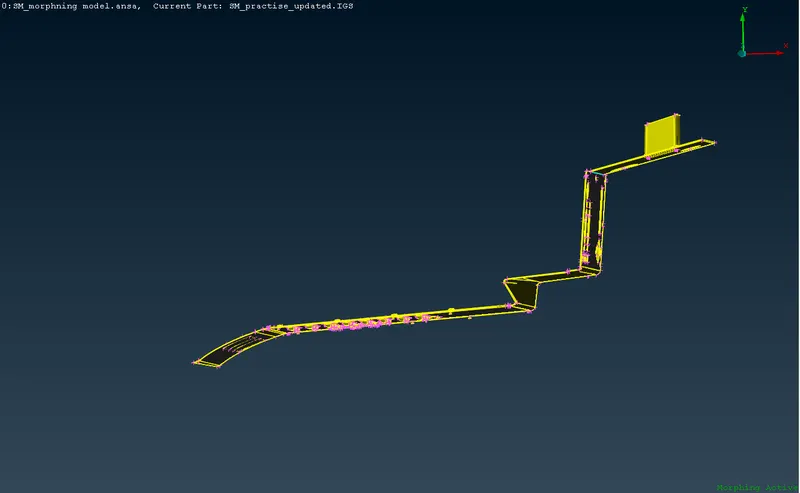
This below figure shows the design changes by this morphing technique.
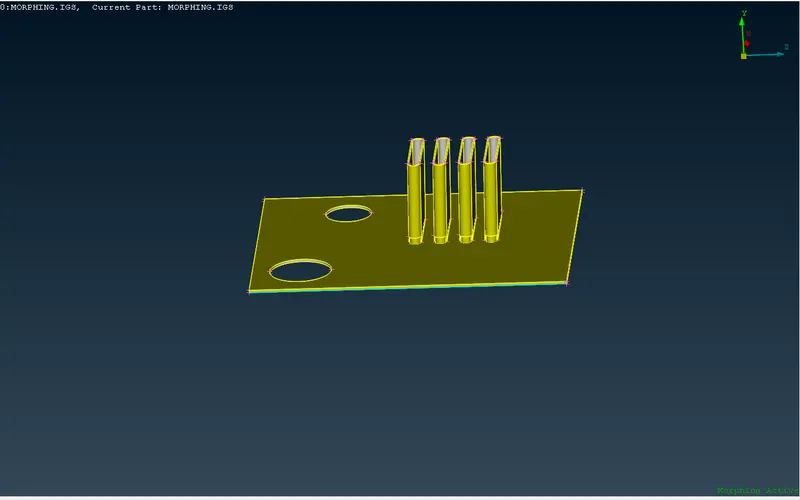
Repeat the same process for the remaning process where we want change the design dimensions.
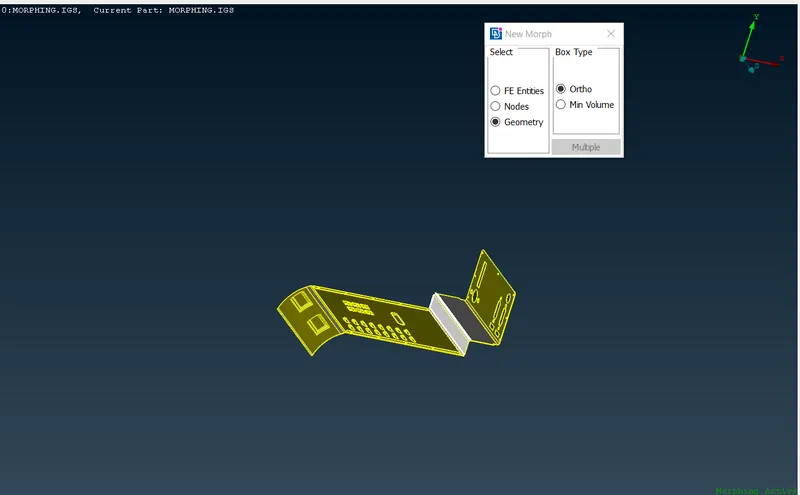
Model2;
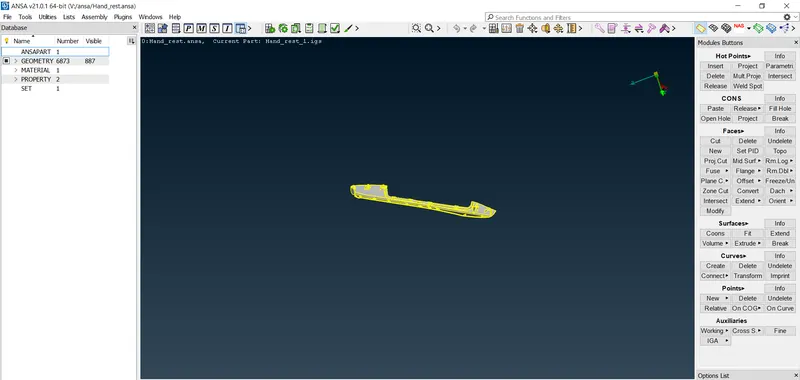
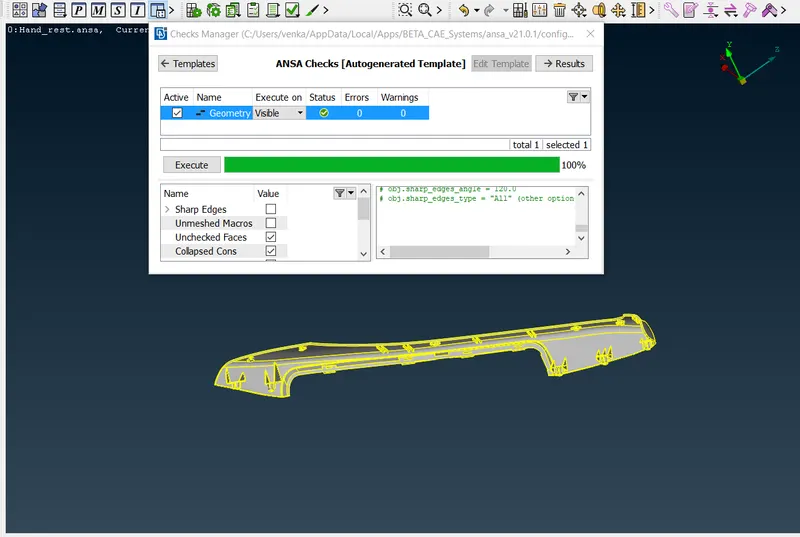
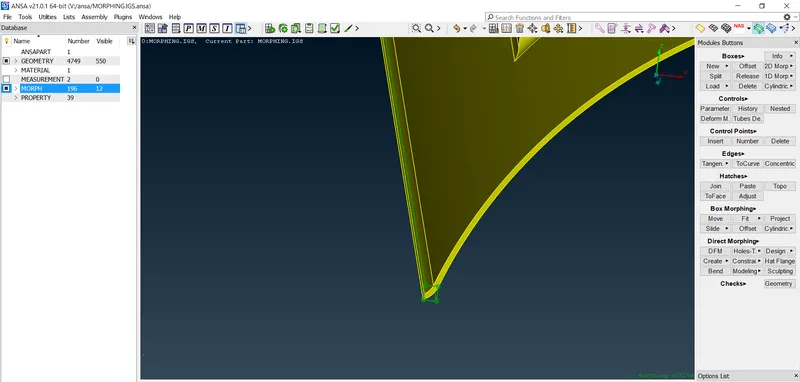
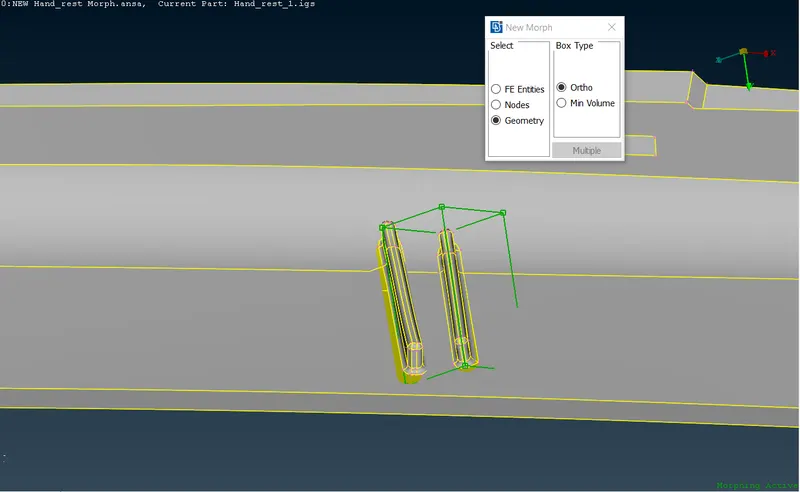
- Go to Boxes> New > Select the particular features which has to be change in design> Middle click on mouse.
- Now as shown in the below figure, Around the selected macros green box will be generated with nodes at the corner of the box.
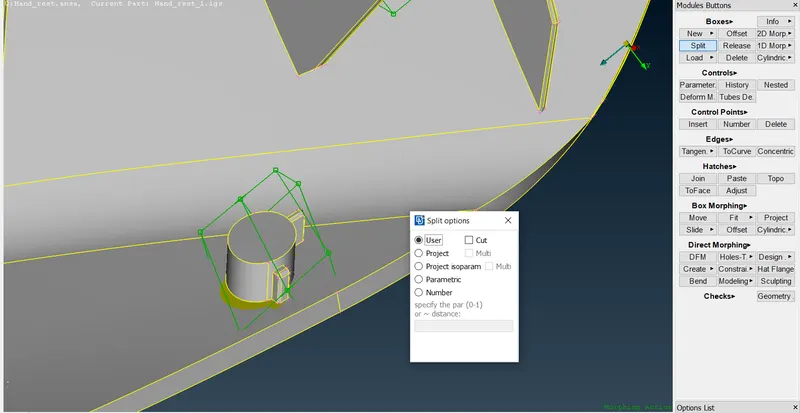
- These nodes can be converted to more nodes by split option under Boxes tab.
- To get more accuracy in design change split options used.
Move the Coodinates of the entity according to the desired shape.
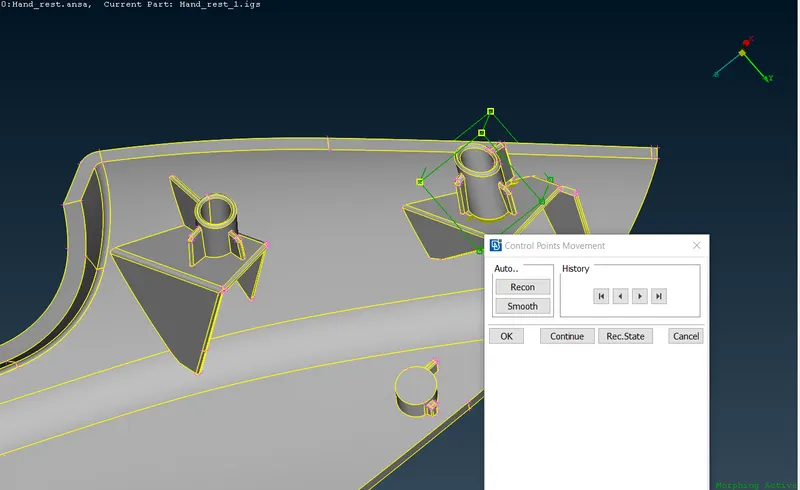
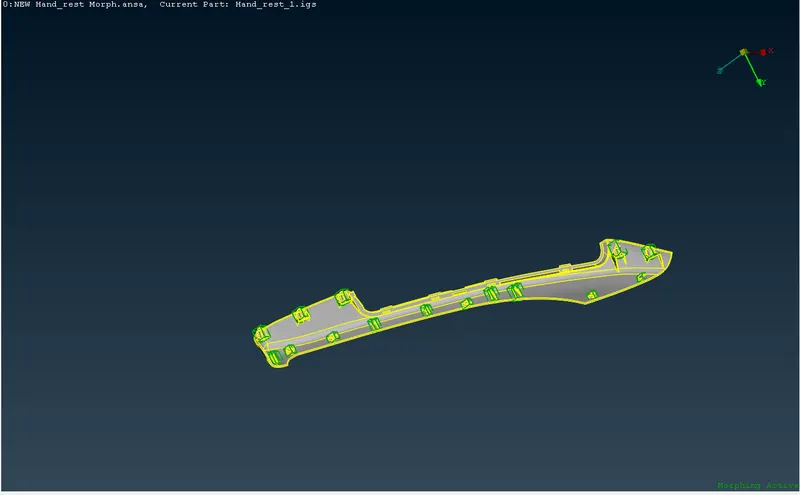
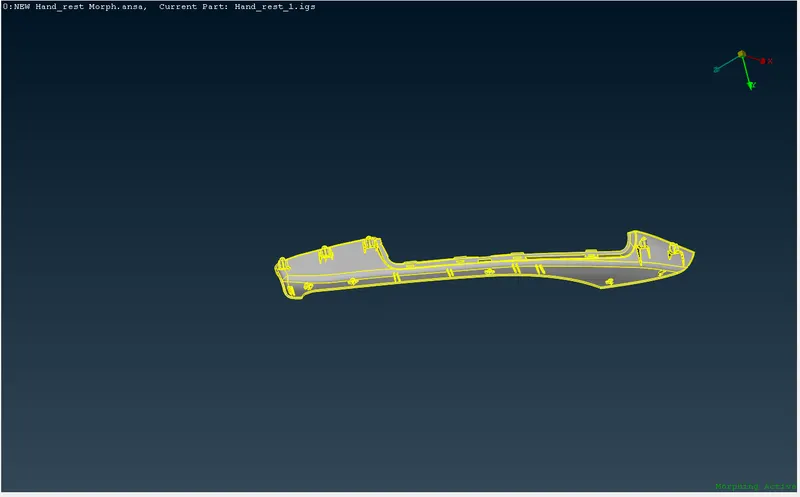
Final model after changing all the design modifications.
CONCLUSION;
Learned about the morphing Techniques and changes the new design modifications on the given CAD models with an some dimensional changes in the model.
Link for both Model 1 and model2;
https://drive.google.com/file/d/1p4RMYI5C3A0mYWey1ufKVu8VsfIRePSS/view?usp=sharing
https://drive.google.com/file/d/1wMxpbWj91Uo-Iuz2L74oBz6aT5zcHsdP/view?usp=sharing