Week - 8 - Morphing
AIM
To learn and practice Morphing deck in Ansa; and to deploy morphing tools and techniques on the given components and record the learning outcomes.
GIVEN
- Model-1 in .iges format.
- Model-2 in .ansa format.
OBJECTIVES
The two aims of this challenge are –
- To practice morphing techniques as discussed in the week 8 video over the given the sheet metal component, ‘Model-1’
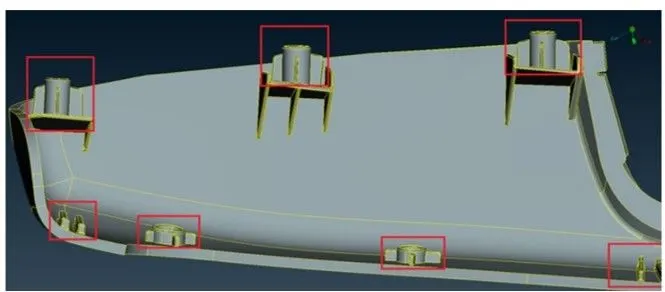
- To morph the given Hand Rest component by increasing the height of the dog houses and ribs marked as shown:
METHODOLOGY/PROCEDURE
Case 1: Morphing of Model-1
1. Import the geometry:
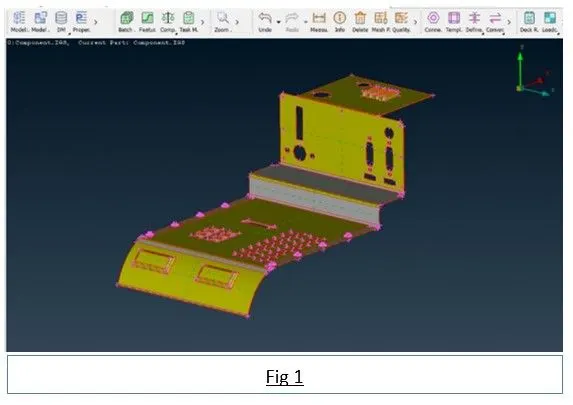
The given .iges model file will be imported into ANSA in this process as shown in fig 1. Analysis of the given FE component – for getting start with geometry cleanup in a very effective way.
2. Topo:
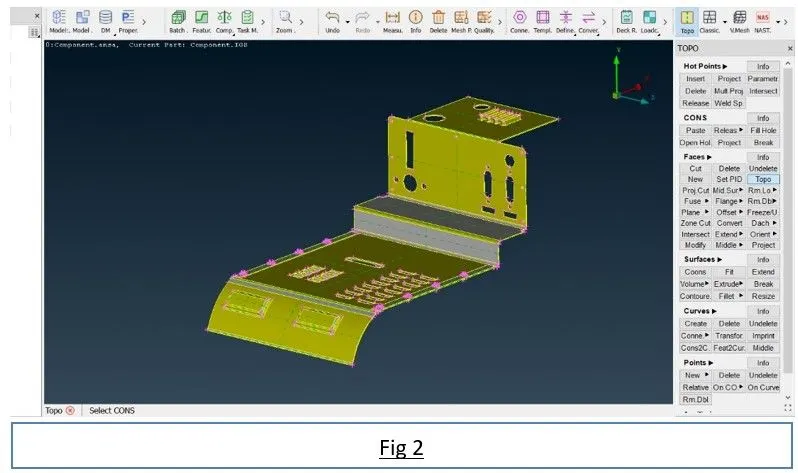
Topology should be done in-order to stitch the surfaces together. Topo command can be accessed in Topo deck ----> Faces ----> Topo.
3. Geometry Checks:
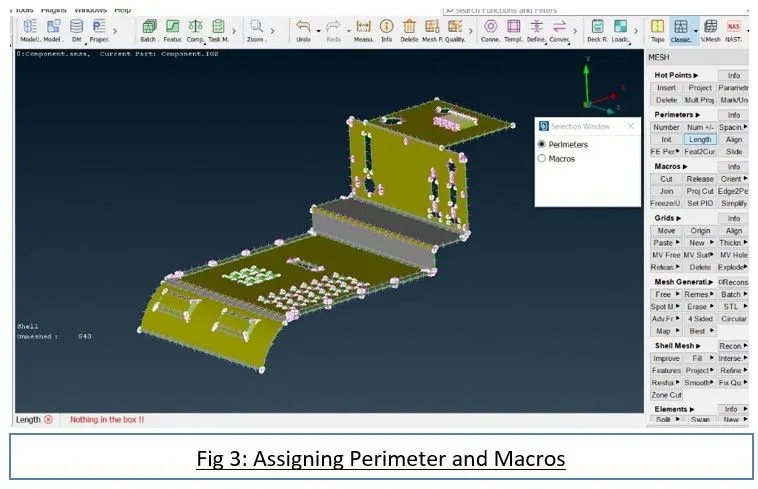
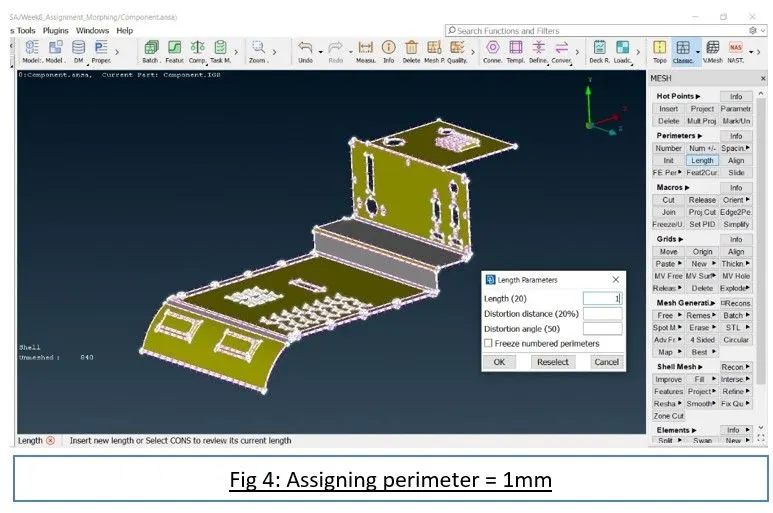
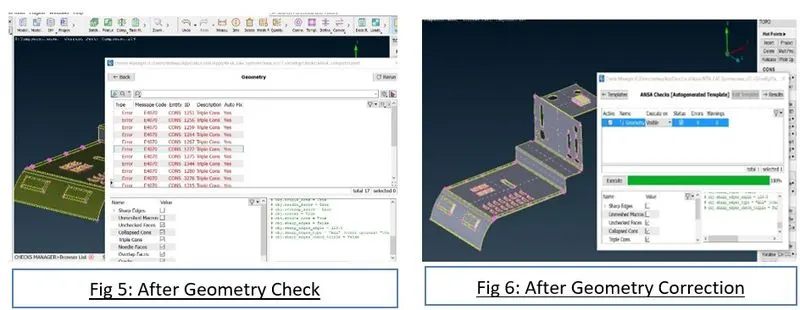
Geometry checks should be carried out to ensure whether the given surface of the component is out of geometrical errors or issues in the form of extra surfaces, triple cons, needle edges or faces, etc. If error found, it can be fixed by either auto fix option in the ANSA or by manual method. Geometry check command can be accessed in Tool bar ----> Checkup ----> Geometry. However, before geometry check, the surfaces should be inspected for regularity and uniformity. This can be done by either smoothening the surfaces by assigning length perimeter = 1mm or by fine tool. Former method of assigning length perimeter = 1mm is done in the given case and the surfaces are inspected. The command can be accessed by Mesh ----> Perimeters ----> Length ----> Perimeter/Macro = 1mm. The component after assigning perimeter and carrying out geometry checkup are shown in Fig (3) and Fig (6).
4. Thickness measurement:
The thickness should be measured throughout the critical areas of the components as per the geometry demand. However, sheet metal components have uniform thickness while plastic components have non-uniform thickness throughout the component. The command can be accessed in Utilities bar ----> measure. It is up to the engineer’s discretion to measure the thickness with the node or cons or faces options as per the component demands. This is followed by morphing. Before jumping into morphing, the orientation of the component should be ensured.
5. Morphing:
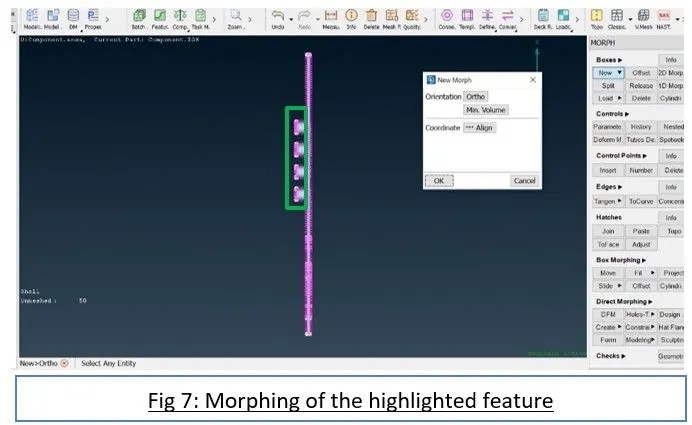
Morphing is the process of modifying main geometry or modifying the geometry of any specific feature of the given component. Basically, this can be executed in Morphing deck. Switch over to Morphing in the decks, and then access Boxes ----> New ----> Ortho(for this component) ----> Selection of feature (a specific feature of the component which need to be modified can be selected).
The selection of a feature for morphing of the model-1 is shown Fig (7).
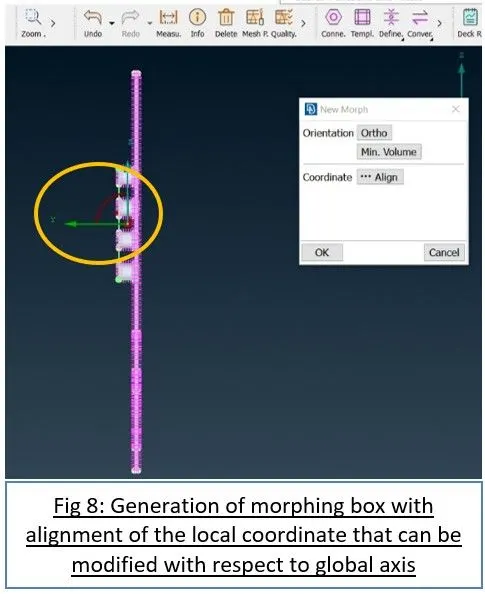
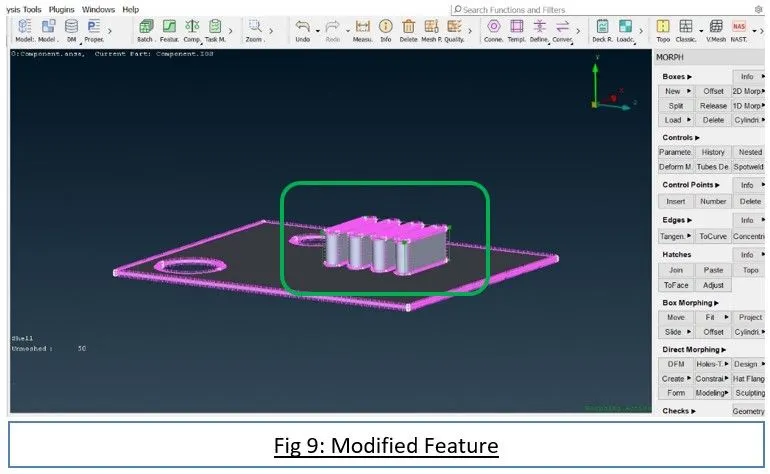
After hitting OK, the modification can be executed by move command. This can be accessed by Morph ----> Classical Morph ----> Box Morphing ----> Move ----> MvFree(nodes selection). Select the appropriate nodes for the intended modification to be done. The modified feature is shown in fig 9.
On the same vein, the other features of the model-1 which are modified with mvfree command are shown in fig 10 to 15. All the modification follows the above discussed method.
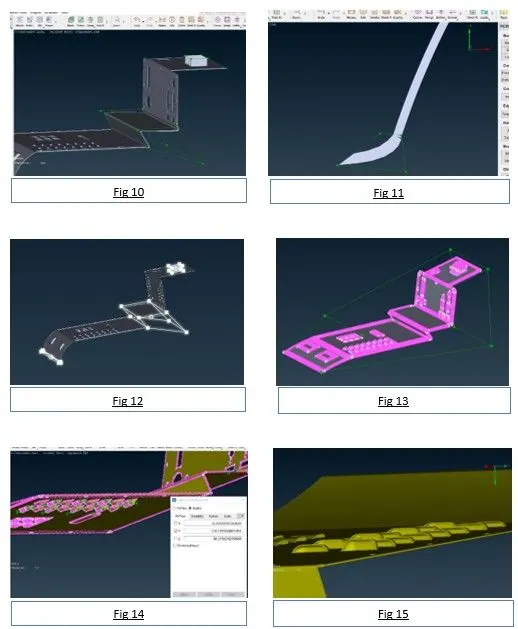
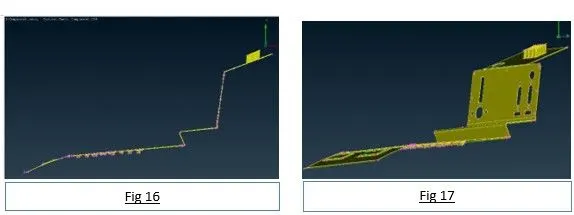
As seen in fig 15, 16 and 17, it is literaly visible the morph boxes are eliminated. This can be done by delete command under boxes. The command can be accessed by Morph ----> Classical Morph ----> Boxes ----> Delete. When compared to the fig 2, geometry of the fig 17 is apparently modified.
Case 2: Morphing of Model-2 (Hand Rest)
The given hand rest component is imported into Ansa as shown in fig 18. The entire steps from 1 to 5 of case 1 will be followed here. However, the only difference is the objective of this study. Here, the height of dog houses and ribs will be modified/increased. Due to different orientation of dog houses and ribs, appropriate alignment of coordinates needs to be carried out as shown in fig 20.
Fig 19 to 25 shows the entire steps involved in increasing the height of dog house and a rib. Morph box can be splitted as per the requirement as shown in fig 21.
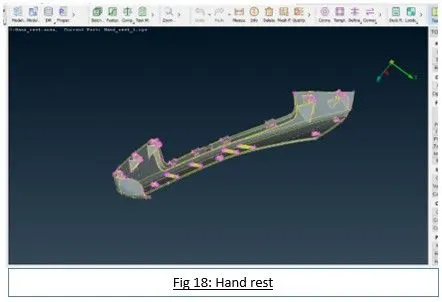
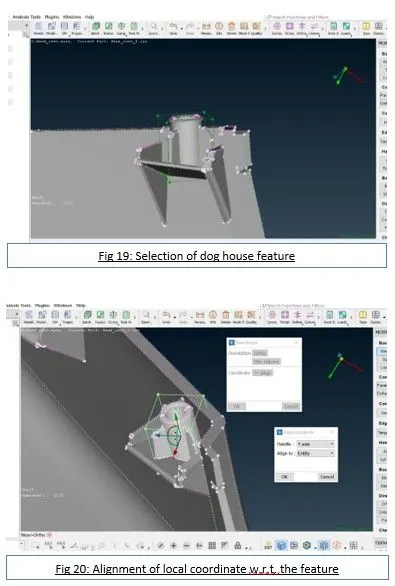
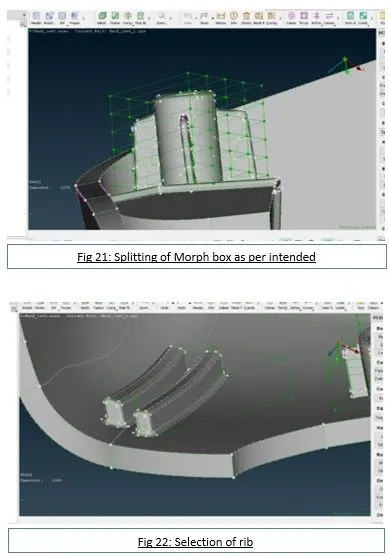
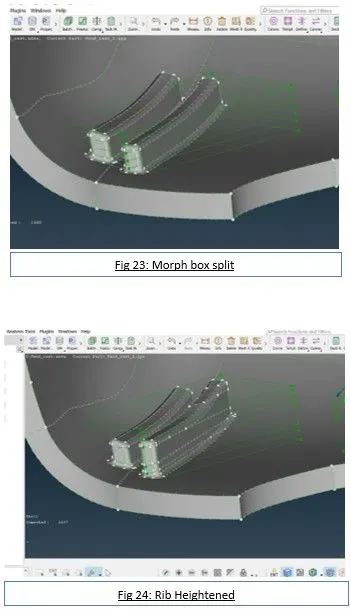
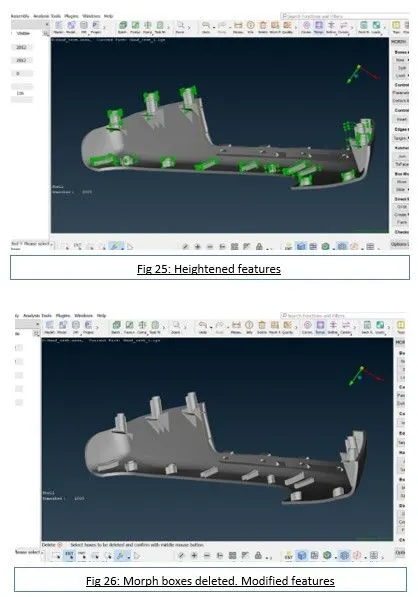
Fig 26 shows the completed component with all the heights of dog houses and ribs are modified.
6. CONCLUSION
Hence, the given components, viz.,
- geometry of Model-1 has been modified as per the week 8 challenge video as shown in fig 16 and 17.
- geometry of ribs and dog houses of the Model-2 (hand rest) has been modified/heightened as shown in fig 26.
Learning Outcome
- Hands on experience on ANSA Pre-processor tool involving Morphing.
- Attained valuable knowledge about morphing technique; and practiced the techniques in this challenge project.
- Familiarized with ANSA tool while working with the model, which instills much faster working with the ANSA tool in the future challenges.