Week - 8 - Morphing
Aim:
Morph the given Geometry using various morphing techniques
Model:1 Sheet metal component
Model:2 Hand rest model-plastic component
Model:1
Procedure:
1)Import the given geometry
2) Morphing is a module in “CAE” or in “ANSA”, which enables the user to morph or change the shape of a model, whether it is a “CAD” or “FE” into useful, intuitive, and logical ways with morph model and select boxes.
3) Morphing is mainly used when there is not a big design change or when only the shape of the model has to be changed while all the other parameters are to be kept constant. This is mainly seen when there is a new iteration of the existing product. Once the Box has been formed select the Nodes you want to move and give the direction in which you want to morph the Geometry.
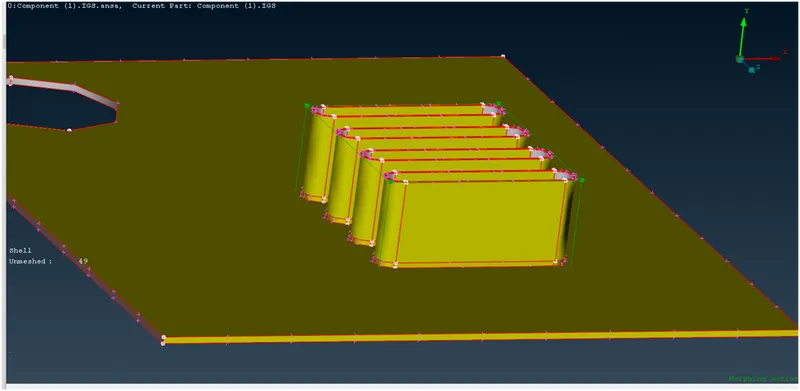
4)IF a new iteration of a product which exists in the market has to be made, the morphing tool is used. This process/tool gives a brief idea about how the model will look like with the specifications and the features same as the previous product.we can split the boxes using Boxes-Split to several smaller boxes to have better control over the Morphing feature and all the entities inside the boxes will have a connection. we can also split the smaller box to a separate box without any connection using Boxes-Release.
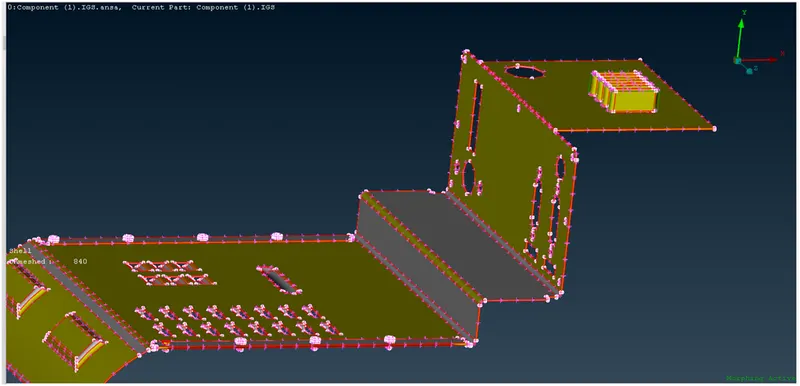
5) This feature is fast, easy to use, and large number of applications. Using this tool, any kind of shape can be achieved with the existing model. Then this morphed shape can be further used for design considerations and a new model can be mathematically designed from it. We can also use the option Direct Morphing-Design-Position to change the shape of the Mesh. Select the Area you want to change.
Model:2
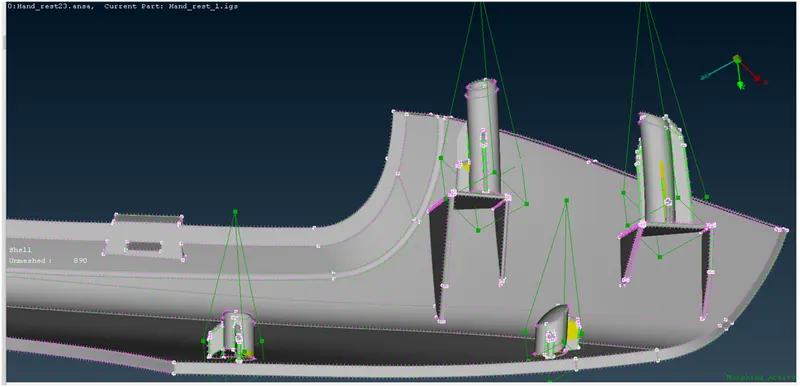
1)select the part for which we need to perform morphing operation. After selecting it with Hybrid Not Option, then we have to perform operation on that specific part.
2) select left dog houses and ribs section as Left part for hand rest, so we need to go 'New'(Morphing>New>Ortho)option and by selecting the ortho option, the new morph template will be generated, in which we have to select the 'Geometry' option and select the entities to be morph and then on the middle mouse click, a cubical region is formed around selected morph region. Hence, we can say that Morphing box is selected.
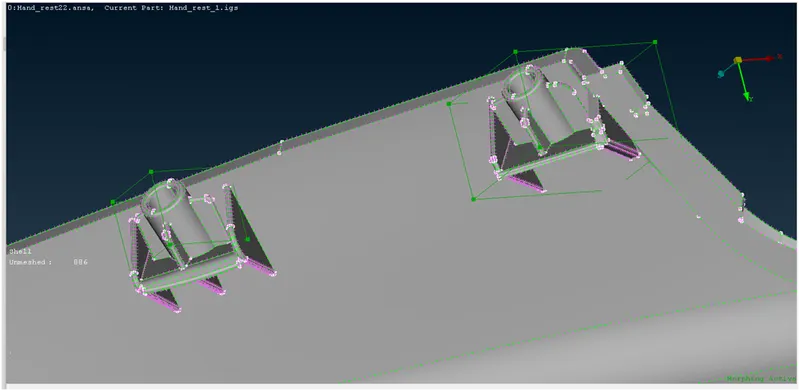
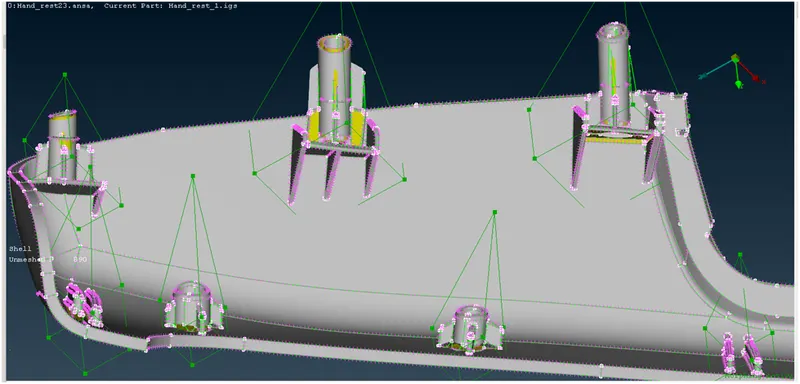
3)As morphing means to bring change in design in any shape of part so, according to requirements we need to increase the height of dog houses and ribs, so we have to select 'Move'(Box morphing>Move) option and then we need to select the nodes with a local coordinate system and then we need to decide that where to make changes in design according to X, Y, Z local coordinate axes, upon right clicking it can be shown as that the change has been taken in the design using morphing tools.
Learning Outcomes:-
- Learnt the concept of Morphing tools and techniques and their performance and practices on above CAD models.
- Learnt the concept of Box morphing
- Understand the concept of 2D morphing and slide concept in the cubic shell of morph.
Conclusion:-
By resolving all geometrical errors along with topology cleanup and perform morphing tools and techniques on given SM and Hand rest CAD model. Atlast, our model is acheived a good morphing change in CAD model.
Applications of using Morphing in Industry:-
Converting for eg: the sedan model into a hatchback model, we can use the morphing techniques. So that, within short span of time we can get the analysis results and also we will be getting the development time shortened.
Automotive design styling applications use morphing since in NVH, the sound pressure near the drivers ear needed to be find out. So, in such a case these models are first subjected to three design changes that influence the car styling, the roof curvature, the windshield angle and the wheel base.
Optimization of subframe assemblies like front cradle which are attached to the Body in White(BIW) can be done using the morphing easily.
Files attached:
Morph files