Week - 8 - Morphing
Morphing Using ANSA
INTRODUCTION
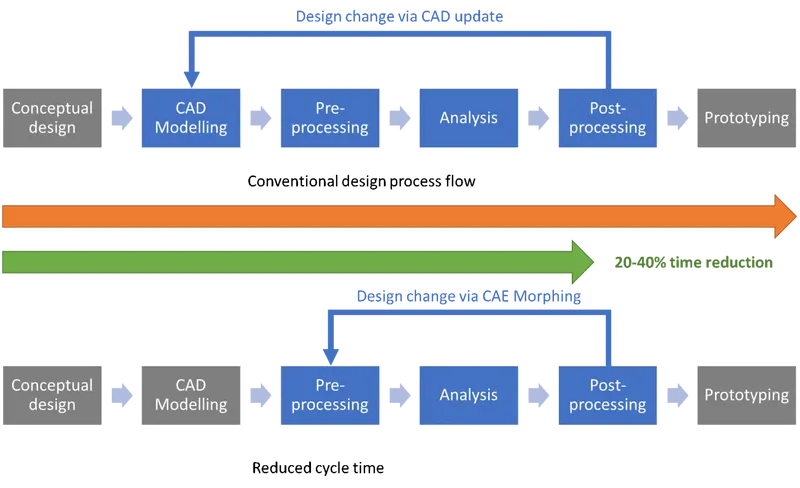
The process of morphing involves changing one shape into another. A given concept model's geometry can be changed to the right proportions to create new designs. By updating the geometry themselves, users of CAE Morphing can avoid going back to the designer and save time. Reduces design modification time by working directly at the mesh level, increasing overall lead time. Automatic control block construction techniques save time by requiring less work and ability and reducing the need for high knowledge. Generation of designs quickly and effectively utilising parameterized optimization. A simple transformation of CAE models from a parent design to a new idea or to match design requirements for two components originating from several parent designs. The creation of "n" parameters allows for the quick trial-and-error method of design correction.
AIM
In this challenge, there will be two models.
- Practice all the basic Morphing techniques for Model-1.
- Perform morphing for the Model-2 and Increase the Height of the Dog houses and Ribs.
PROCEDURE
Model 1:
- We did topo clean-up which is the only pre-requisite for the geometry of this model rest meshing and mid-surface generation are not mandatory. After topo clean-up, we switch on the box button in the auxiliaries toolbar and switch to the Morph deck. The box button makes the morphing boxes visible that’s why it is necessary to turn it on.
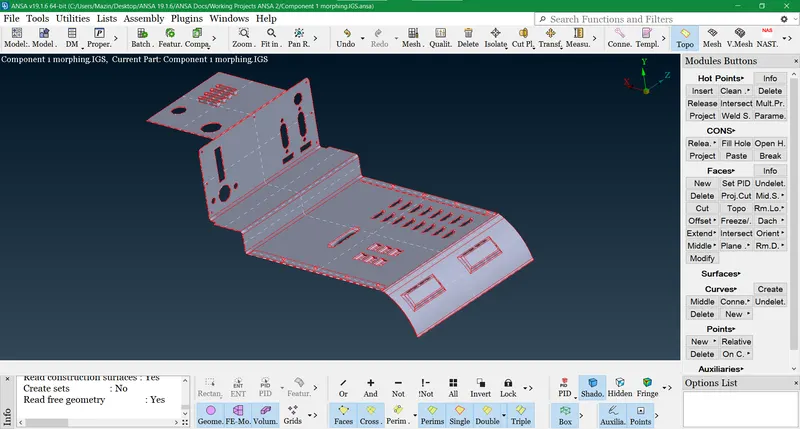
Figure-1 Component without topo clean up
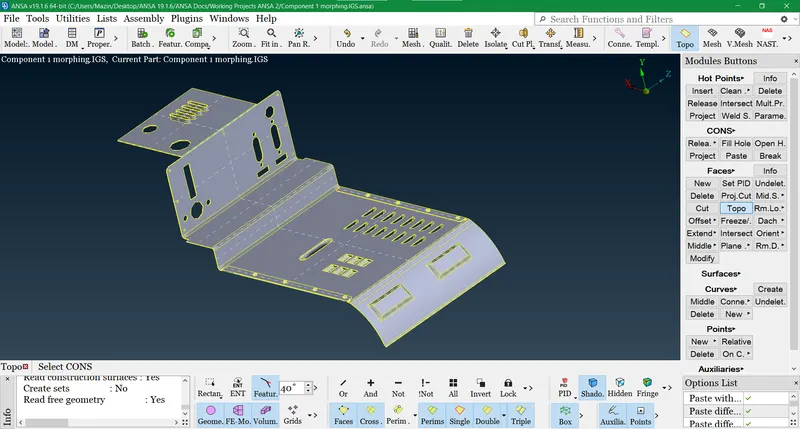
Figure-2 Topo clean-up done on the model
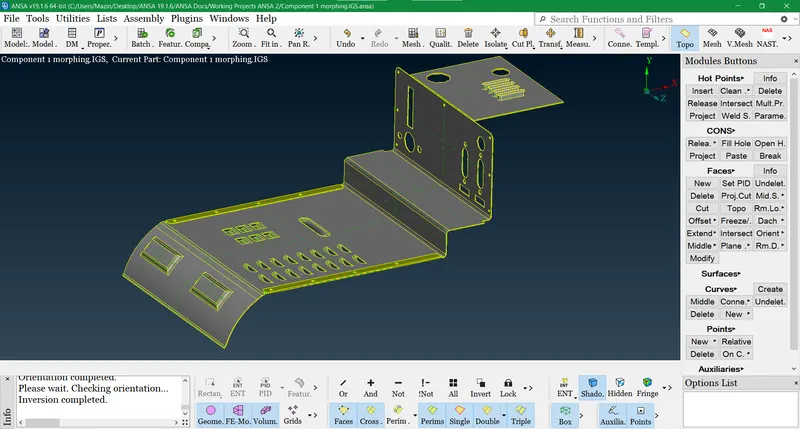
Figure-3 Model after orientation and geometry checkup ready for morphing
- In the morph deck, we select New>Ortho from the Boxes group to create a morphing box. Since we have geometry here and no FE so we select geometry and Ortho as box types for the respective major or minor entity. For confirming we press the middle mouse button and facilitate the last process.
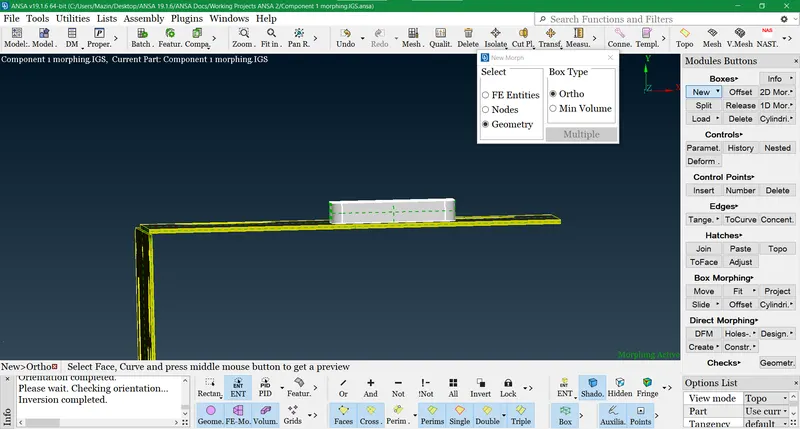
Figure-4 Ortho morphing on extruded features of a side plate.
- We select the Move option from the Box morphing group in the Morph deck for the boxes generated from ortho morphing. We come across 5 different modes according to our requirements or needs. We use M free i.e. first mode to alter the shape of the entity captured by box morphing. Here we can use either entities or nodes option to alter the shape in the desired coordinate system. We select nodes and either use the right mouse button in the centre of morphing boxes to activate the local coordinate system or check the default global coordinate system of ANSA. Here we select nodes or control points and un-check the axis that needs to be constrained. Either we submit pre-defined values or we move manually by pressing the left mouse button continuously. For confirming the new shape change either we click on apply or the middle mouse button.
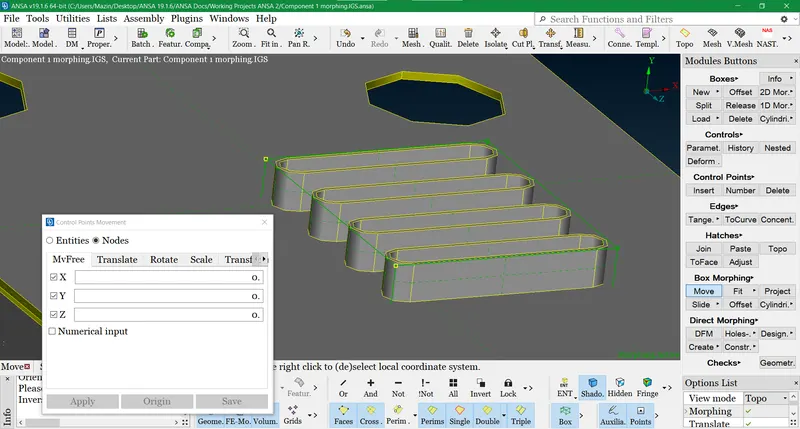
Figure-5 Selecting control points or nodes for moving the morphed box
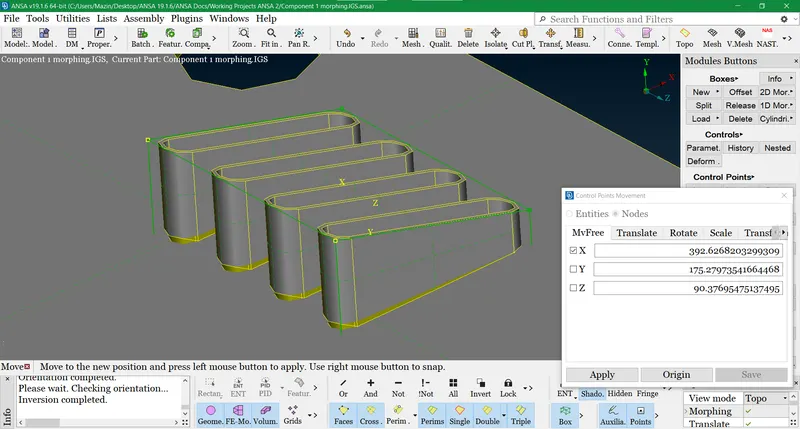
Figure-6 After changing the configuration by morphing
- We can also use the split option from the Boxes group to divide a morphed box into smaller boxes so that it would be easy to morph a particular area or spot without affecting nearby areas incorporated with other boxes.
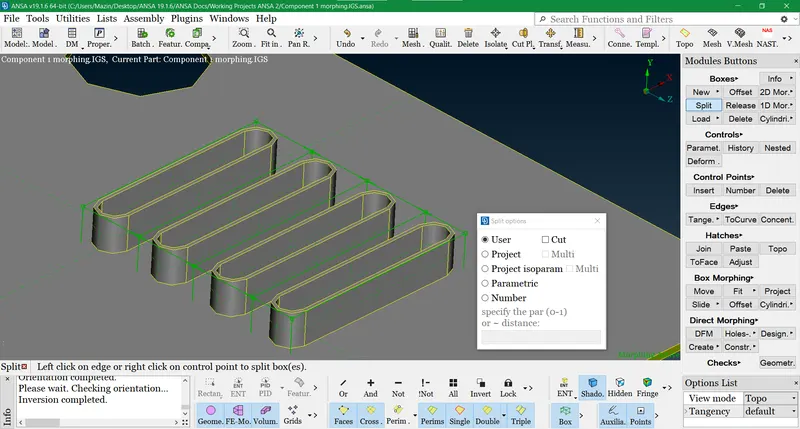
Figure-7 Using the split option to divide a larger morphed box
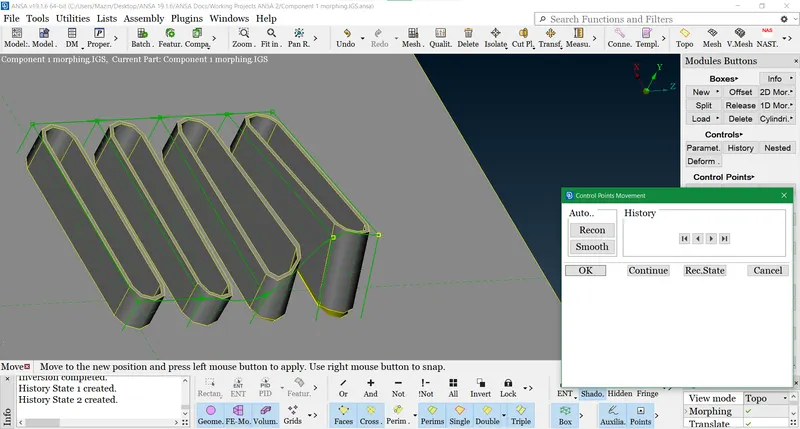
Figure-8 Morphing split boxes separately
- We can also use the min volume option instead of ortho to form a new morph box which can be processed by the same method.
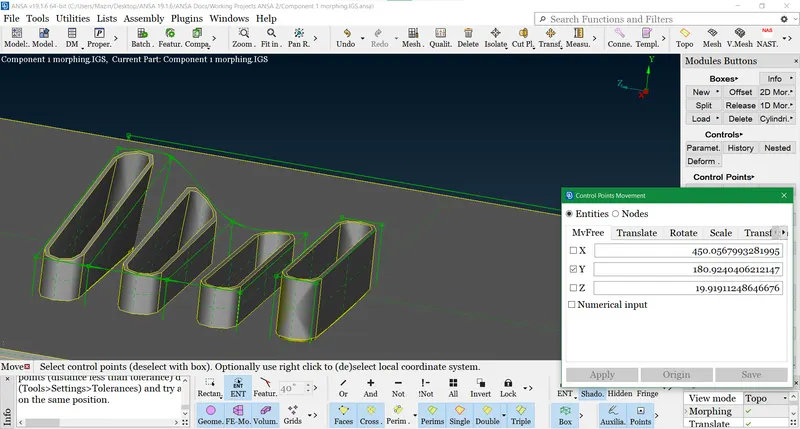
Figure-9 Morphing done by choosing min volume for box type.
- We can do morphing for the rest of the features likewise displayed in the figures below. Also, the configuration varies from feature to feature w.r.t the point of application.
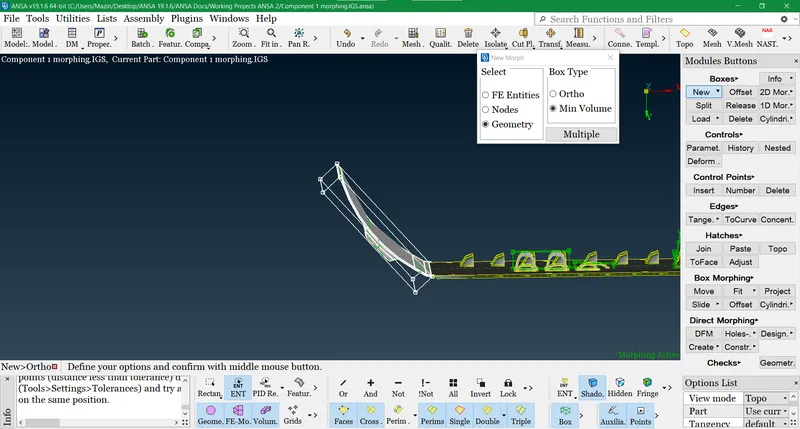
Figure-10 Curved sheet metal part selected for morphing
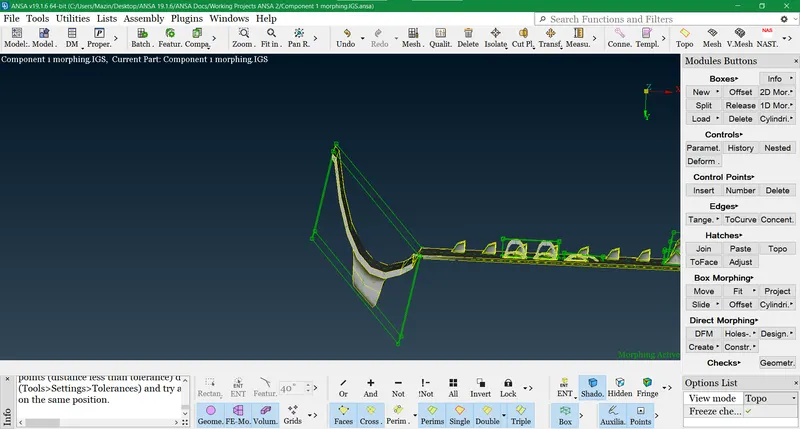
Figure-11 After morphing the shape of the curved sheet metal part
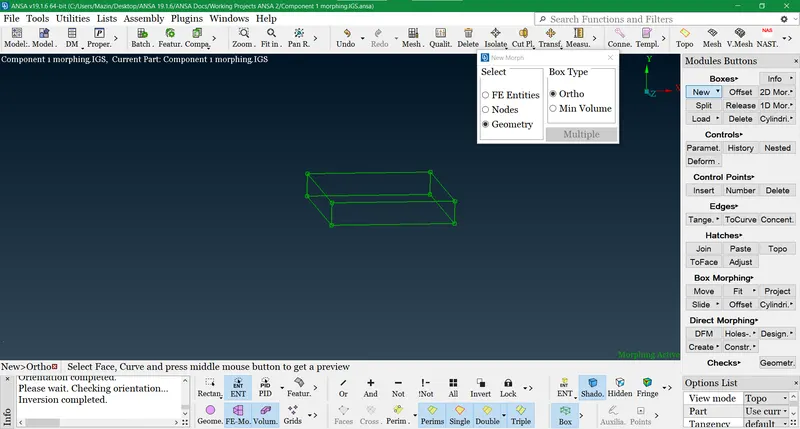
Figure-12 Morph box portrayed in this image
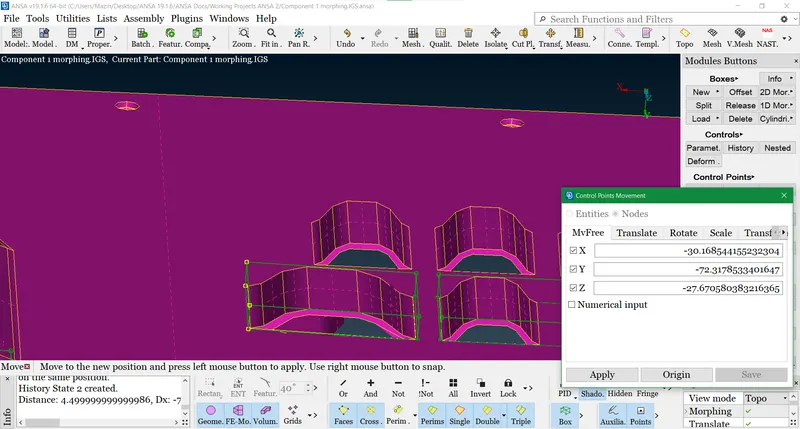
Figure-13 Feature displaced and extended in the desired axis by morphing
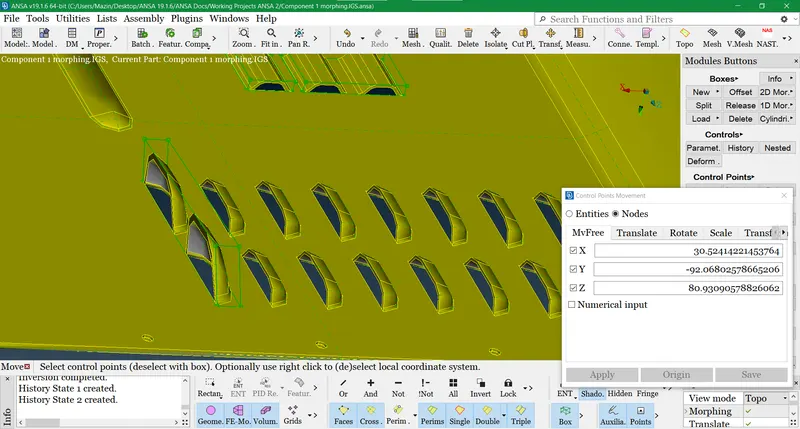
Figure-14 Height of the particular features is modified by morphing
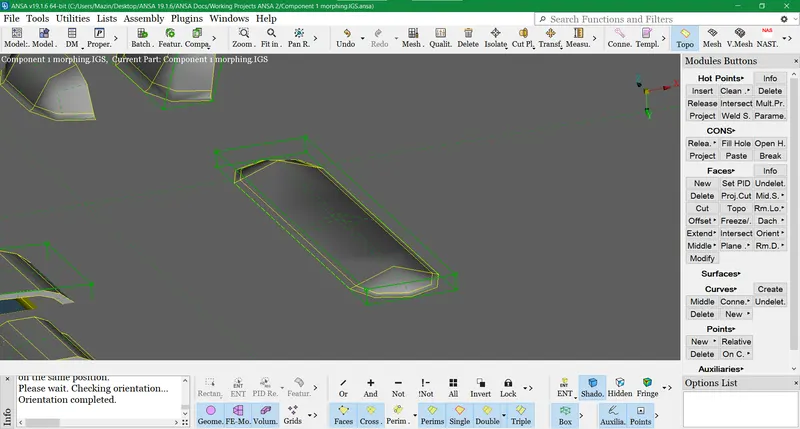
Figure-15 Large feature before morphing
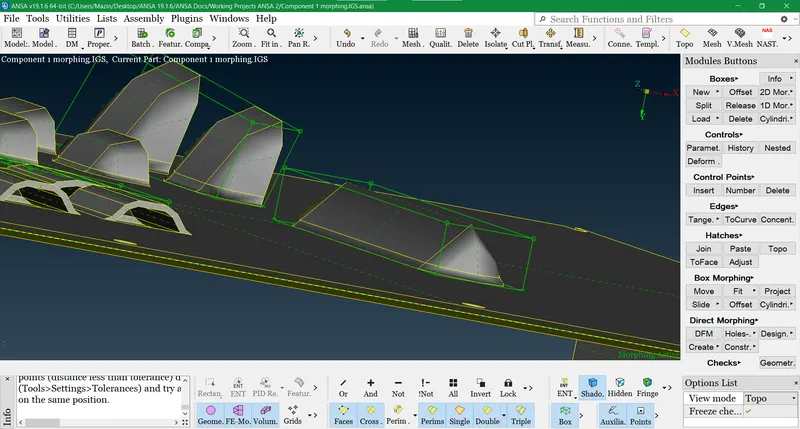
Figure-16 Large feature after morphing
Model: 2
- We followed the same procedure for the 2nd model and applied quite similar options for the morphing process. We did topo clean-up for the 2nd model likewise and developed the morphing technique. But here we enhanced the height of the dog houses and ribs of this model only.
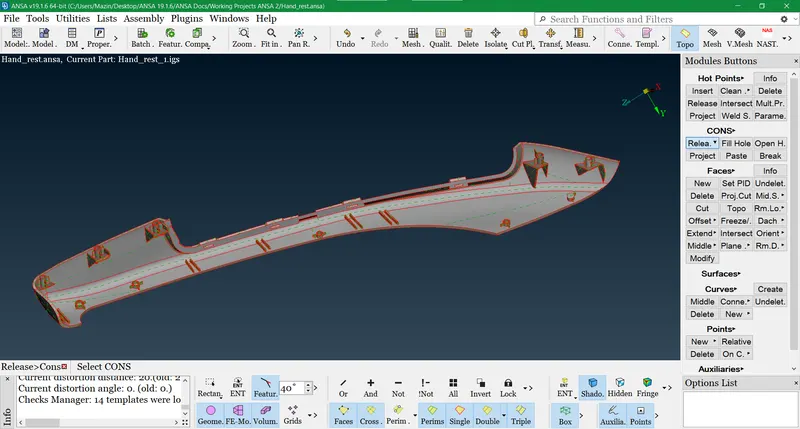
Figure-17 Model without Topo clean up
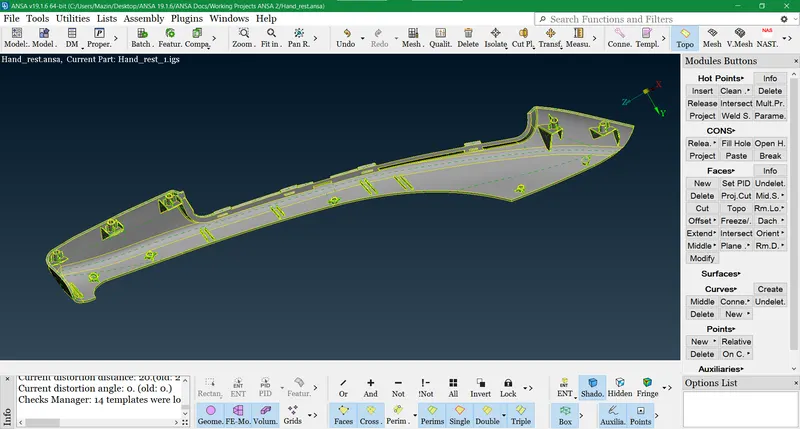
Figure-18 Model ready for morphing
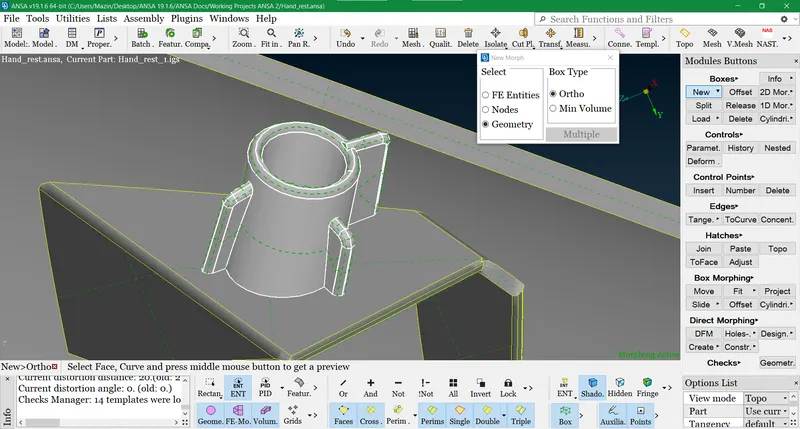
Figure-19 Dog house and ribs before morphing
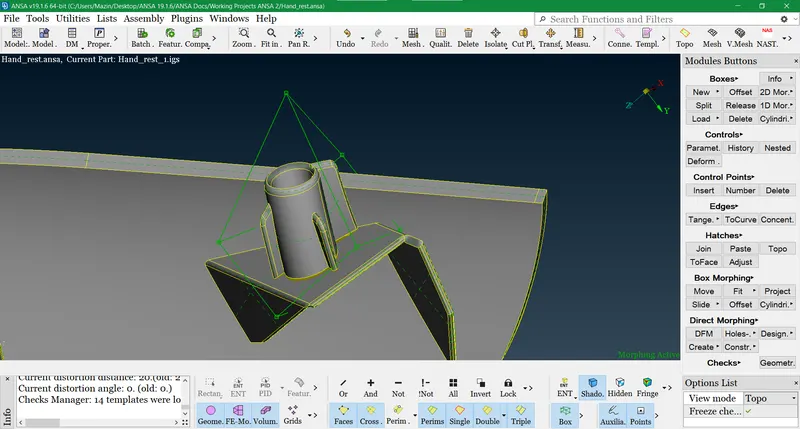
Figure-20 Dog house and ribs after box morphing
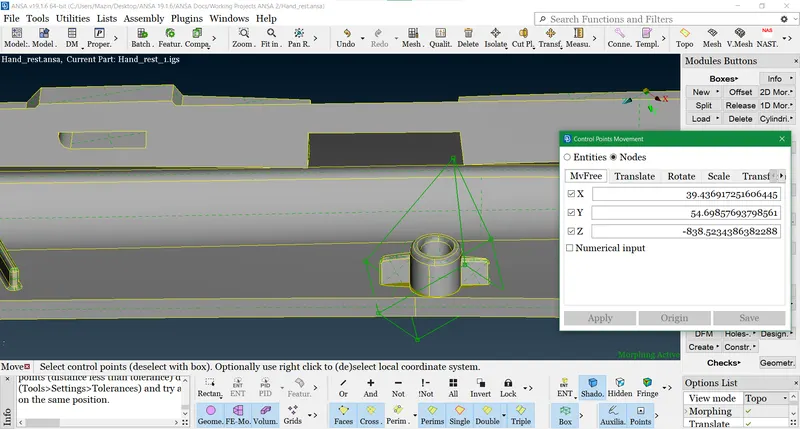
Figure-21 Mini dog house and ribs being morphed
APPLICATIONS OF MORPHING IN INDUSTRIES
OEMs are attempting to eliminate non-value-added activities in order to gain a competitive advantage in the automobile sector. The requirement for a shorter product development cycle will consequently grow. CAD models will alter in accordance with guidelines that are regarded as industry best practices a theme and package adjustments take place. The pre-processing tool offers a number of morphing algorithms that can be used to satisfy different application requirements. This contains field-based morphing, direct parabolic, spherical, polytube, and control block (lower and higher-order). A feature-based morphing tool can instantly alter the geometry and ratios of pre-existing FE and CFD models.
LEARNING OUTCOMES
- We learned an extraordinary feature that can re-design any particular entity or part if it fails for a specific type of analysis.
- Morphing can avoid wastage of time by redesigning the model with the help of the CAD process
- Morphing also does minor corrections in order to avoid any rejection in physical prototypes.
CONCLUSIONS
- Box morphing is the basic technique that re-configured significant entities or features of a CAD model.
- It acted as a complementary method of extrusion in CAD which is done with proper analysis and a set of notions.
- It has various modes to either translate, transform, increase or decrease dimensions for a particular entity.
- Nevertheless, it acts as a base method for a CAE engineer to improvise his/her skillset in designing.