Week - 8 - Morphing
Report
AIM:
- Perform Morphing techniques on given model 1.
- Perform morphing for the Model-2 and Increase the Height of the Dog houses and Ribs.
Model 1]
Procedure:
following step to be done for morphing techniques to given Model.
1] Import:
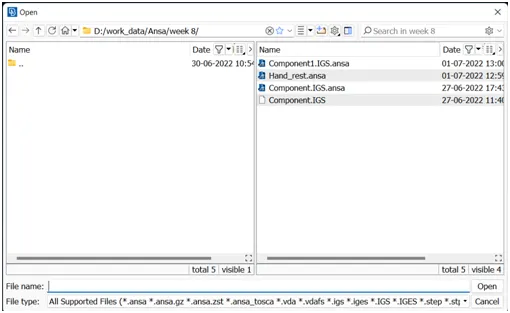
import the geometry in the .stl,.STEP,.IGES format. File > Open > Choose the File and hit on open.
2] Cons resolution:
changing the distance between the nodes(mesh length) from preset value to required value,this will help us to understand the actual shape/ geometry of imported cad model.make sure before meshing this length should be change again to the targeted element length.(mesh module>perimeter>length>1)perimeter2)macros)
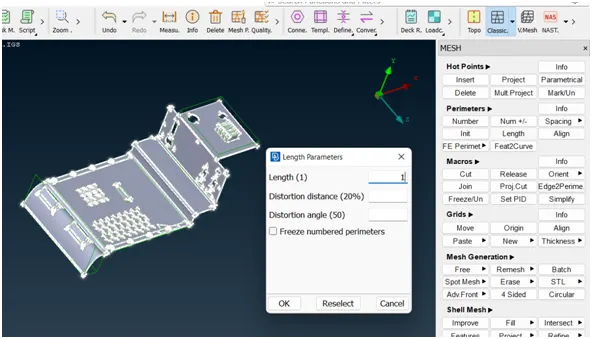
fig 1] before cons resolution:
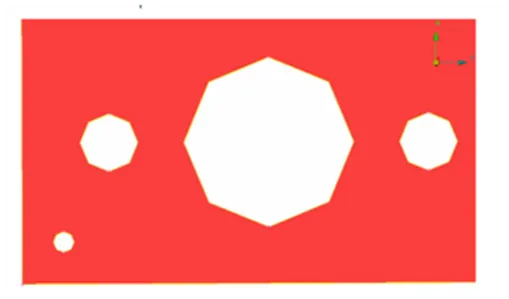
fig 2] after cons resolution:

3] Topo option:
- If the imported file it doesn’t have any connectivity between the Surfaces.To get the connectivity between the surfaces we have to use the Topo option.(TOPO Module> Faces > Topo).
- first we check the any single cons are present in the geometry so in focus menu deselect the double cons and press shit+ctrl.
- if any double cons present then use the (TOPO Module> Faces > Topo).
4] orientations:
- We have to Orient the Surfaces to make sure all the surfaces are in one normal direction.(TOPO Module> Faces > Orient)
5] Checking the geometrical errors:
after the orientations done the we need to check the geometrical error. for that go to (check manager>geometry>execute)
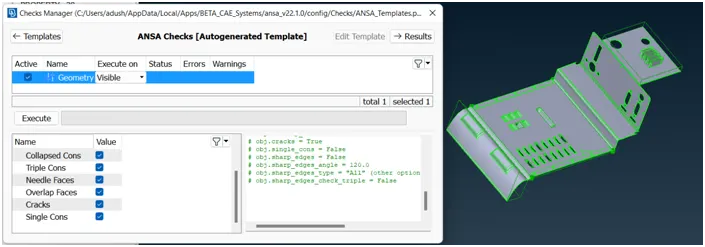
6] Clearing the geometry errors:
if any geometry error is pop out then select the all error and then right click on error and fix them.
7] Morphing Technique:
what is the Morphing: Morphing is one of the ansa feature which is used to change the geometry as well as the FE...
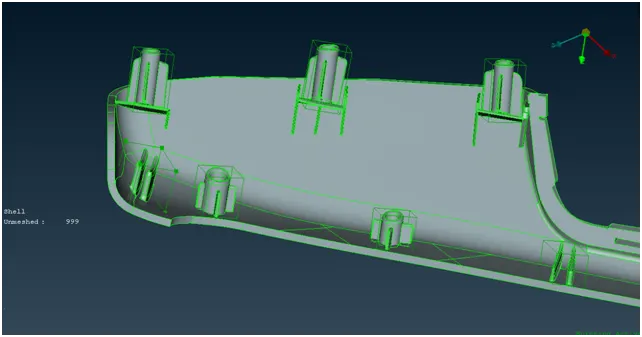
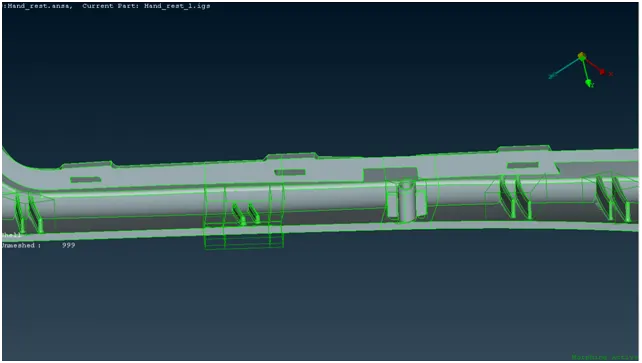
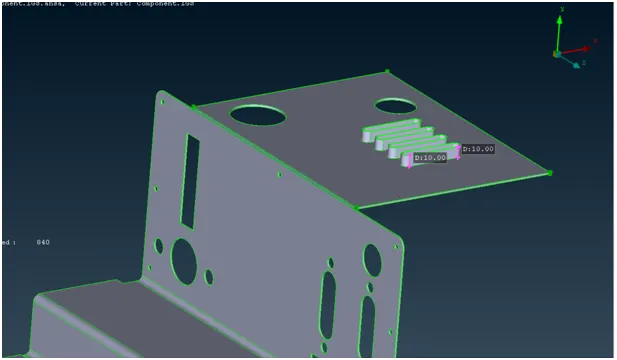
in this model we need to change the some rib height,corner fillet.so that in below image its showing that the rib height is 10 mm. here we increase the height of that rib.
Before Morphing:
process:
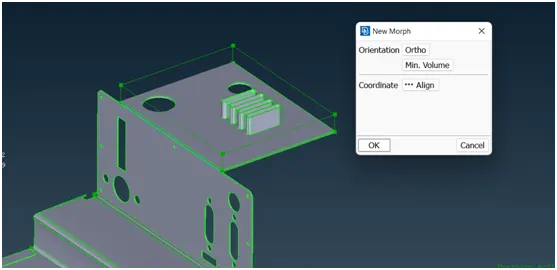
A] creating the Morphing Box:
in this step we create the box for morphing (morph module > classic morph > boxess > new > ortho > orientation:ortho/min.volume > select the geometry > allign the axis > ok)
B] box Morphing:
in this step we do the required change (morph module > classic morph >box morphing > move)
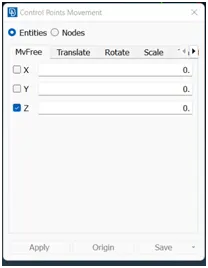
1] first choose the entities or nodes
2] first we select the one entities and right click on that so we create the local co-ordinate system
3] then select required entities and then middle mouse click so we doing the geometrical check in that chnge the status to either in or out becouse based on that morphing will be done on the geometry.
4] select the one option in following box: mvfree/translate/rotate/scale
5] give the distance and click on ok.
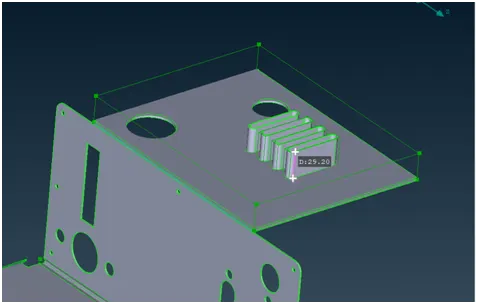
After Morphing:
here clearly seen that first height of this Rib is 10mm but after the morphing its 29mm.
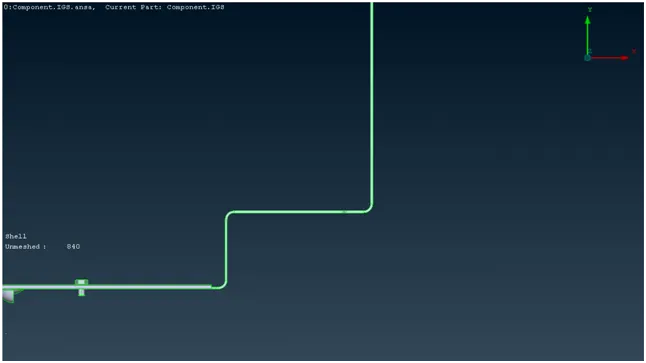
we do the same process in some region for changing height of Rib and changing the fillet radius.
Before Morphing:
After Morphing:
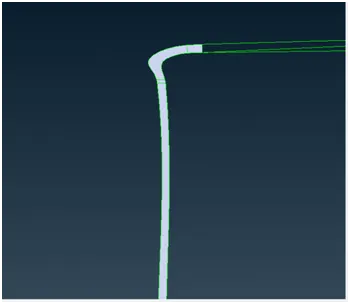
Before Morphing:
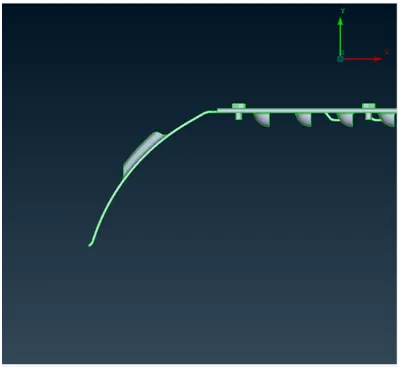
After Morphing:
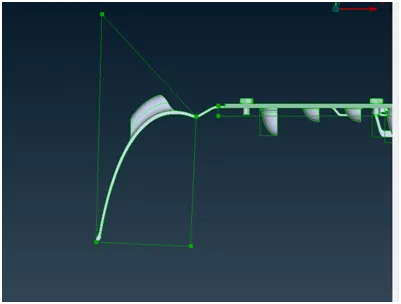
Before Morphing:
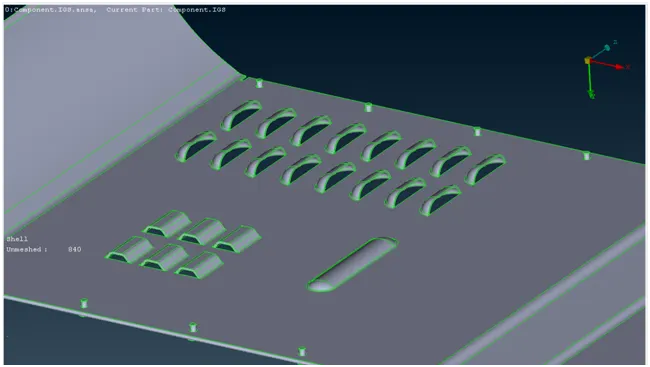
After Morphing:
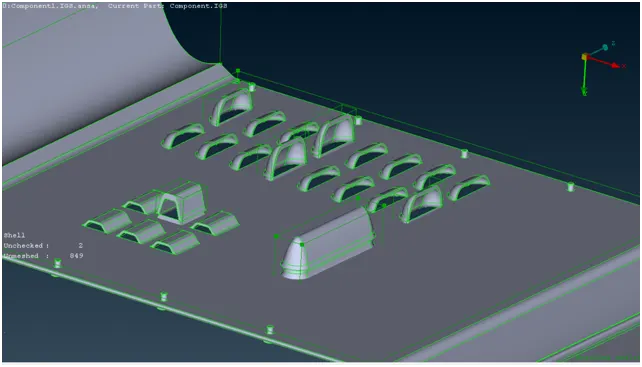
Model 2]
Perform morphing for the Model-2 and Increase the Height of the Dog houses and Ribs.
Procedure:
following step to be done for morphing techniques to given Model.
1] Import:
import the geometry in the .stl,.STEP,.IGES format. File > Open > Choose the File and hit on open.
2] Cons resolution:
changing the distance between the nodes(mesh length) from preset value to required value,this will help us to understand the actual shape/ geometry of imported cad model.make sure before meshing this length should be change again to the targeted element length.(mesh module>perimeter>length>1)perimeter2)macros)
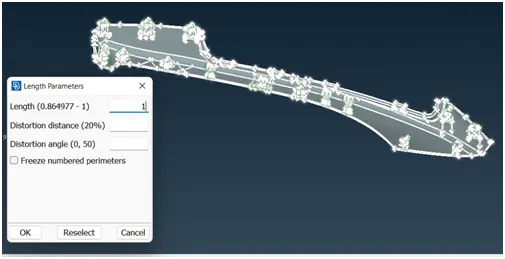
fig 1] before cons resolution:
fig 2] after cons resolution:
3] Topo option:
- If the imported file it doesn’t have any connectivity between the Surfaces.To get the connectivity between the surfaces we have to use the Topo option.(TOPO Module> Faces > Topo).
- first we check the any single cons are present in the geometry so in focus menu deselect the double cons and press shit+ctrl.
- if any double cons present then use the (TOPO Module> Faces > Topo).
4] orientations:
- We have to Orient the Surfaces to make sure all the surfaces are in one normal direction.(TOPO Module> Faces > Orient)
5] Checking the geometrical errors:
after the orientations done the we need to check the geometrical error. for that go to (check manager>geometry>execute)
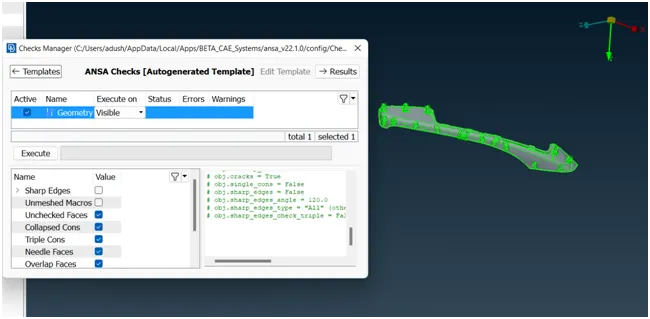
6] Clearing the geometry errors:
if any geometry error is pop out then select the all error and then right click on error and fix them.
7] Morphing Technique:
what is the Morphing: Morphing is one of the ansa feature which is used to change the geometry as well as the FE...
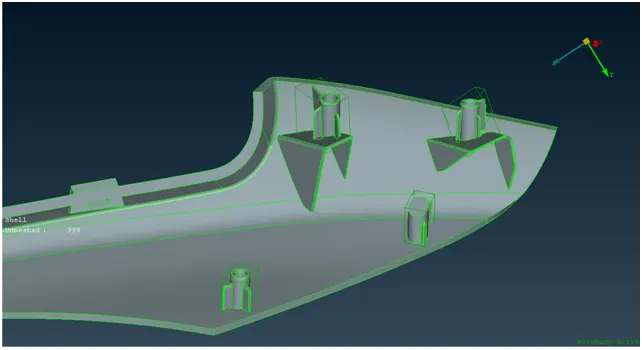
in this model we need to change the some rib height,corner.so that in below image its showing that the rib height . here we increase the height of that rib.
Before Morphing:
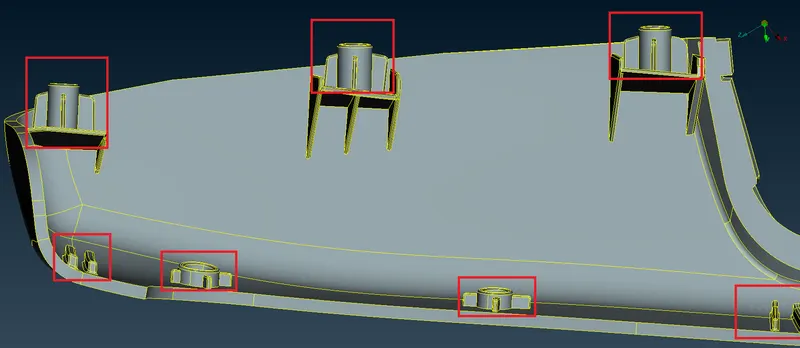
process:
A] creating the Morphing Box:
in this step we create the box for morphing (morph module > classic morph > boxess > new > ortho > orientation:ortho/min.volume > select the geometry > allign the axis > ok)
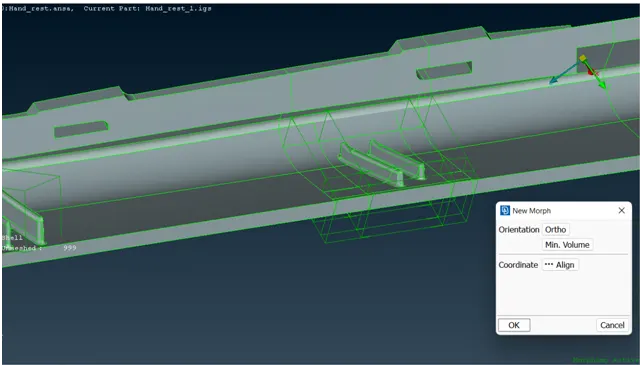
B] box Morphing:
in this step we do the required change (morph module > classic morph >box morphing > move)
1] first choose the entities or nodes
2] first we select the one entities and right click on that so we create the local co-ordinate system
3] then select required entities and then middle mouse click so we doing the geometrical check in that chnge the status to either in or out becouse based on that morphing will be done on the geometry.
4] select the one option in following box: mvfree/translate/rotate/scale
5] give the distance and click on ok.
After Morphing:
here clearly seen that first height of this Rib is small but after the morphing its increased.