Week - 8 - Morphing

Week - 8 - Morphing
Abhishek Anil Patil | 30/06/2022
Objective
1) Practice all the Morphing techniques that were shown in the video for Model-1.
Click here to Download the Model-1
2) Perform morphing for the Model-2 and Increase the Height of the Dog houses and Ribs. (Refer Red annotations in the below image to understand what are Dog houses and Ribs)
Model 1
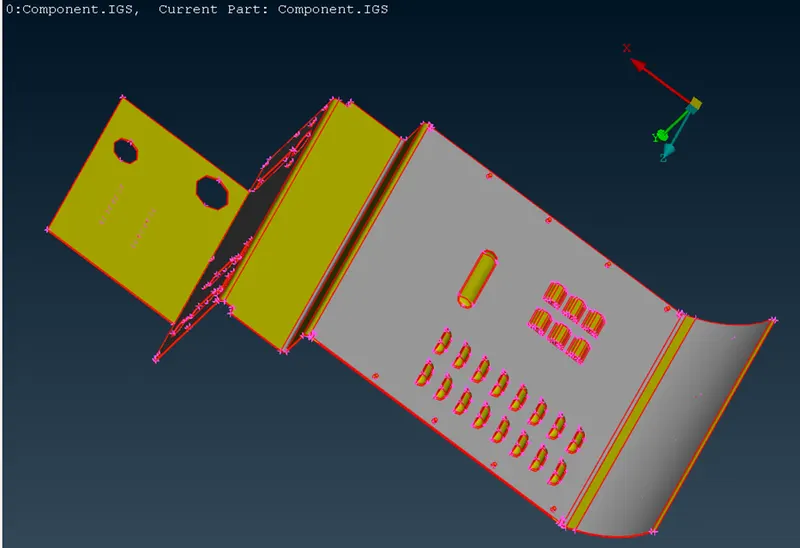
Import the model in ANSA and perform topo and orient operations
Perform geometry check and fix any geometry errors
Then go to morph menu
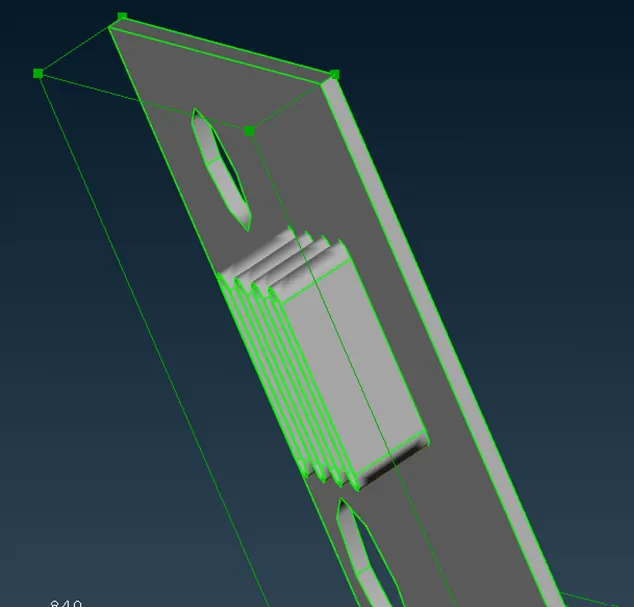
Go to Boxes à New à ortho and create boxes around the macros that you want to morph
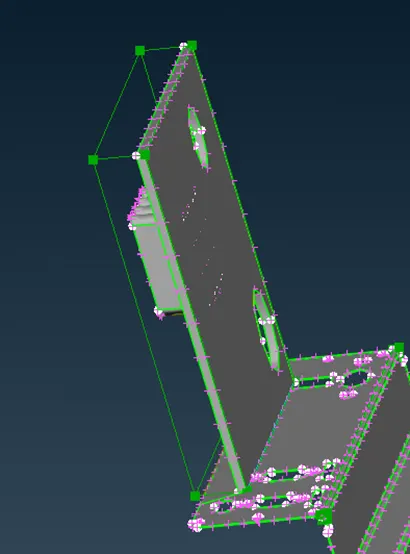
Select the nodes that you want to move.
Go to box morphing à move
You can either move the freely or up to a certain specified distance
Changed shapes
The fillet shape was changed freely
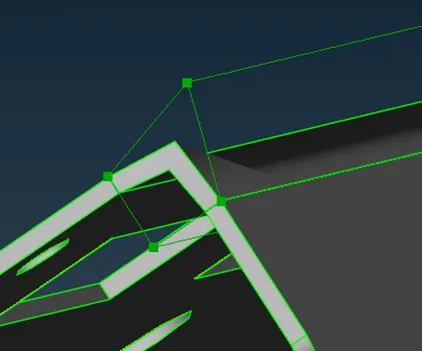
The last panel was extended upwards
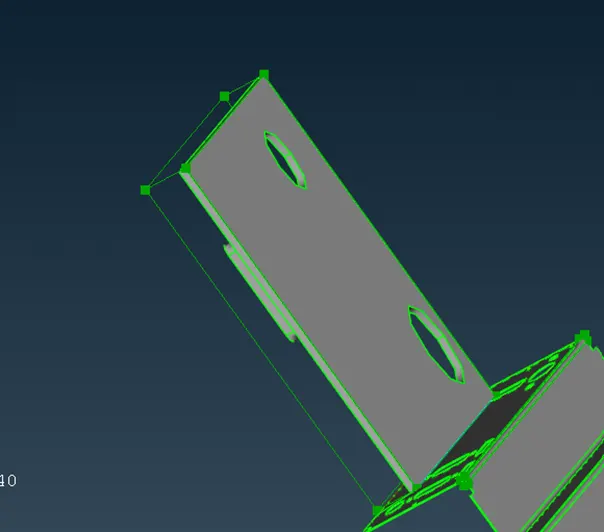
Then it was offset by using the offset command
Model 2 – Hand rest
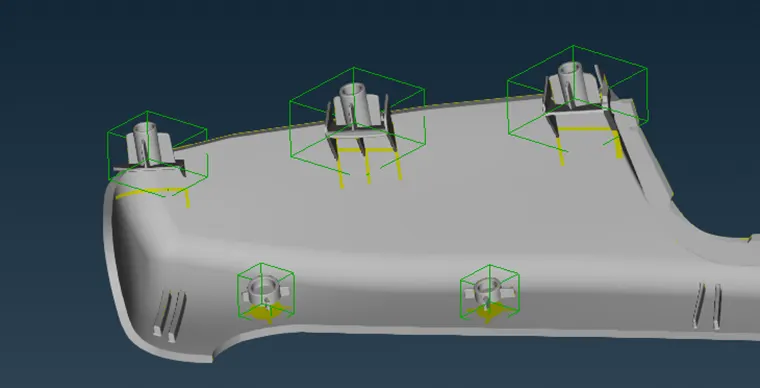
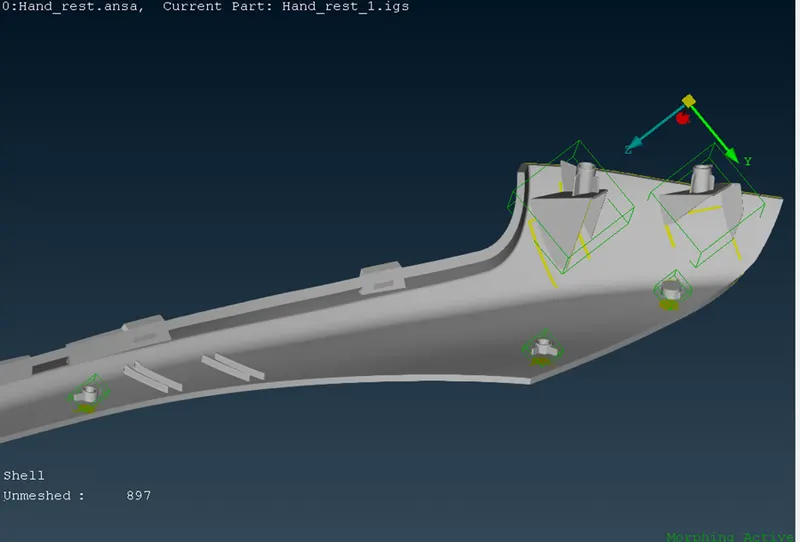
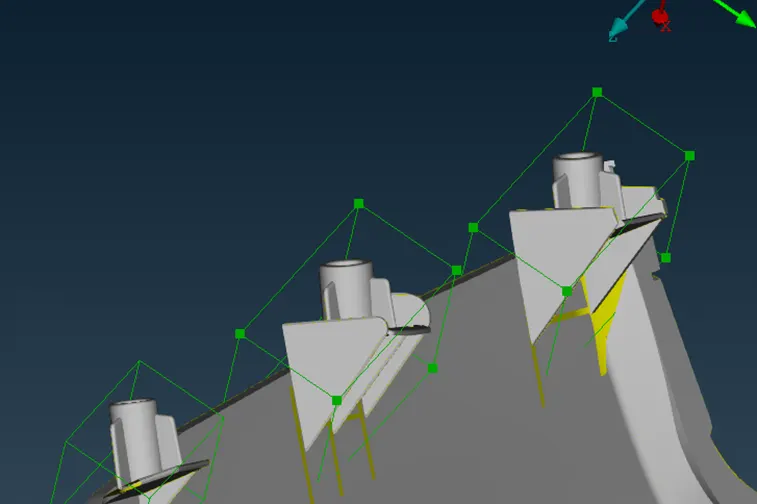
Procedure is same, just create boxes around the ribs and objects mentioned above and move them up, in this case, by 10 mm
Applications
Morphing is mainly applied when the design must be changed, updated or optimized.
In this case morphing saves a lot of time as you don’t have to recreate a completely new geometry.
Automobile industry
Used extensively to study vehicle structure changes and for aerodynamic modelling.
Ship design
Used in ship hull design as it saves a lot of time
Biomedical research
To determine the biomedical response of a structure, implant positioning and virtual bone modelling.
Conclusion
Morphing commands have been used to change the shape of the models as per given requirements.