Week - 8 - Morphing
AIM:-
To perform Box Morphing technique for the given model in ANSA.
PROCEDURE:-
The Box technique of morphing is explained clearly below, before which the morphing technique is understood clearly.
MORPHING :-
Morphing is nothing but an adoptation of given shape to a new form. The geometry of the given model is modified as per the requirement into a new design.This method helps in reducing the time taken to go back to designer to update the geometry. The morphing is done by CAE Engineer to get the desired results in a specific area or any that was failing to get the desired result. In this process the time is saved as said before by directly working on the model without depending on any CAD Engineers.
MODEL 1:-
The CAD Model is imported into the ansa GUI.
After importing the first step is to go to Mesh module PERIMETER > LENGTH > select the geometry and apply the value as 1 for increasing the cons resolution.
The file should be checked for .igs, if so then there will be no connectivity in the geometry. We need to apply TOPO to the model to make the geometry closed volume.
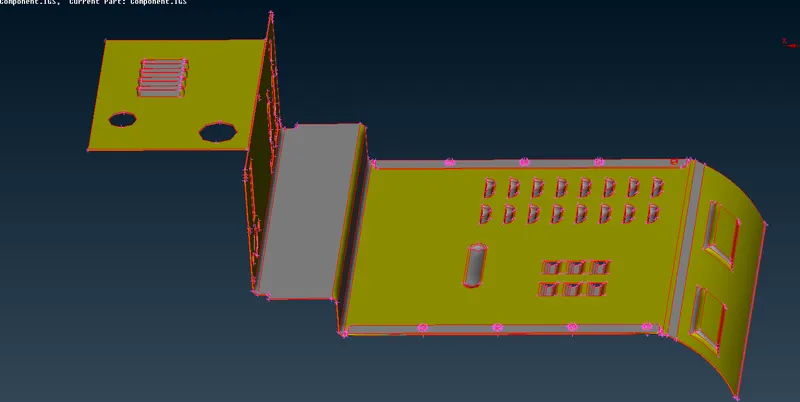
Fig -1 Import the model
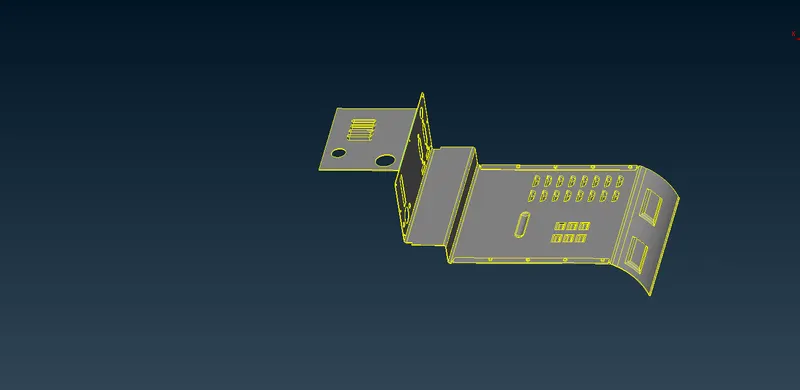
Fig -2 Cons resolution, Orientation changed and Topo done.
Now to to MORPH DECK >BOXES > NEW > ORTHO > Select Geometry and MIN Volume command and BOX select the geometry for performing the morphing operation.
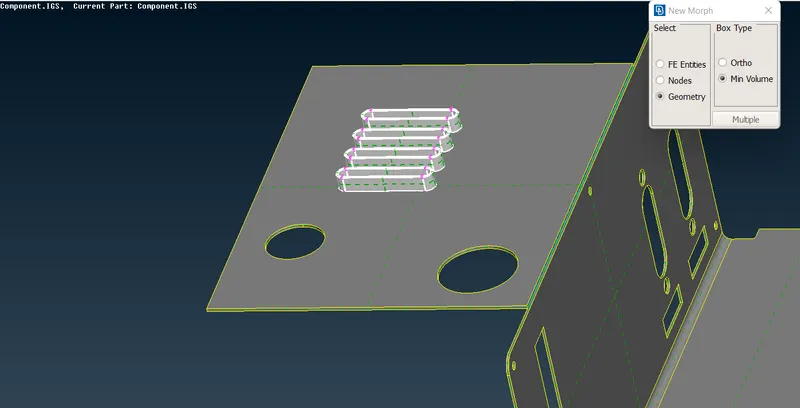
Fig -3 Geometry selection for morphing
After selecting the geometry Double click on the middle mouse button so that the Nodes will be formed.
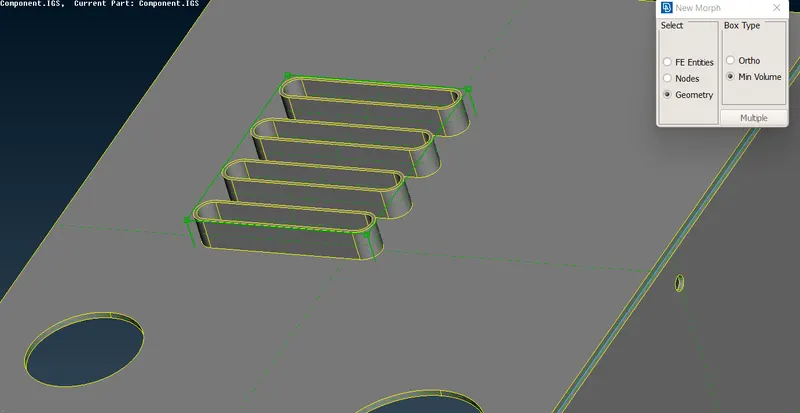
Fig -4 Formation of Nodes at the selected geometry (Box Type).
Now Go to BOX MORPHING > MOVE command and select the number of nodes for which the geometry has to be moved.
Right click on any created node to get the Local coordinate system to get enabled for moving the geometry in specific direction.
After selecting the nodes and middle mouse click Drag the mouse to increase the height of the selected profile followed by middle mouse click and in the control points manager click on ok. The increase in the heigth will be done.
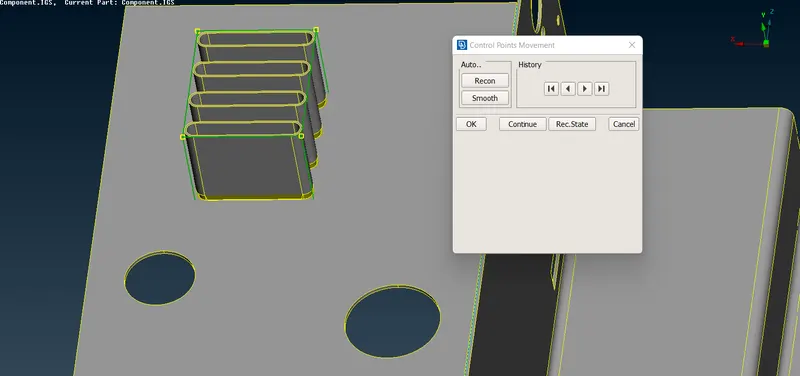
Fig -5 Profile with increase in height.
Similarly we need to morph on other entities as well.
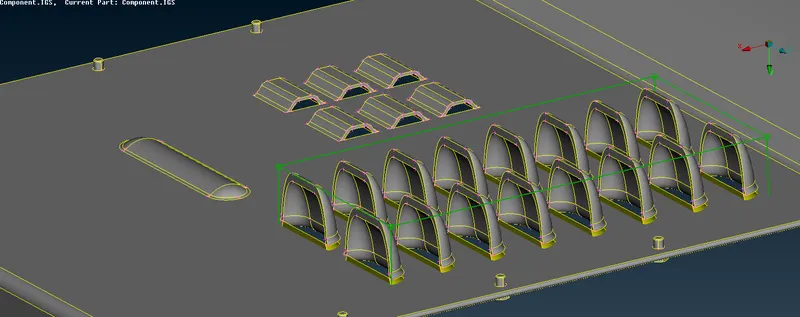
Fig -6 Dog house morphing done.
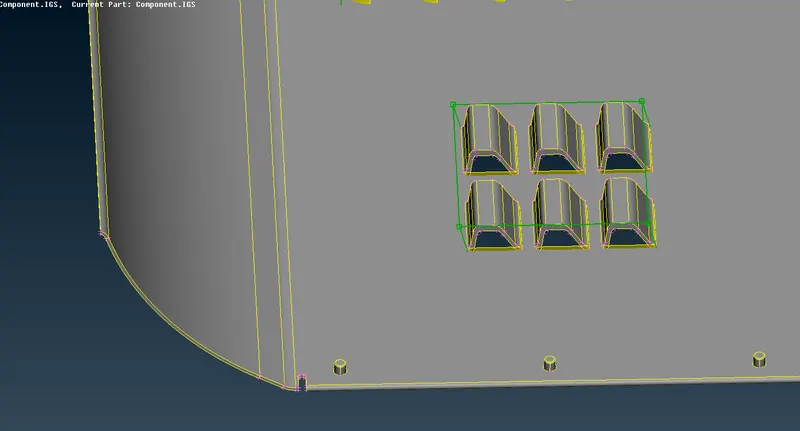
Fig -7 Air vent morphing finished.
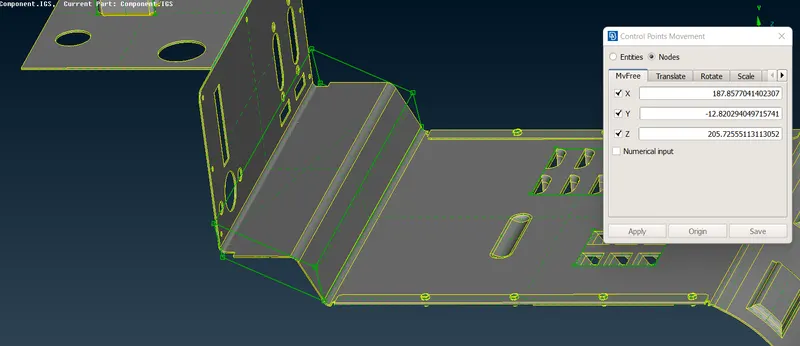
Fig -8 Morphing done on the L surface.
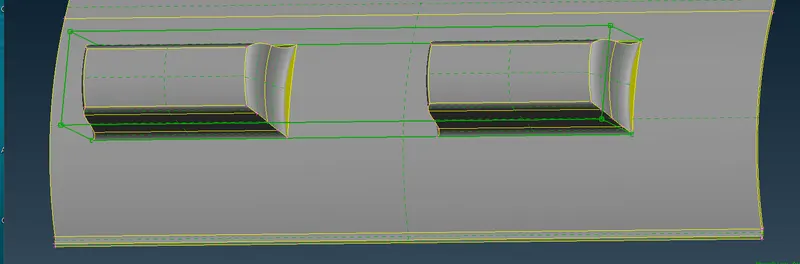
Fig -9 Morphing done for this embossed feature.
So the procedure required to do the Box morphing is explained clearly by above image referencees.
MODEL -2
The CAD Model is imported to the ansa GUI.
Similarly all the steps that are followed in the model 1 are repeated here.
After importing the first step is to go to Mesh module PERIMETER > LENGTH > select the geometry and apply the value as 1 for increasing the cons resolution.
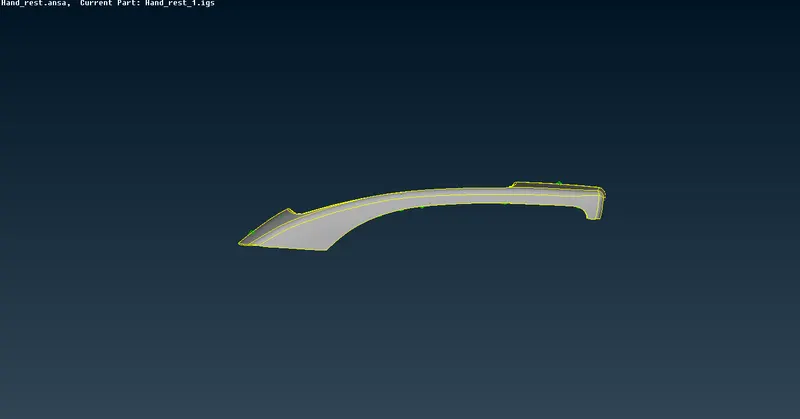
Fig -10 Imported model done with cons resolution and orient.
Now to to MORPH DECK >BOXES > NEW > ORTHO > Select Geometry and MIN Volume command and BOX select the geometry for performing the morphing operation.
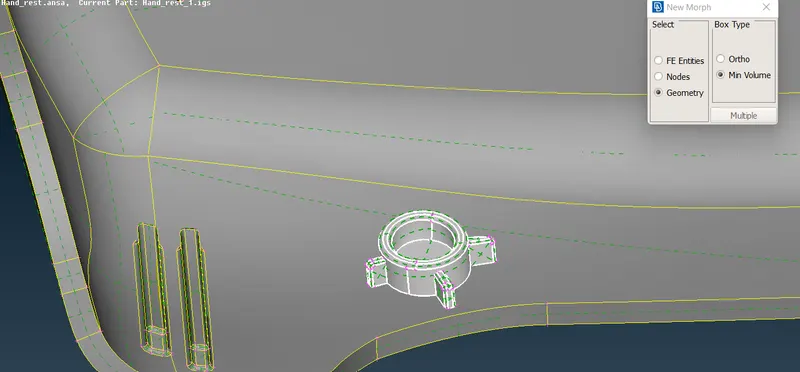
Fig -11 Geometry selection operation
After selecting the geometry Double click on the middle mouse button so that the Nodes will be formed.
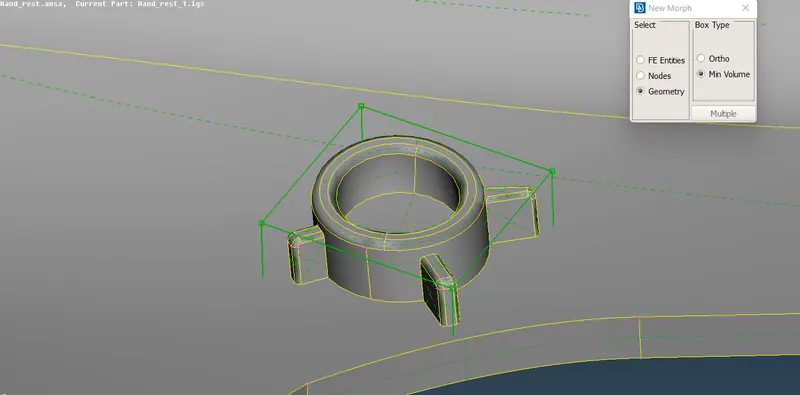
Fig -12 Nodes created for the geometry
Now Go to BOX MORPHING > MOVE command and select the number of nodes for which the geometry has to be moved.
Right click on any created node to get the Local coordinate system to get enabled for moving the geometry in specific direction.
After selecting the nodes and middle mouse click Drag the mouse to increase the height of the selected profile followed by middle mouse click and in the control points manager click on ok. The increase in the heigth will be done.
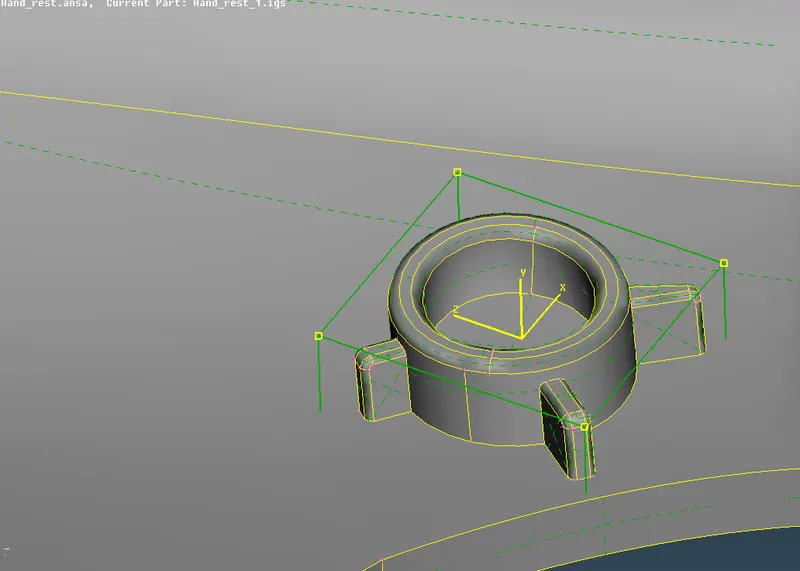
Fig -13 Enabling Local coordinate syatem ans selection of nodes for geometrical change.
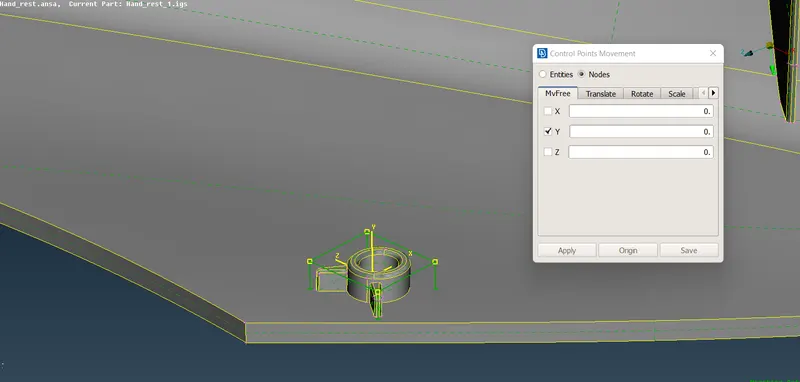
Fig -14 Selection of axis for morphing.
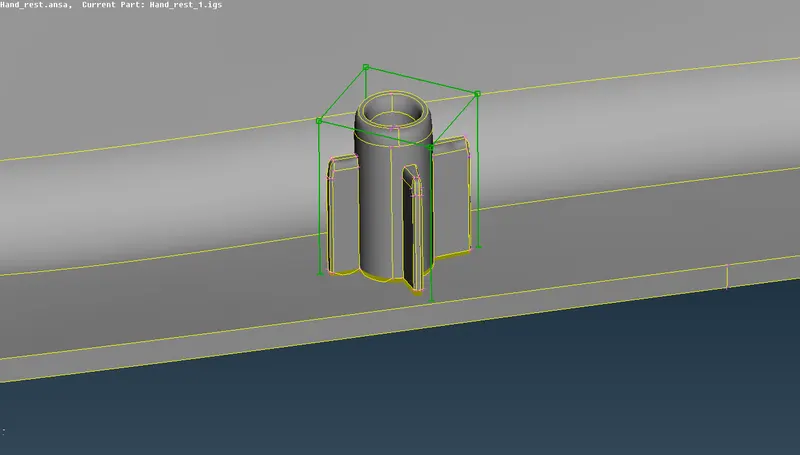
Fig -15 Morphing done successfully. (Height increased in Y-axis).
Similarly other areas are also morphed which are shown in the below images for your referrence.
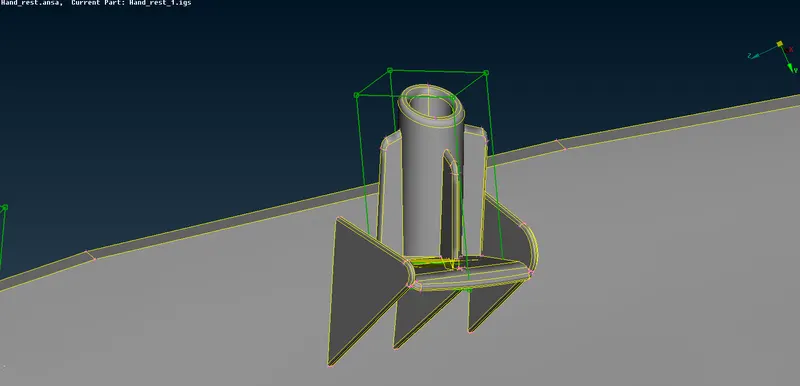
Fig -16 Dog house morphing done.
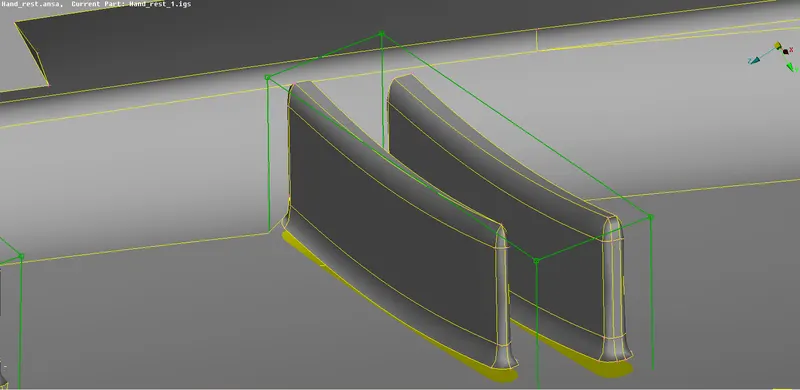
Fig -17 Ribs Morphing done.
RESULT:-
The Box morphing method for various geometry for the given models are completed successfully and report is generated.