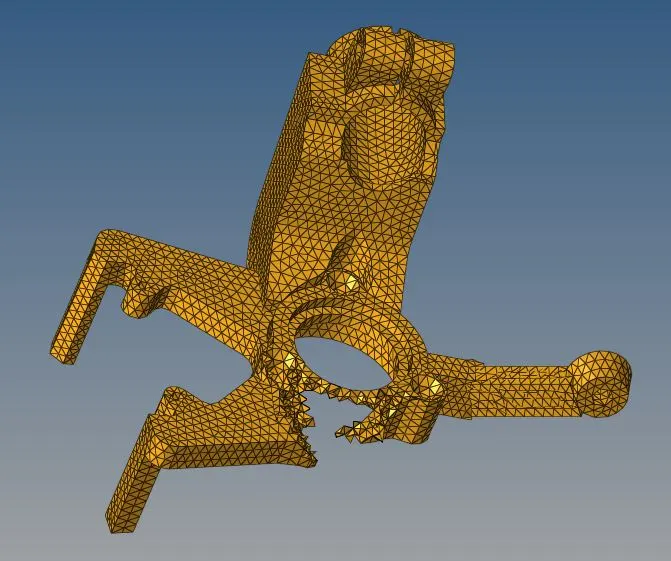
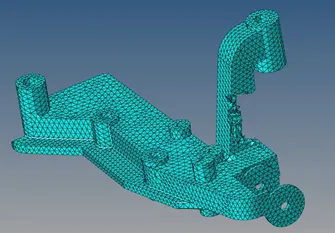
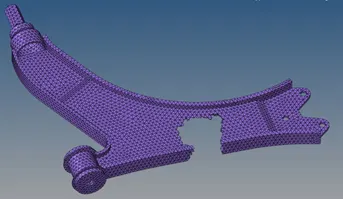
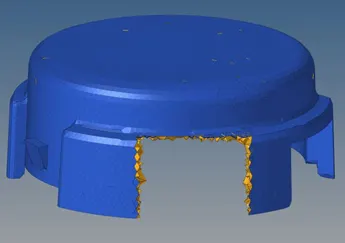
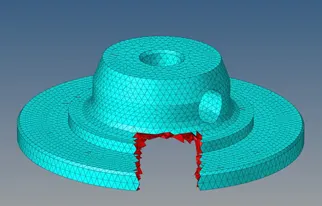
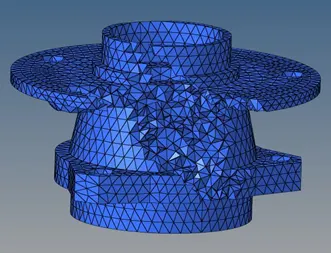
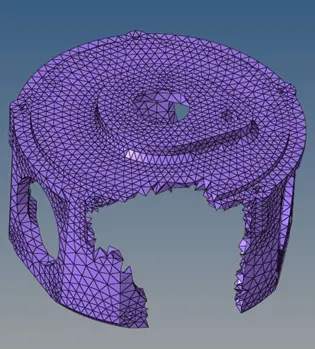
Generating 3D mesh on the given plastic components.
Objective: Generating 3D mesh on the given components.
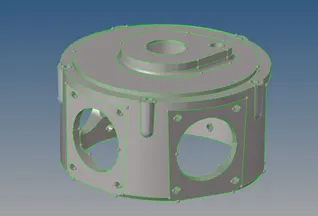
CAD model images:
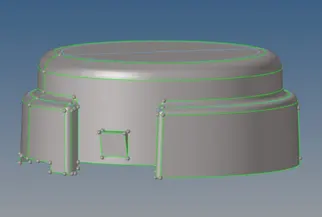
Model 1
Model 2
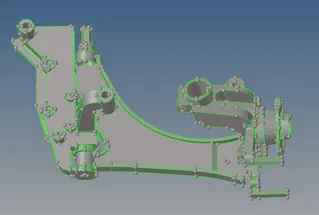
Model 4
Procedure: The given components must be meshed with proper 3D meshing methods like 2D to 3D mesh, Quick tetra and Volume tetra.
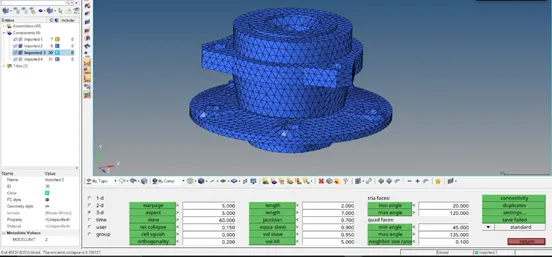
There are 3 models that are to be 3D meshed and checked for quality. The quality criteria that needs to be followed for 1st model (Housing) is as follows:
- Elements sizes: Min- 2mm, Target- 5mm, Max- 7mm
- Tet collapse: 0.15
Models 2&4 are to be 3D meshed with element size of 6mm and must be checked for tet collapse. Set appropriate criteria parameters in the criteria file settings and click on “Apply” and OK.
1st model (Housing):
- This model consists of 2 components, named model 1&2. First hide model 2 and turn on model 1.
- Perform geometry clean up where ever necessary before meshing.
- Go to automesh tab in the 2D panel, enter element size as 5mm and select mesh type as “tria” and click on mesh.
- Before performing 3D mesh on the meshed component check for minimum & maximum element length and fix them accordingly if any elements fail for it.
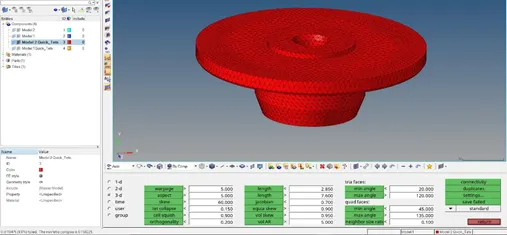
- Here “Quick tetra” method is being used to obtain a 3D mesh. Now to perform 3D mesh go to “view” in the menu bar. In the view tab go to “Browsers à Hypermesh àUtility”. Go to “quick tetra” in the geom/mesh tab in it as shown below.
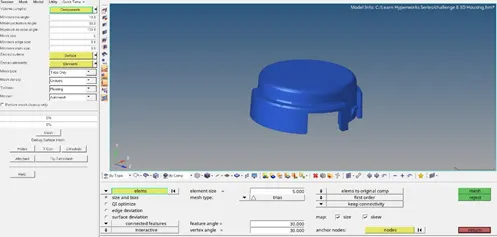
- Enter the parameters and click on mesh. The automesher performs the 3D mesh. Now check for “tet collapse” quality using “check elems” in the tools section of the main menu page.
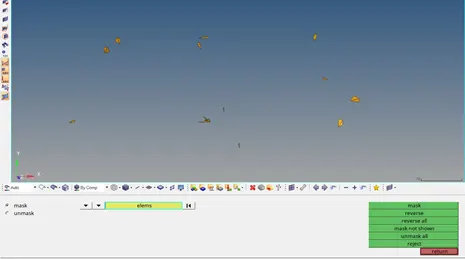
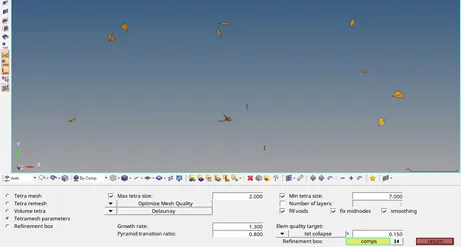
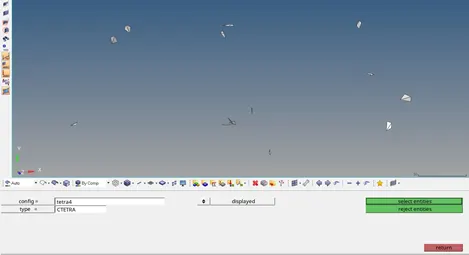
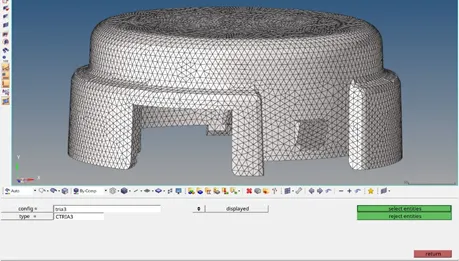
- If the elements fail for tet collapse, then they can be fixed by following the process as shown below.
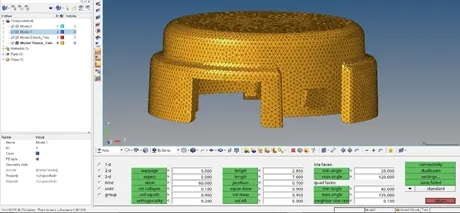
- The same process is to be followed for 2nd sub component as well.
Model 2:
- Perform geometry clean up where ever necessary before meshing.
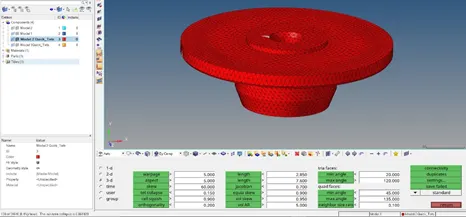
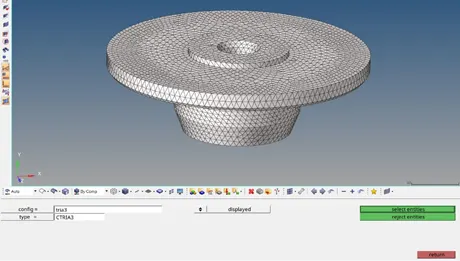
- Now go to tetramesh -> Volume tetra option in the 3D tab in the main menu page, select the component surface and enter the element size details and click on mesh.
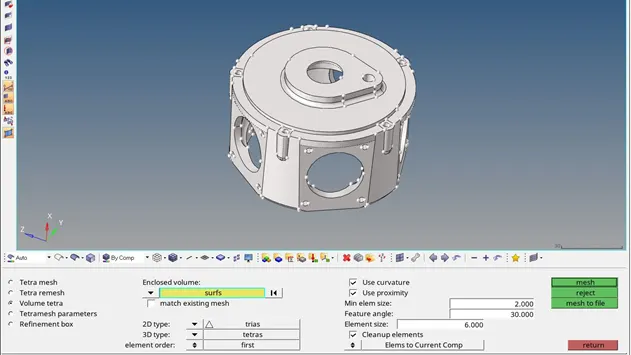
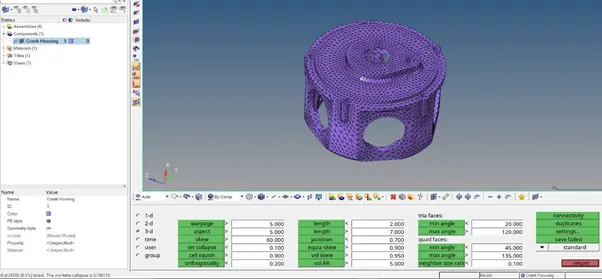
- After 3D mesh is created check for “tet collapse” quality using “check elems” in the tools section of the main menu page.
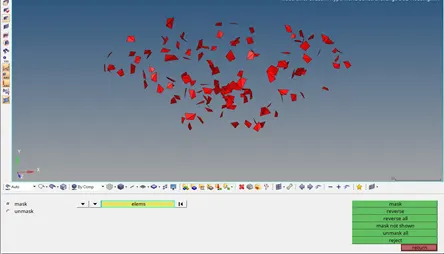
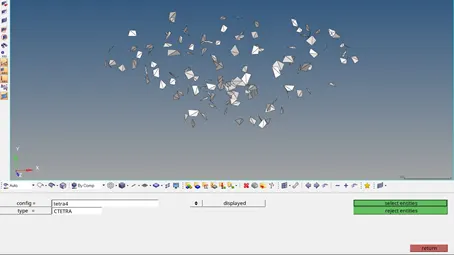
- If the elements fail for tet collapse, they can be fixed by saving the failed elements and retrieving them by masking the elements & performing a tetra remesh on them.
Model 4:
- This model is a suspension assembly component which consists of four sub components.
- Perform geometry clean up where ever necessary on each of the sub component by isolating them before meshing.
Component 1:
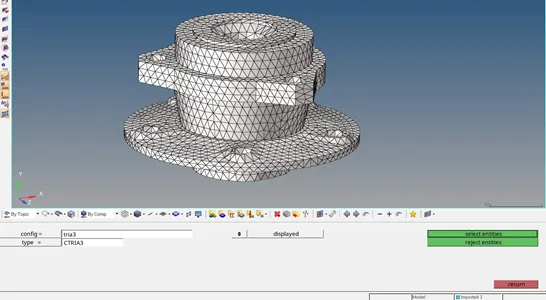
- Go to automesh tab in the 2D panel, enter element size as 6mm and select mesh type as “tria” and click on mesh.
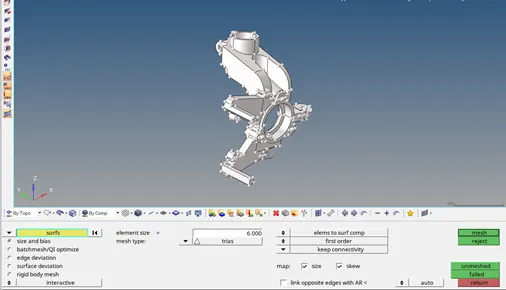
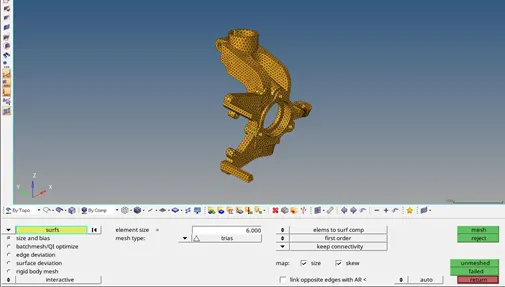
- Before performing 3D mesh on each of the meshed component check for minimum & maximum element length and fix them accordingly if any elements fail for it.
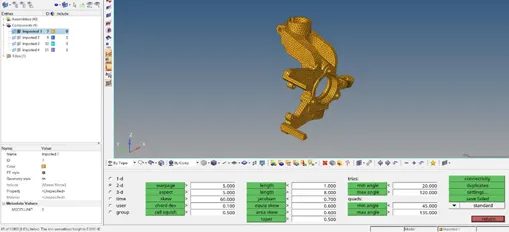

After fixing failed elements for minimum length.
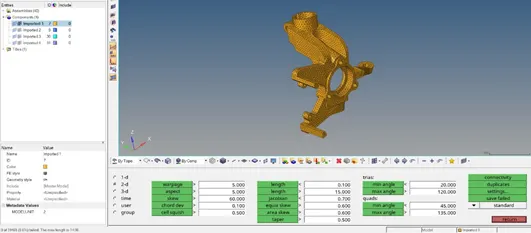
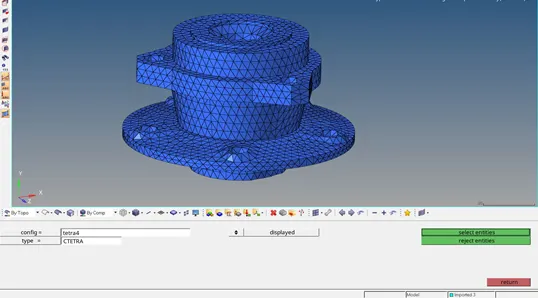
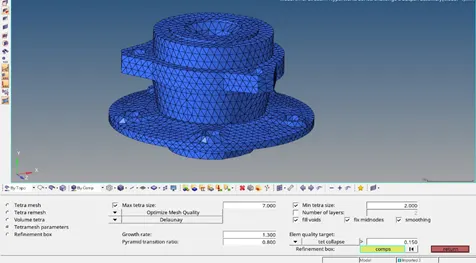
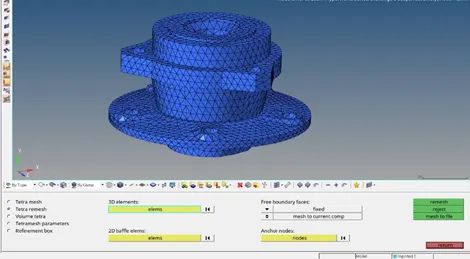
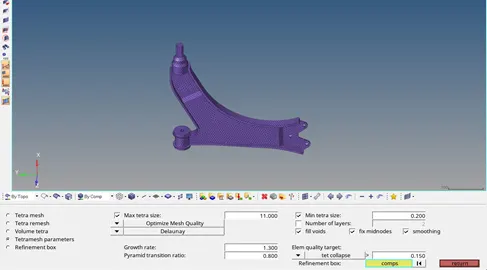
- First method of 3D meshing is being used to obtain 3D mesh on this model. Go to 3D section in the main menu page and select tetramesh option and proceed to 3D mesh as shown below.
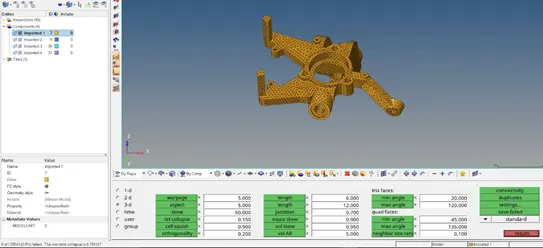
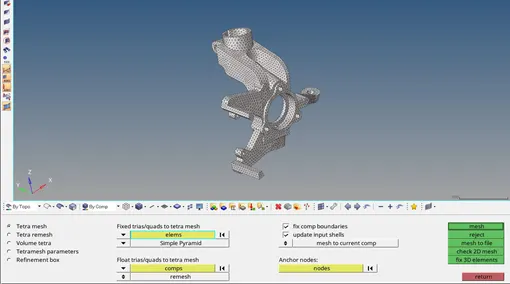
- After 3D mesh is created check for “tet collapse” quality using “check elems” in the tools section of the main menu page.
- If any elements fail for tet collapse, they can be fixed by saving the failed elements and retrieving them by masking the elements & performing a tetra remesh on them.
Component 2:
- Geometry clean up where ever necessary on the sub component by isolating it before meshing.
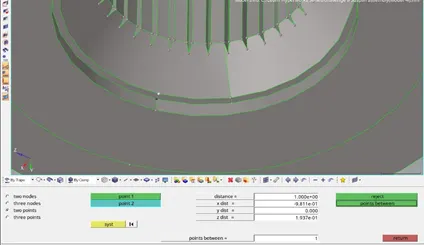
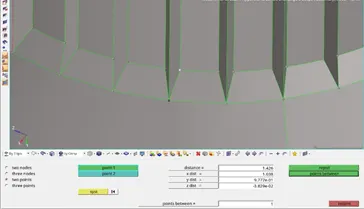
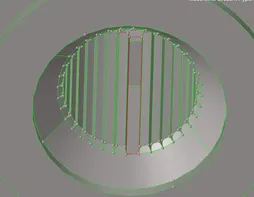
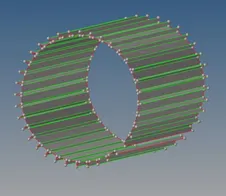
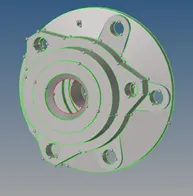
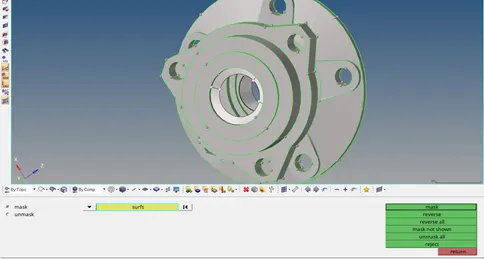
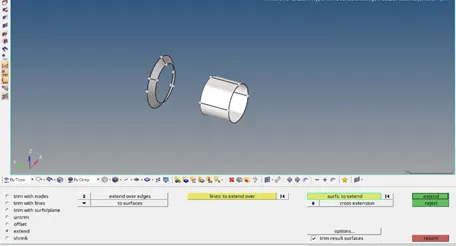
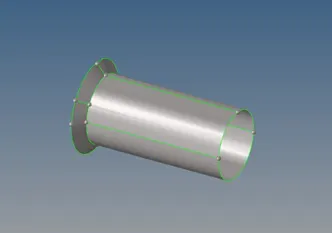
- Go to automesh tab in the 2D panel, enter element size as 6mm and select mesh type as “tria” and click on mesh.
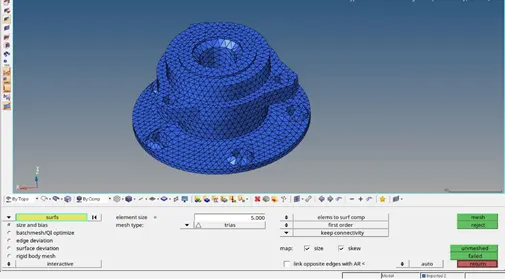
- Before performing 3D mesh on each of the meshed component check for minimum & maximum element length and fix them accordingly if any elements fail for it.
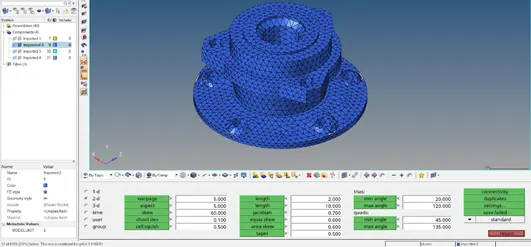
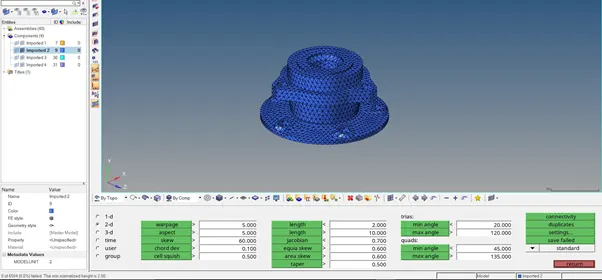
- First method of 3D meshing is being used to obtain 3D mesh on this model. Go to 3D section in the main menu page and select tetramesh option and proceed to 3D mesh as shown below.
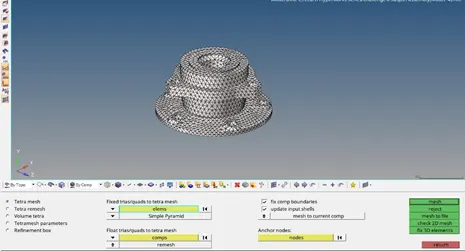
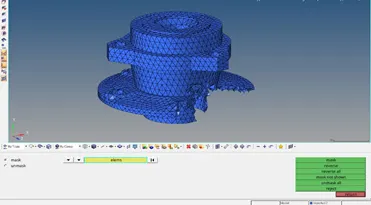
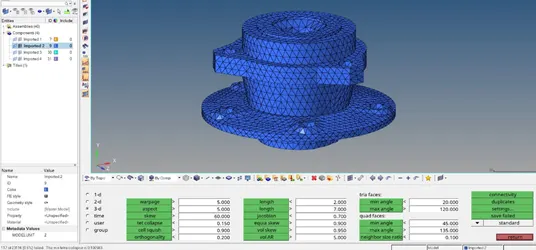
- After 3D mesh is created check for “tet collapse” quality using “check elems” in the tools section of the main menu page.
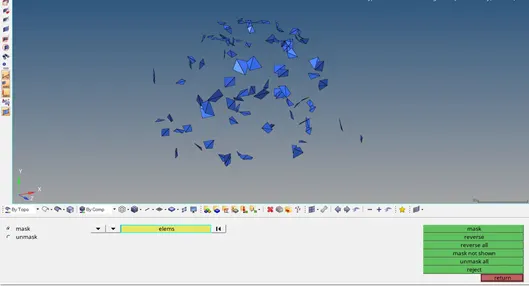
- If any elements fail for tet collapse, they can be fixed by saving the failed elements and retrieving them by masking the elements & performing a tetra remesh on them.
Component 3:
- Go to automesh tab in the 2D panel, enter element size as 6mm and select mesh type as “tria” and click on mesh.
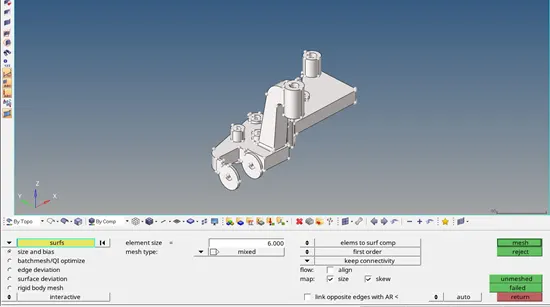
- Before performing 3D mesh on each of the meshed component check for minimum & maximum element length and fix them accordingly if any elements fail for it.
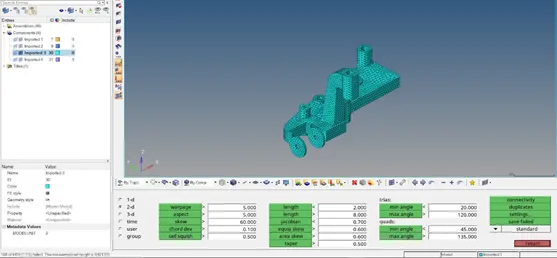
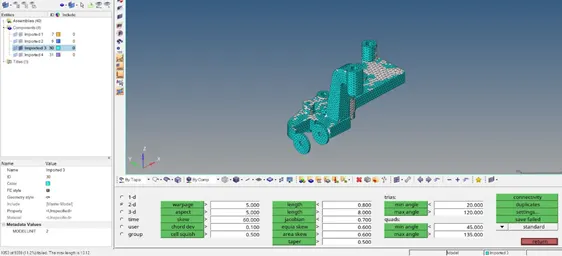
- First method of 3D meshing is being used to obtain 3D mesh on this model. Go to 3D section in the main menu page and select tetramesh option and proceed to 3D mesh as shown below.
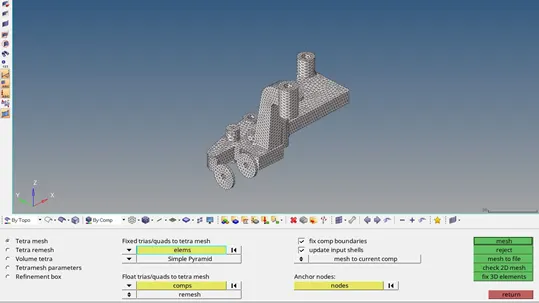
- After 3D mesh is created check for “tet collapse” quality using “check elems” in the tools section of the main menu page.
- If any elements fail for tet collapse, they can be fixed by saving the failed elements and retrieving them by masking the elements & performing a tetra remesh on them.
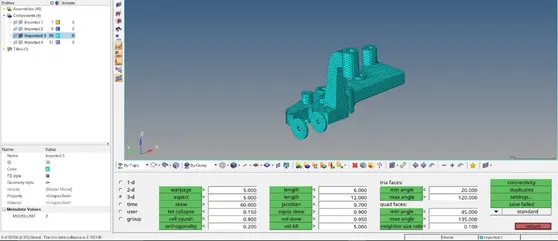
Component 4:
- Go to automesh tab in the 2D panel, enter element size as 6mm and select mesh type as “tria” and click on mesh.
- Before performing 3D mesh on each of the meshed component check for minimum & maximum element length and fix them accordingly if any elements fail for it.
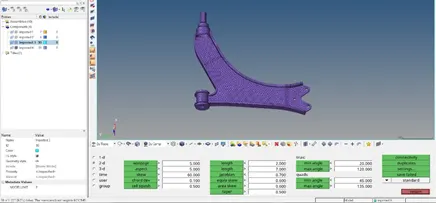
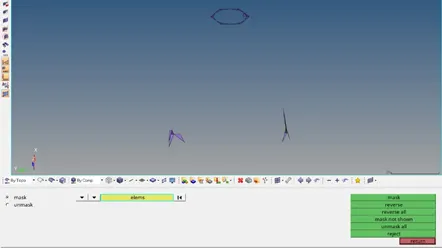
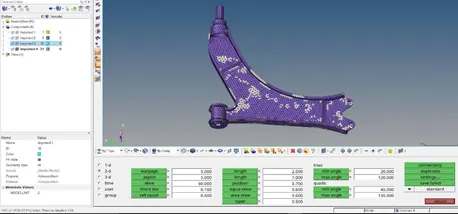
- First method of 3D meshing is being used to obtain 3D mesh on this model. Go to 3D section in the main menu page and select tetramesh option and proceed to 3D mesh.
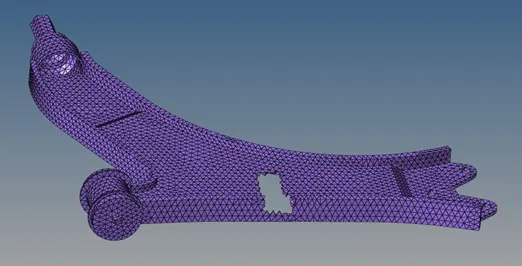
- After 3D mesh is created check for “tet collapse” quality using “check elems” in the tools section of the main menu page.
- If any elements fail for tet collapse, they can be fixed by saving the failed elements and retrieving them by masking the elements & performing a tetra remesh on them.
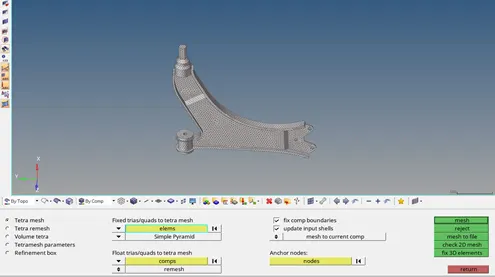
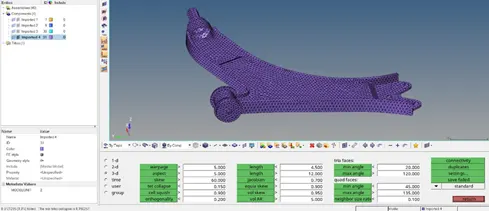
Results:
Final model images