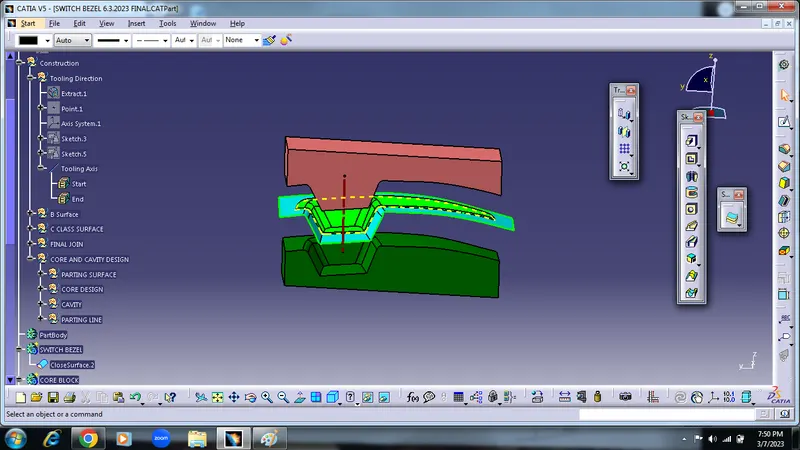
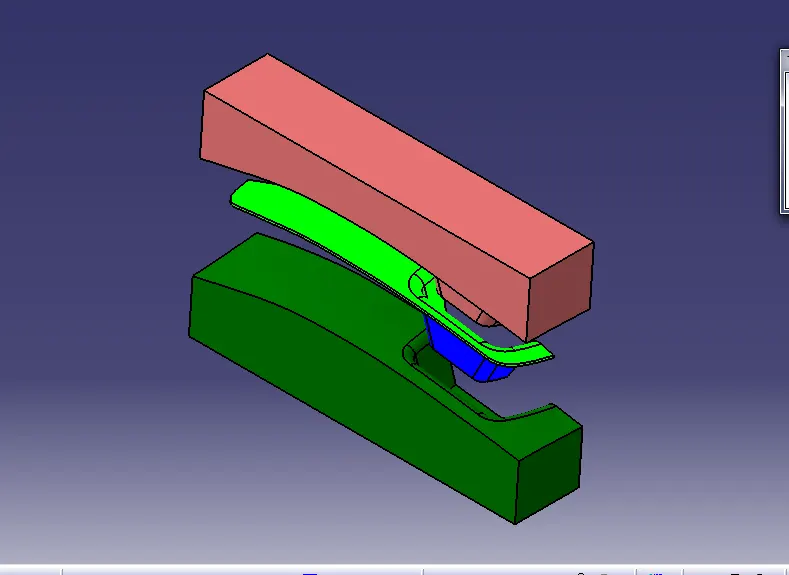
Week 8 - Challenge 6 - Core & Cavity Design
1) Create Class A surface from given input
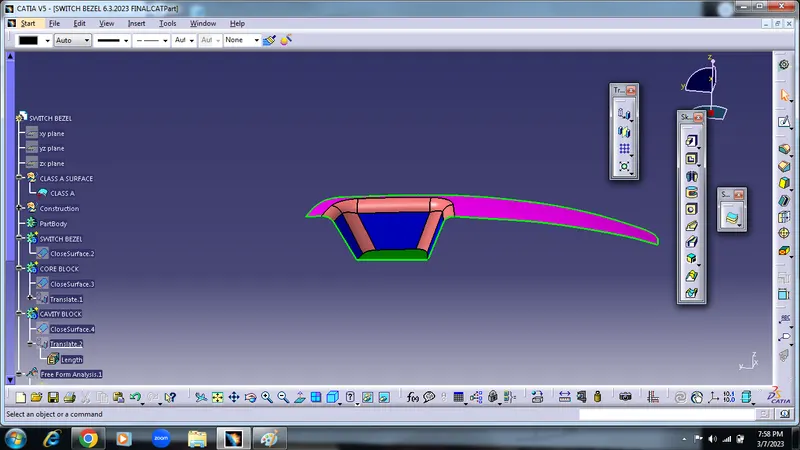
2) create Tooling Axis
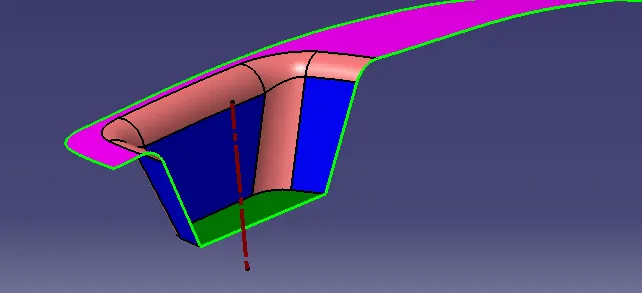
3) create Class B surface,for the creating class B surface use class A surface
Extracting class A surface and trim them and offsetted by 3 mm
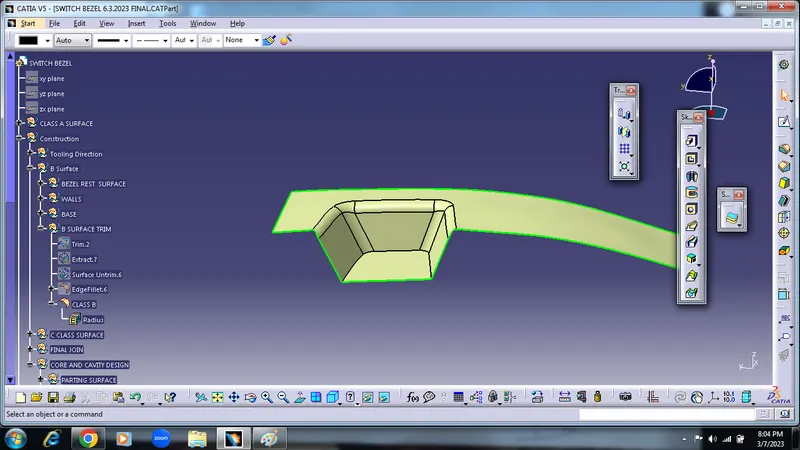
4) Then create Class C surface by using boundry and sweep command
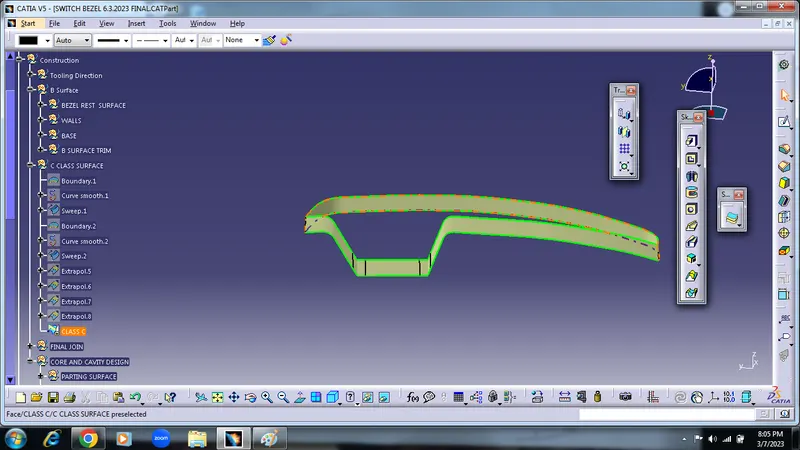
5) Then use join option for join Class A & class c surface and TRim with class B surface
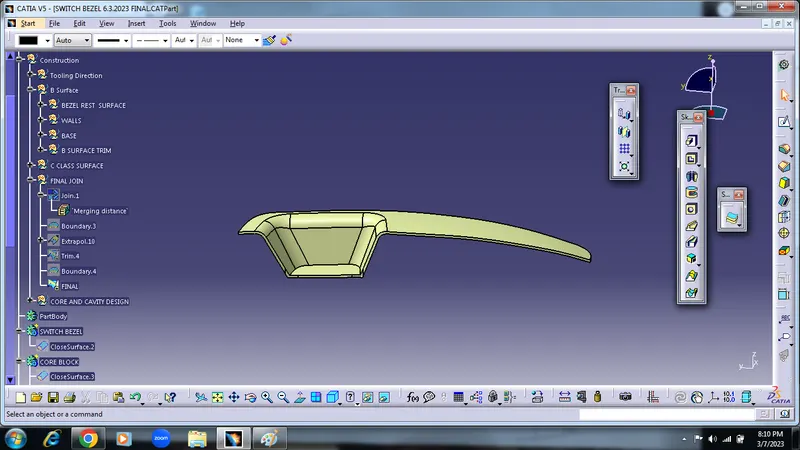
6) By using the above surface create close body and check by draft analysis
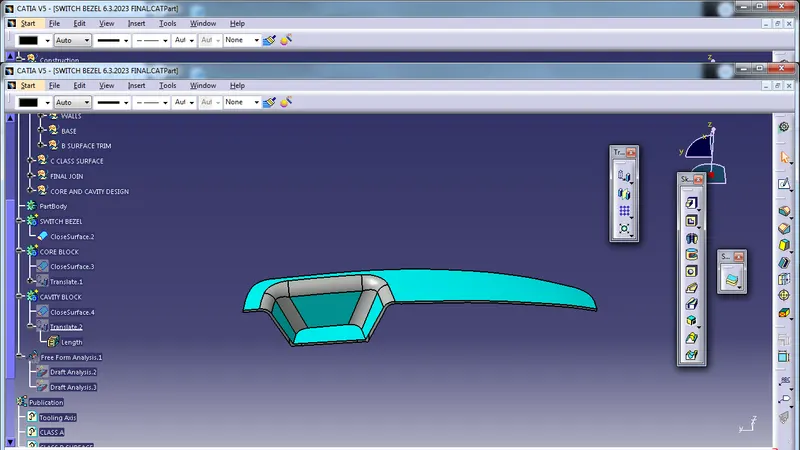
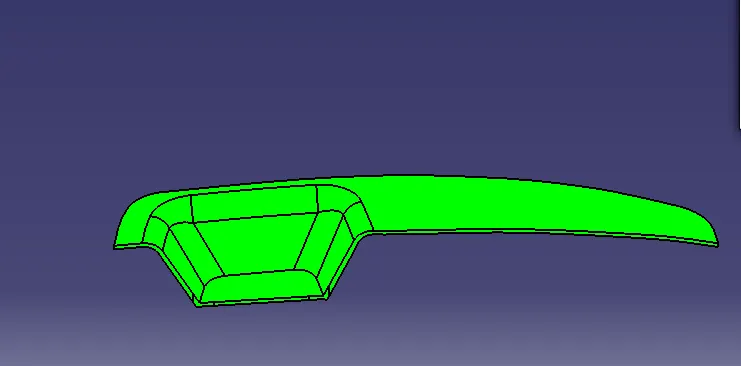
Then create Core & cavity Design-
- 1st create parting surface, for creating parting surface need class A surface and then class A surface extrapolate by 20mm
- Then class A surface Trim with Class C surface
- And at the end class A +Class C surface trim with the class B surface
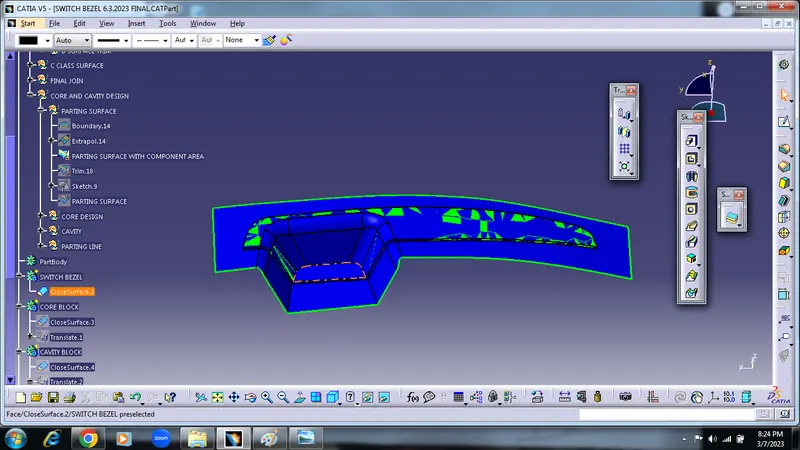
- Figure shows parting Surface with the component area
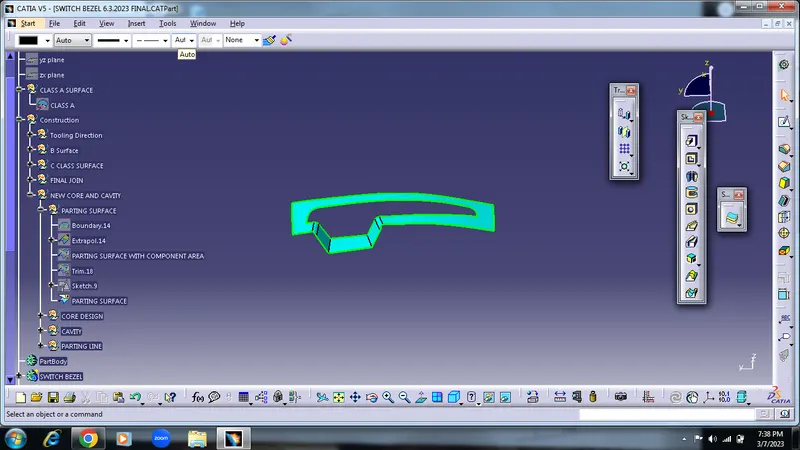
- Below figure that only parting surface
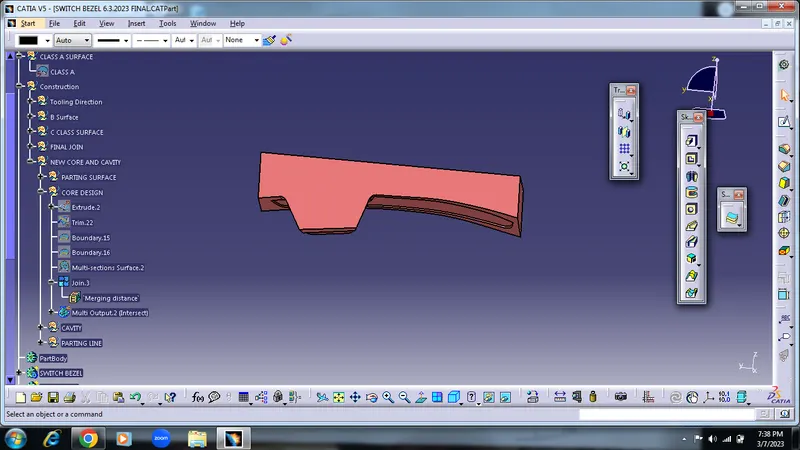
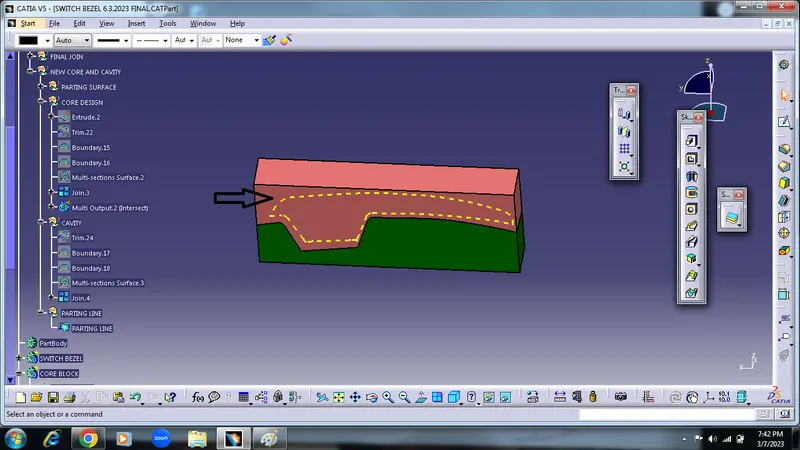
- Then creating Core block,with the sketch create Rectangular block around the component
- That rectangular block extrude trim with the parting surface with component area
- And color it
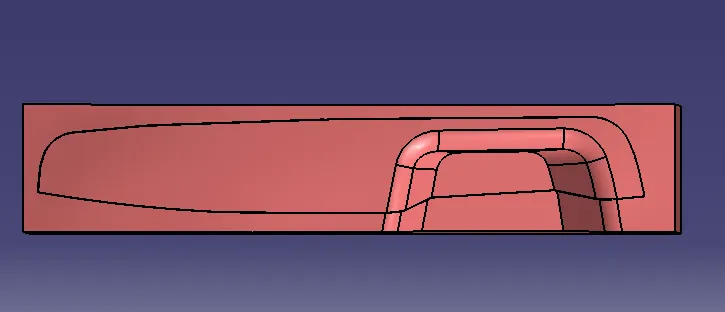
- After that create Cavity as same as the core design and it looks like a
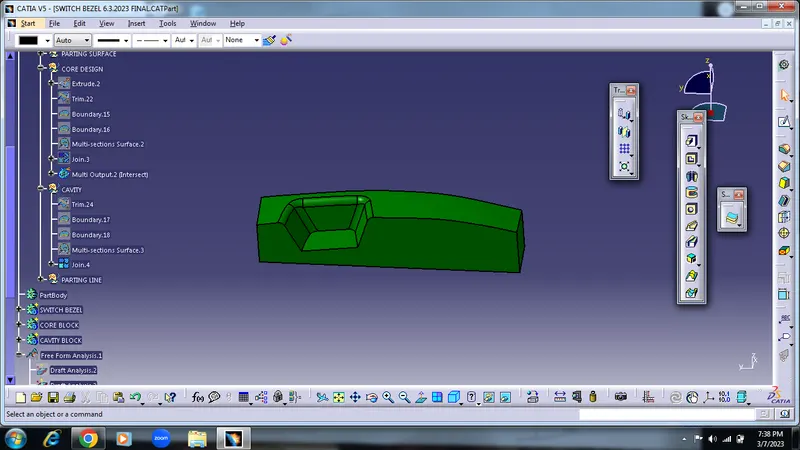
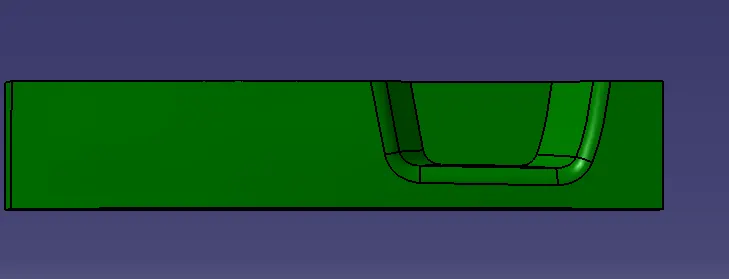
- After the core and cavity design take all intersection of all parts and all projection look like a below figure
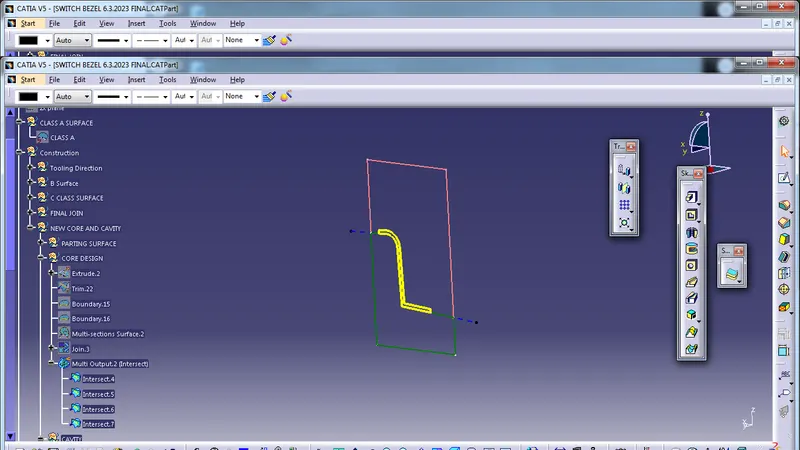
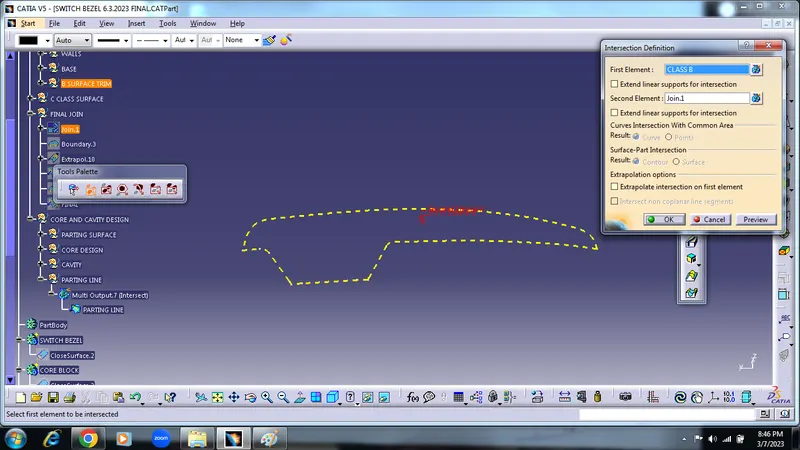
- parting line - for creating parting line required Class A,B & C surface
- take itersection with Class C
And finaly core and cavity block convert into close body and translate then some distance