Week 8 - Challenge 6 - Core & Cavity Design
AIM : Create the Core and cavity blocks for the switch bezel designed in the earlier challenge.
Report :
Tooling axis creation :
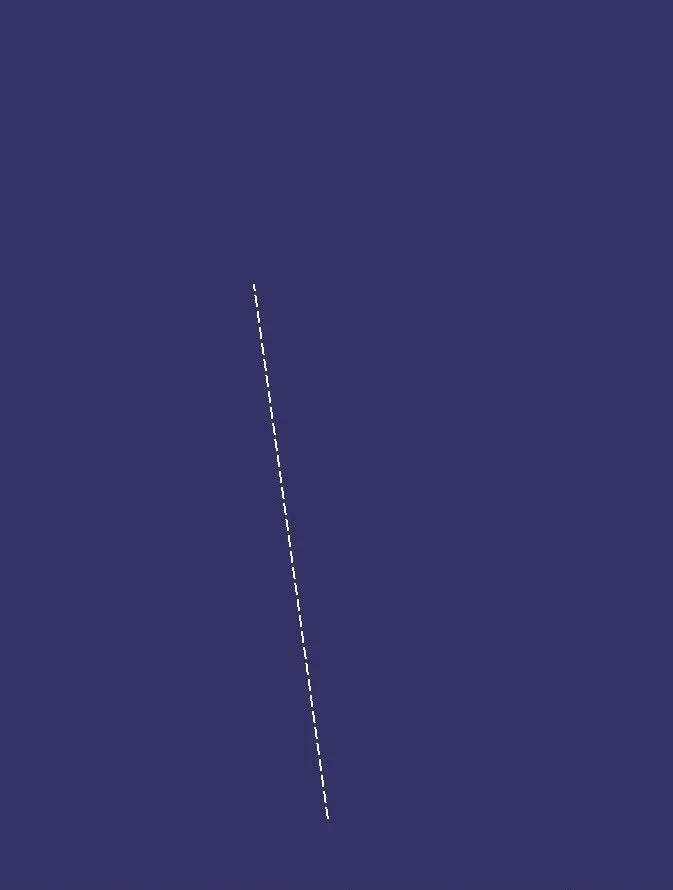
- in this cat part, we have to create the normal to the surface line from the plane suface.
- extract the base.
- create a point on the surface.
- extend the lines on both sides.
- to create lines for the lines on the surface.
- create the line using normal to surface and get the tooling axis.
Draft analysis :
- with the help of the tooling, the axis creates the draft analysis.
- check whether the mode is in the material mode.
- using the compass fix and lock in the suitable direction.
- give the draft angle for 3 deg.
- Click on the part and make sure that the colour code becomes green.
class A surface
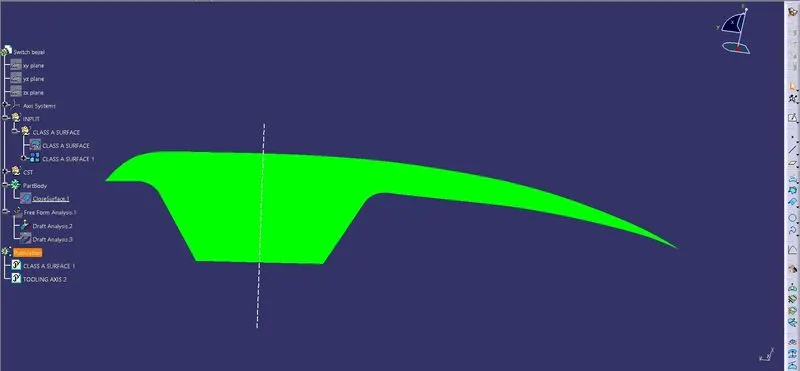
closed surface
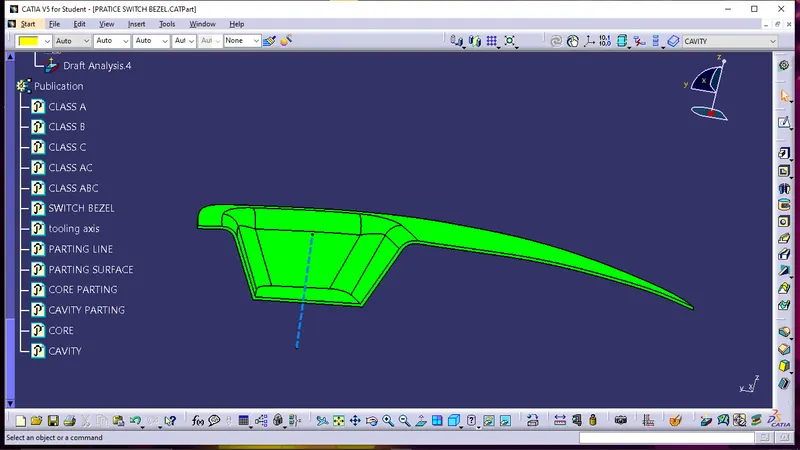
In this, I had taken closed surface taken 2.9 deg. and negative value blue is slowing below.
Core and cavity creation
The core is the part which forms the internal shape of molding. The cavity is the part which forms external shape of molding.Core is the side of the tool where the plastic part is injected from; also known as the bottom half of the tool. The upper half of the mold is called CORE.A tool with one impression is often called a single impression (cavity) mould. A mould with two or more cavities of the same parts is usually called a multiple impression (cavity) mould.
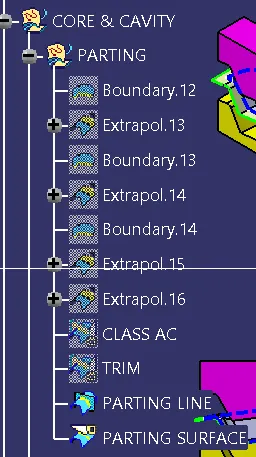
PARTING SURFACE AND LINE CRETION
- First unhide class A , class B and class C.
- class A to be extrapolat upto 10 to 15 mm.
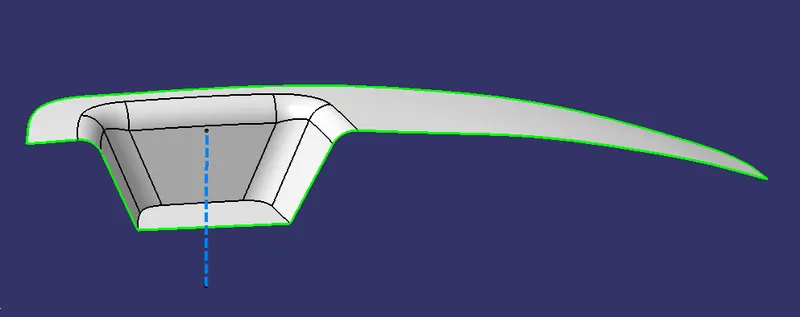
- Now trim class A and class C surface.
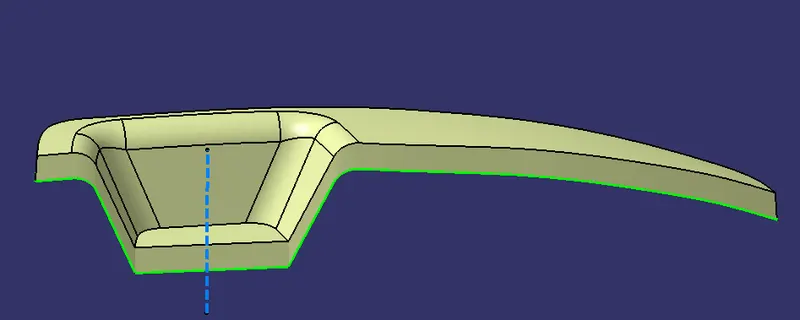
- Then unhide class B surface and now intersection is do.
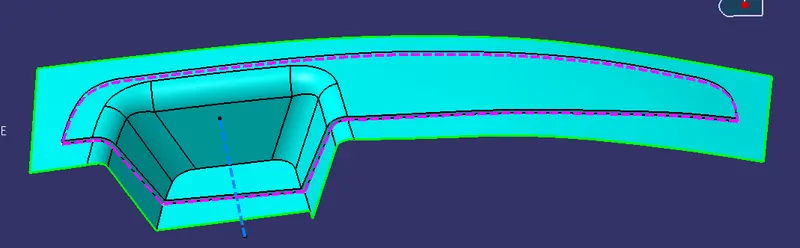
- The above is the parting line is done.
- Now the parting surface is to unhide the class B surface and parting line then use split option the parting surface is done.
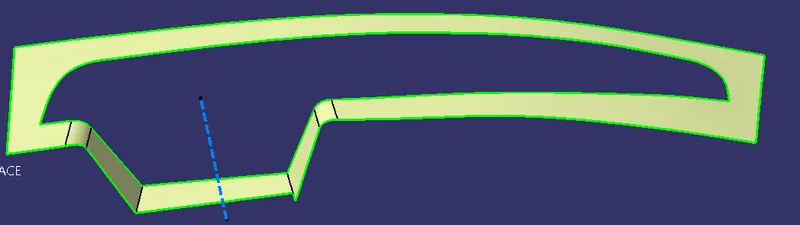
- final trim of class AC and class b.
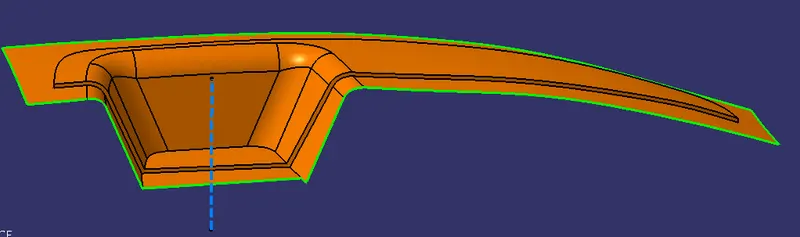
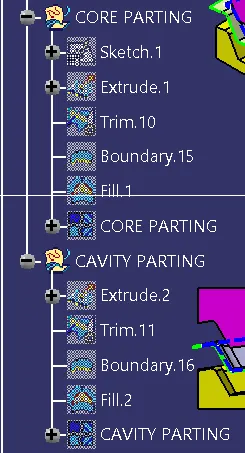
Core creation
- creat a skech on the boundary of trim the rectangle is created.
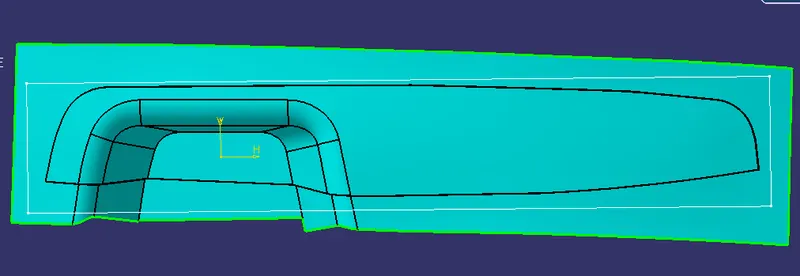
- we need to extrude upto the up side and trim .
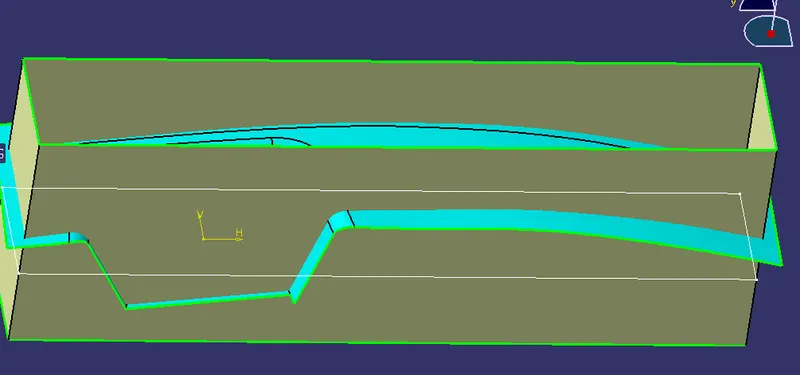
- creat a boundary and use fill option and join the trim and fill.
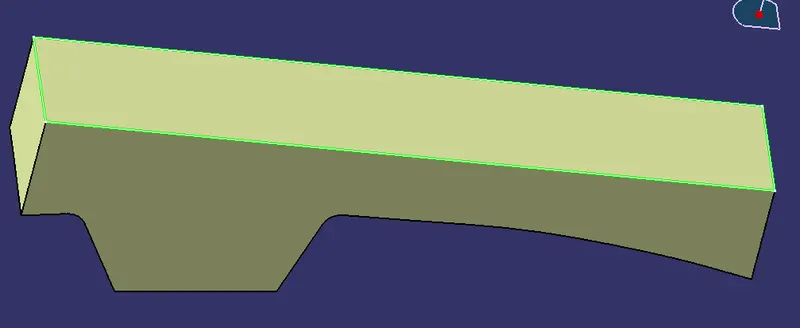
- the core surface is done.
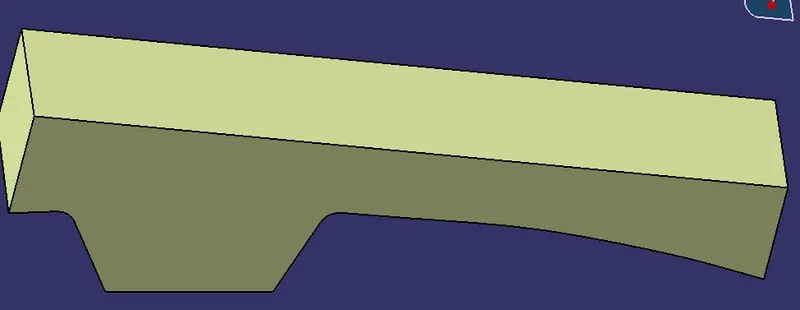
cavity creation
- with the same rectangle extrude upto the down side and trim.
- creat a boundary and use fill option and join the trim and fill.
- the cavity surface is done.
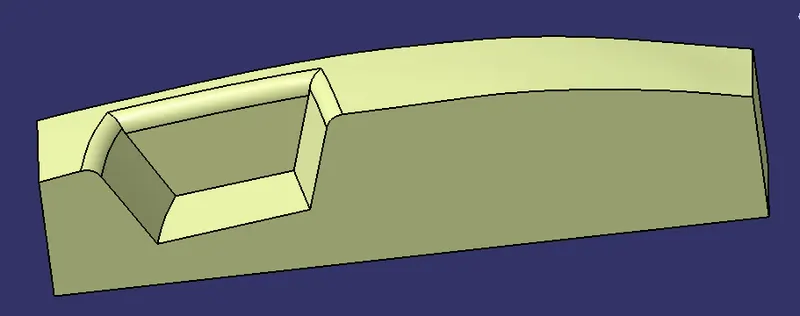
- Now the core & cavity surface is done .
- Now creat the bodys to close the surface to inset the two bodys .
- to creat the close bodys of core and cavity.
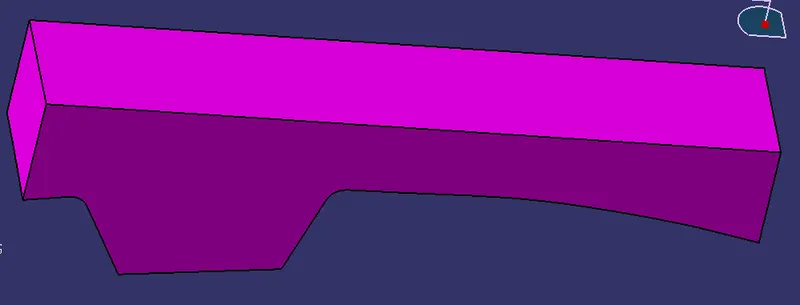
CORE
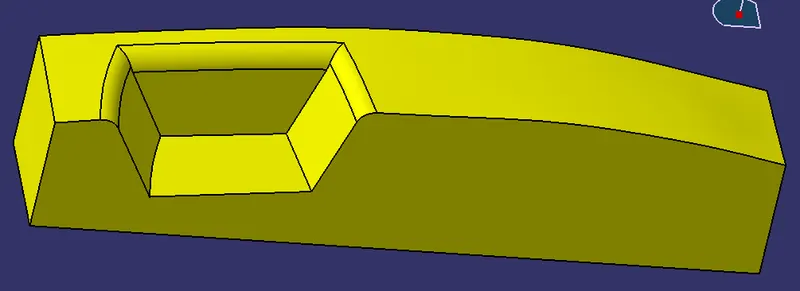
CAVITY
- NOW THE CORE AND CAVITY PART IS DONE
- NOW UNHIDE THE SWITCH BEZEL CLOSED PART AND UNHIDE PARTING LINE AND SURFACE.
- NOW USE THE TRANSLAT COMMAND TO 50MM UP AND CAVITY TO -50MM.
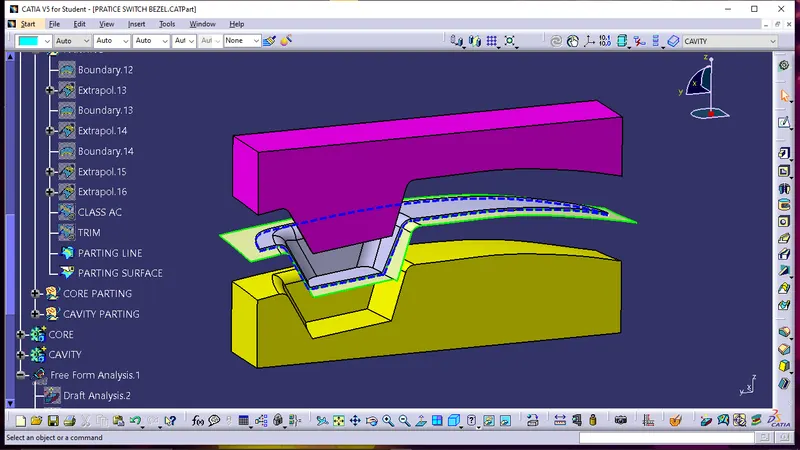
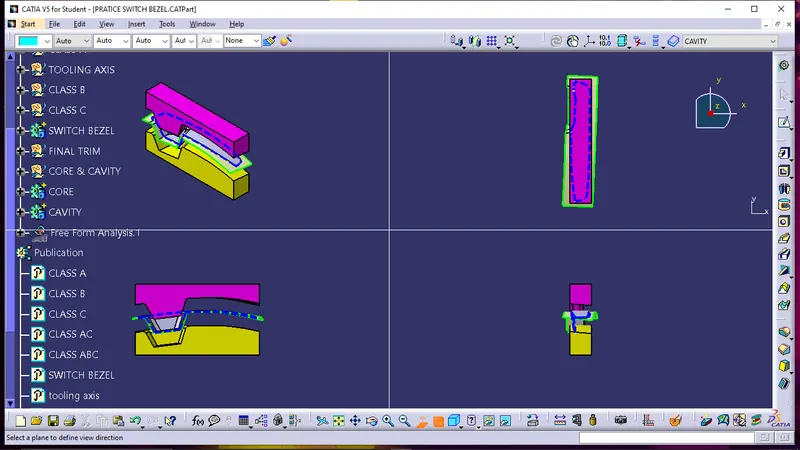
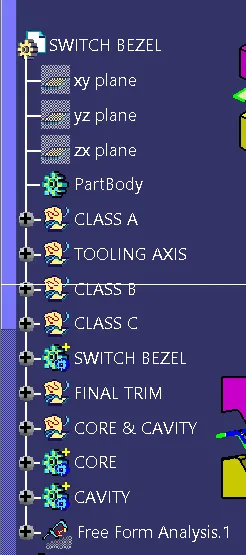
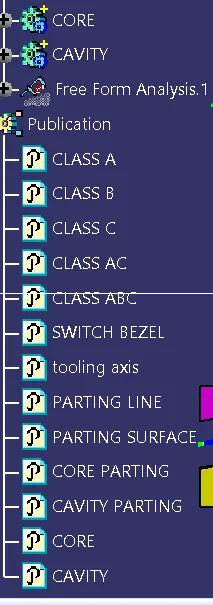
Tree Structure