Underbody Coating
Under-Body Coating
Underbody coating is a thick cladding (typically made of rubber) that is placed uniformly to the car’s underside. When the automobile is fresh off the lot and spotless, it is usually sprayed or painted on. But it’s acceptable if you apply the undercoating after a couple of years. This is because it might protect the undercarriage from additional harm.
MATERIALS NEEDED TO UNDERCOAT A CAR
- Degreaser products
- A disc grinder and replacement pads in varying levels of abrasion
- Power tool with wire brush
- Air hose
- Eye, nose, and hand protection
- Sandpaper (200, 300, and 400 grit)
- Sharp metal scraper
- Undercoating and any required application tools/products
- Car lift
THE UNDERCOATING PROCESS
1. CLEAN
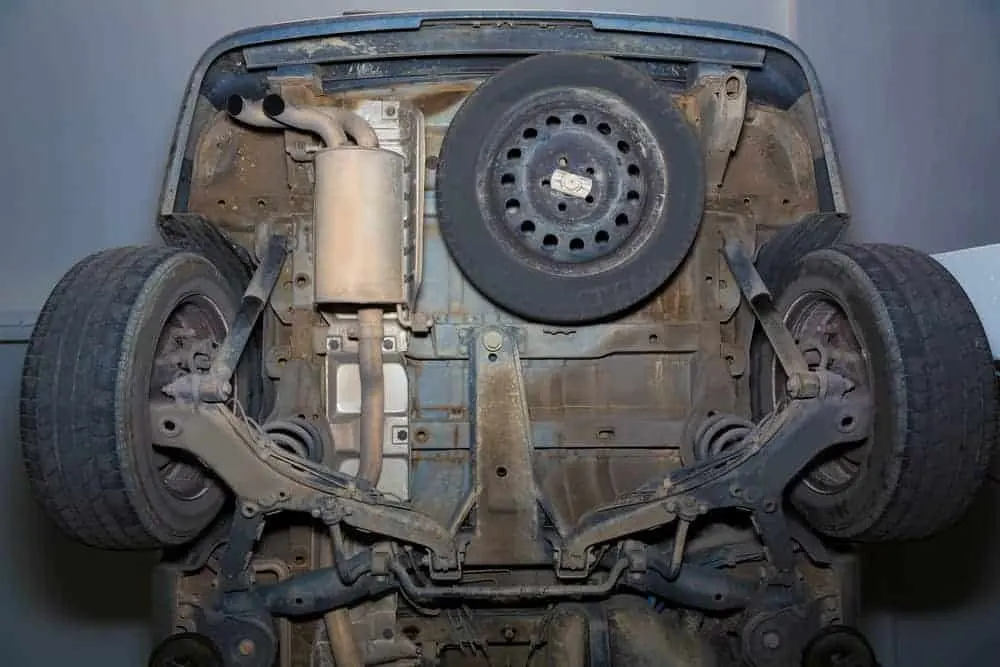
Prior to applying a rust-repelling undercoating, you will need to remove as much corrosion build-up, caked-on road grime, and any other form of "crap-tastic" contaminant from the underside of the vehicle.
Here are a few of the core steps to completing this process.
Blast- Spray the entire underside of the vehicle with either a pressure washer, or a garden hose that has been outfitted with a heavy-duty spray nozzle. Be thorough, and hit every crevice and corner you can find, especially on higher mileage vehicles. Chances are you will be amazed by how much road gunk you will dislodge.
Degrease- Rinse complete, and undercarriage allowed to dry, it's time to use a commercial-grade degreaser to remove any grime or oil lurking beneath the vehicle. The spray and walk away stuff allows you enough time to go get another beer, before removing the degreaser with shop rags or a blast of water.
Grind- The next step is to grind any large chunks of rust or hardened contaminants, starting with a mild grinding pad, and gradually moving to more abrasive pads as necessary. You can also use a stiff wire brush attachment on a power tool or a paint scraper, just beware of any electronics or hydraulic lines that could be damaged by these tools.
Sand- Corroded crap and contaminants blasted and scraped away, break out the sandpaper and get to hand scrubbing that underbelly. Start with a 200 grit sheet, and after each pass move a milder grit of sandpaper. This will not only remove any stubborn rust patches, but it will smooth out the scratches left behind by the coarser forms of scouring media.
IPA Time- No, we're not talking about beer, even though suds and scrubbing do tend to go hand-in-hand on a hot summer day. We're talking about using an isopropyl alcohol (IPA) blend and dry rags to wipe-down what will be getting undercoated. This final prep process helps ensure that the entire undercarriage is devoid of dust and other gunk.
2. PRIME TIME!
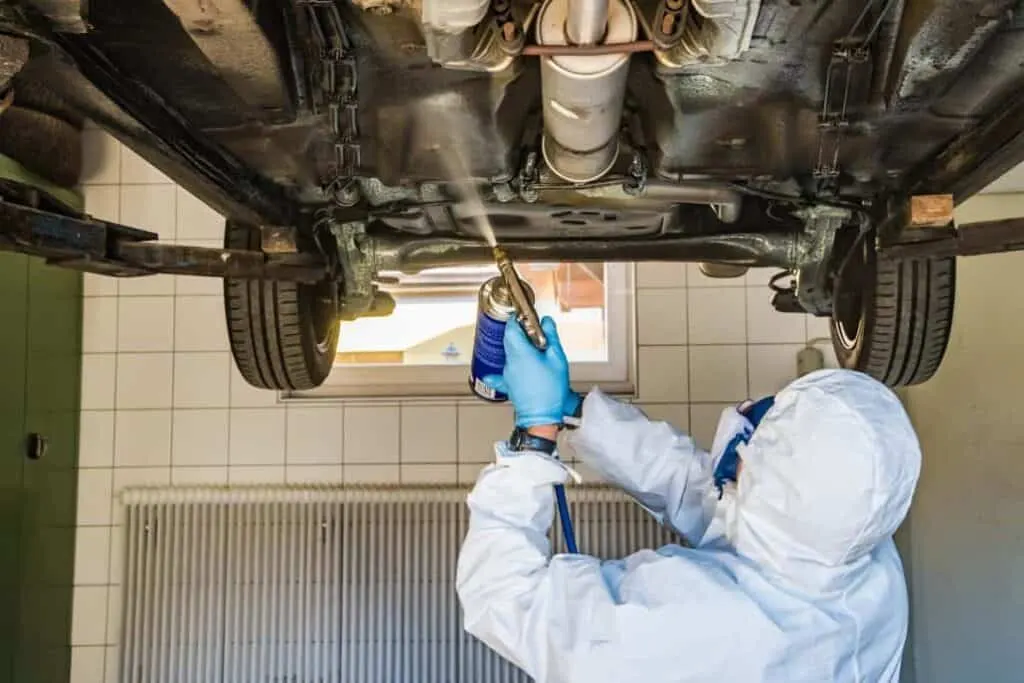
Most DIY undercoating products require a primer of some sort to serve as a basecoat. We've found that the best primers are those with high zinc levels, as this provides an additional corrosion resistance. Just be sure to follow the manufacturer's instructions, for many primers have their own unique prep requirements and curing times.
3. UNDERCOAT
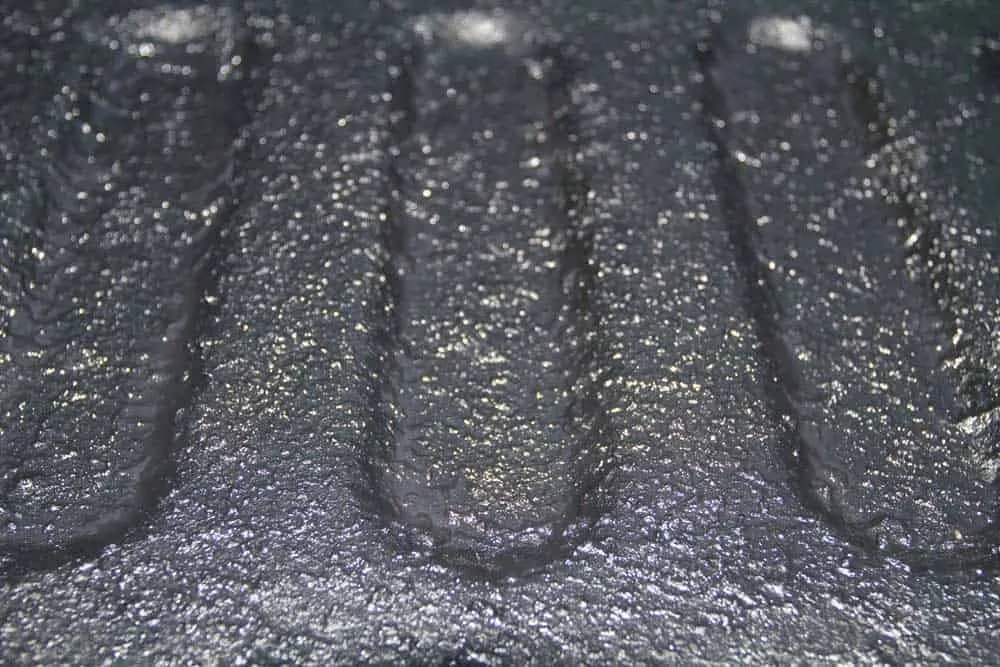
The final step in the undercoating process is the application of the undercoating itself. Most of these products involve a two-stage or dual-layer spray-on procedure.
While the first round of undercoating should be relatively thin, know that it is not there to be the first line of defense, but to serve as a basecoat for the thicker outer coating. An hour or two of downtime on a warm day should provide ample cure time for this first layer. Once it becomes tacky to the touch, it's time to move on to the final outer coating.
These final layers should be applied liberally, and in smooth, slow movements. Rushing will only cause uneven coverage and drips to form, so take your time. Once fully coated, it's time to sit back and let your undercoating cure, which depending upon temps and the product used, may take anywhere from a few hours to a few days.
Types of Undercoating
Now let us look at the various kinds of automotive underbody coating you can go for, for your vehicle.
-
Rubberized Underbody Coating
This is generally thought of as the best underbody coating for your car. It preserves the underbody well, protecting it from scratches. Applying this to the undercarriage is not much of a hassle either.
-
Wax Based Underbody Coating
This – more or less – ephemeral undercoating will wear away in a few months’ time. On the upside, wax-based undercoating puts up a big fight against moisture. It is also the most affordable option out there.
-
Asphalt Based Automotive Undercoating
Best suited for lorries, trucks and large vehicles this provides a greater degree of protection compared to rubber-based coatings. However, asphalt-based coatings contain little amounts of rubber for sound-insulation purposes. The process of applying this coating is a bit time-consuming though.
-
Polyurethane Underbody Coating
This coating closes up splits and fractures on the underbody of the vehicle. It offers up good protection against corrosion and also bonds with the metal. Unlike in the case of asphalt-based coating, you can paint over the polyurethane coating.
Advantages of Undercoating
Now we will tell you why you should consider investing in a vehicle underbody coating.
-
Fights Rust
It plays an important role in keeping corrosion at bay. Underbody coating can come in handy especially if you live near the sea, where there is too much humidity, and rusting is just one of those everyday things. You should also seriously consider undercoating if you reside in a place where it snows in winter.
-
Absorbs Noise
Believe it or not, very thick undercoating can soften the noises that reach the cabin. Since the undercoating is often made up of rubber it absorbs some of the rackets. The occupants of the car could spare themselves of the road noises – at least up to a certain extend.
-
Reinforcement
If your car comes with stock underbody coating, using another coating on top of it, is not going to hurt. It will offer additional reinforcement, protecting the underbody from water, road debris, gravel and small pebbles. There would also be a lesser chance for the factory coat to flake away.
-
Prolong Car’s Life
Good undercoating not only defends the underbody from corrosion but also protects the engine and transmission as well! Less rusting coupled with slower wear and tear can surely add years to the lifespan of your vehicle. There would be fewer dents, dings and scratches on the undercarriage for you to fret about.
Disadvantages of Undercoating
A used vehicle may already have residue on the bottom of the car or even have spots of rust and corrosion. Undercoating will not help you if corrosion already exists and the corrosion needs to be removed first before it can be applied, which can be expensive. -