Week 8 - Challenge 6 - Core & Cavity Design
CORE AND CAVITY DESIGN FOR SWITCH BEZEL
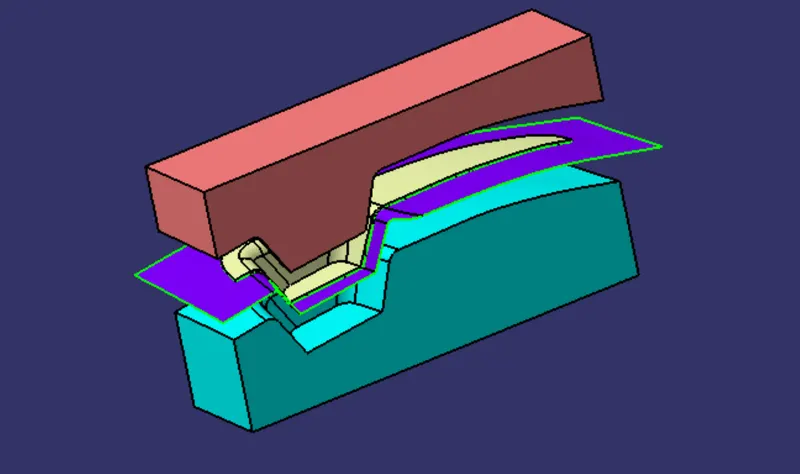
for the core and cavity design first we need to make the parting surface after that we need to make the core and cavity .from the above figure it shows the core and cavity with parting surface and the component as shown in the above figure.
for creationof parting surface
for that first we need to make a parting surface by creating the boundary on the class A surface after that we need to extrapolate the class A surface after that a surface is formed which is called as parting surface
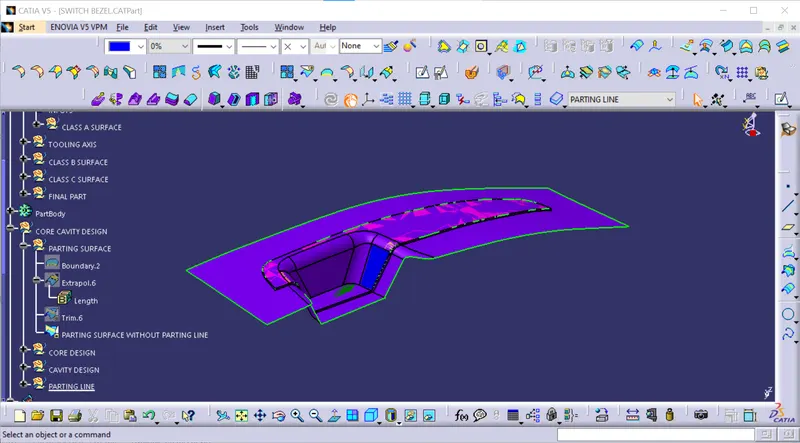
the parting surface which is shown in the above figure
Core design
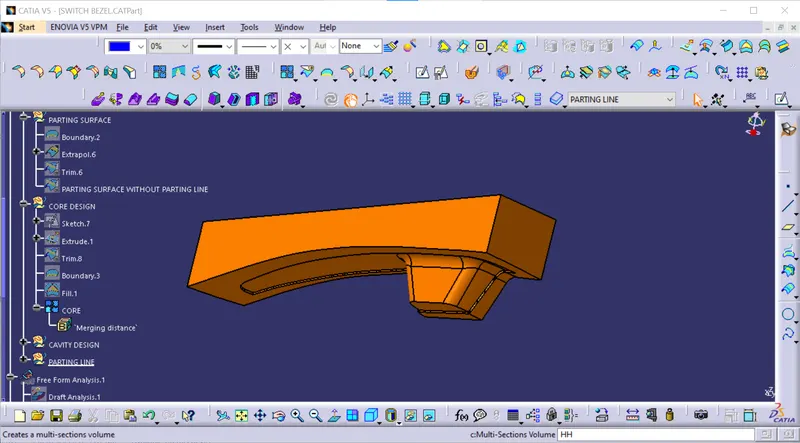
for the designing of the core we need to draw a sketch on the parting surface
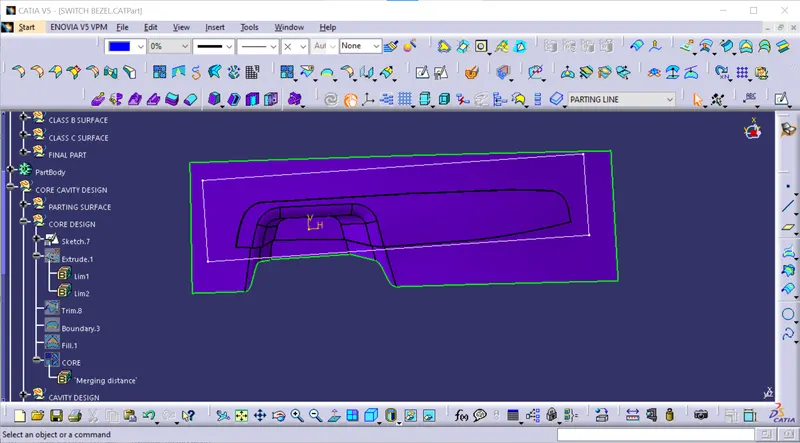
after creating the sketch we need to extrude the sketch and there is a box is formed around the switch bezel then we need to trim the parting surface with the extrude that we have created after that we need to fill the top opening portion. then the core is formed
cavity design
for the cavity design also we need to use that same extrude that we hav created for the core design again we need to trim the parting surface with the extrude in the cavity side as shoown in the below figure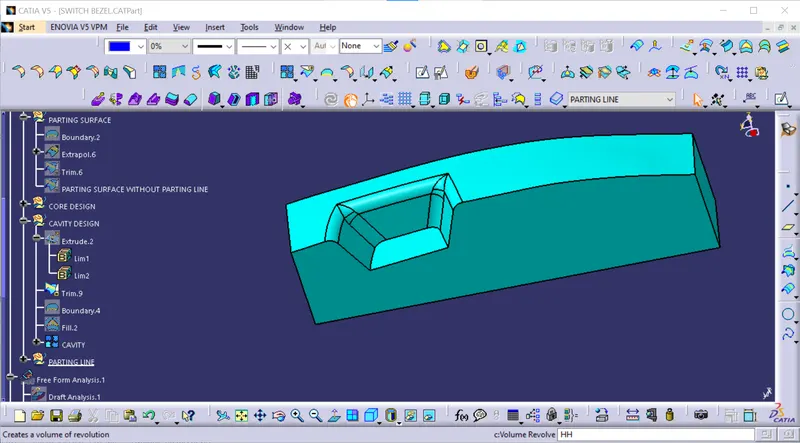
parting line
for the parting line we need to take the class A surface then we need to create a booundary using the boundary command then we need to unhide the parting surface after that we need to split the parting line with the parting surface as shown in the below figure.
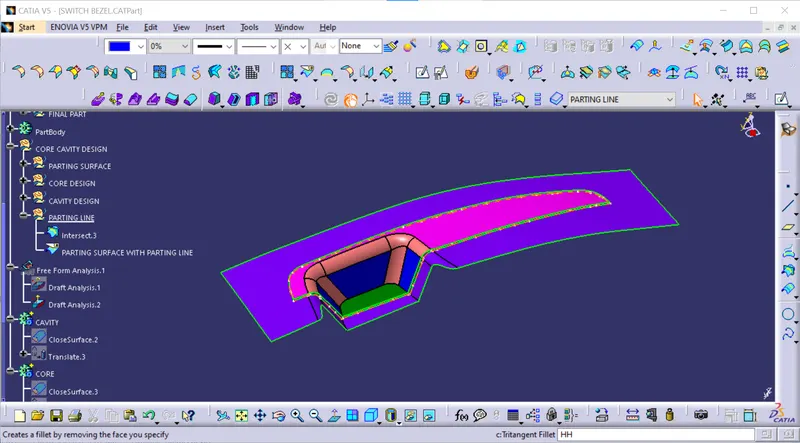
close surface
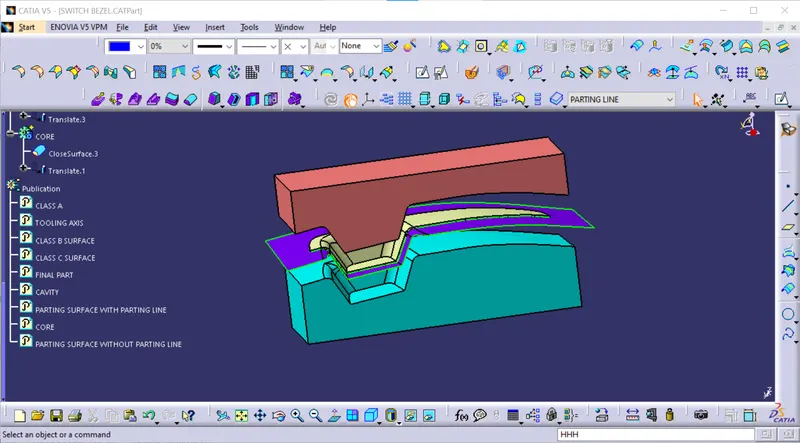
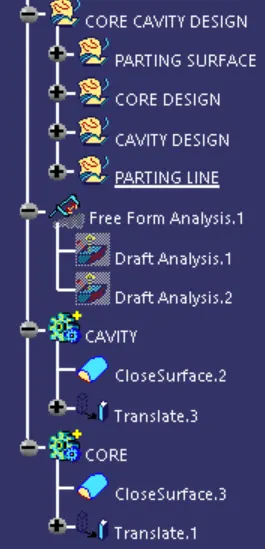
for creation of the close surfaces for the core and cavity we need to create 2 part bodys and then we need to go to the part design then we need to use the close surface command to create the solid body by using the transulate command we can see the inner sections and the view of the core and cavity clearly as shown in the above figure
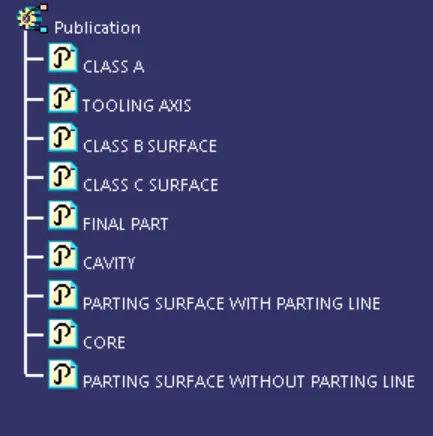
Tree structure