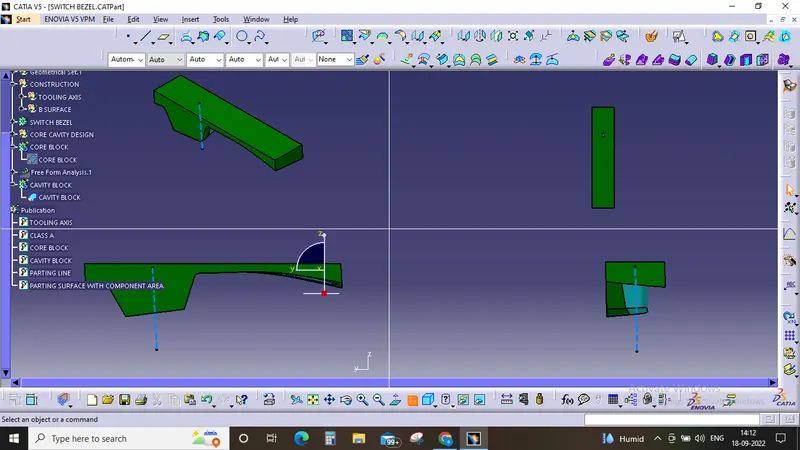
Week 8 - Challenge 6 - Core & Cavity Design
Solution:-
1) Tooling axis creation:-
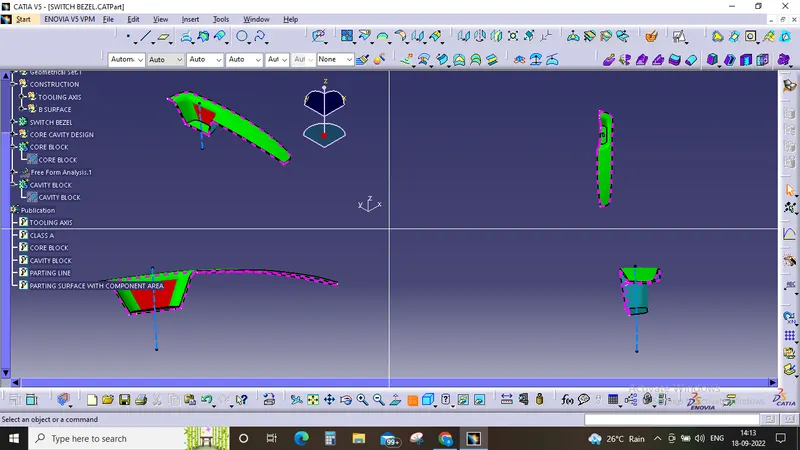
In this design the tooling axis is created by firstly examining the component and its efficient tooling direction. At first the side walls were extracted using multiextract and then two lines were drawn along them and after that they were bisected by the bisecting method so we get the line which is clearing the desired the tooling axis.
2) Draft Analysis method :-
efore entering in to the draft analysis we have to make the surface product into a solid by applying closed body to it and then ensure that the material mode is switche to Material so that we can able to proceed with the draft analysis tool
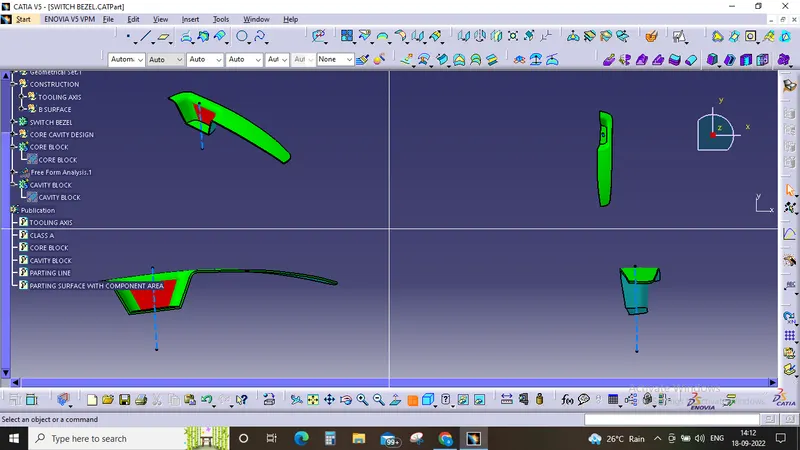
then we click on the compass which is in the draft analysis menue and we move it to the tooling axis direction and placed it on it and then we click on the component to check the draft which is on the component and we change it according to us and standards
in this design the the default draft was 2.9 degree then we change the draft angle to 3 degree which makes the outer surface in proper draft configuration.
3) Creation of Core and Cavity Design :-
we first created the parting surface by extrapolating the Class A Surface and then we trimmed it with the B surface to geta independent Parting surface which is over the B surface, then we created the parting surface for the below part of the switch bezel.
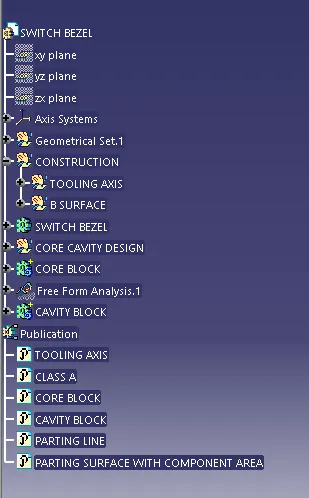
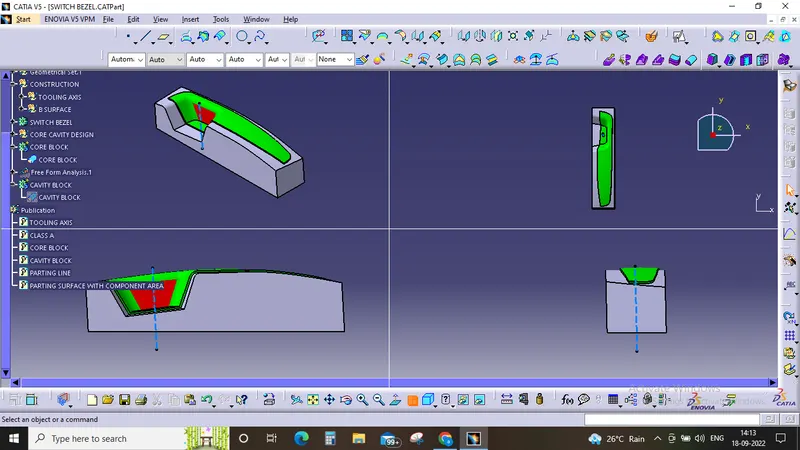
Then we perform a sketch and extrude it to get an proper box in which our core and cavity can be fit ensuring that it is covering switch bezel area asa well after performing trims with the respective surfaces we get the core and cavity and we publish it for our refrence