Week 8 - Challenge 5 - Core & Cavity Design
AIM:
Create the Core and cavity blocks for the switch bezel design.
Tree structure :
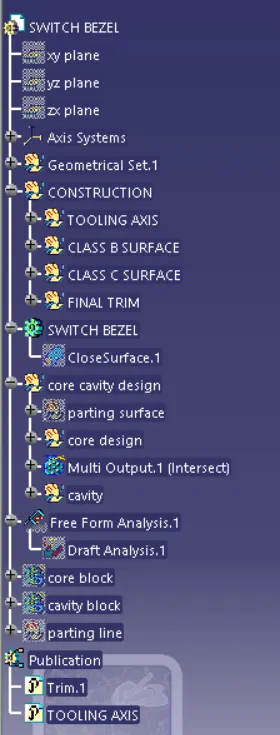
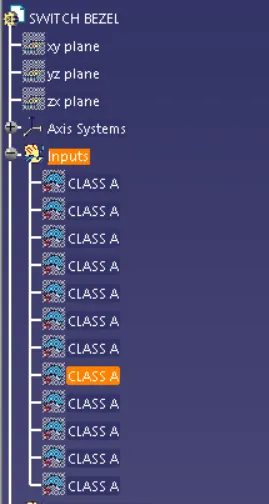
Inputs:
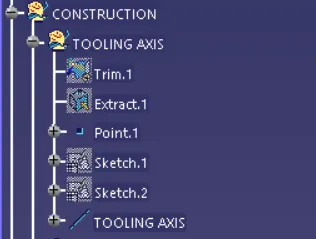
construction:
- tooling axis:
- class b surface :
- bezel rest surface
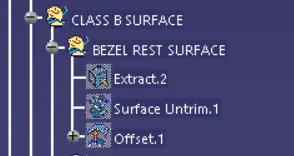
2. walls
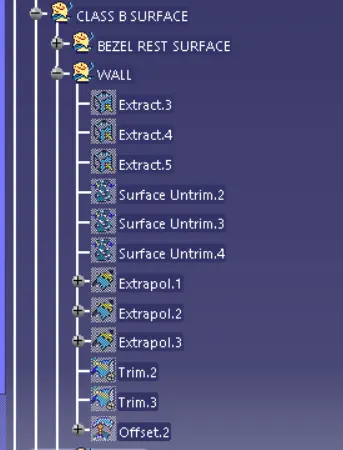
3. base
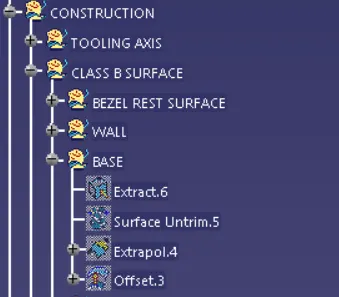
4. final trim surface
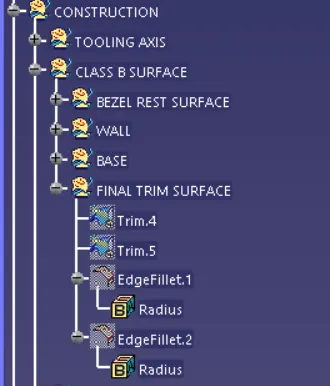
- close surface :

- core cavity design :
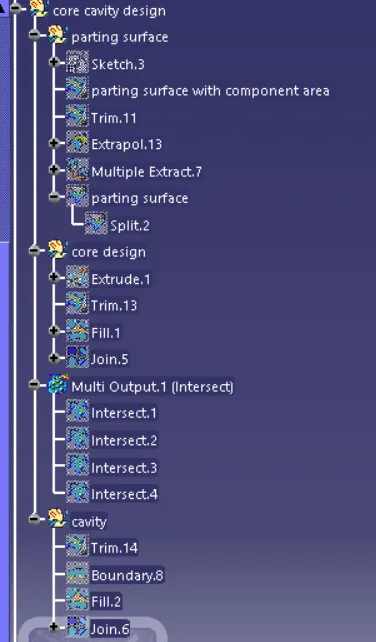
- publication:

Draft analysis :
First we are going to do the draft analysis on class a surface .
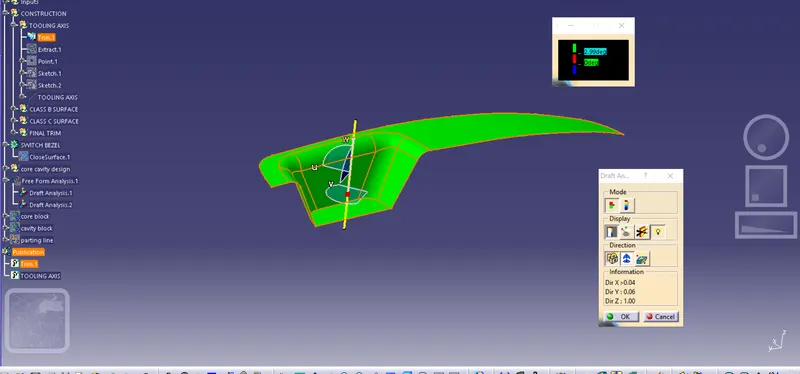
from the given class a surface the respected tooling axis is selected. by clicking on the anywhere on the surface of the switch bezel class a surface the respective colour showns up.
- green colour is the draft angle above 3 deg
- blue colour is the draft angle at 0 deg
- red colour is the draft angle below 0 deg (negative value)
the compass option in the draft analysis window is selected, the compass is then draged and placed on the tooling axis for the material draft angle clearence.
In the draft angle Dialog box the give the value 2.99 to clear the draft anaysis of the class a surface.
Then, draft analysis on the close surface.
Draft analysis on close surface :
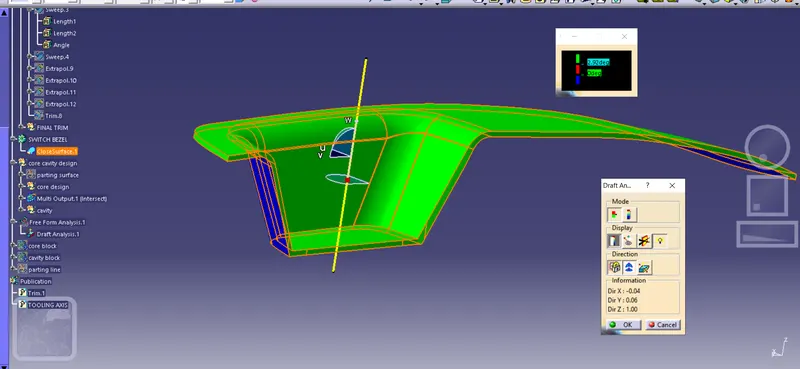
As the class a surface is formed as solidbody using class c and class b surface. then the same process of class a surface draft is done the solidbody,which is the close surface.
- green colour is the draft angle above 3 deg
- blue colour is the draft angle at 0 deg
- red colour is the draft angle below 0 deg (negative value)
the compass option in the draft analysis window is selected, the compass is then draged and placed on the tooling axis for the material draft angle clearence.
In the draft angle Dialog box the give the value 2.92 to clear the draft anaysis of the close surface.
core and cavity design :
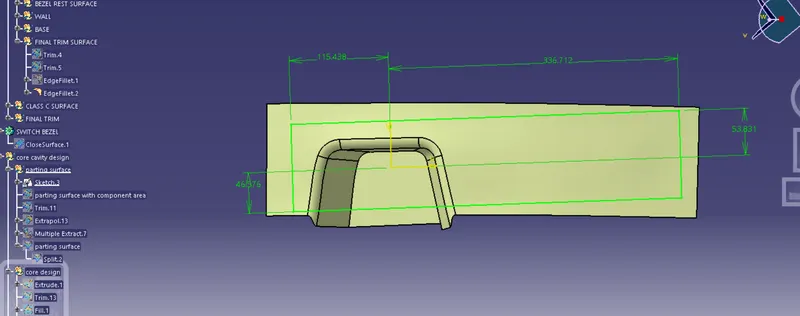
for creating the parting surface the sketch is drawn and extraction of the sketched surface.
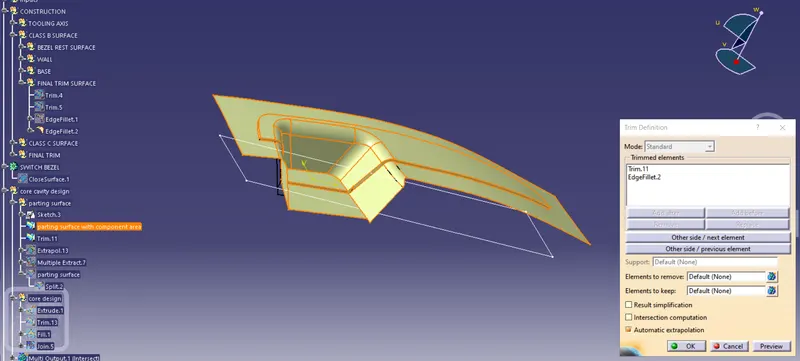
class c surface is trimmed with class b surface to form the parting surface.
extrapolating class a surface with 2mm to trim it form respective surface.
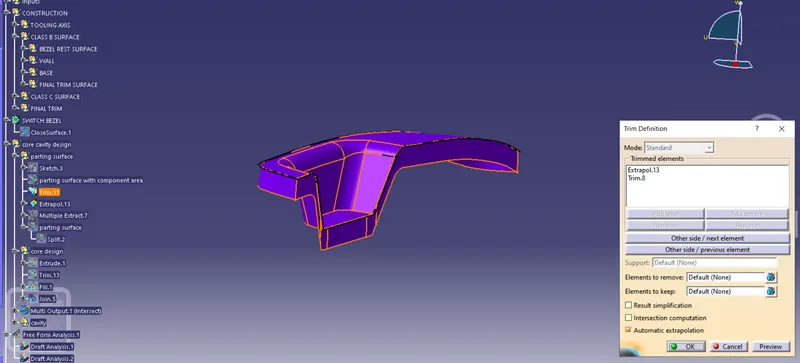
by extracting the boundary from the class a surface the boundary splitted into close surface and remaining class b surface .
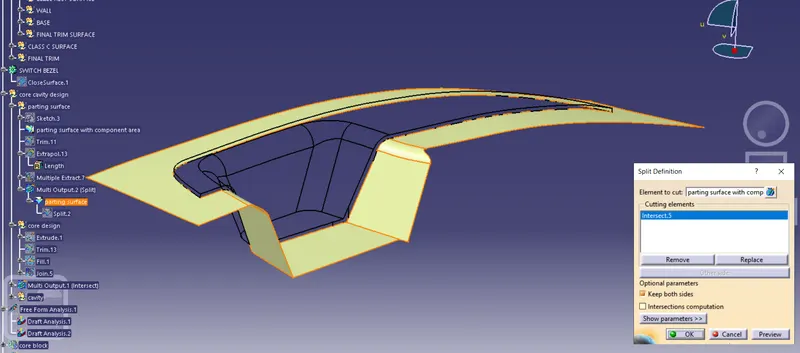
core design :
extruding the multiextract boundary line from the parting line.
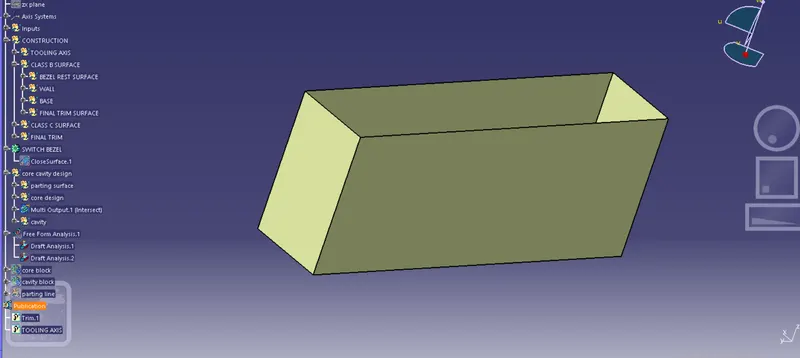
triming the parting surface from the extrude to create the core.
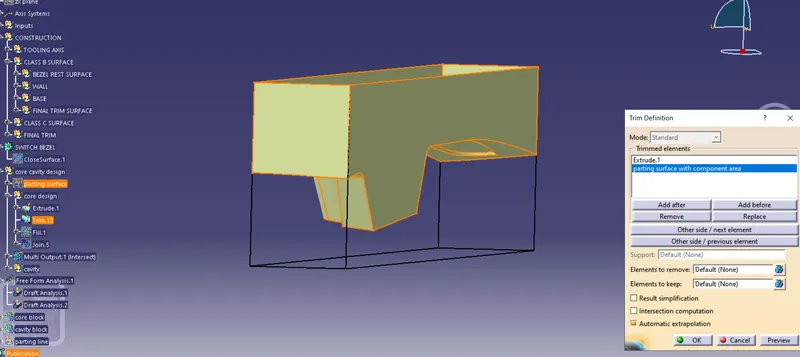
and the top surface is filled using fill option.then the material is joined as solid suraface.
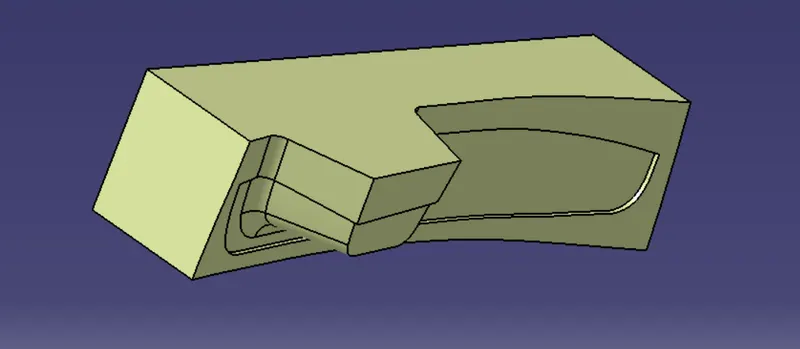
the same process is carried out for the cavity.
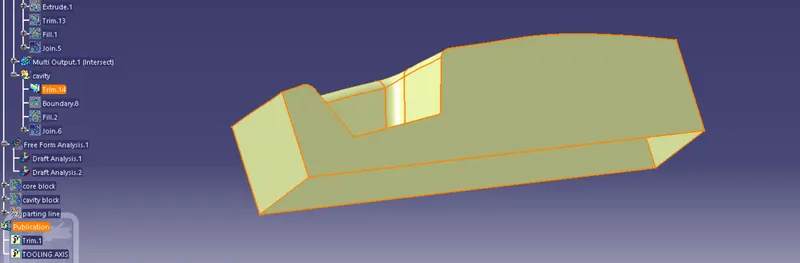
bottom surface is trimmed with the respective cavity shape and filled at the bottom to create close surface.
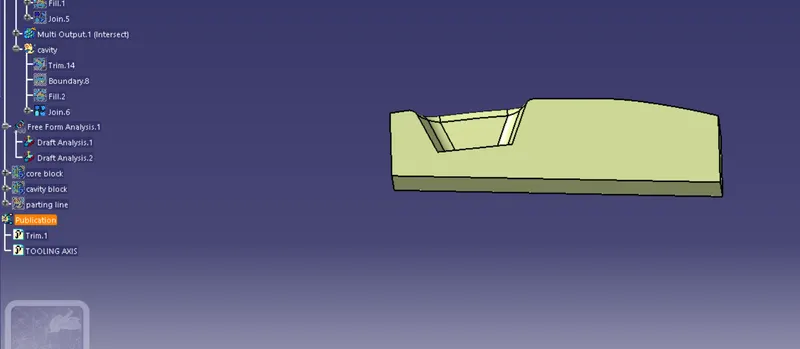
then solid surface the created for each core and cavity design
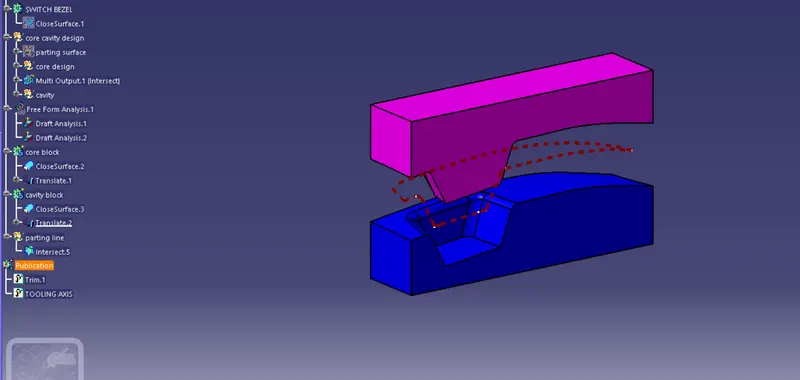
the intersection of the parting surface is shown as parting line.

core,cavity and parting line intersect are shown to create the material gap formation surface.
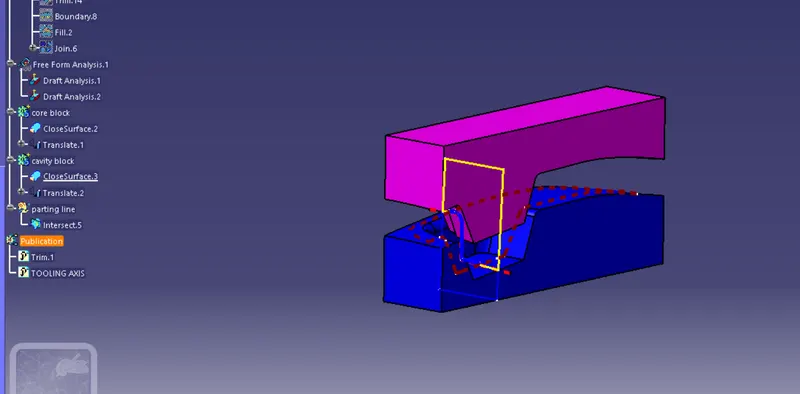
conculsion :
the core and cavity design is formed with respective draft with required shape