Week 8 - Challenge 4 - Bumper
AIM : A detailed report should be done explaining the draft analysis and the tooling axis creation.
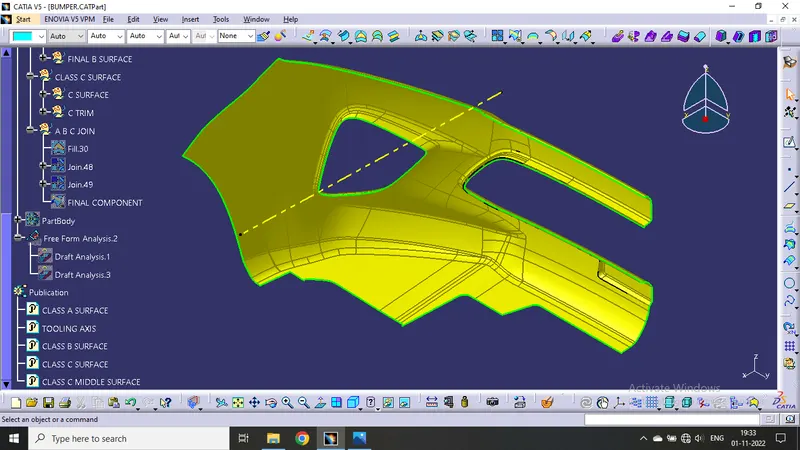
Given Class A Surface
STEP 1:
- Check the connectivity of the Class A Surface.
- Ensure that there is no gap between the component, using join command.
- We can visually check it or by clicking boundary command.
- It has 3 boundaries one outer and two inner circle boundaries.
Therefore first check completed.
STEP 2:
- Find the tooling axis of the component (The tooling axis is nothing but the mould opens or cavity opens).
- Check visaully which is the best possible tooling axis.
- Check all three axis.
- Along x it possible but expensive and y is not possible.
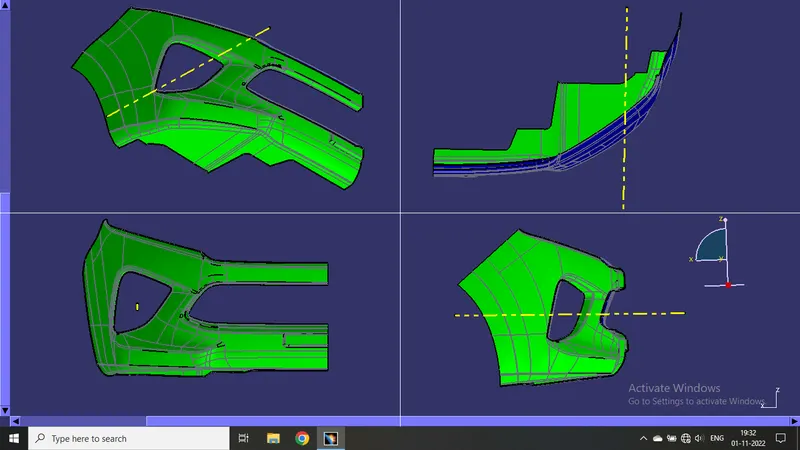
- z is the best possible tooling axis.
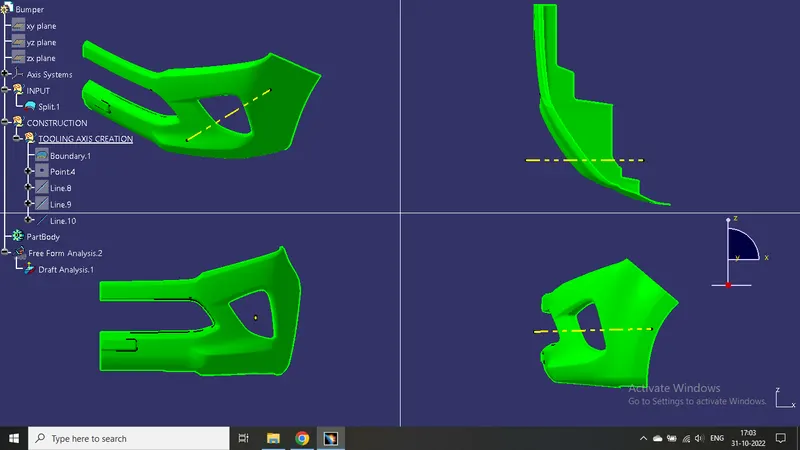
Creating a Tooling axis along z:
Therefore the main tooling axis is along z axis.
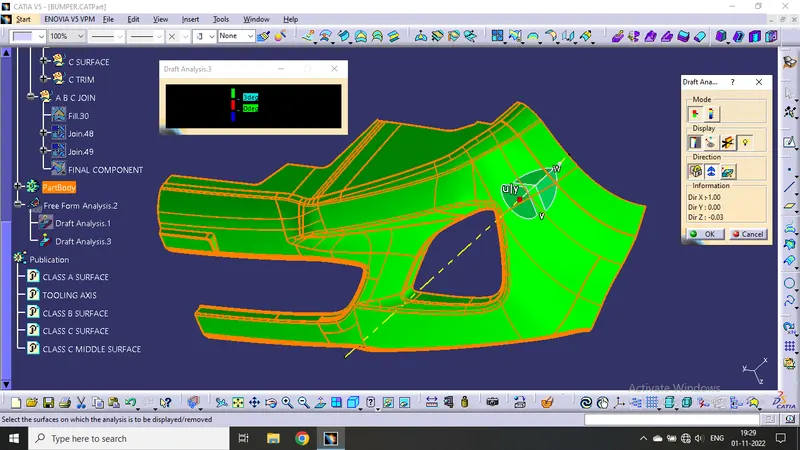
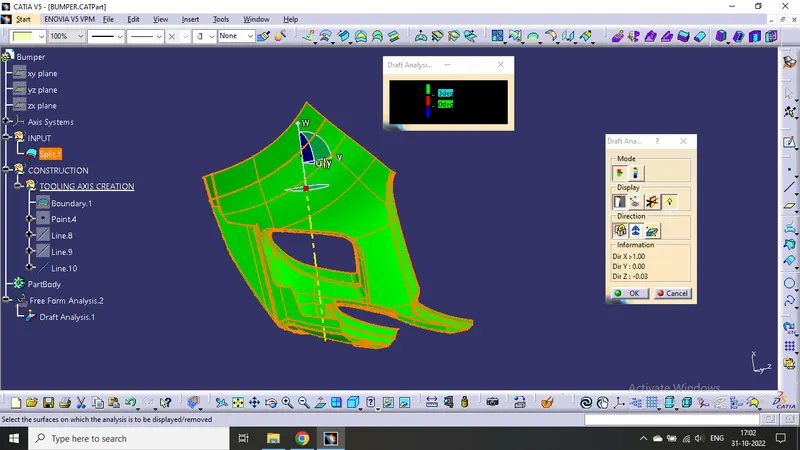
Now perform the Draft analysis using the Featured Draft Analysis tool in the tools.
Then after opening the draft analysis tool box go for the compass and place the compass alinged to tooling axis and click on the lock symbol after alinging and further click on the surface.
Explation of Bisection Method :
Bisecting method is basically use to find the proper tooling axis using the dummy tooling axis. In Bisecting method, bisecting line is used which either bisect the two line or it will show error which means the two lines are parallel to each other. In order to know whether the particular surface is toolable or not we intersect the surface with the respective plane and get a sketch which consist of two lines and with the help of bisecting line option we bisect the line which creates a line at the mid point of the two lines. Like wise we create tooling clearing axis for x and y which will be used to create the main tooling axis using the bisecting line option in in the line comand.
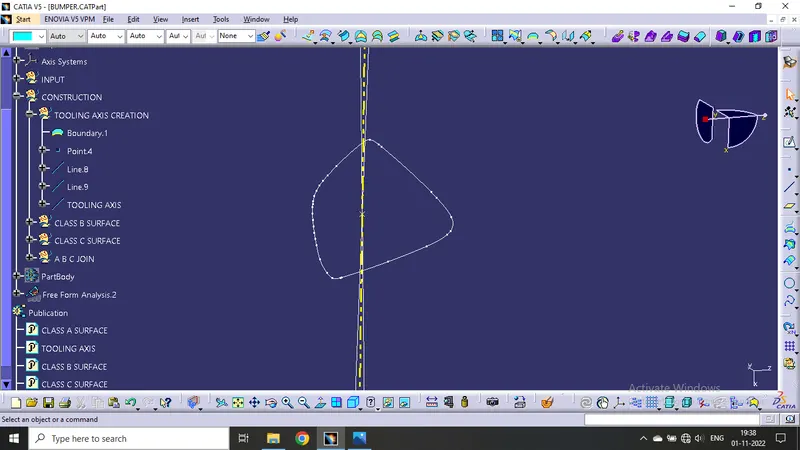
Class B Surface :
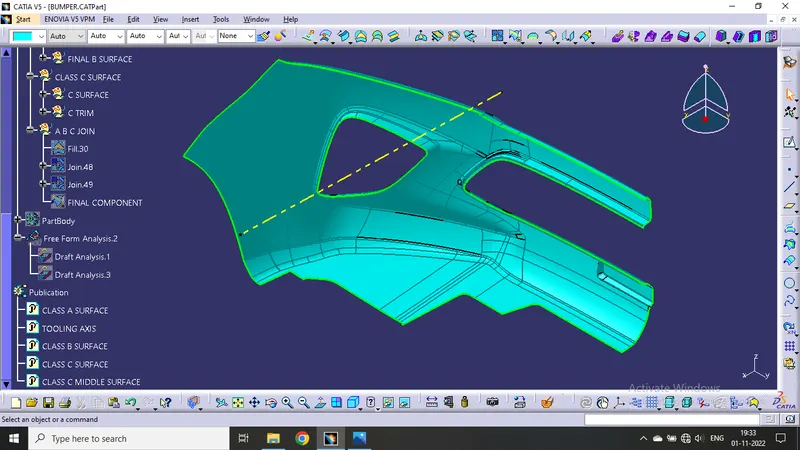
Class C Surface :
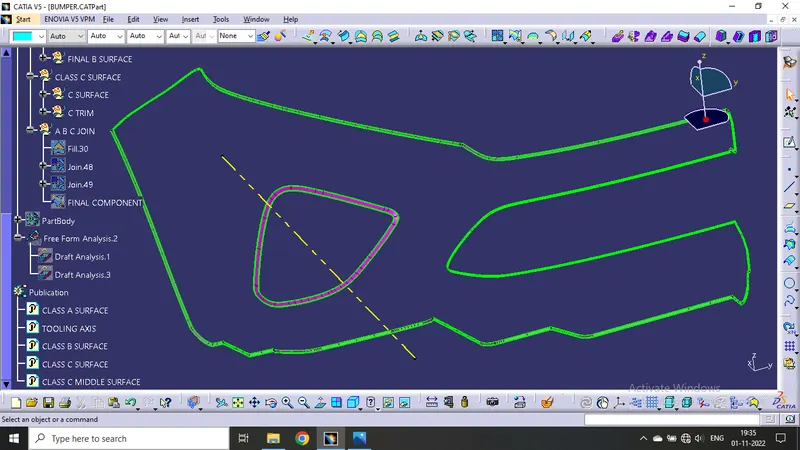
Draft Analysis :
The draft analysis technique is used to analyze whether our part model created in CAD is manufacturable based on the draft condition applied. Here the part should get easily removed from the panel dies (in case of Sheet metal part) or Mold (in case of plastic).
No parts can be ejected from the tool if it is having a straight 90-degree profile from its base surface. A small draft angle is provided to each and every area of the component in order to get easy removal of the component from the tool.
Here we are providing a direction in which components should eject in order to get easy removal of components from the tool. In other words, it also lets us know whether the model is having a draft angle and how much is the draft angle from the tool direction.
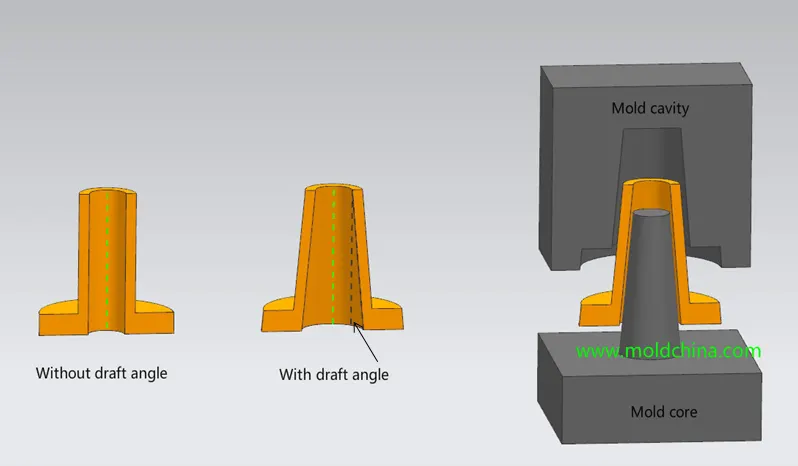
Screenshots of the Draft analysis report for the given Class-A surface :
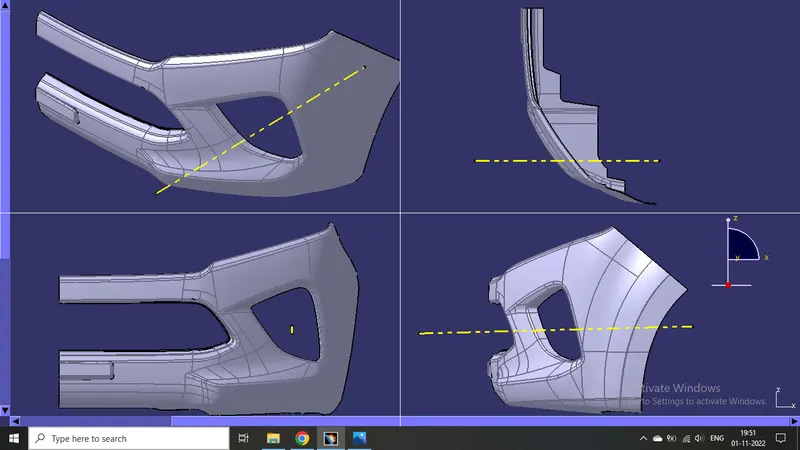
Screenshots of the Draft analysis report for the final component :