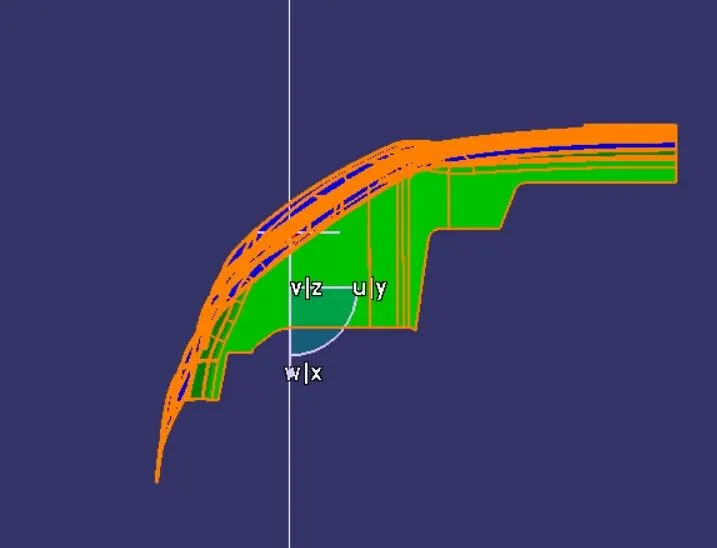
Week 8 - Challenge 4 - Bumper
Create the Bumper Plastic component through the given Class-A surface. To begin with, the tooling axis for the given Class-A Surface should be created meeting the requirements of the draft angle and at the end perform the Draft analysis on the model.
Take the Thickness of the component to be 3 mm
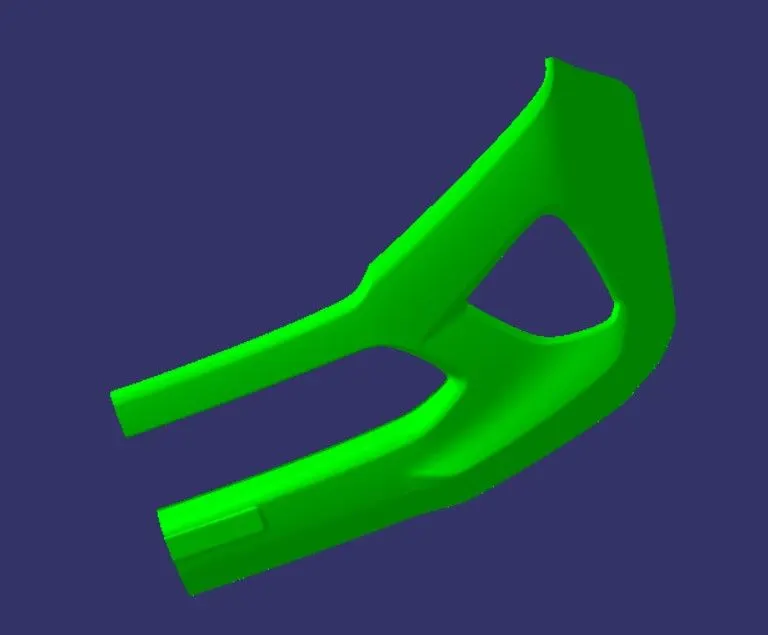
Introduction: A bumper is a structure attached to or integrated with the front and rear ends of a motor vehicle, to absorb impact in a minor collision, ideally minimizing repair cost
- Screenshots of the Draft analysis report for both the given Class-A surface and the final plastic component
To Do Drafting Axis For both Class A surface and Final component Following steps has follow:
1.Creating tool axis :
- First, ensure that the Class-A surface is properly joined and has no discontinuity. Select the boundary command from the toolbars and then select the Class-A surface. A boundary should only appear on the outer edges of the component.
- Then, we decide the proper tooling axis direction with respect to the given component (in this case it is the Z-axis direction).
- Generally, the tooling axis is created using bisecting lines method. But in this model, we observe that the side walls are not given any draft. Hence, we assume the axis normal to the base surface and parallel to side walls.
- We create a line normal to base surface by creating a point first on that surface and then create the line using the Normal to Surface method and taking the base surface and the point as references. This new line is considered as the tooling axis.
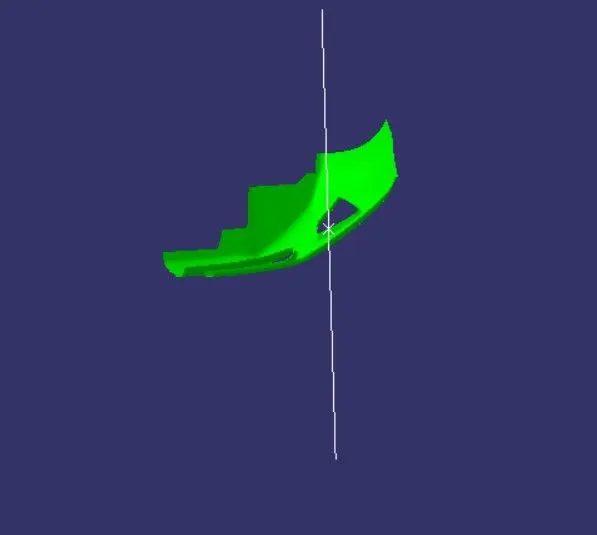
Drafting Class A Surface:
- Go to insert > analysis > feature draft analysis.
- Align the compass with the tooling axis.
- Then, click on the Class-A surface to see if the it is within the permissible limit of the draft values.
- The Class-A surface should turn green and then draft value should be given as 3 degrees.
Cretaing the B Surface.
Now offsetting the class A surface to 3mm. while offsetting some tipicaly geometry has not offsettes so we get patches in the surface.
we have clear all the patch by extractig method.
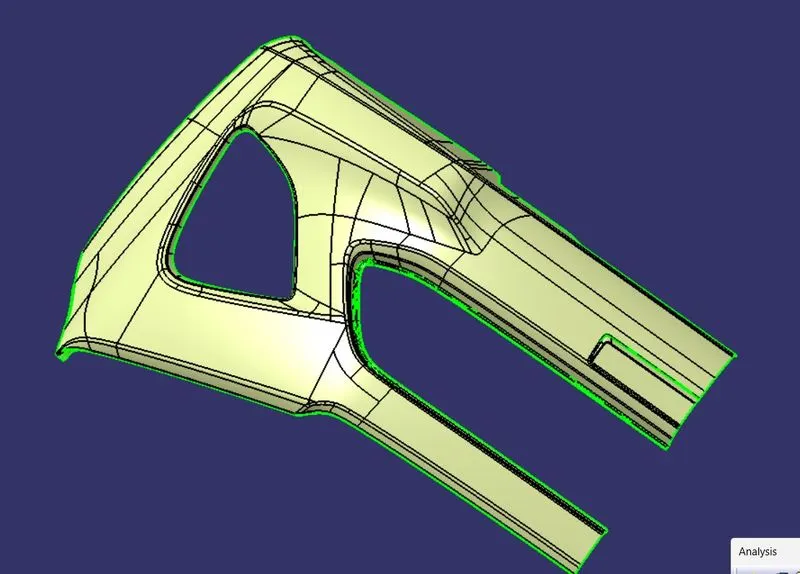
PAtch 1
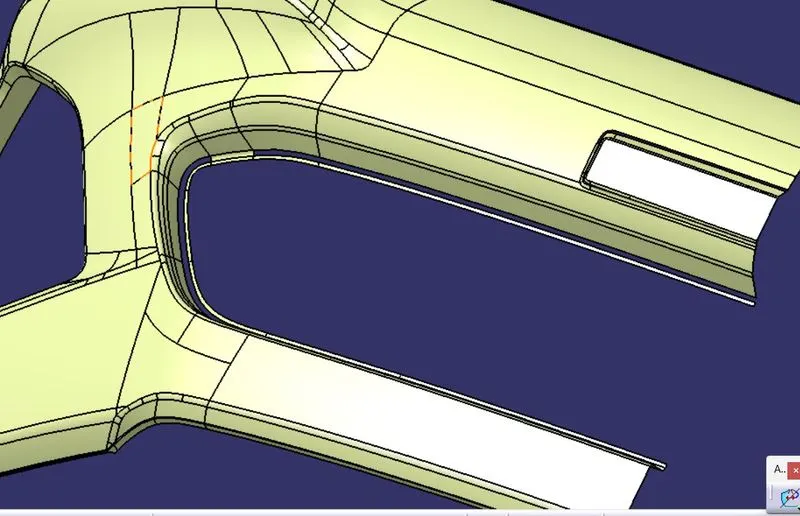
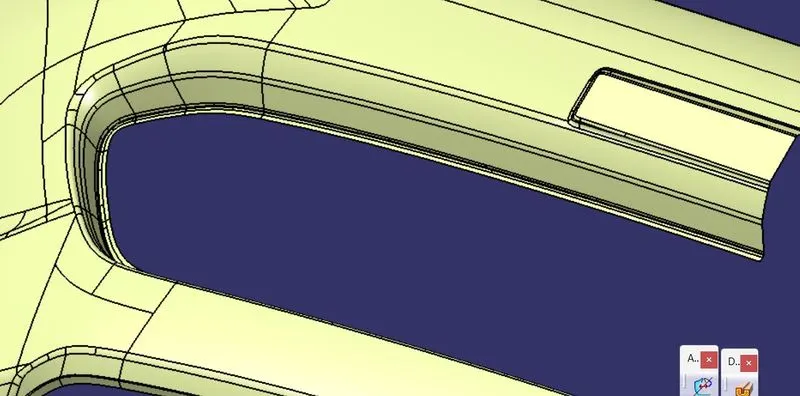
Patch 2
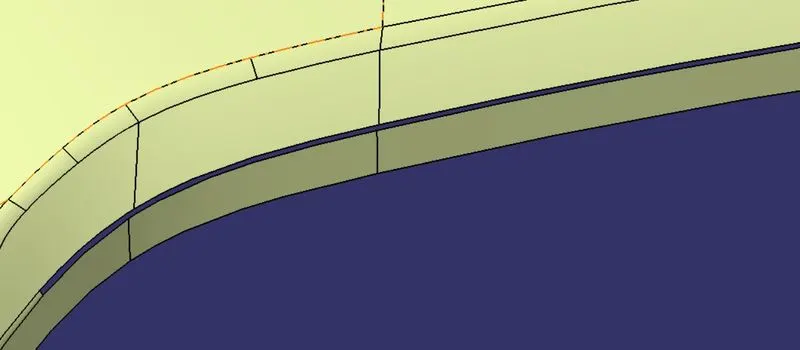
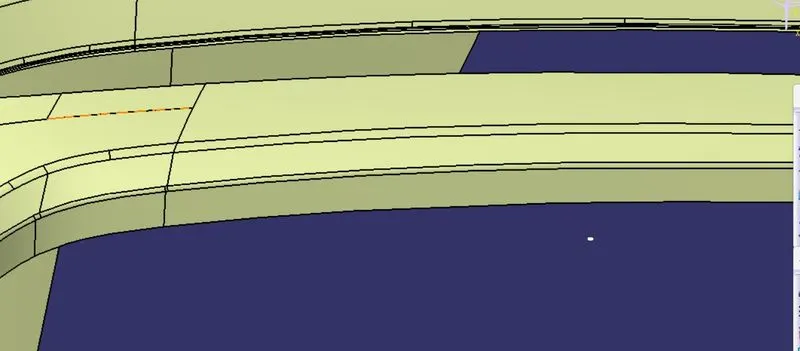
Patch 3
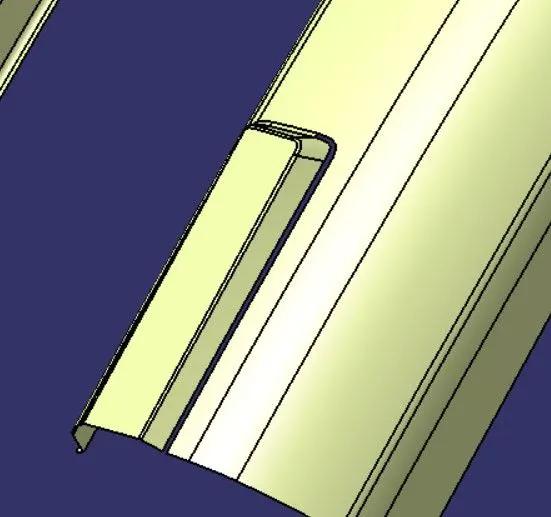
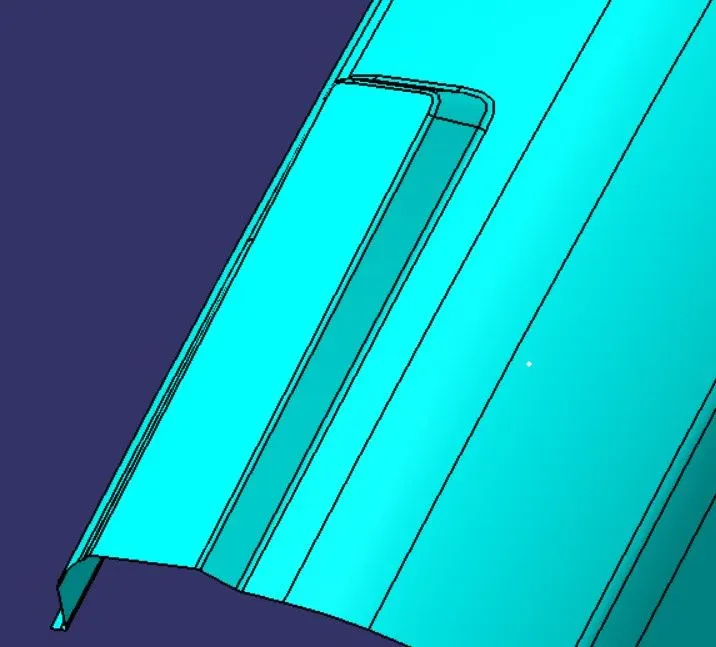
By using extract method i cleared all the patches .
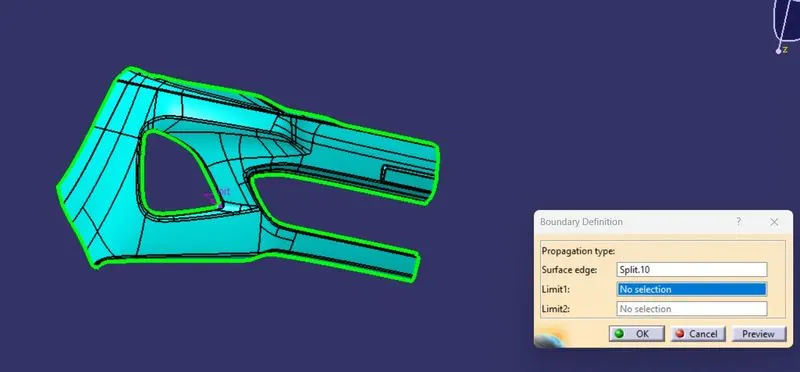
So that i created a B surface .
Cretaing the C Surface.
To create the class C surface concerning the boundary of the class A surface, I used the sweep command. Initially, I extracted the boundary of the class A surface with tangent continuity, and I sweep the extracted boundary concerning the surface at 93deg (for draft angle) for 5mm to intersect properly with the class B surface. Once we sweep all the surface boundaries of class A, extrapolate the sweeped surfaces until both surfaces got intersected properly, and trim them to remove extended extrapolated surfaces to get a proper sweep boundary throughout the entire surface, including the centre hole of the bumper.
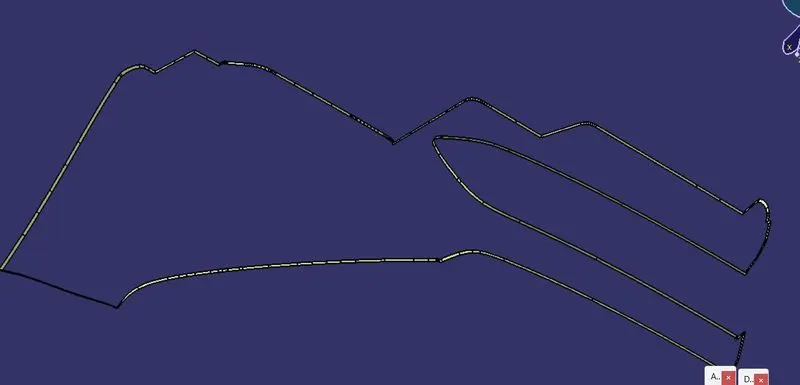
Now, join both class A and sweep boundary to get the complete class C surface
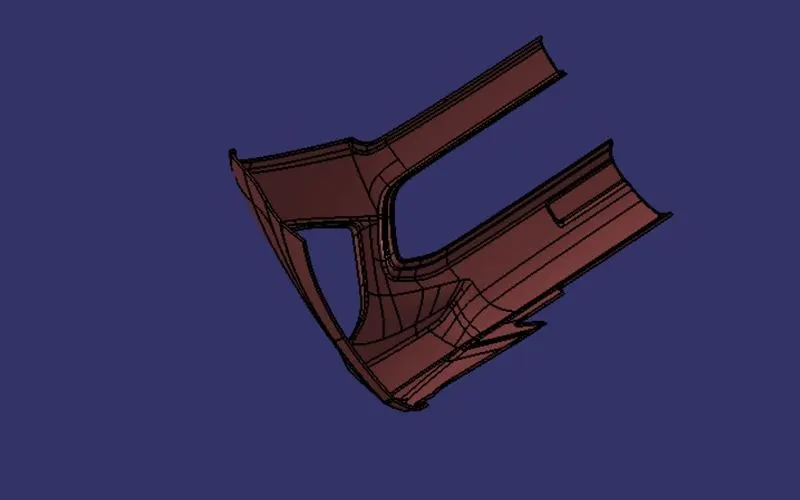
Now, unhide the class B and class C surfaces. Check whether all the sides of class B and Class C surfaces are intersecting properly with each other, to get a closed surface by trimming class B and class C surfaces. If the class B and class C sides are not intersected properly, we need to extrapolate the sides of the class B surface which are not intersecting with the class C surface. Now, check class B and class C surface boundaries whether all the sides are intersecting or not with each other. Once the surfaces are intersecting properly trim them together to get a closed surface.
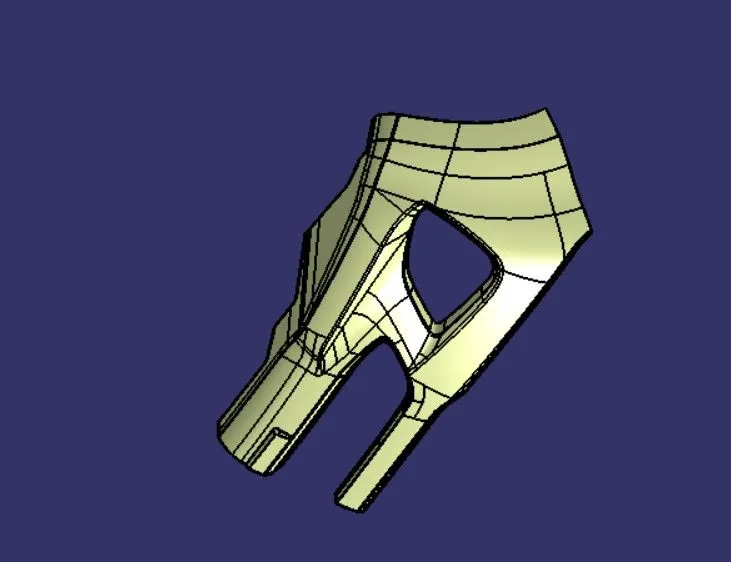
Now we have check the our Bumper fully closed or not by using boundray command.
finally our Bumper is obatained.
Creating a solid body by using a closed surface :
To create soild body firstly switch to part body work bench and use close surface command to soildify the surface body.
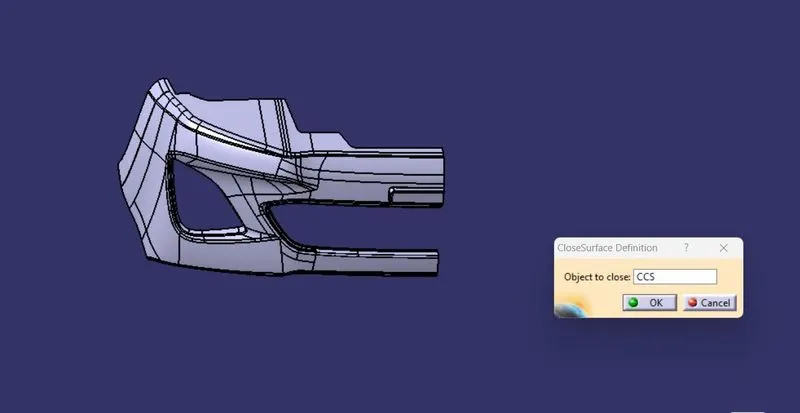
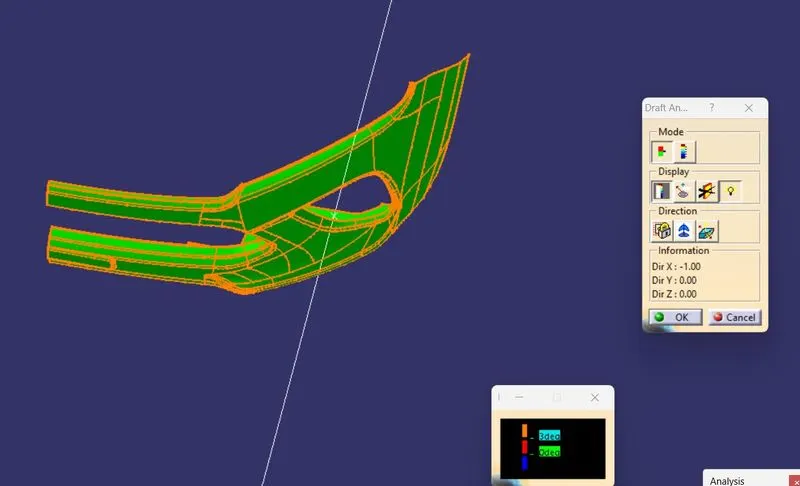
Now we have perform the Drafy analysis on part body
Draft Analysis On Part Body
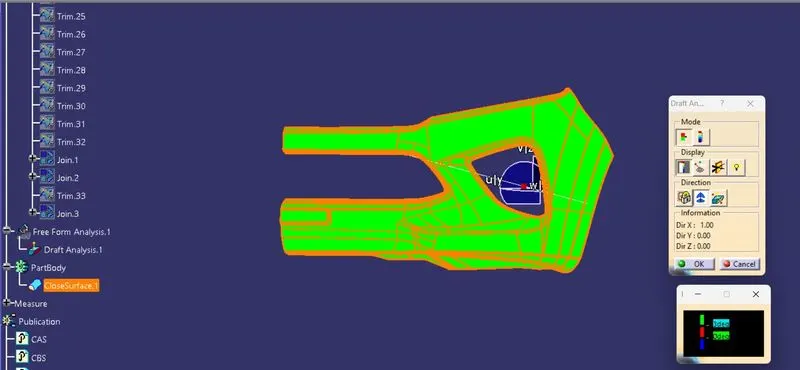
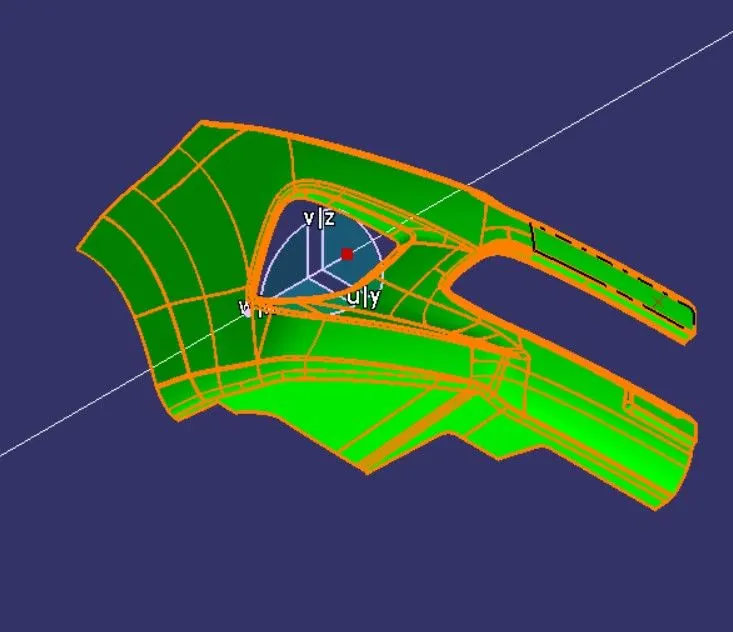
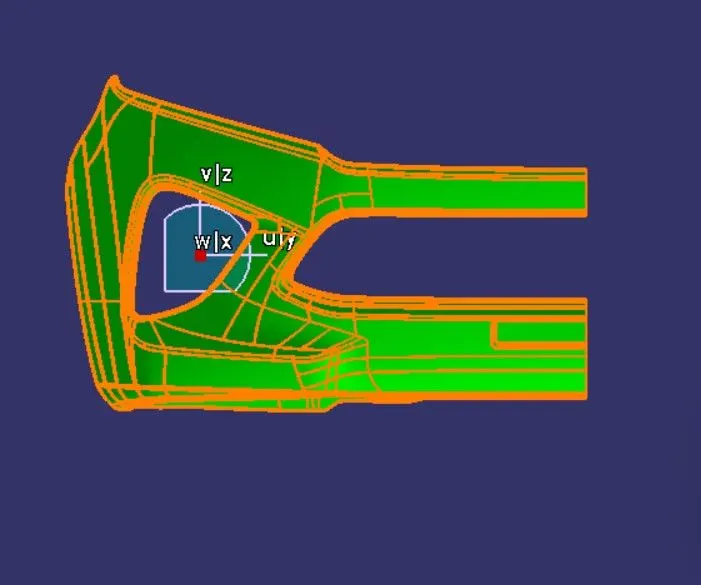
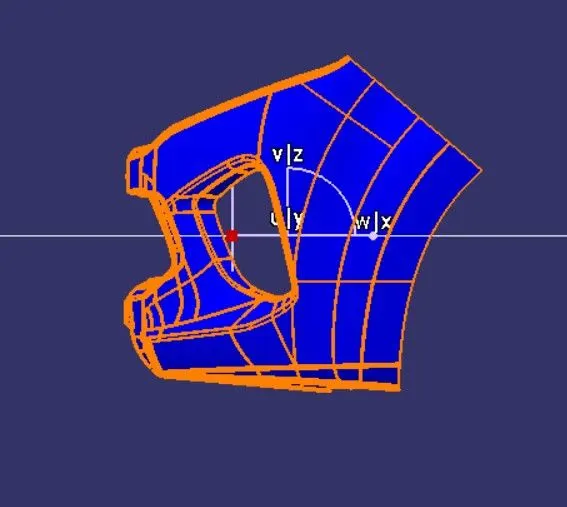
- Screenshots of the solid model with the proper color code of the draft angle in various orientations (Isometric, Front, Side, and Top View)
Isometric View
Front View
Side View
Top View