Week 8 - Challenge 3 - Switch Bezel Design
DESIGN AND DRAFT ANALYSIS OF SWITCH BEZEL
OBIECTIVE
The objective of the project is to design the switch bezel and to do a draft analysis for it by creating the required tooling direction with the
help of Bisecting method.
INTRODUCTION
The control panel bezel is the frame part of the window switch that holds its switch covers and buttons into place. Moulding is the method
used to manufacture the plastic trims of an automotive by most OEM's, hence by considering the manufacturing consideration the switch
bezel is designed.
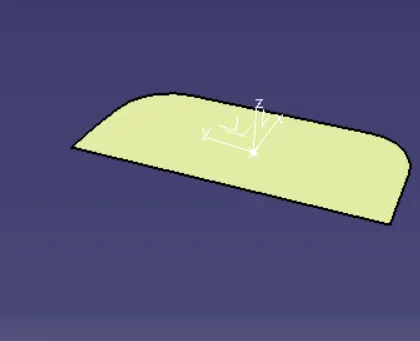
Create a point on the surface to create a axis system
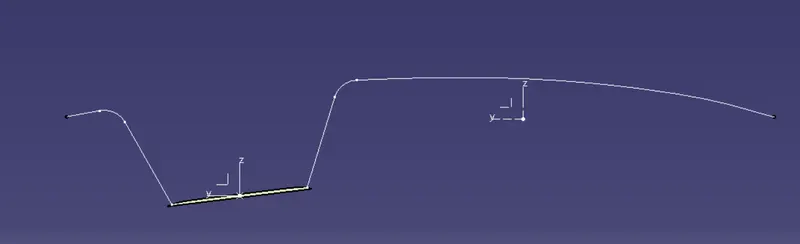
Create a intersect using axis system
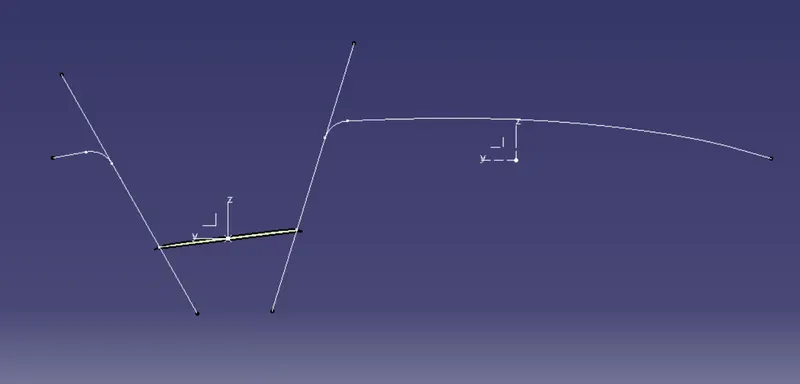
Create the point to point line for createing the tooling axis
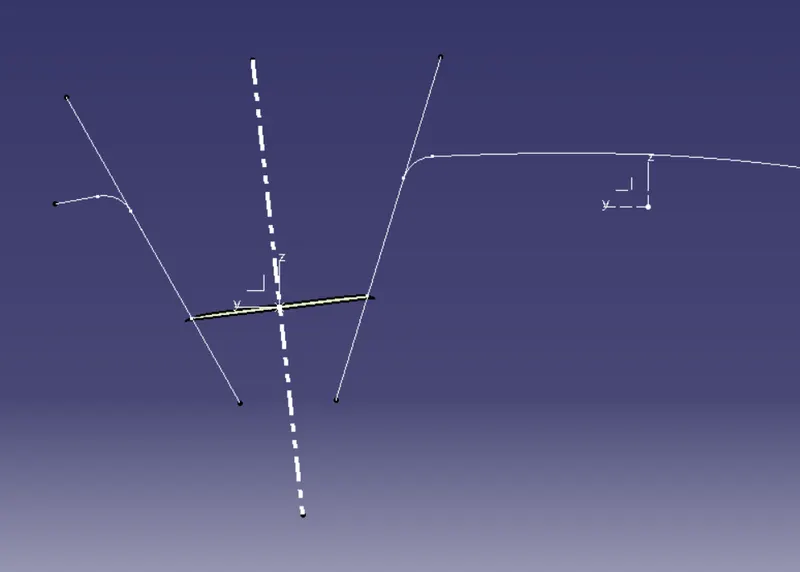
Create the tooling axis using bisecting lines
CLASS A SURFACE
• Class - A surface should be aesthetically smooth and good.
Class - B surface should have all the supporting features like ribs.
Parting Line should coincide with the B surface since flashing couldn't affect the aesthetic of Class - A
Class - C surface should also pass the draft analysis.
PROCEDURE FOR CREATING THE SWITCH BEZEL
• First, the given styling surface is checked for any irregularities and if found any then it is corrected by using Trim, Extrapolate, Split and
loin commands.
The below image shows that the Class - A surface is clean and no irregularities present, so let's move on to the next step.
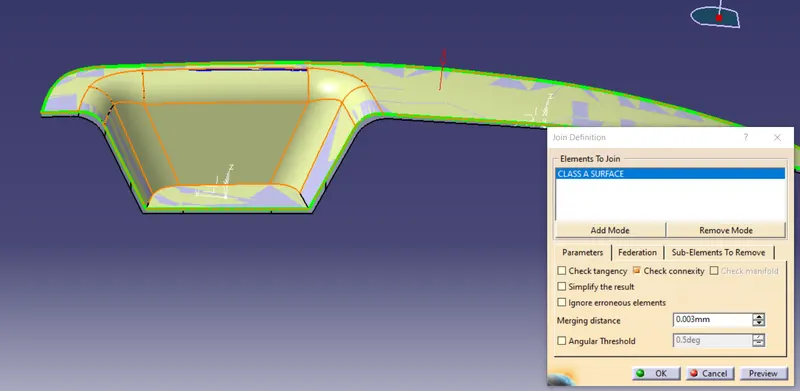
Join the class A surface to avoid gap between the surface of 0.003mm
CLASS B SURFACE
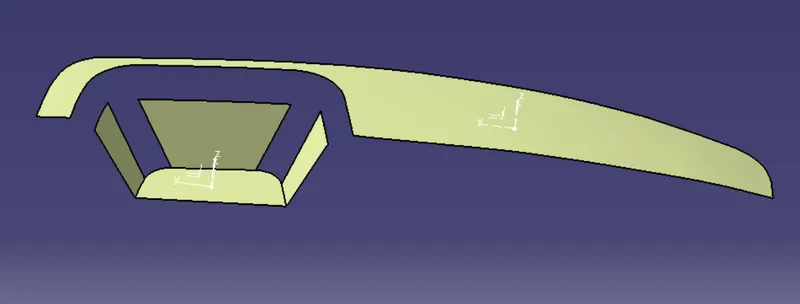
EXCTRACT EACH SURFACE USING CLASS A SURFACE
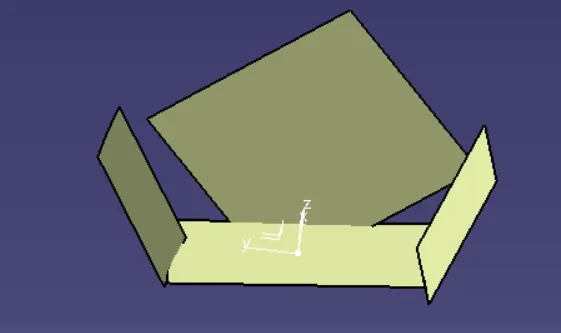
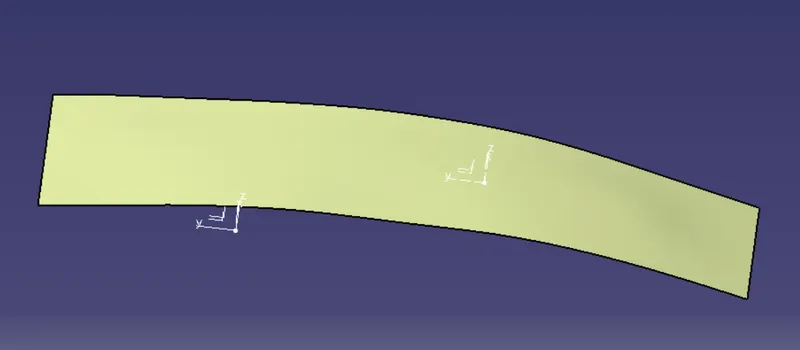
Untrim each surface
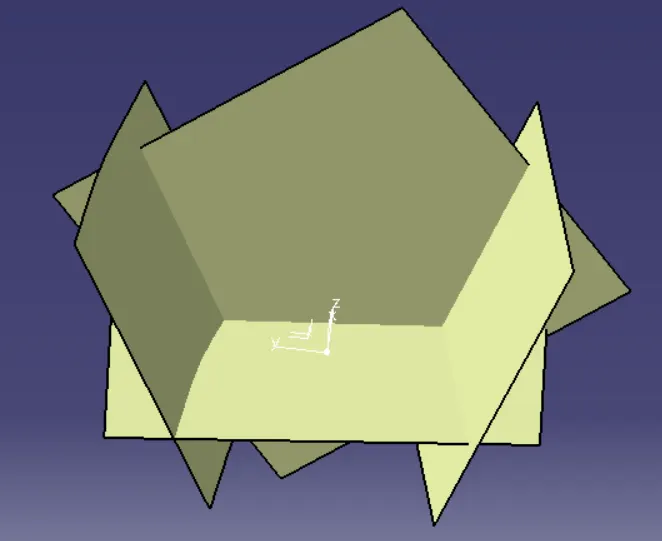
Extrapolate upto 30mm of each edges
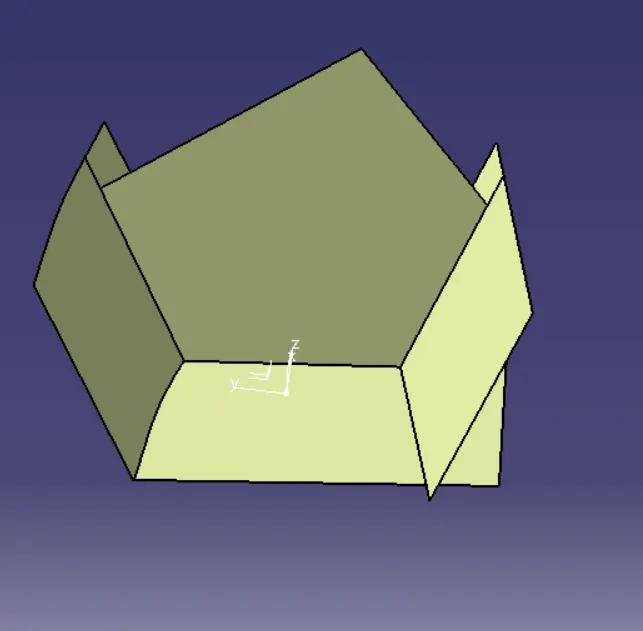
Trim extra surfaces
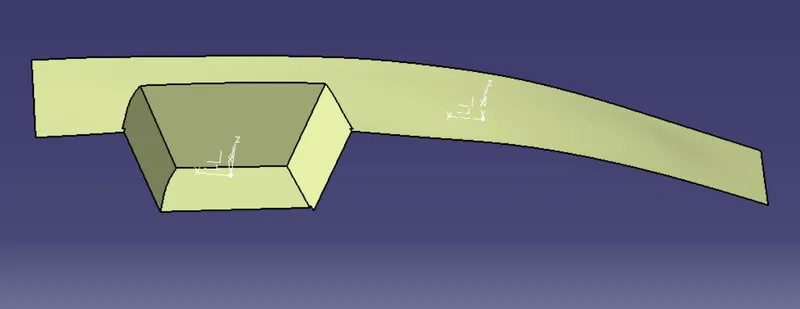
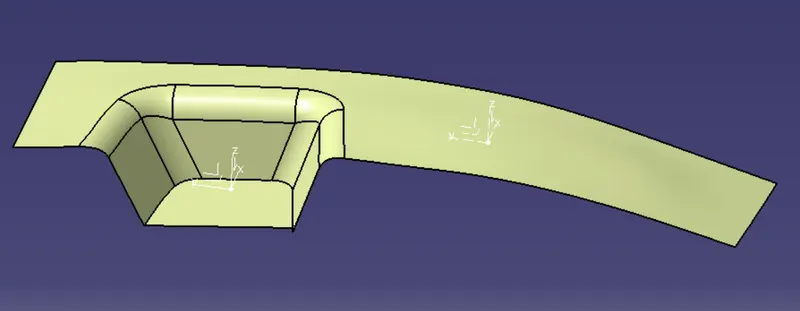
Add fillet radius with thickness vaiue
CLASS C CREATION
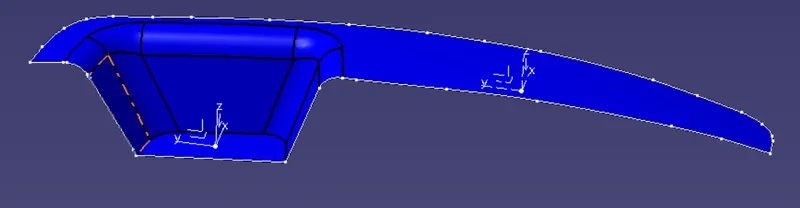
Create boundary line for class c creation
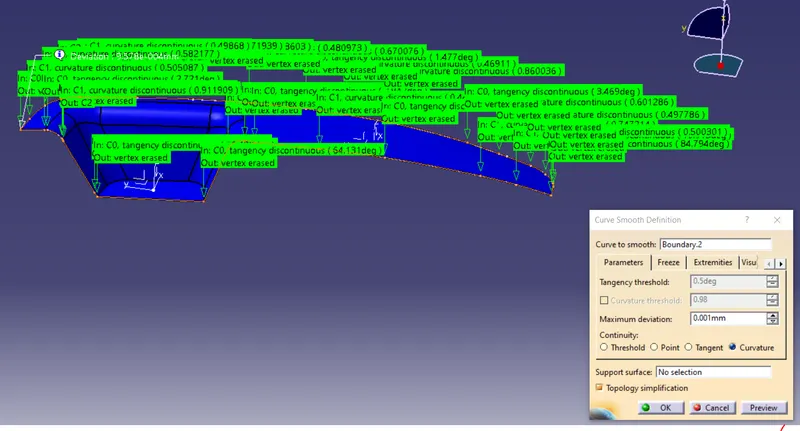
create smooth spline to slove trangency curvature problem
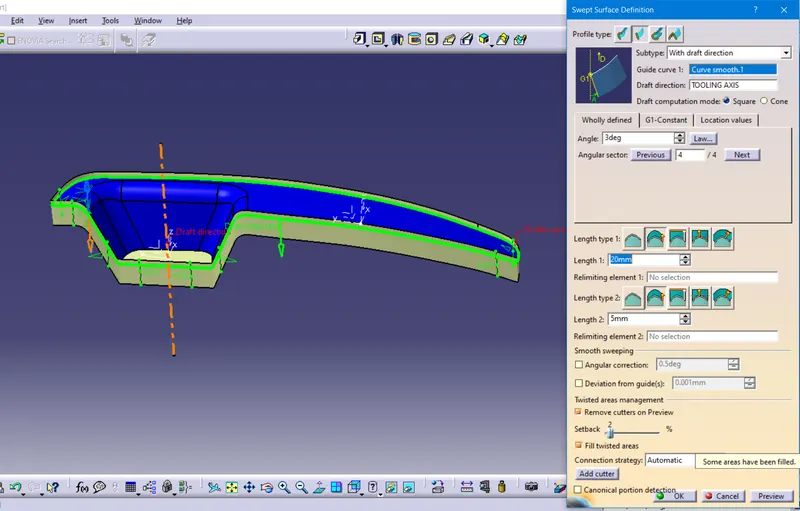
Create sweep with draft directions
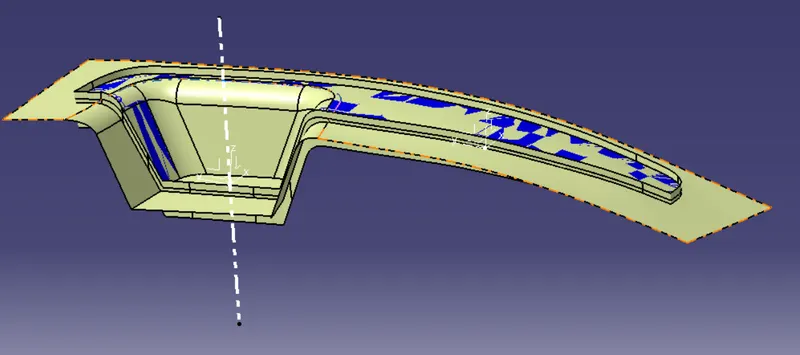
join class class A with Class C to trim Class B surface
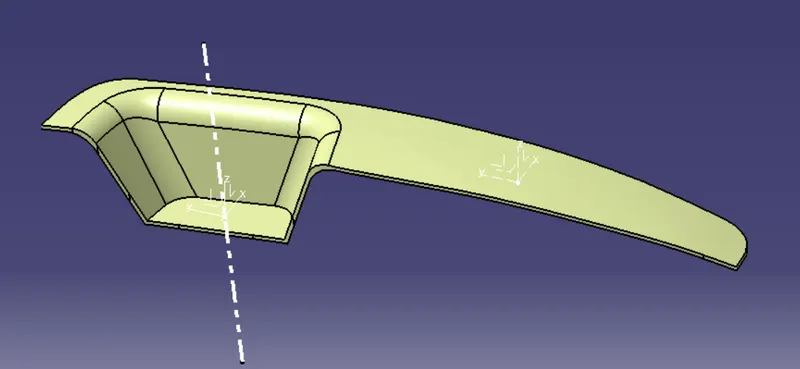
requried part is achived
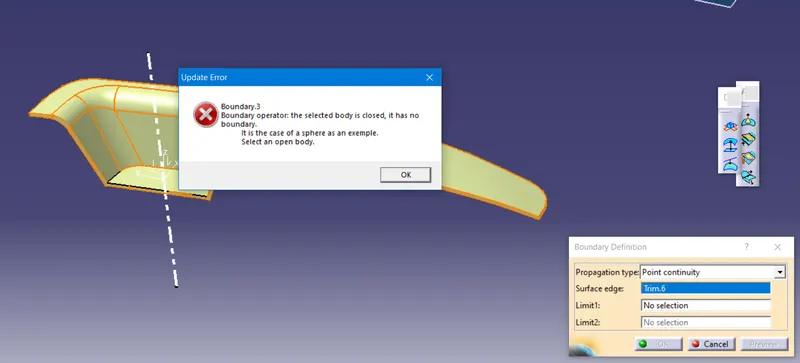
Check the closed surface to convert as part body
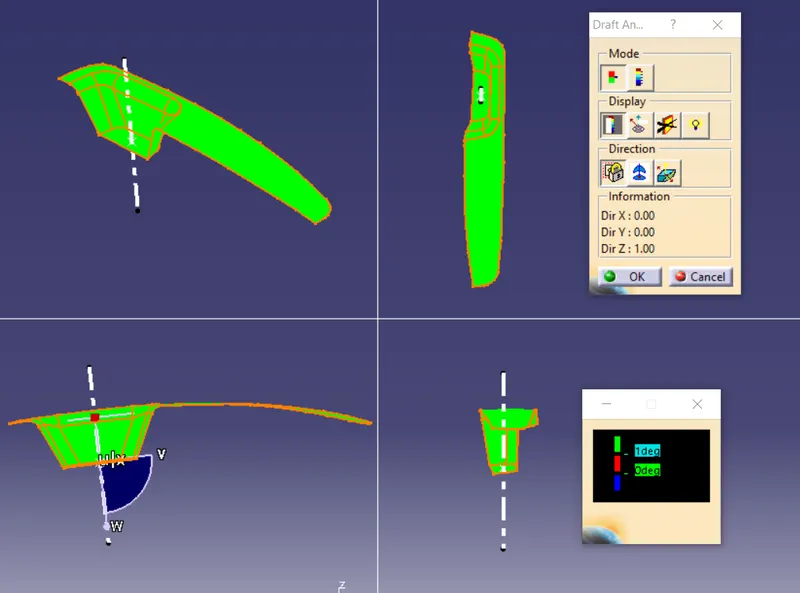
Draft analysis for class A surface
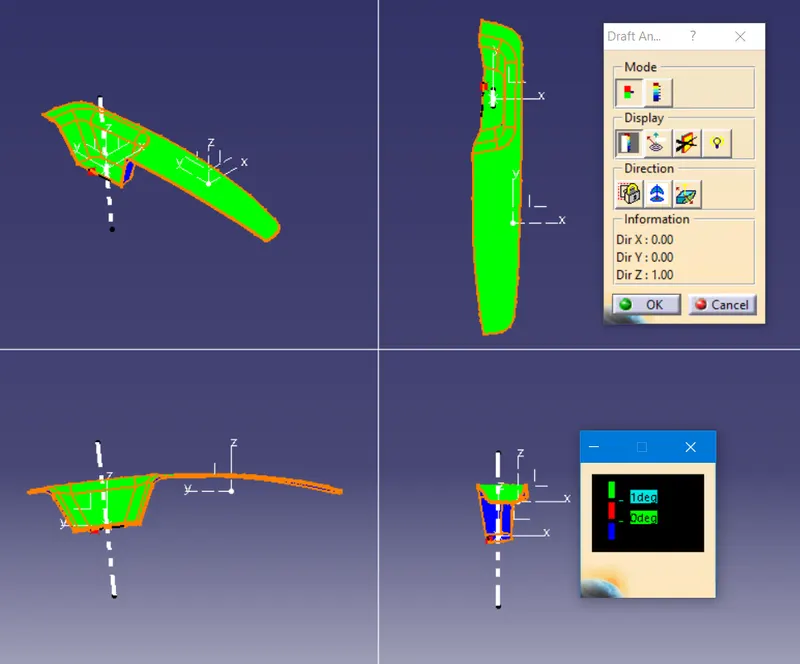
Draft analysis for final model
PROCEDURE FOR DRAFT ANALYSIS
• First the class - A surface is checked before creating the Class -B&C surface and finally the solid body must be analysed. Both can be
done by following the below procedures.
• By changing the view mode to custom view parameters - Material mode then the feature draft analysis is enabled.
Then the compass was activated and placed with the tooling axis by dragging the red pointer and then locked it.
Then, by selecting the quick analysis mode, the nominal value will be 3 degrees and checked for the component's draft angle.
• The green colour area shows that it satisfies the 3-degree draft angle. If not satisfied then by using the Running point tool the area is
measured and then altered to get a successful draft for the created tooling direction.
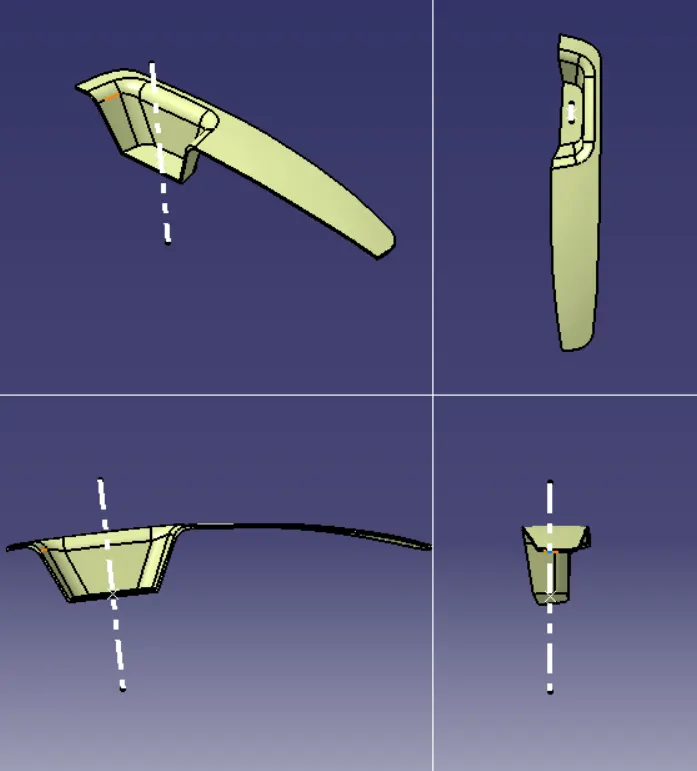
Surface model 3d view orientations
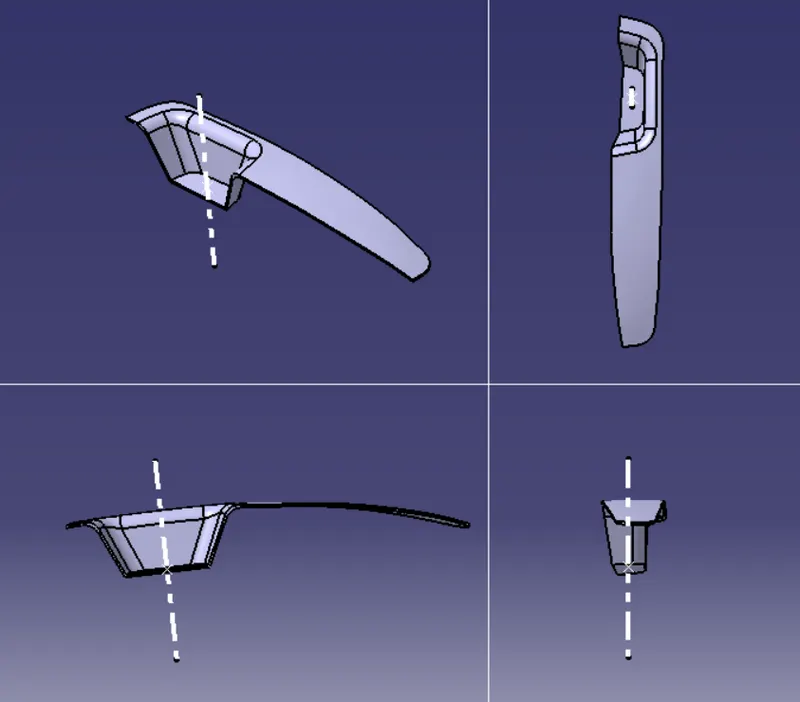
Solid part model view