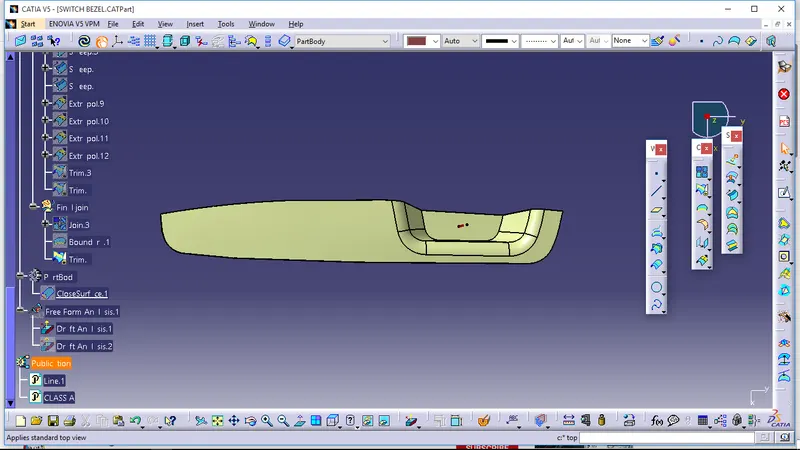
Week 8 - Challenge 3 - Switch Bezel Design
Aim - We will create Switch Bazel plastic component by the help of given class A surface after that we will do draft analysis on this model.
Steps for tooling axis creation
1. First steps we will extract the base surface from class A surface then we will take point on it after that we insert axis system on this point.Now we will go into the sketcher workbench where we will select the position sketch.in position sketch we will select the referance plane like if we will take YZ plane then we will get tooling direction along Y axis and ZX plane then we will get tooling direction along X axis.
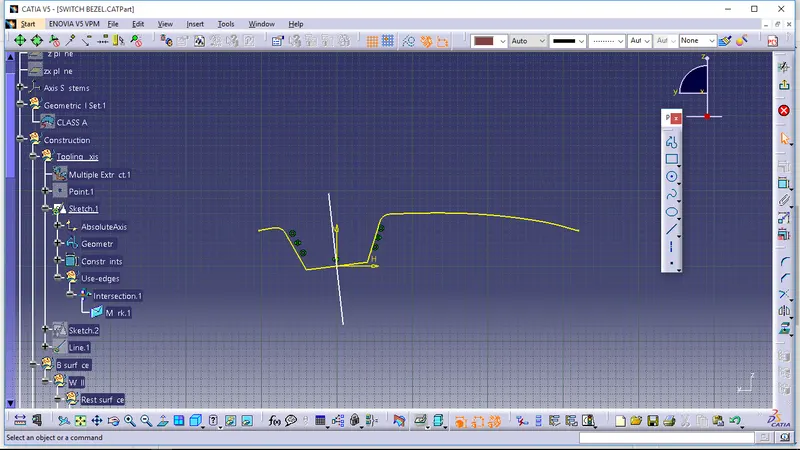
2. Second step we will take intersection of class A surface with YZ plane then we will draw a line on intersection line in class A then went to sketcher workbench draw a line and second line draw with making 3 degree angle with referance plane.
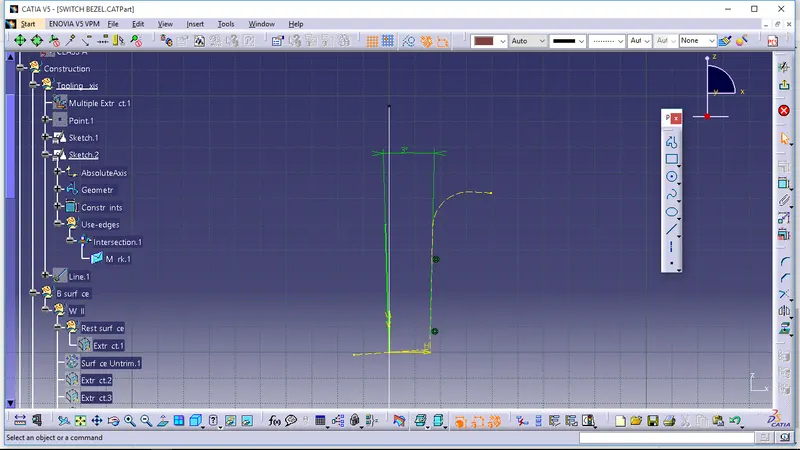
3. Thied step use bisecting method to get actual tooling axis.
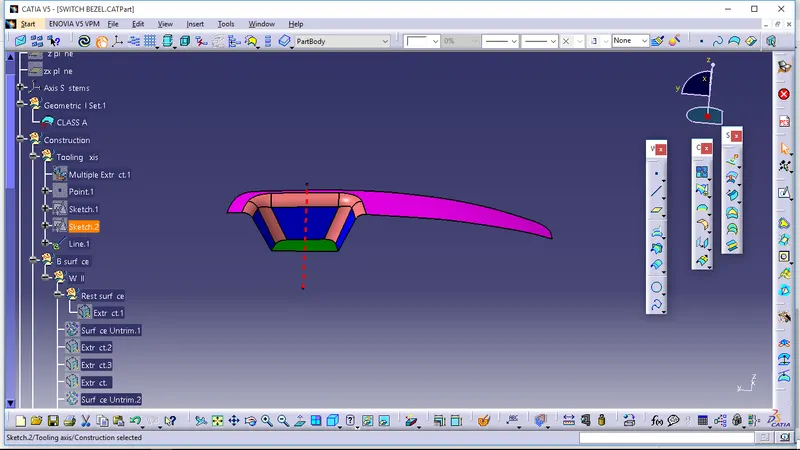
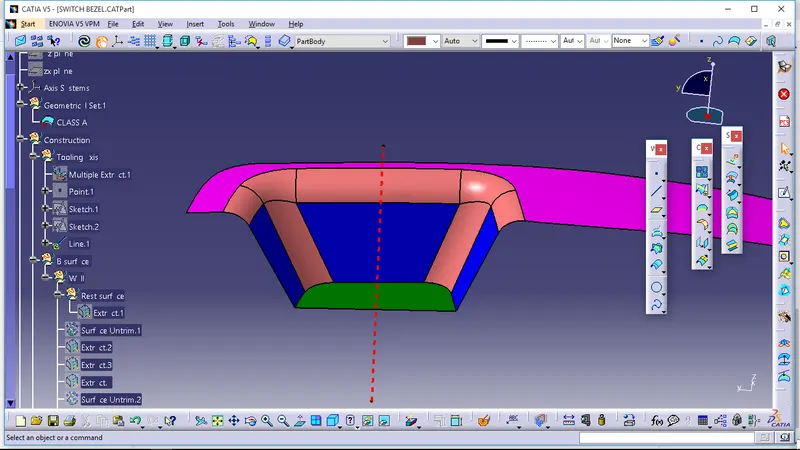
4.Pefomance on draft analysis
In draft analysis follow some steps.Click on the compass icon drag it to tooling axis. After that we have to click in option to customize view parameter mode and select the material option and then we will click click on the base bracket surface.
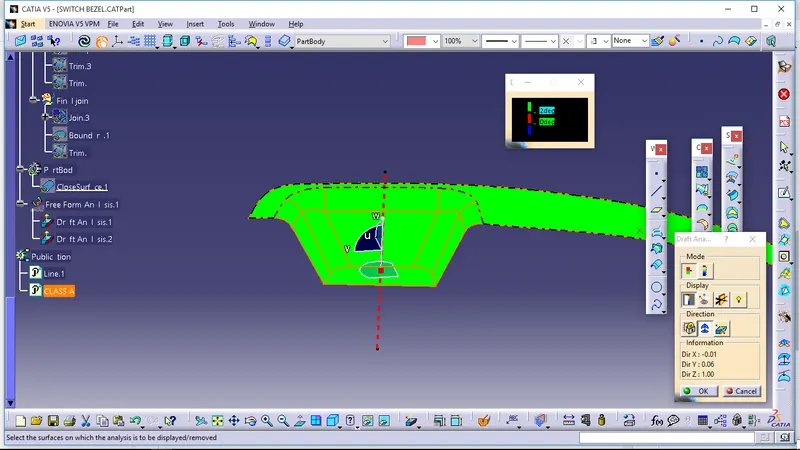
For B Surface creation
1.Extract the top surface from class A surface and unitrim the surface.
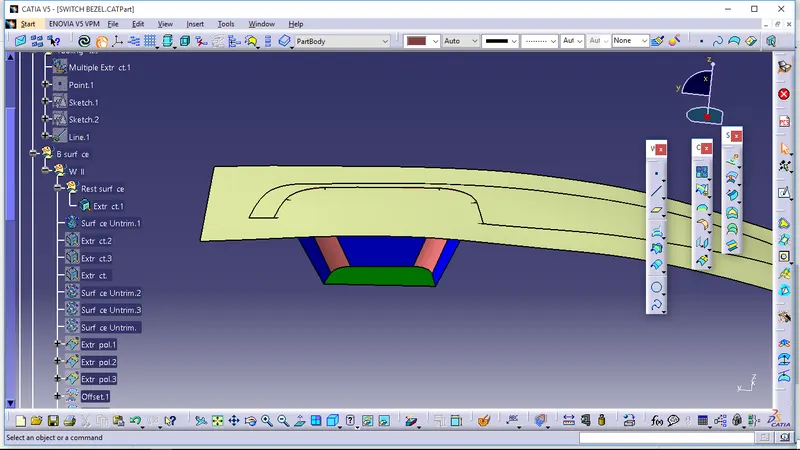
2.Extract the bazel wall from Class A surface and unitrim the surface.
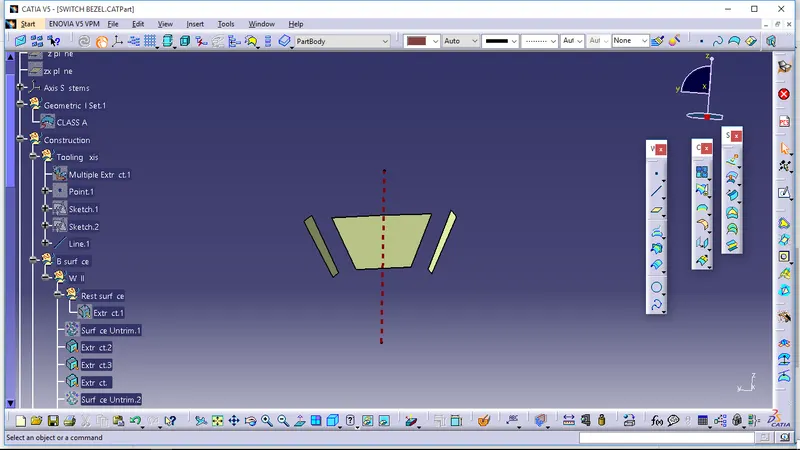
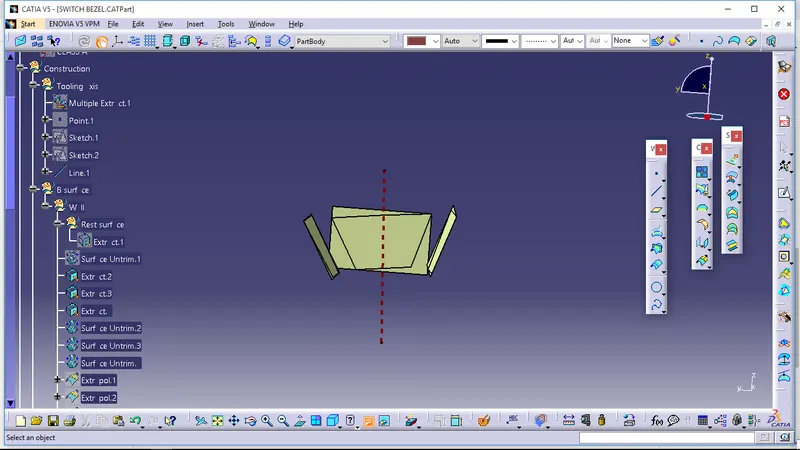
3.Extrapolate the surface.Use continuity as curvature and propagation mode as point continuity.
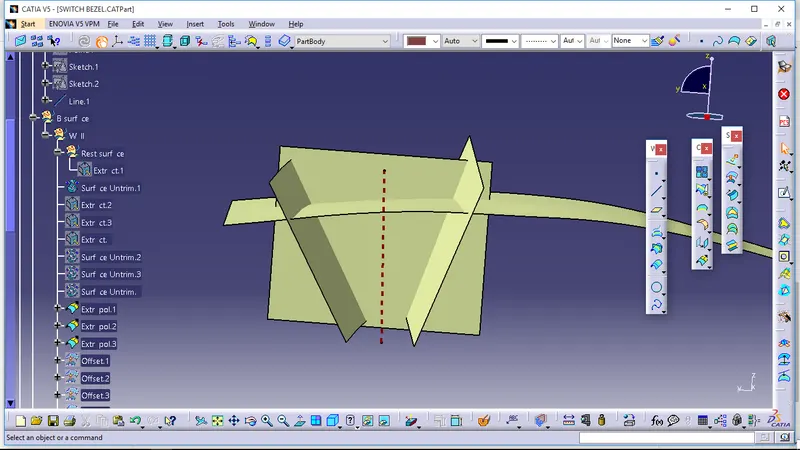
4.Extract the base from class A surface and untrim the surface then extrapolute.
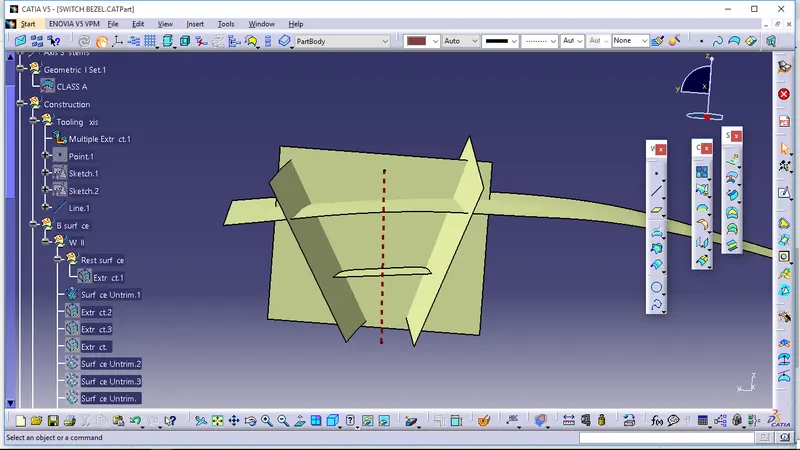
5.Offset the surface.
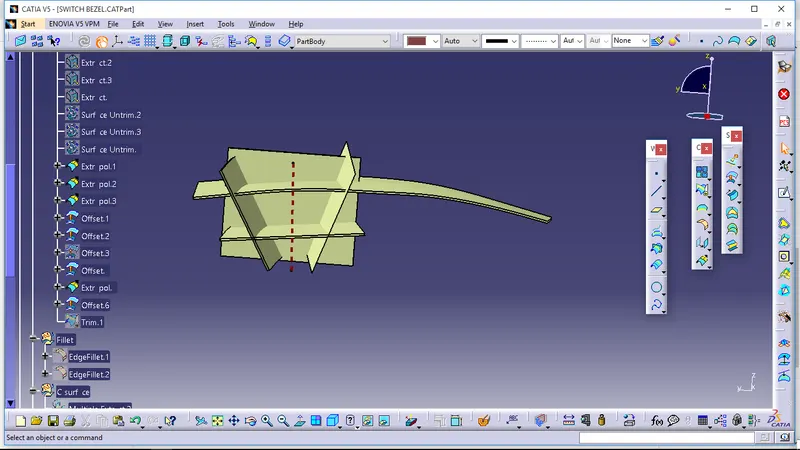
6.After that do final trim applying proper fillet value,we will get B surface.
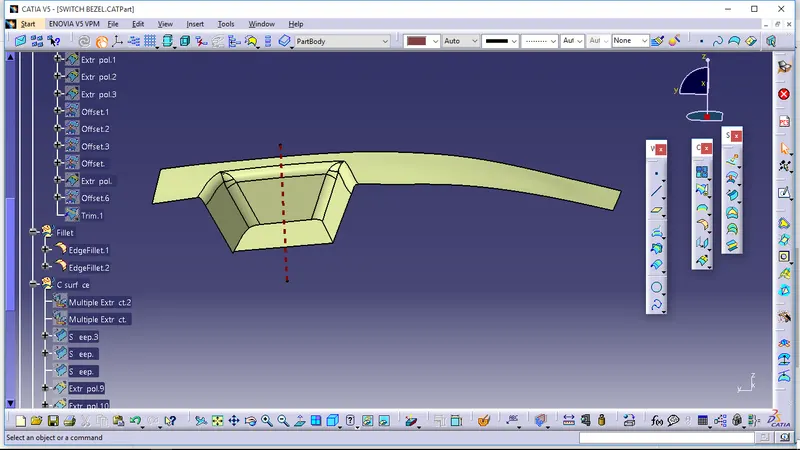
For C surface creation
1. Extract outer boundary of class A surface by the help of using multiple extract command.After go to smoothing option and joined the outer boundary.
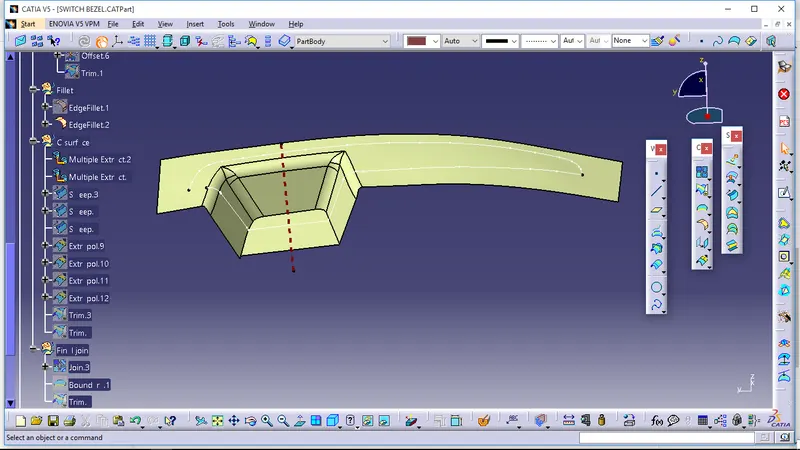
2. Use sweep command to create C surfacre.
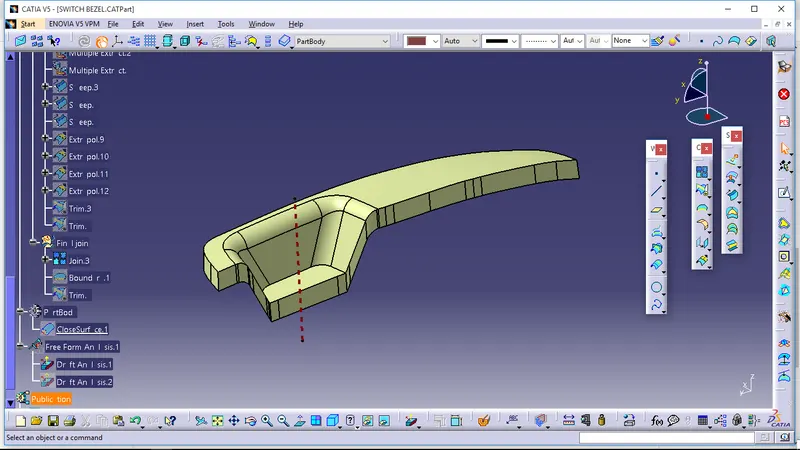
3.After extrapolate the C surface and trim the edges to get final switch bezel model.
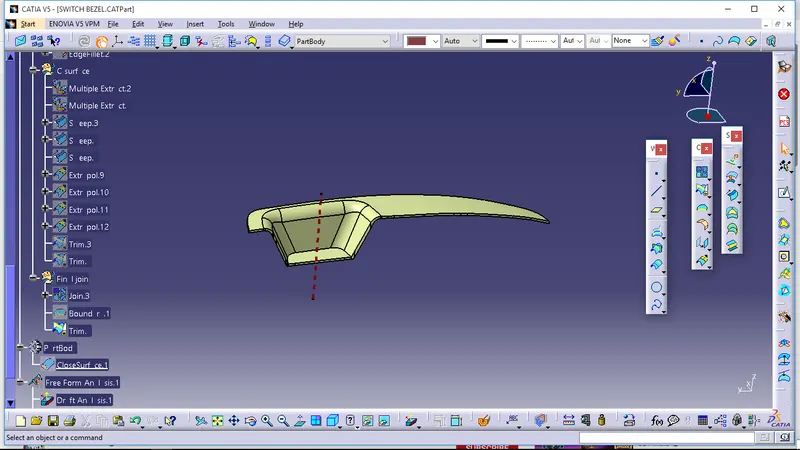
Draft analysis on final switch bezel model.
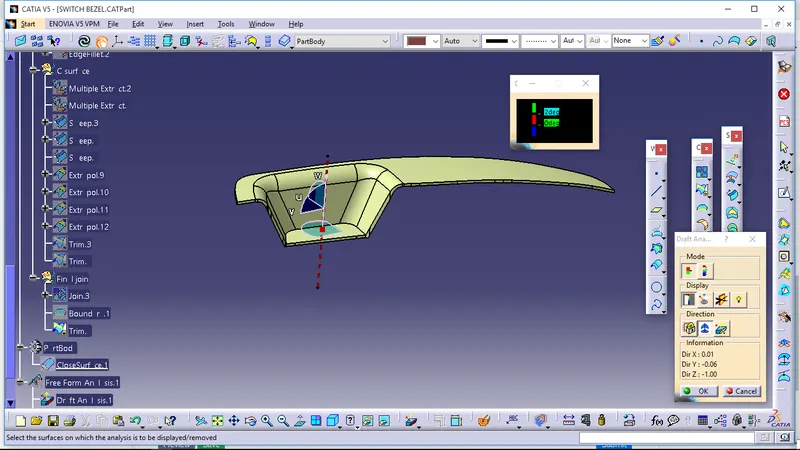
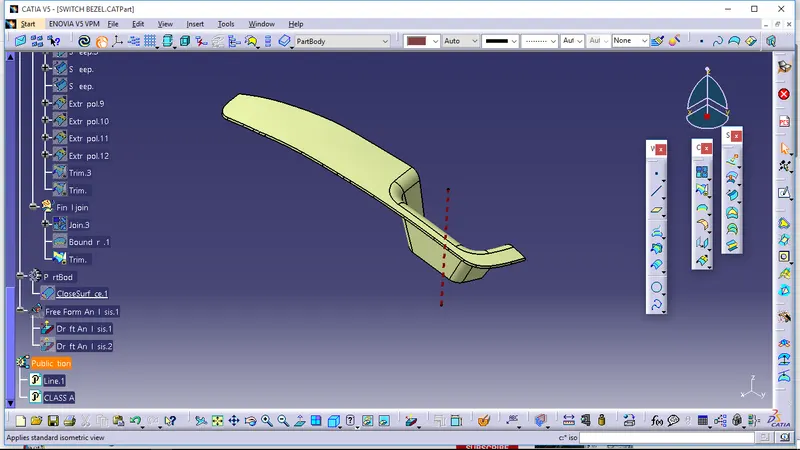
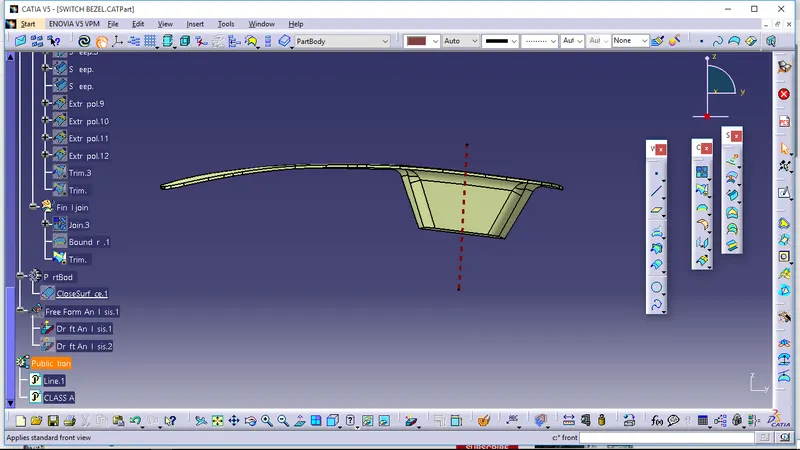
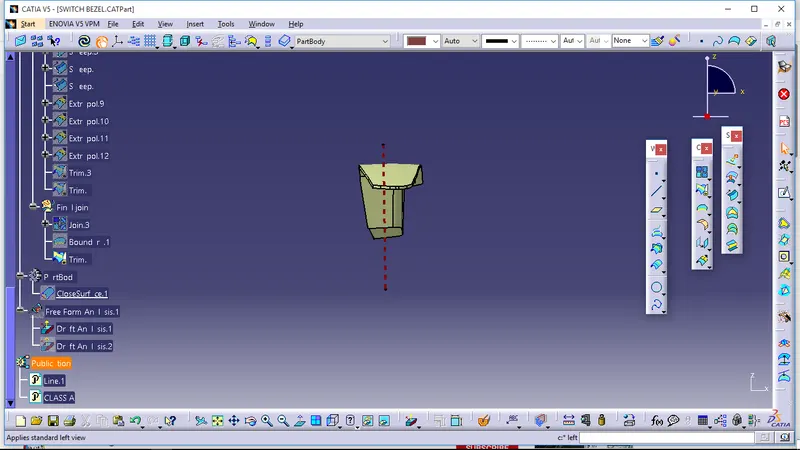
various orientations (Isometric, Front, Side, and Top View)
Isometric view
Front view
Left view
Right view
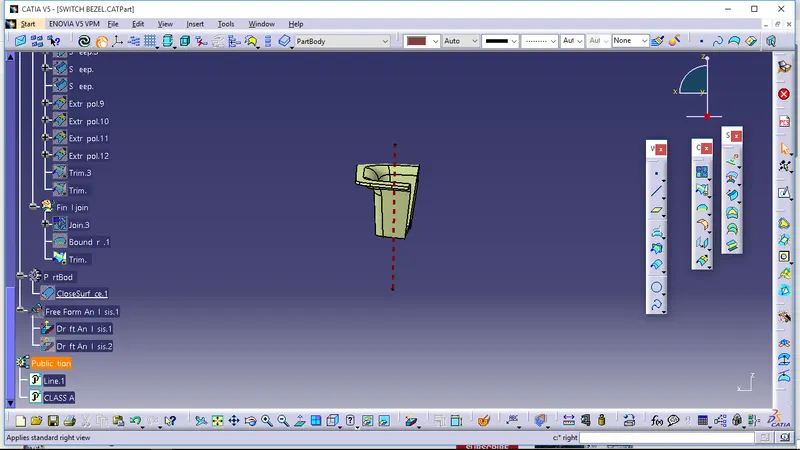
Top view