Week 8 - Challenge 3 - Coin Holder Design
coin holder
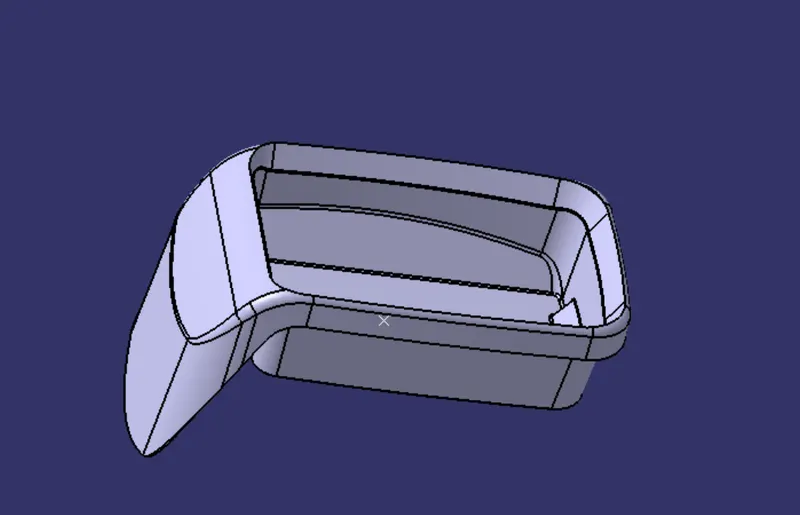
TREE STRUCTURE
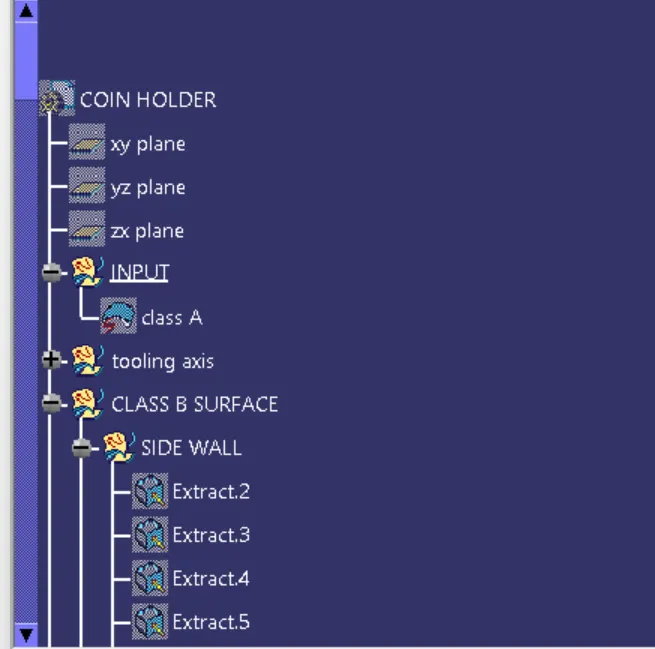
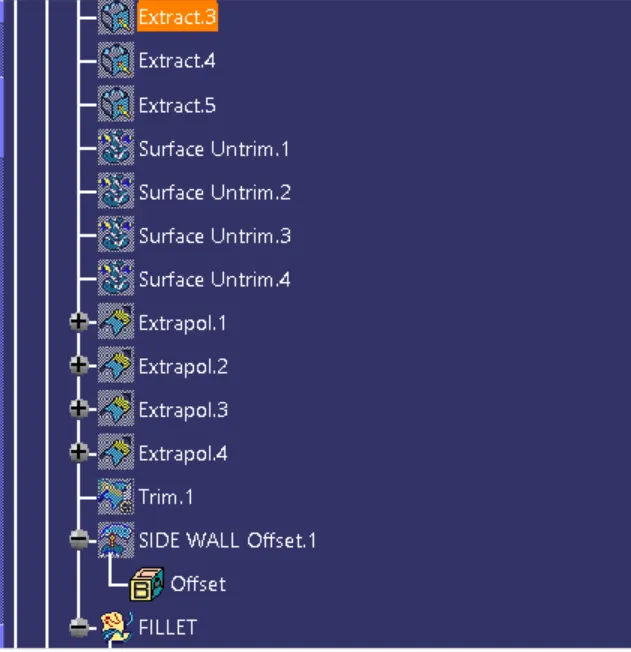
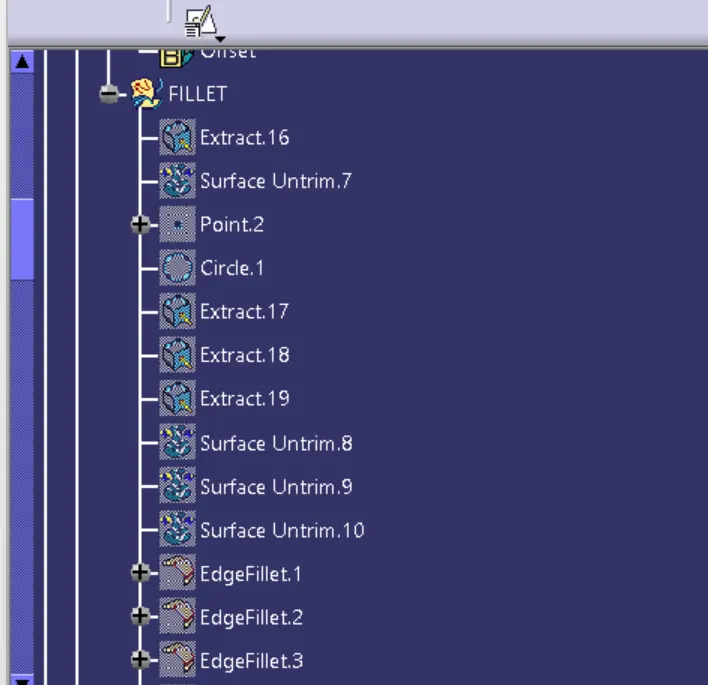
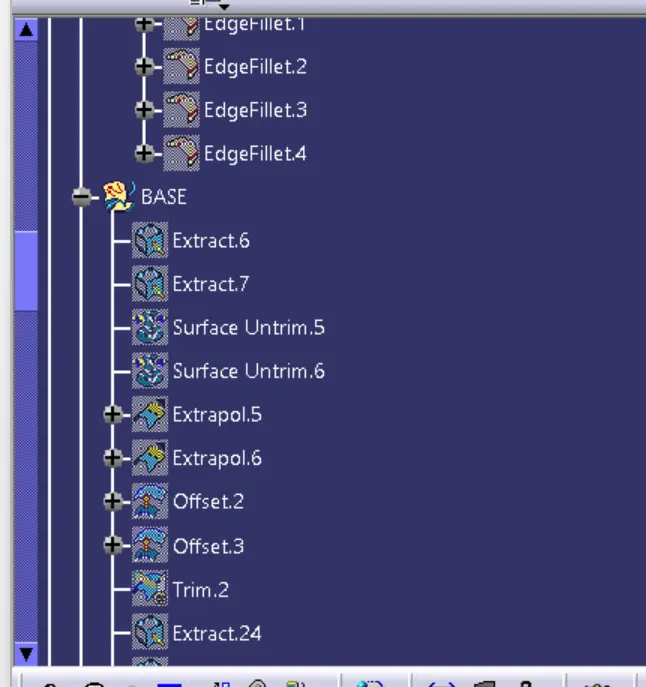
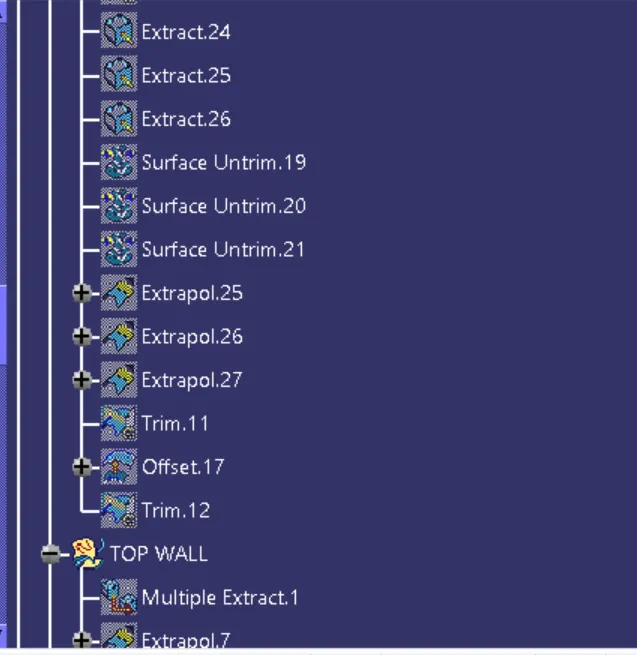
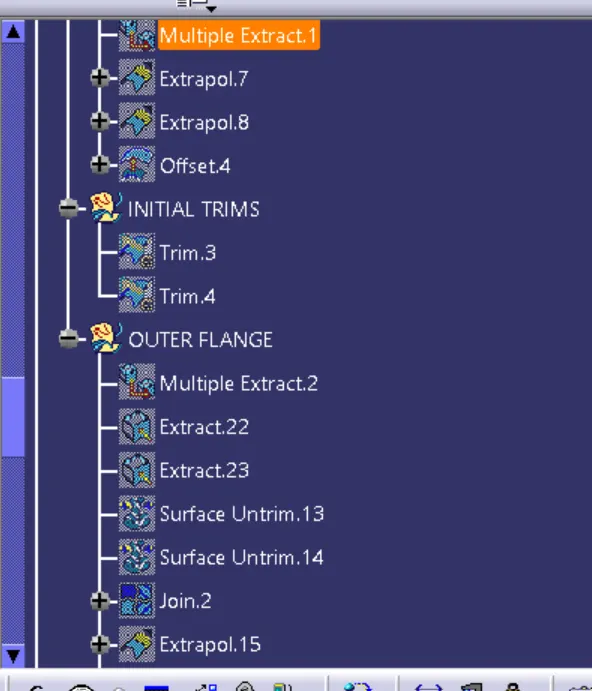
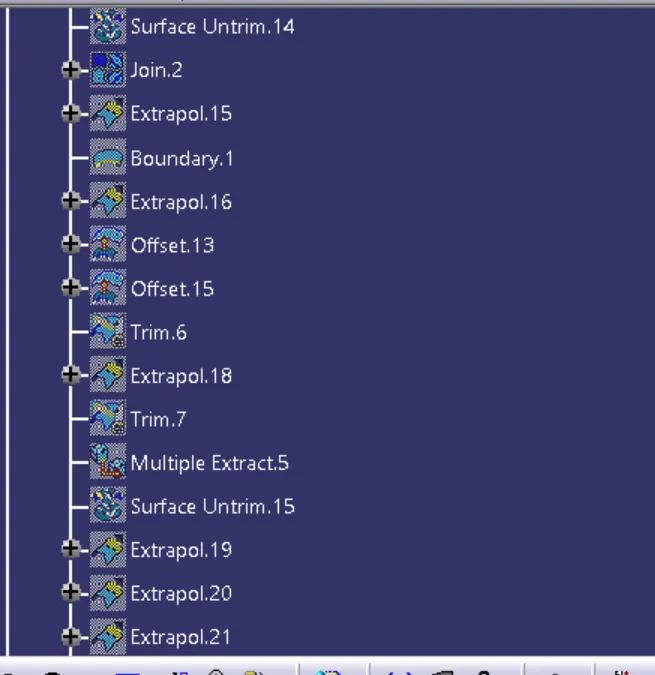
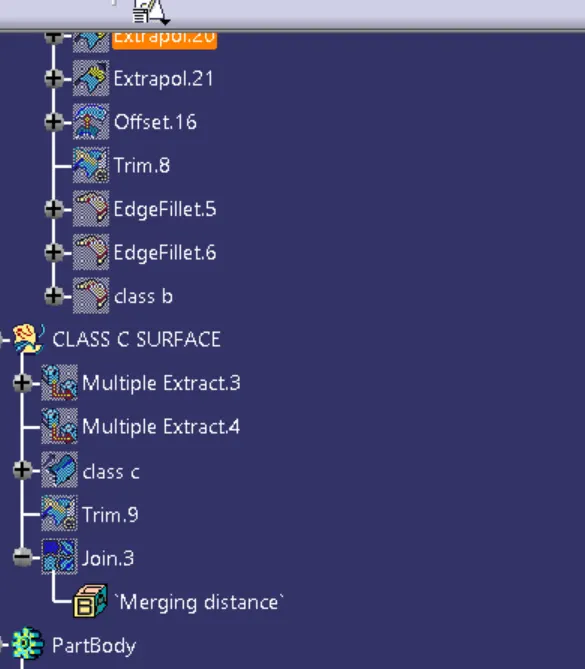
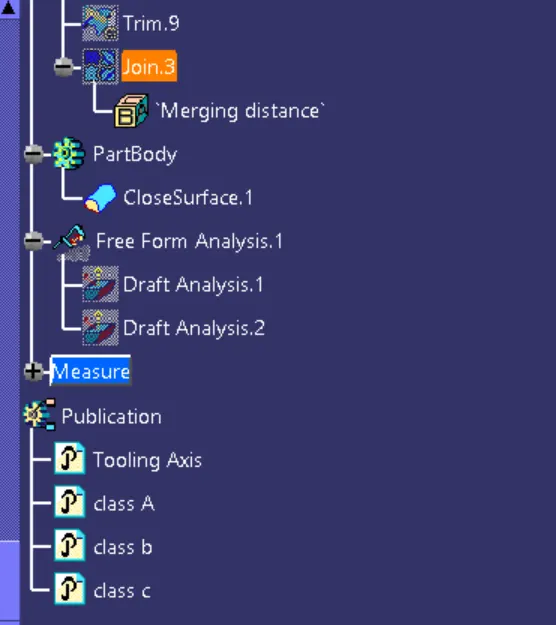
steps to create a coin holder closed body
CLASS A : It is the surface which is given as input . we will check for the open boundary , which is present or not.
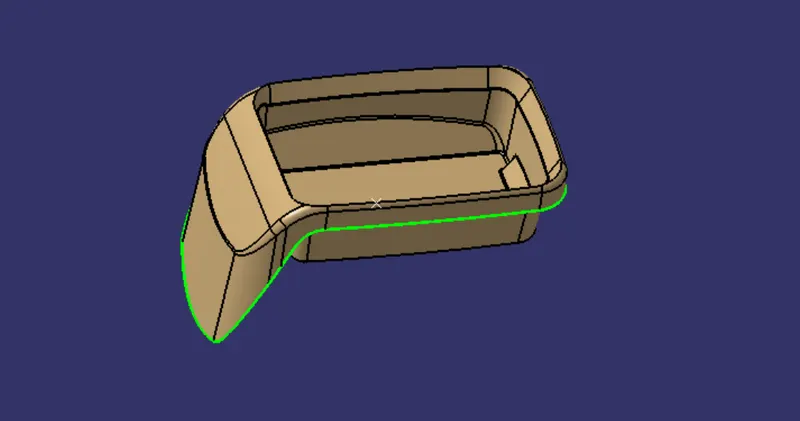
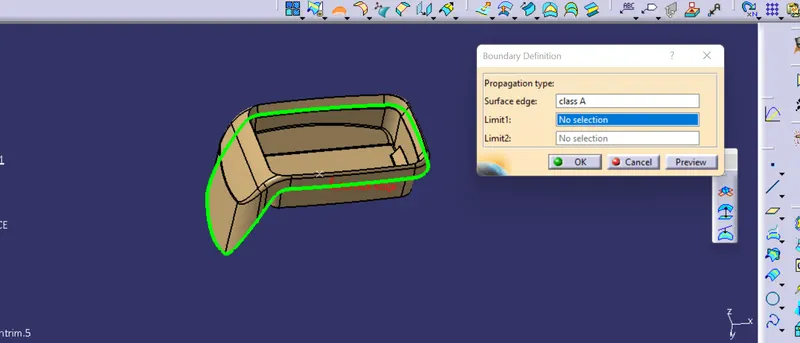
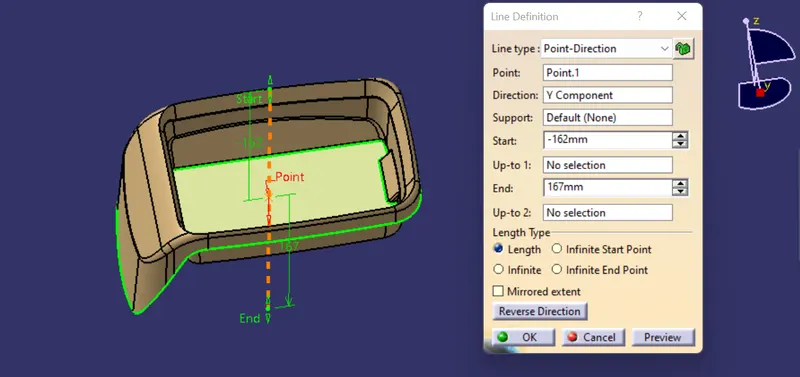
AS there is no inside open boundary , we will make TOOLING DIRECTION
tooling direction : it is the direction along which core and cavity moves.
FOR tooling axis , we will extract the flat suraface , and create a point and line in y direction , because in the y direction we are able to see the component.
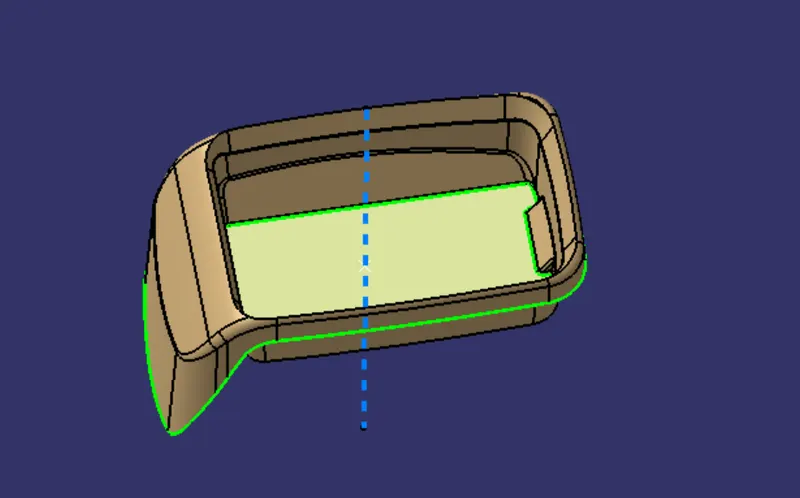
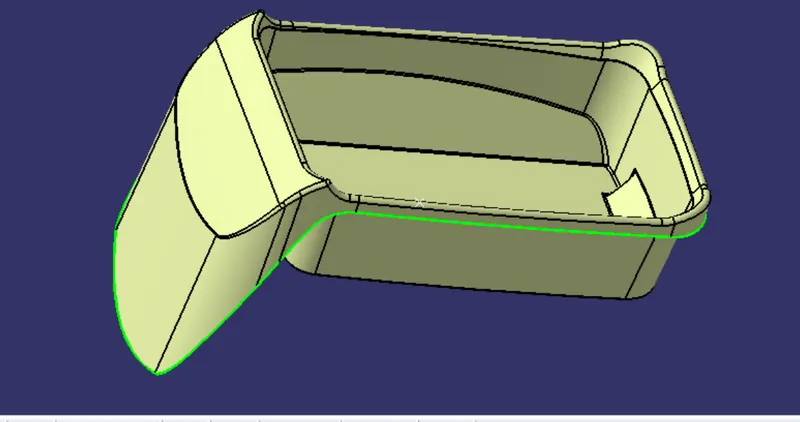
class B : this surface will create by extracct the surface except for the fillet and untrim it and extrapolate the surafce so that they can intersect each other, and offset it to 2.5 mm from class A and then trim it to get desired output.
AFTER trimining , we need to apply fillet manually by measuring the fillet radius from the class a suraface.
'
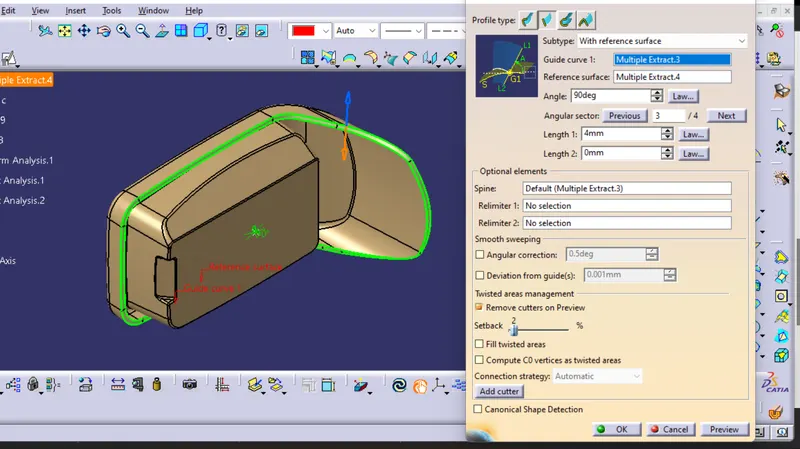
CLASS c : this suraface is done on class A surafce by taking boundary and then sweep with draft direction.
But here no need to GIVE 3 DEGREE DRAFT BECAUSE , This C surafce will lie on B SIDE , so no problem.
we will provide 90 degree
TRIM THE SURFACE WITH JOIN A AND C AND CLASS B , TO GET THE DESIRED OUTPUT AND make as CLOSE SURAFACE.
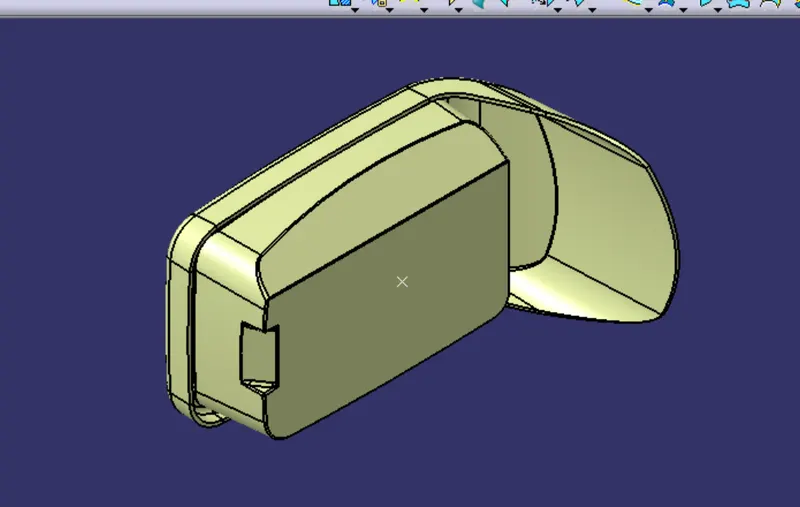
CLOSED BODY : HERE we will insert to new body and fill the material into the close surafce with CLOSE SURAFCE OPTION in part workbench
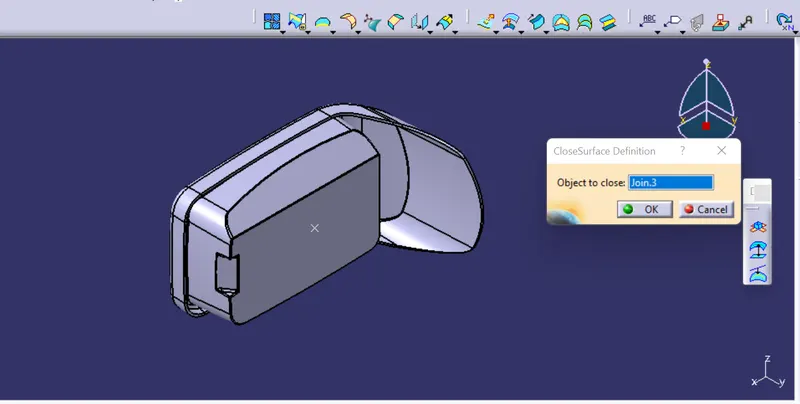
AFTER, getting closed body we will check for the 3 degree draft analysis, that our part is clearing or not
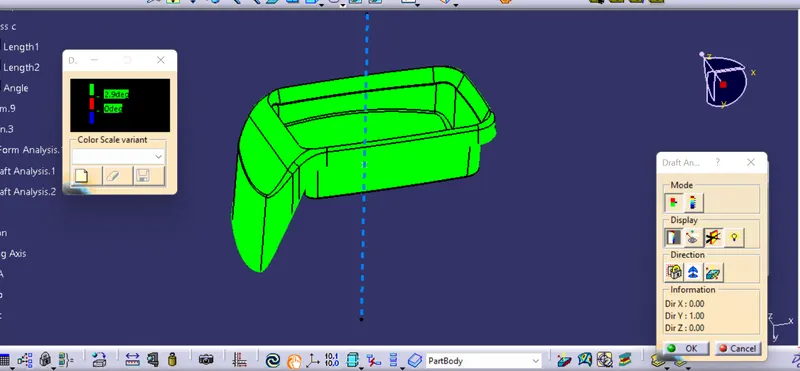
SO, BY looking above we can say that 3 degree draft has been provided to the part and also clearing the part , which means that core and cavity can easily inject the part without any fail to our component .
views.
front view
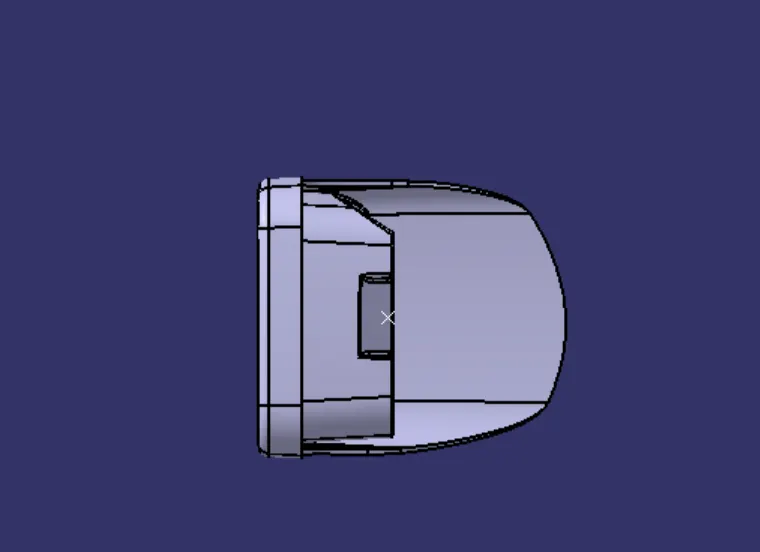
side view
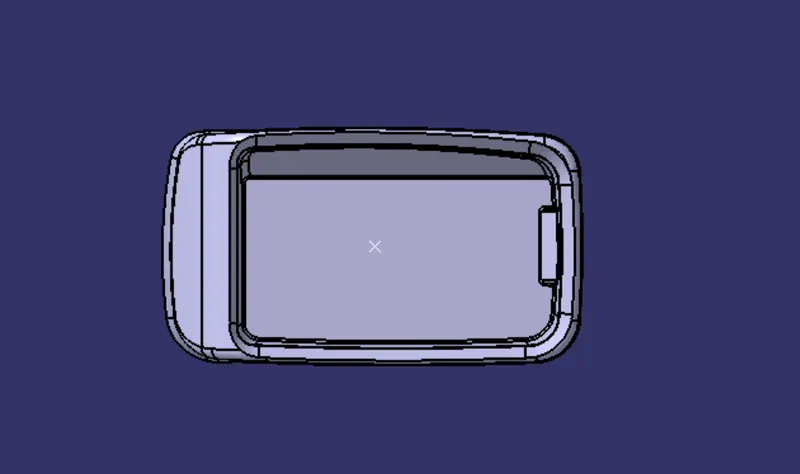
top view
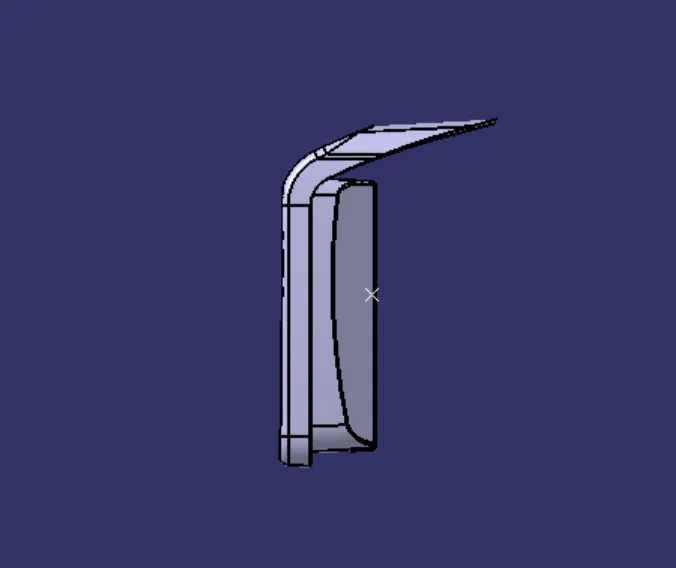
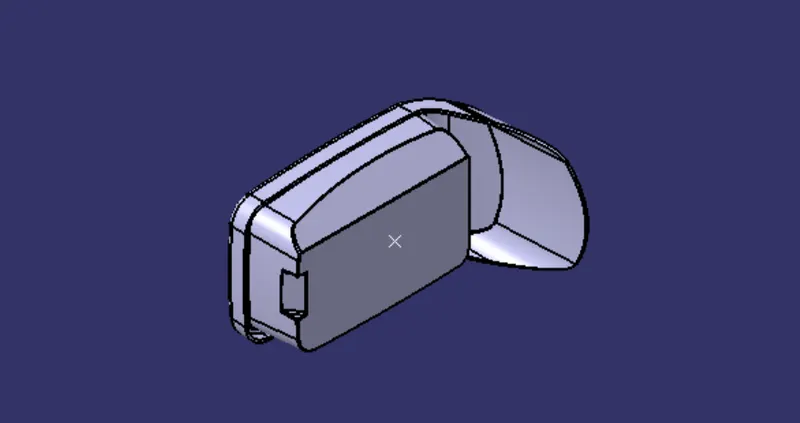
isometric view
conclusion
hence, i have made the coin holder closed body as per the given dimension, and with 3 degree draft .