Week 8 - Challenge 3 - Coin Holder Design
AIM : TO create the coin holder desoign plastic component through the given class-A surface. to begin with tooling axis for the given class-A surface should be created meeting the requirements of the draft and the end perform the draft analysis on the mode
INTENT :
The objective of this challenge is to create the coin holder design Plastic component through the above-given Class-A surface by giving the 'Tooling axis' and 'Draft analysis' to the class-A surface of the coin holder
GIVEN CLASS A SURFACE :
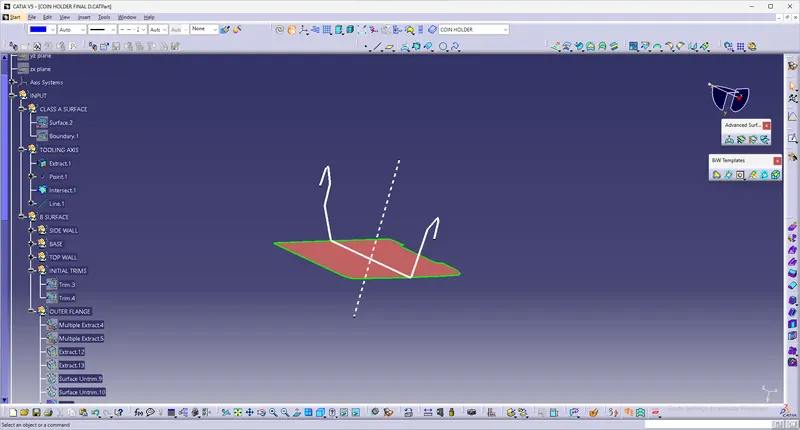
Tooling axis creation
To create a tooling axis take the intersection of class A in the XY and YZ axis And then draw lines from the side walls portion of class A as below. XY interaction and YZ section need to be done separately Then draw the bisecting lines from the two lines drawn previously.Then draw the bisecting line for both the bisecting lines got from the previous step, The resulting line is the tooling axis for the given class A
Draft Analysis :
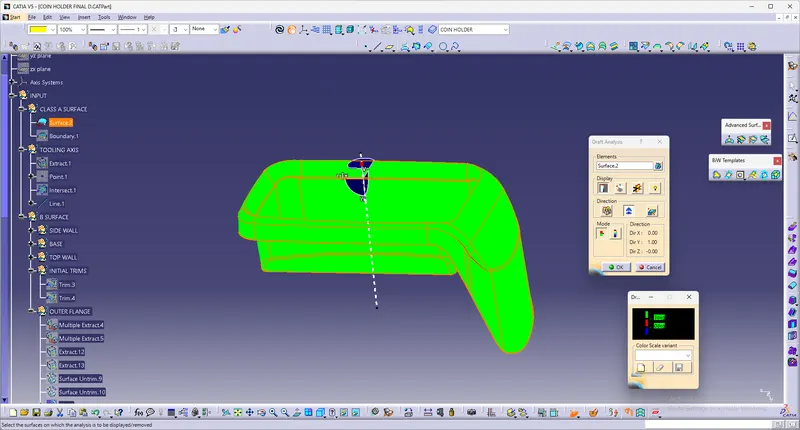
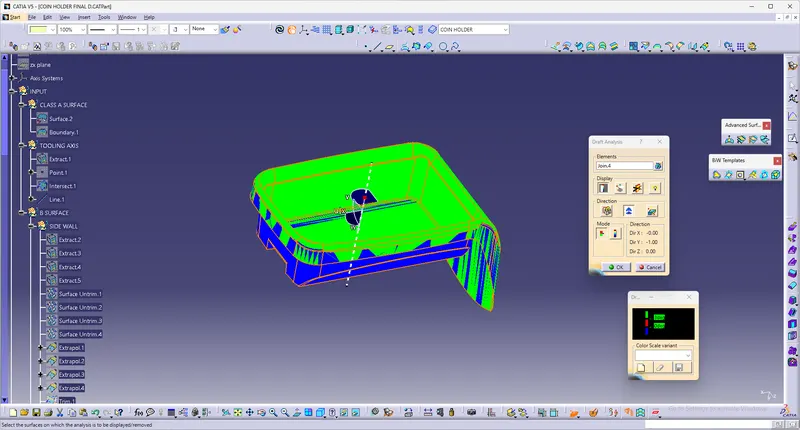
When a plastic component is made, we can observe that there is a draft angle given on each side from the base which is lesser than 90 degrees. This is because in the criteria of making a plastic material the mold should release the material when finished. if the mold surfaces are 90 degrees the material won't release from the mold because of friction due to contraction of material when cooled.The next step is to perform the draft analysis to check the tooling axis and understand the surface of the given class A.Select the insert option from the menu bar and find the analysis tool, In analysis, there is a tool named Featured Draft Analysis select.The next step is to move the compass on the tooling axis
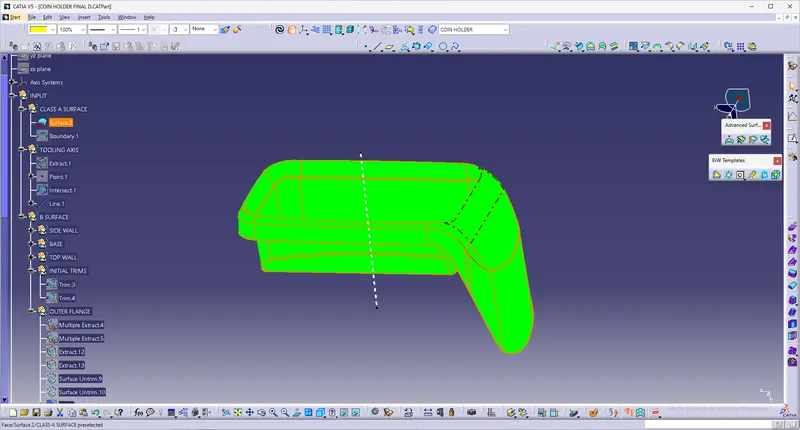
Then in the color graph give the maximum and minimum draft angle and lock the compass then select any surface to show the result
the result will be color differentiated as green, red, and blue (positive, neutral, and negative then give ok to save the result.
Creation of Class - B surface :
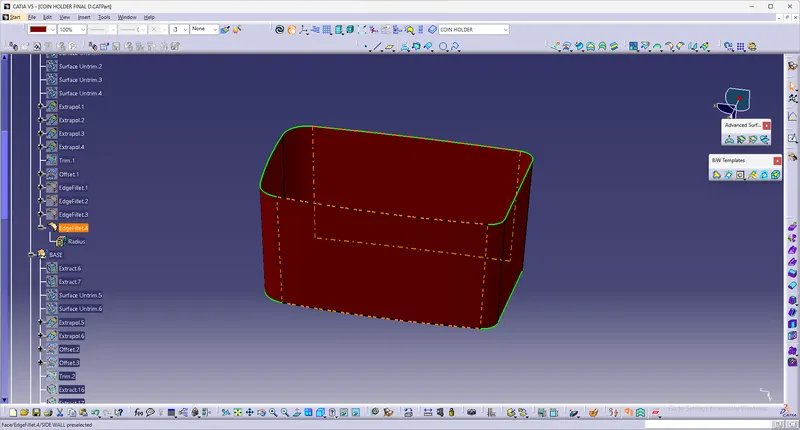
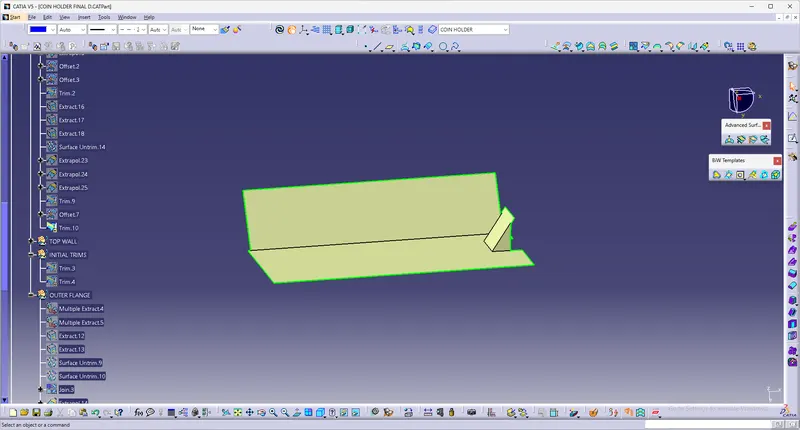
In the case of Class A the surface below is called core and the surface above is called cavity Class A is an aesthetics surface and class B is an engineering surface B surface should be inside the class A surface B surface can be divided into four surfaces the side walls, top walls, outer flange and the base surface and later trim them altogether.First step is to create the side wall surfaces by extracting the required surface from Class A and untrimmed it thus we will get a single surface which will be extrapolated to get the required size and finally offset it to the inner side of class A as per the thickness of the material and trim them together and apply the required fillet by measuring the values from class A.Base surface of the component is then extract, untrimmed, extrapolated, offset and trimmed.The top walls can be directly extrapolated from the extracted surfaces and offset it for the required size of the material.Then join the base, side wall and top wall by trim operations.As the Outer flange is surface complex it can be divided into two parts and extract them then go for extrapolation, offset, split and join operations and finally check the for the connectivity by intersecting method.Now all the four geometries are trimmed together to get the B surface.Fillet is applied to the required surfaces by measuring the fillet value from the class A surface.
SIDE WALL
BASE + COUNTER TRIMMED BASE WALLS
TOP WALL
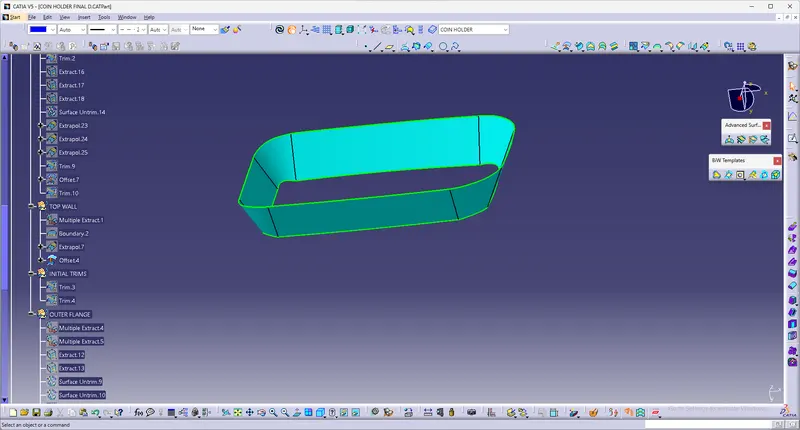
INITIAL TRIM
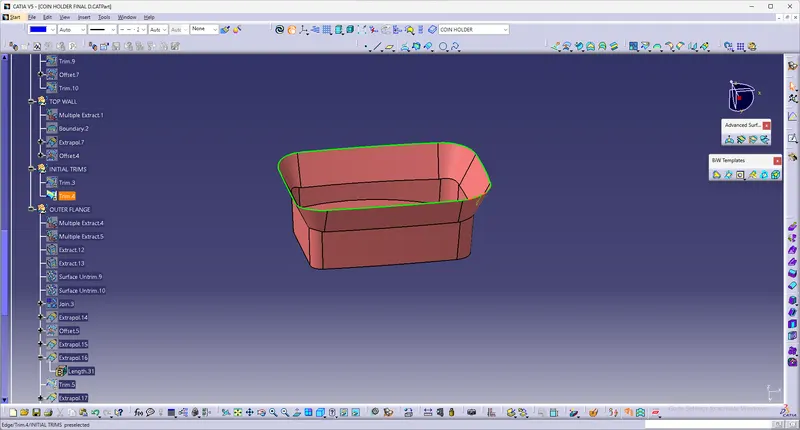
OUTER FLANGE
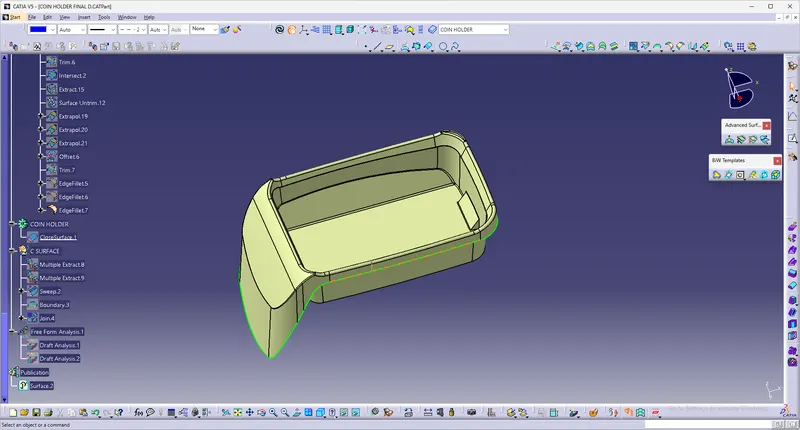
Creation of Class - C surface :
C surface has been created from the boundary lines of class A surface and by extracting the supporting surfaces then sweep the boundary lines with reference to the extracted surfaces In order to get the C surface first we have to create a boundary lines of class A surface or by using multiple extrapolated command and check for the continuity of it Create a sweep with reference to the curve and the reference surface with a 90 degree angle and give the inside direction Check for the continuity of the surfaces if there is any gap go for extrapolated and trim all together now we will get the class C surface.
Then join the class A surface and C surfaces together by join command then check it for connectivity of the surfaces if it is ok then finally trimmed it with B surface we will get the final component again check whether the final body is closed by using boundary command.
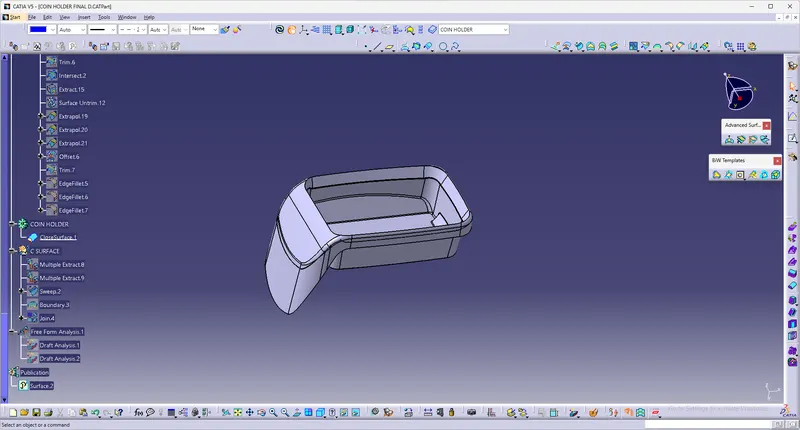
Closed solid body is created by using the close surface on part workbench by selecting the final Trimmed component and do the draft analysis for the same
For creating a class C surface at first, extract the border lines and then apply a sweep to it at 90 degrees
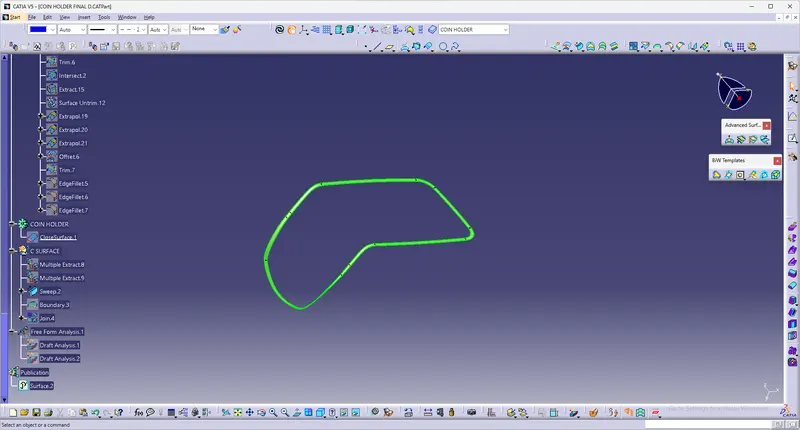
After trimming, this is how the surface will look like and then joint all and make a closed surface
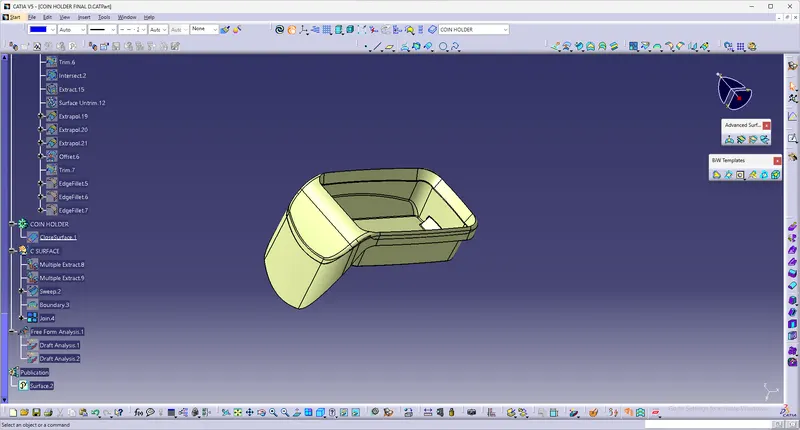
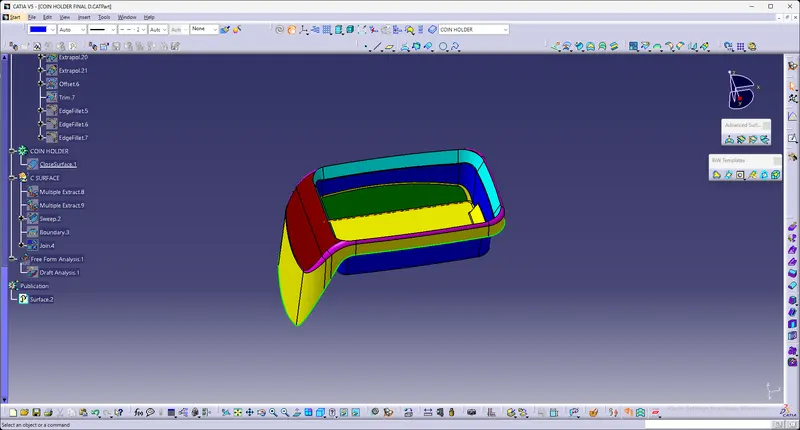
This is the Solid formed after the class A, B & C surface (closed body)
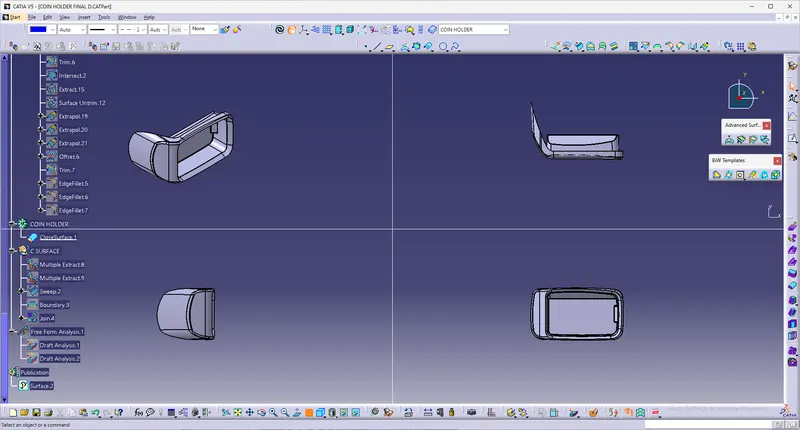
Various views
finally manufactured Draft analysis is performed on the given Class-A surface
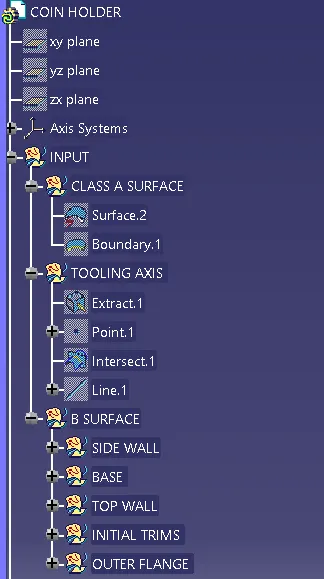
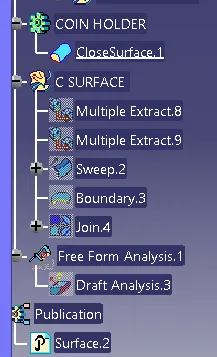
TREE STRUCTURE