Week 8 - Challenge 3 - Coin Holder Design
Week 8 - Challenge 3 – Coin Holder design
OBJECTIVES:
- To create the class B and class C surfaces from the given class A surface
- To form a solid geometry by combining all the surfaces
- To perform draft analysis on the class A surface and the solid part model
PRE-DESIGN CHECKS:
Before starting the creation of the class B surface we must ensure that the given class A surface is properly closed and the surface continuity is proper. This can be done either with the help of the join operation or by using the boundary feature.
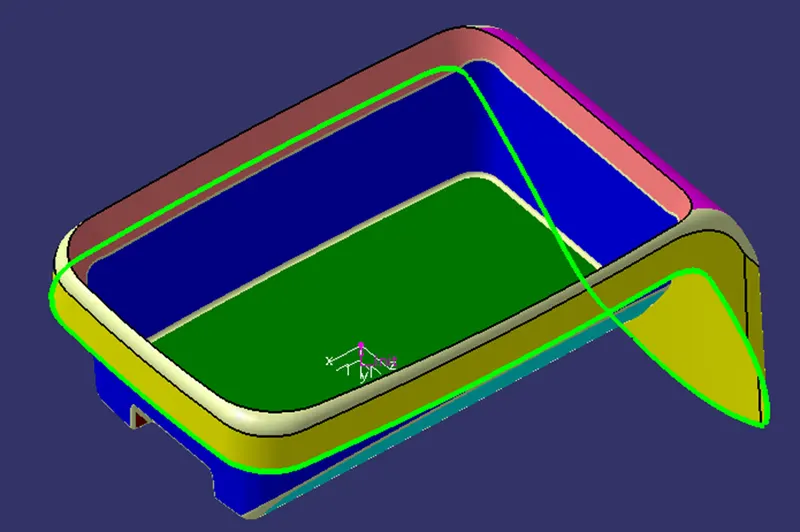
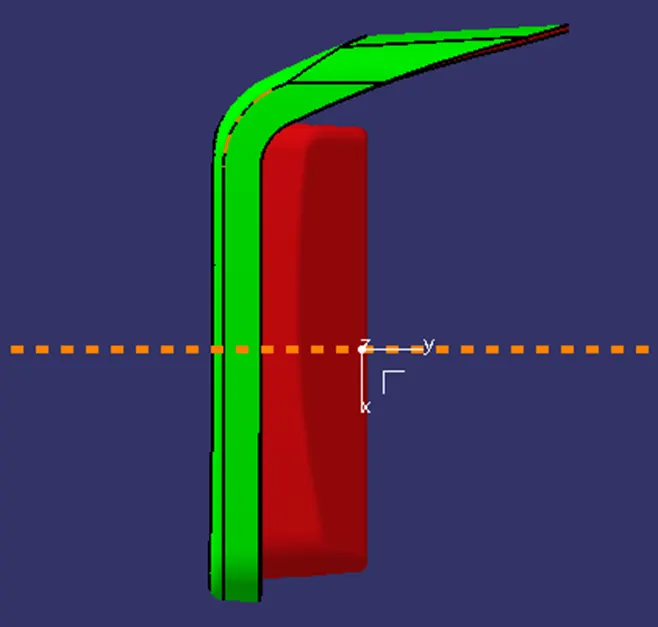
TOOLING AXIS:
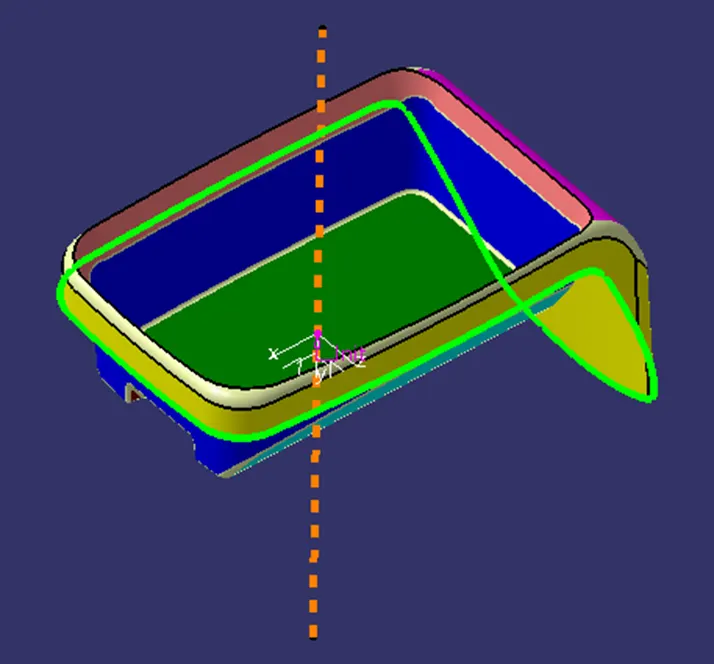
- The next step is to create the tooling axis for the part which will determine the direction in which the core and cavity of the mould will move.
- Designer must ensure that all holes and slots are covered in the main tooling and thus side core must be avoided whenever possible
- After analysing visually for the best possible tooling axis, an axis system is created on the centre of the base surface of the coin holder
- First the tooling axis is drawn along the YZ plane and then along the XZ plane
- Both these axis are the bisected in order to obtain the main tooling axis for the component
DRAFT ANALYSIS:
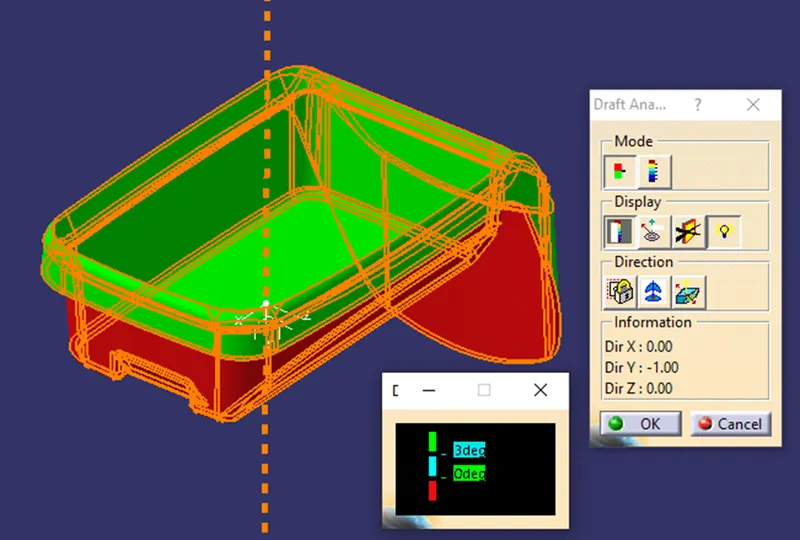
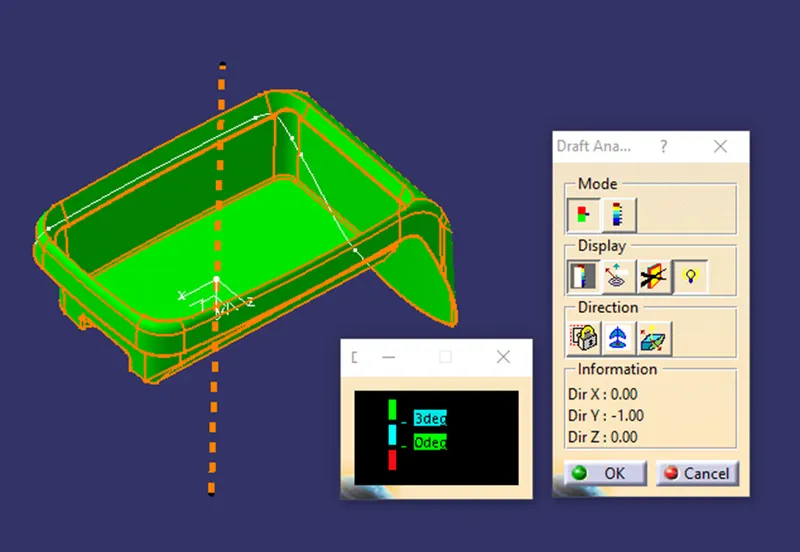
- Draft analysis is done on the class a surface after the tooling axis has been obtained
- The part must have a minimum draft angle of 3 degrees on all the tapered faces
- Using the feature draft analysis tool and the compass the part surface is validated for the minimum draft criteria
CLASS B SURFACE
After all the validation has been done, the class B surface is created by untrimming and offsetting the class A surface at the required distance which is 2.5 mm
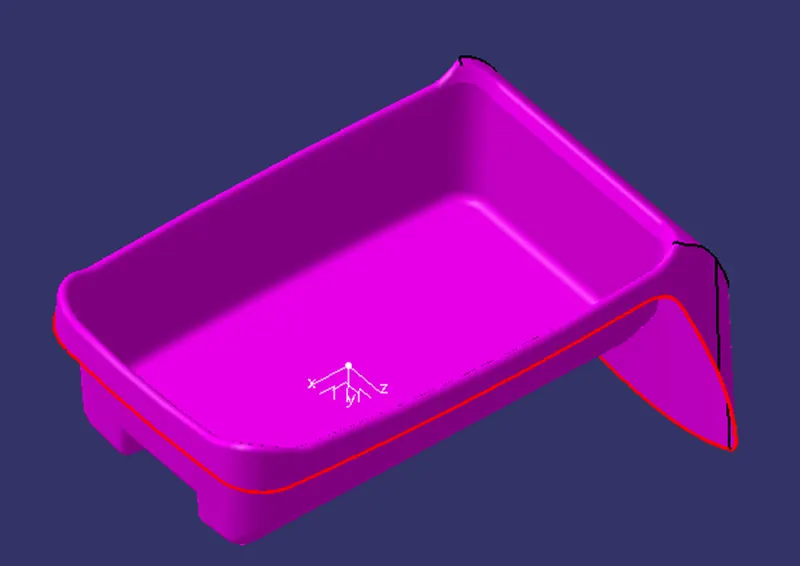
CLASS C SURFACE
The class C surface which connects the class A and class B surface is created by sweeping the boundary of the class A and using the class A as a reference.
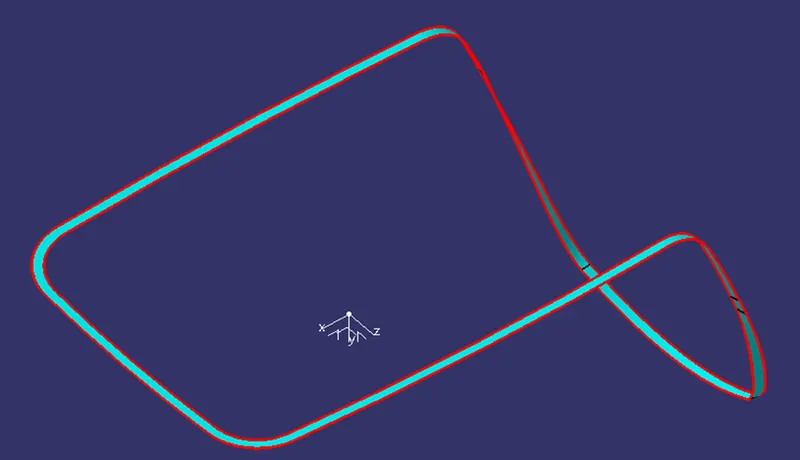
PART:
The final trim is created by joining the Class A and C surface and finally trimming it with the Class B surface
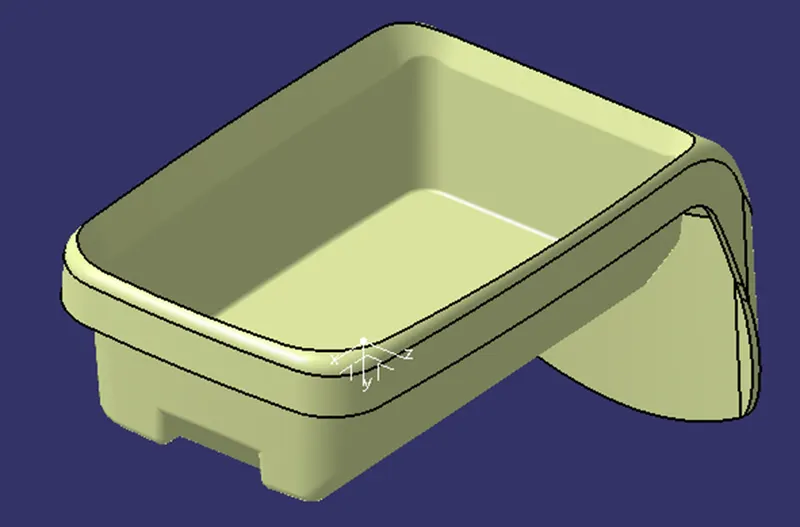
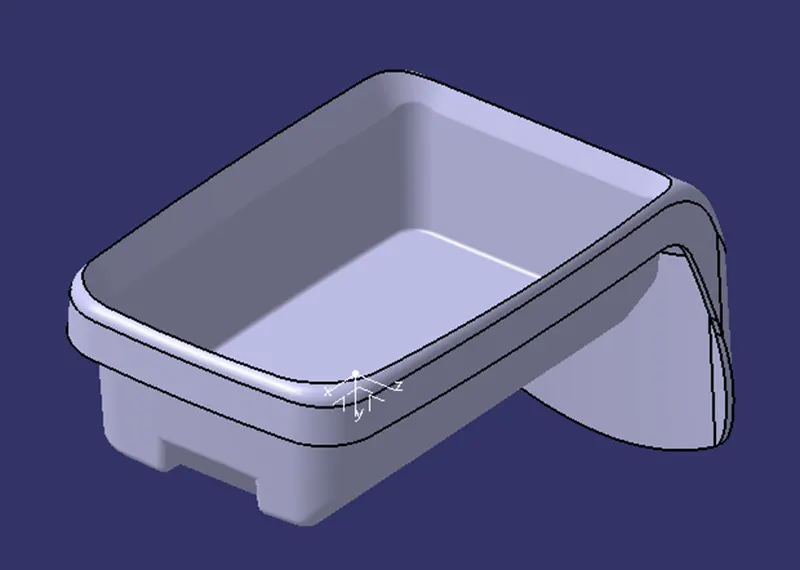
DRAFT ANALYSIS ON FINAL PART:
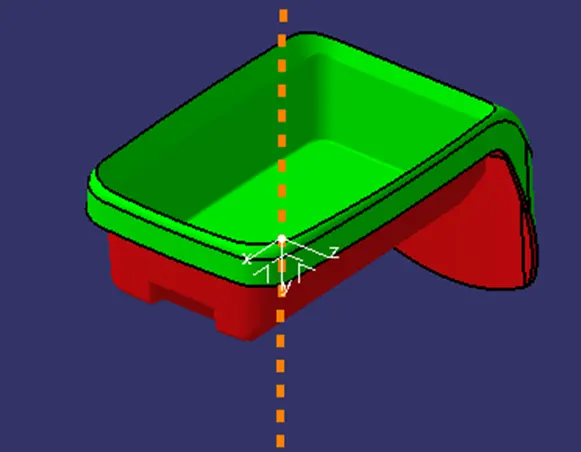
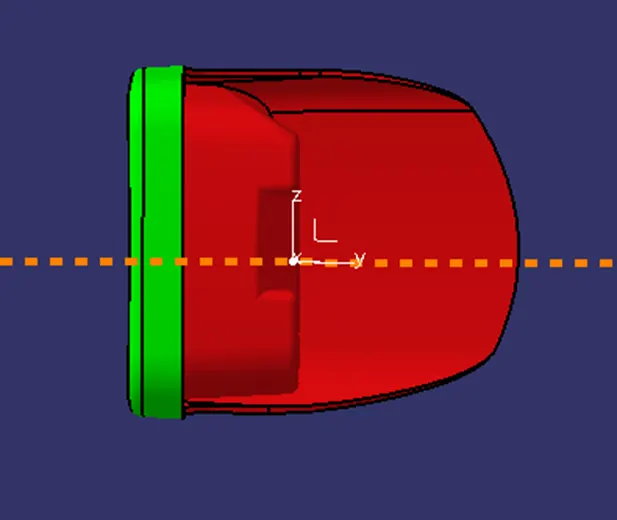
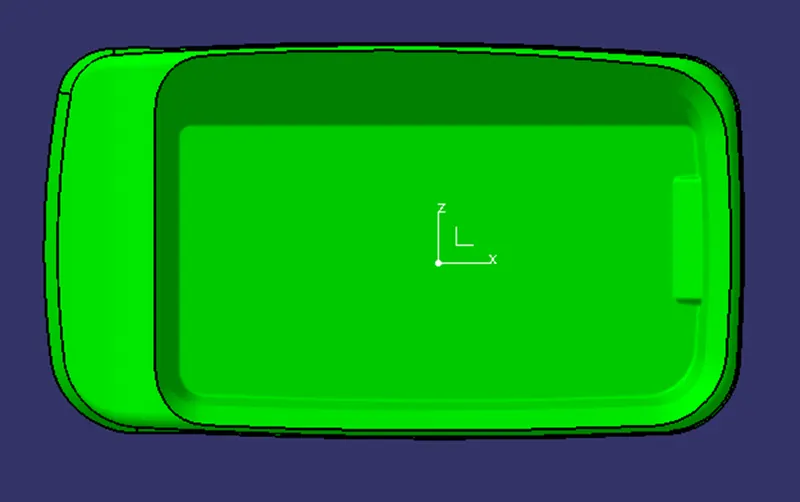
- Draft analysis is done on the final part with the tooling axis as reference
- Green surface indicates the areas where the draft is more than 3 degrees.
- Red surface inicates the area having negative draft.