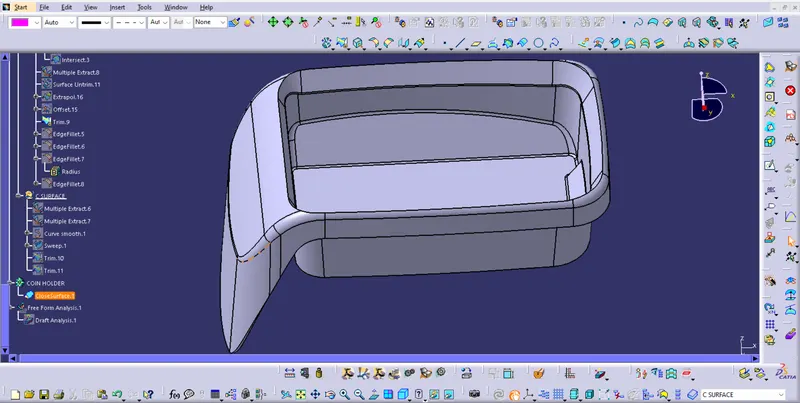
Week 8 - Challenge 3 - Coin Holder Design
Input:
The input was given as Class A surface.
CLASS A SURFACE :
Class-A (or 'Strak') is a term used in specifically in automotive design. It describes the final production Class data for the aesthetic parts of the car. The term 'Class A' is often misunderstood, but it's generally seen as the 'Holy Grail' of Class modeling.
Since we copy the Class A from the original Class A, then create separate geometric set then paste it. Then join the Class A.
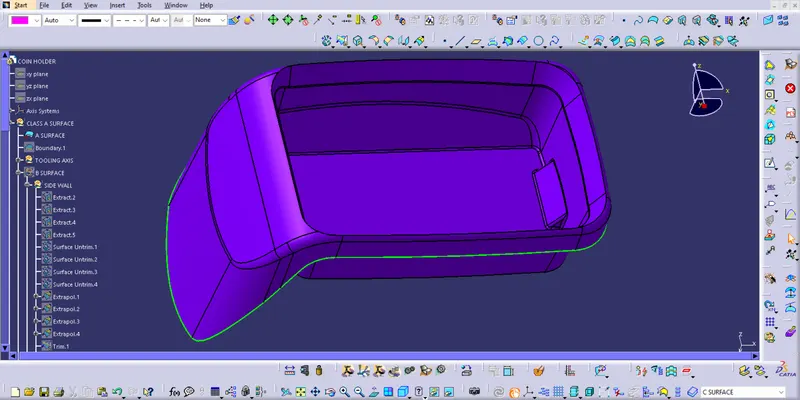
TOOLING AXIS :
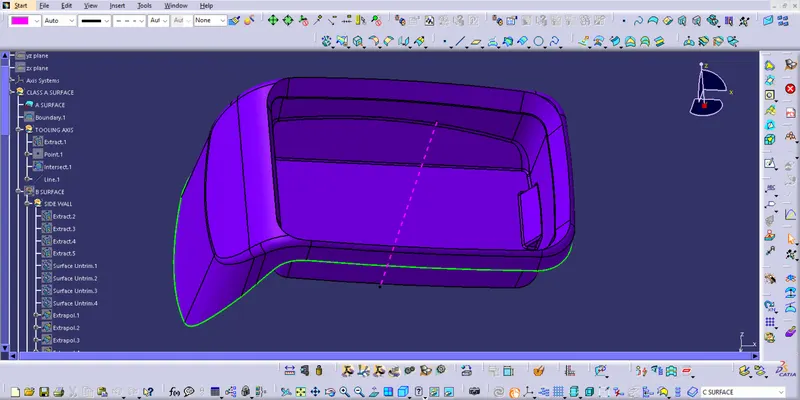
- Now we create tooling axis for the Class A. First a create axis system for where we want, then we create intersect based on the axis system.
- Extract the bottom surface and insert point on a surface then create lind based on a point.
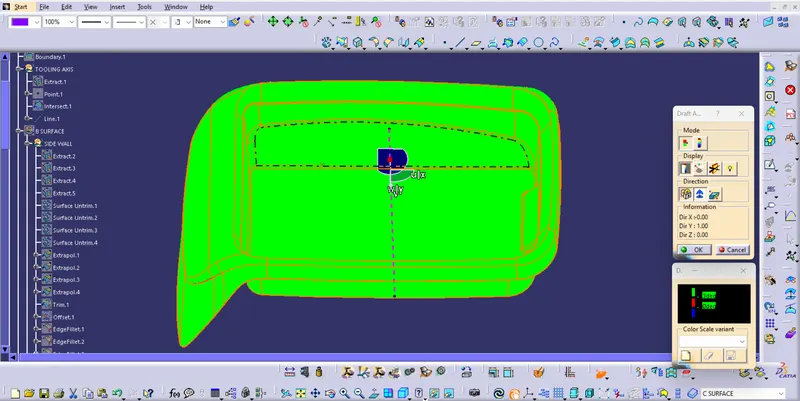
Draft analysis :
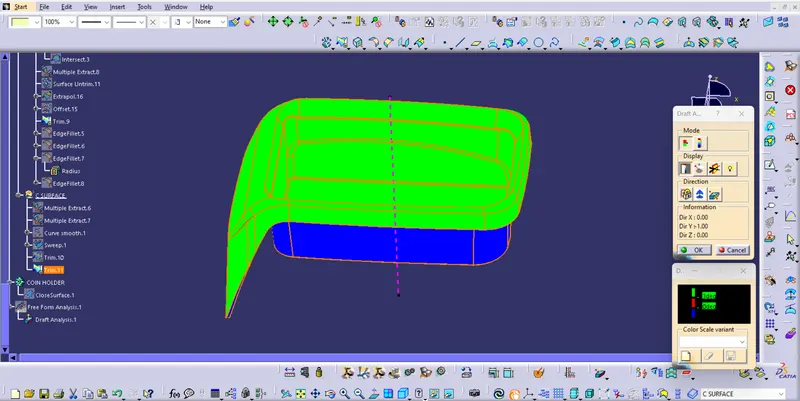
It is a tool used in CATIA to make the faces taper with respect to tooling axis. Tooling axis is the direction of mold part ejection.A functional part for injection molding has to have drafts facing both cavity and core sides to reduce the risk of damage to the parts and ensure ejection. As the molten plastic flows into the closed die and fills the cavity, the material shrinks inside the mold upon cooling and as a result grips the core.Without any taper, the part would come out scratched while increasing wear and tear on the mold and shortening the tool life.
CLASS B SURFACE :
Wall
Now create a class B surface.
In class B, first create base of class B from class A. Insert geometrical set define as class B, that is base of class B.Use extract command and extract a base from class A. Then use untrim tool get full body of a base. Next use extrapolate tool extended a base , then offset of 2.5 mm.
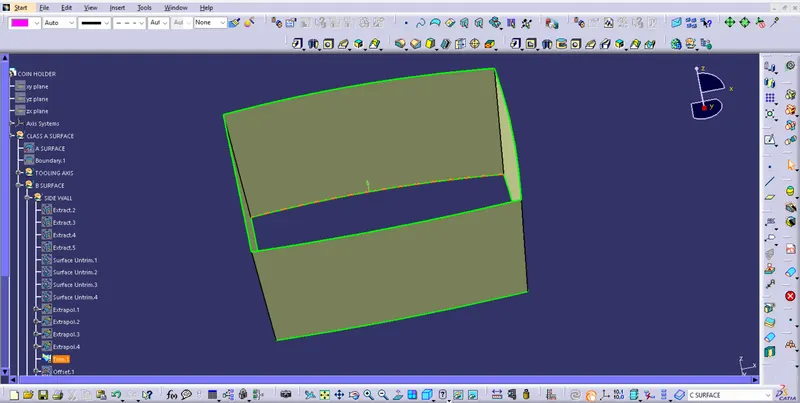
BASE
Insert a new geomentry set for wall define as classB surface.Since use extract tool, extract from classA surface and use untrim tools, untrim for a extract body we get untrim body and extrapolate for a untrim body we get a proper shape of the sheet.Then trim ribs to get the proper wall shape and offset of the trim. That offset set is a final ribs .
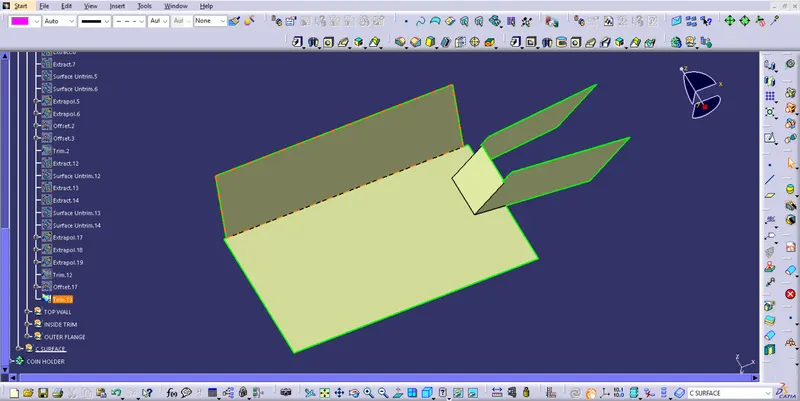
INSIDE PART
Extract a required part from class A, then undrim a extract part. Next extrpolte some distance. Then trim a part, then offset. Now trim with base then get final part of a inside.
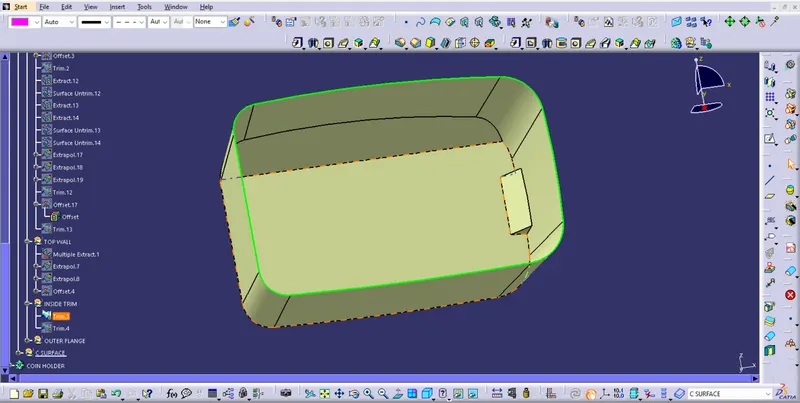
TOP WALL
Now extract a top wall from class A, then use extropolte the extract body. Then trim the body.
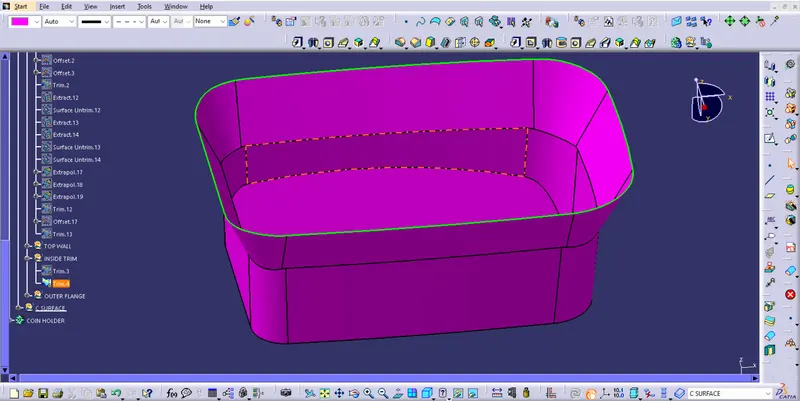
OUTSIDE FLANGE
Extract a required part from class A, then undrim a extract part. Next extrpolte some distance. Then trim a part, then offset. Now trim with base then get final part of a inside, join with remain parts.
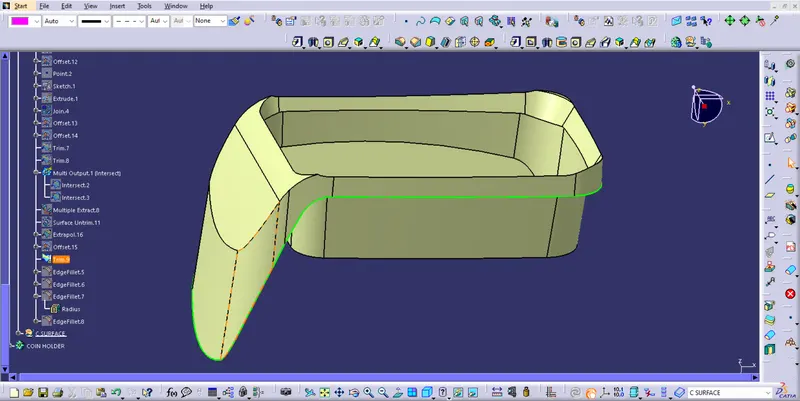
Final Trim And Fillets
Unhide bottom surface and trim the one by one with base then get the proper class B. Then use fillet command, fillet tha corner edges then we get a final Class B surface .
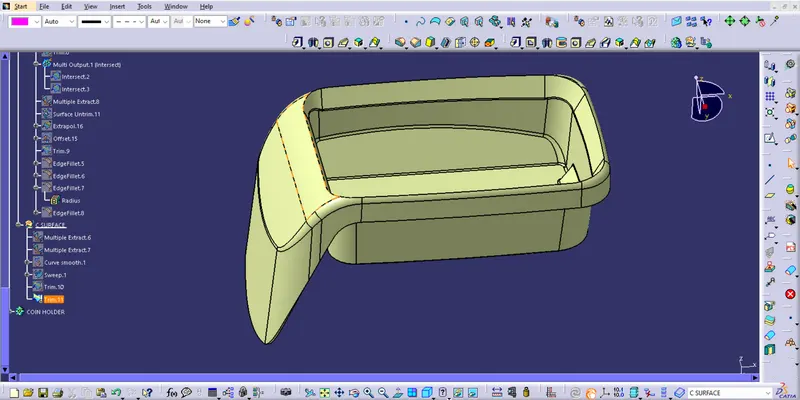
CLASS C SURFACE :
The boundary is created from the Class A surface and it is extended along the perpendicular direction to the bin walls using the Sweep command with the created boundary as the Guide Curve and The adjacent surfaces to the boundary as reference boundary, Sweep is done in the appropriate direction. Class A surface is joined along with the created Sweep. And thus the Class C Surface is created.
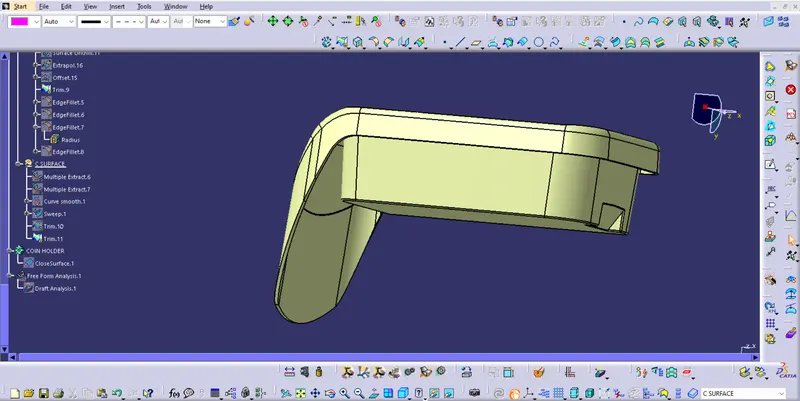
Draft analysis of the Component:
Draft analysis is done on the Component with respect to the Tooling Axis created.
Part Body - Coin Holder:
The part body is created using the close Surface command in Part Workbench with Closed Surface as the reference surface.