Week 8 - Challenge 2 - Base Bracket Design
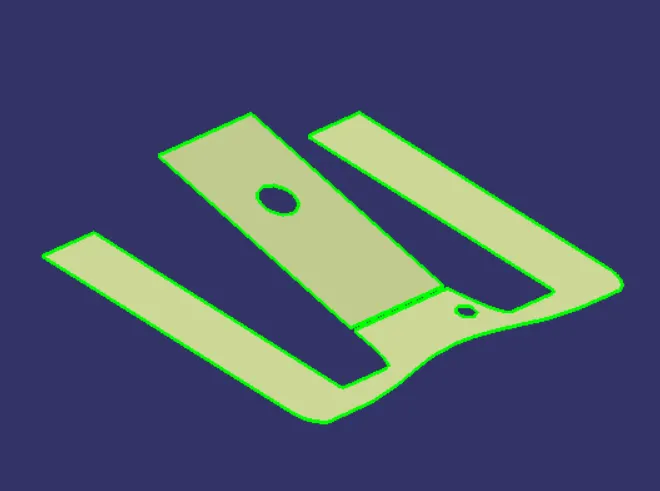
- We are going to do the draft analysis for the base bracket, and also going to create the B Surafce and C Surface for the following A surface.
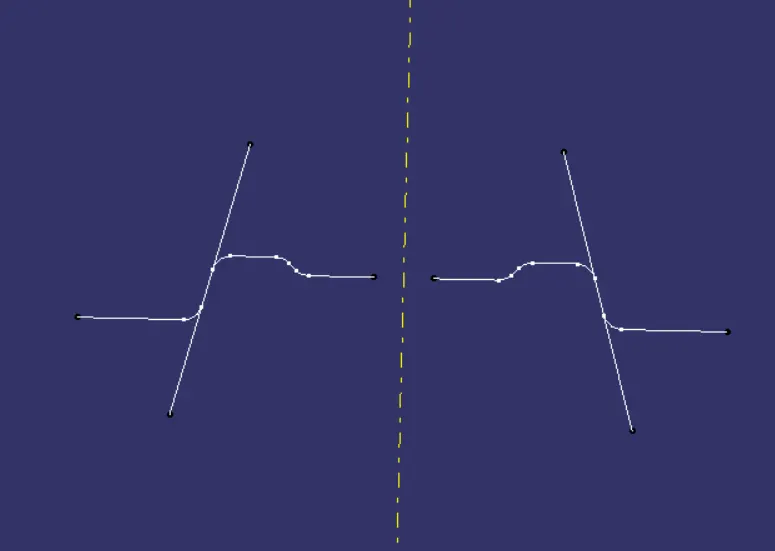
- First the intersection side is selected and intersection is given.
- Then the Line is selected and intersected giving us the Tooling axis as shown below.
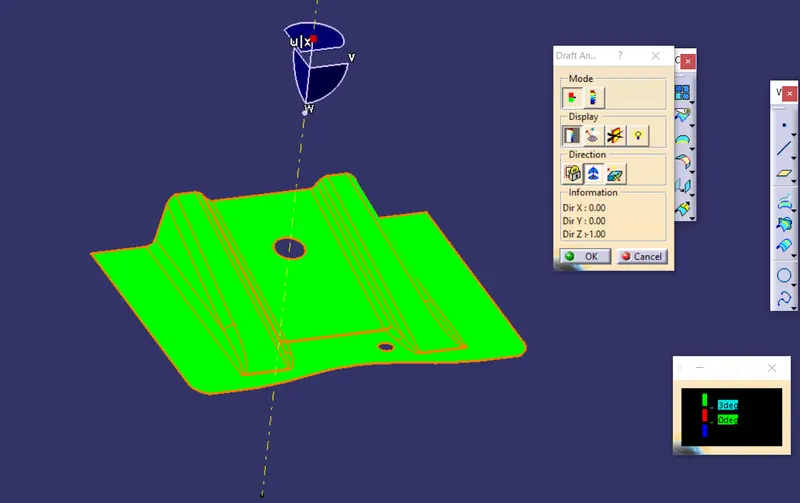
- After that the draft angle of 3 degree is given and the analysis is derived. We can see that all highlighted part is useful and can be given a proper draft analysis.
- Next the B Surface is created using commands such as offset, Extrapolate and Extract tools.
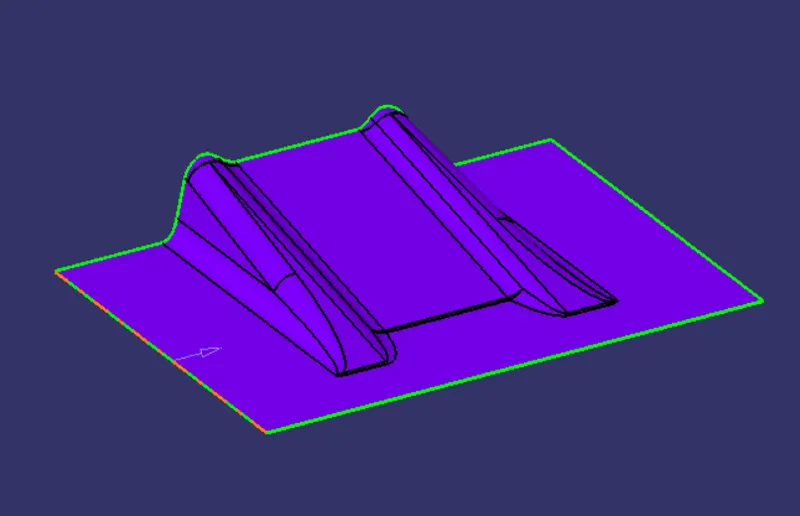
- Here the first part is extracted, which is the base ssurface of the Class A Surface.
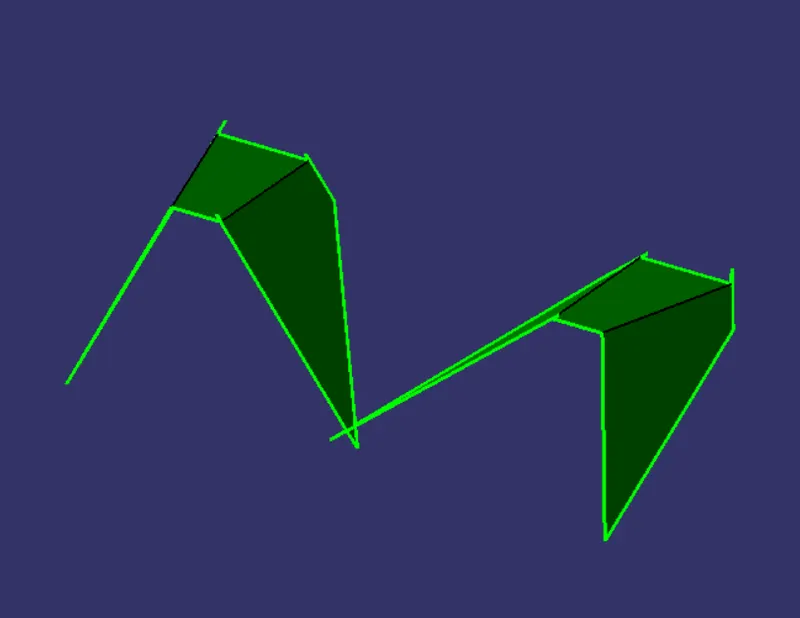
- Once that is done, we then create both the Ribs for the Class B Surface using the Class A Surface, here first the three sides are extracted, then extrapolated, then finally it is offsetted giving us the required shape.
- During extrapolation we always extend it with extra sides so that it will be easier to trim of excess material.
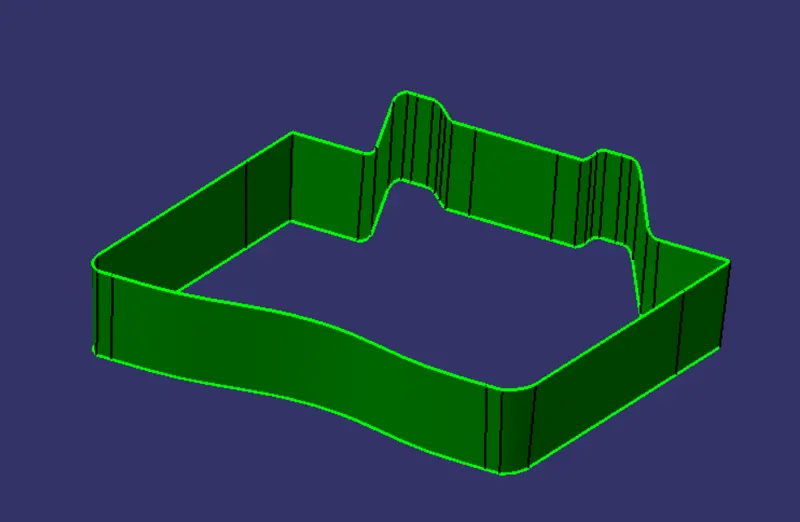
- Next the Class C Surface is created using the simliar method but instead we use Sweeo option.
- Here the main purpose of the tooling axis is used where during sweep we selct the Draft direction option and then the side is extracted along the tooling axis. This is the main purpose of the tooling axis.
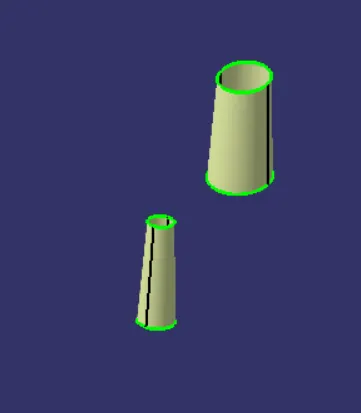
- Next the circles are also extracted using the sweep command with the help of tooling axis, a boundary is created and then the boundary is extracted.
- Finally both the B Surface and C Surface are joined together.
- C surface is done by joining A and B Surface together.
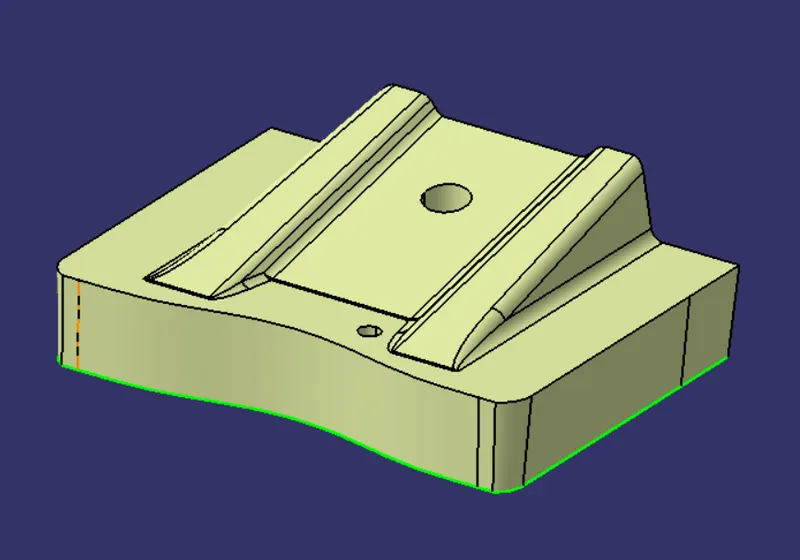
- Next using the B Surface we can trim out the extra material and create the original shape using the Tooling axis. as we can see below.
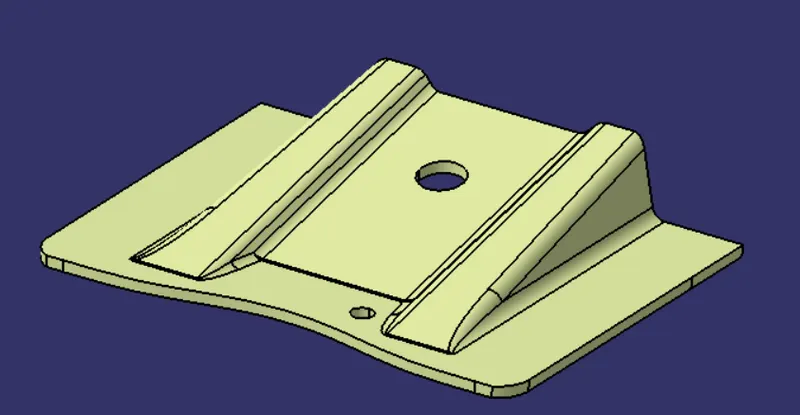
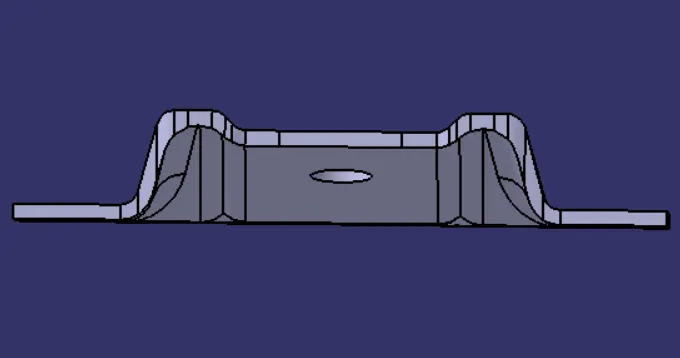
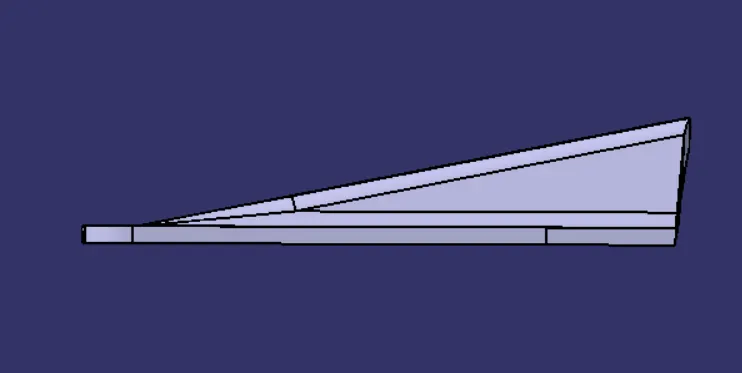
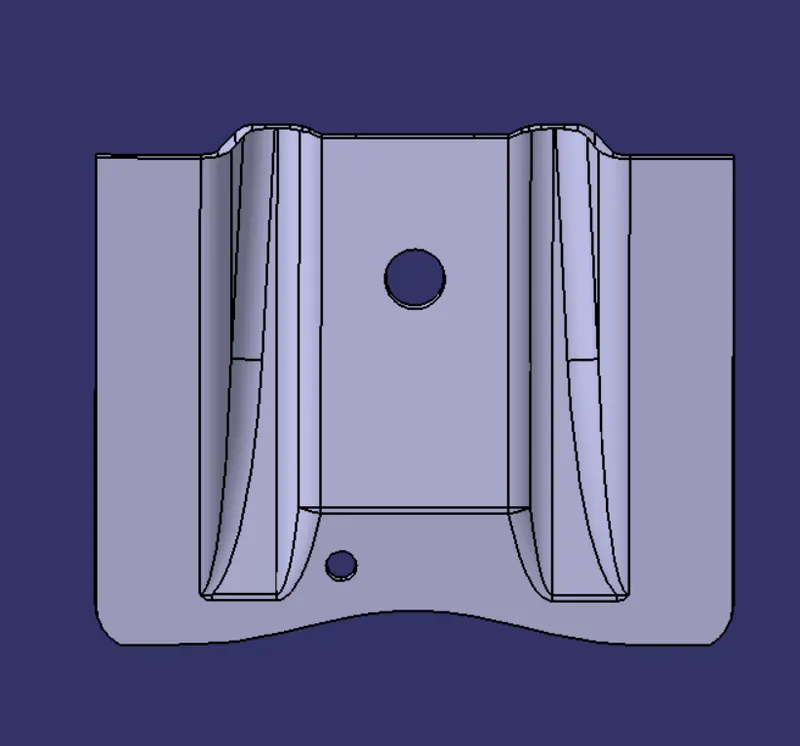
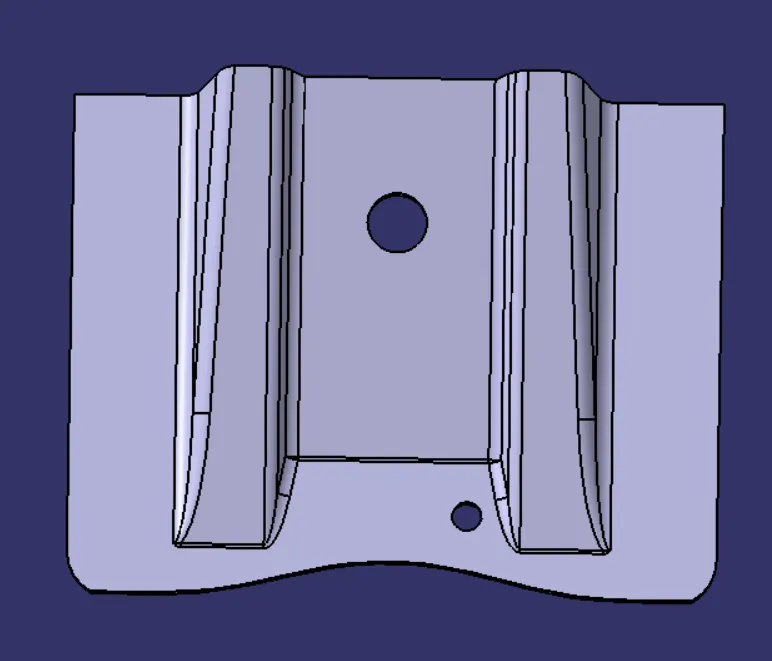
- Finally the Whole surface is solidified using solid option in part design and then the following shape is created.
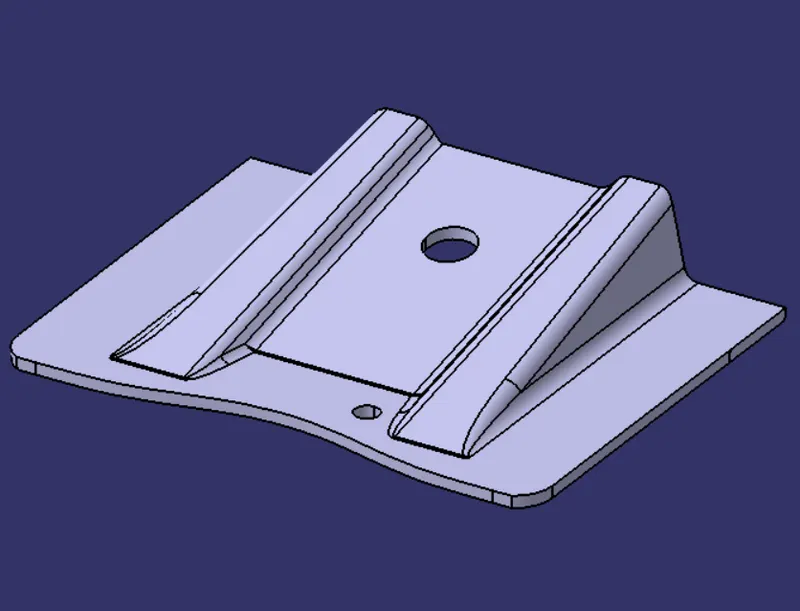
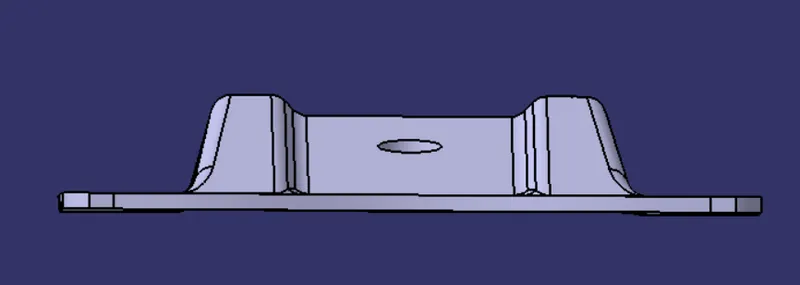
- Various side views of the final part.
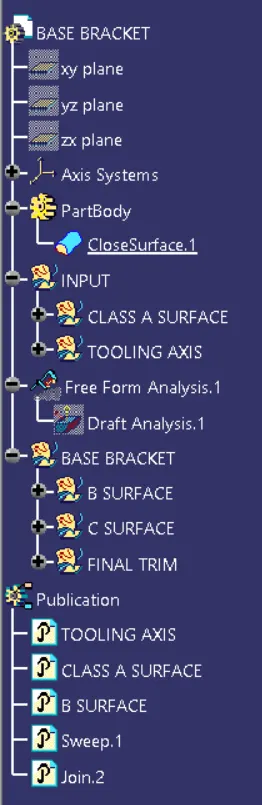
- Tree of the final part.