Week 8 - Challenge 2 - Base Bracket Design
TOOL AXIS, DRAFT ANALYSIS OF BASE BRACKET
OBJECTIVE
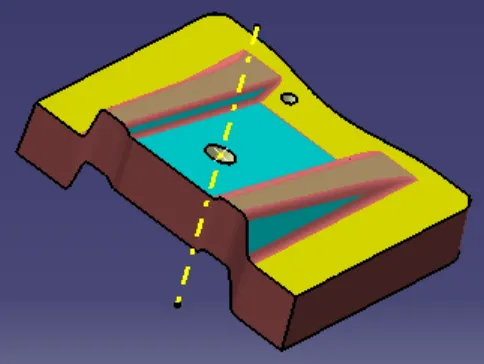
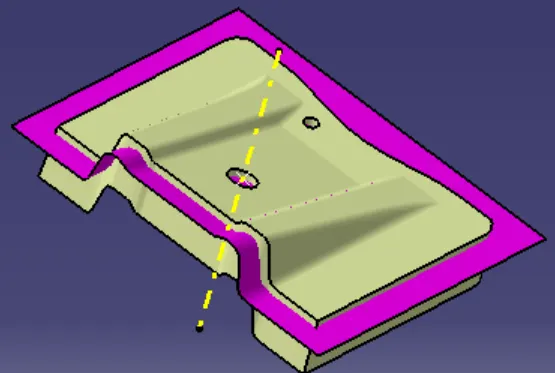
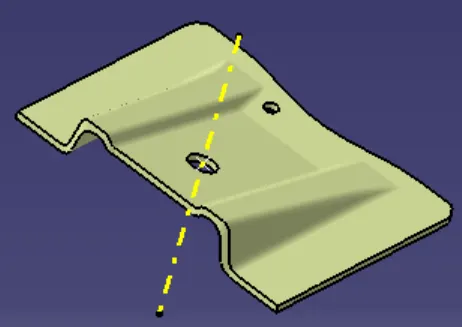
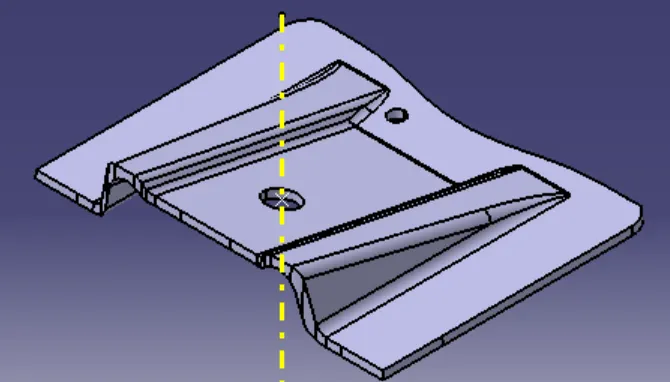
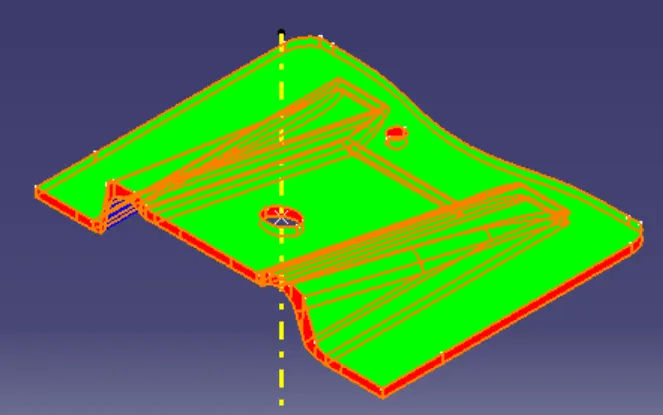
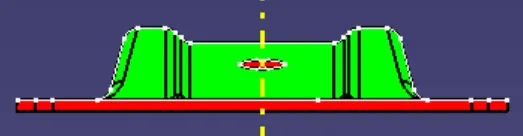
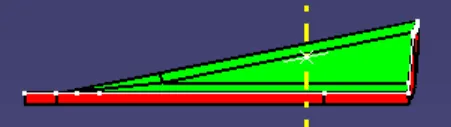
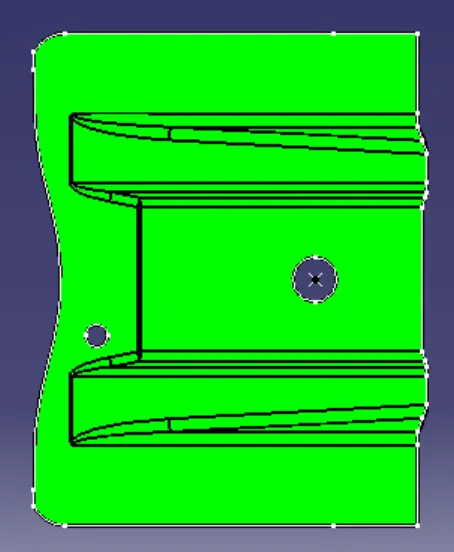
The main aim objective is to create tooling axis for Class-A surface, Class-B surface and Class-C surface of Base Bracket. Create a solid model from the surfaces and Draft analysis of Class-A surface and Solid model of the Base Bracket.
DRAFT
Draft is the amount of taper for molded or cast parts perpendicular to the parting line.
When developing parts for plastic injection moulding, applying draft (or a taper) to the faces of the part is critical to improving the moldability of your part. Without it, parts run the risk of poor cosmetic finishes, and may bend, break, or warp due to molding stresses caused by the plastic cooling.
DRAFT ANGLE
A draft angle is a slant that is applied to each side of most features of an injection molded part. The angle, which is positioned to run toward the direction of a mould's pull and parting line, helps with releasing the part from the mould.
TOOLING AXIS
It is defined as the the direction in which mould opens or core and cavity opens.
Steps
1. Check the gaps between the class A surface by using join and boundary operation.
2. Check the Base Bracket in all direction which is suited for tooling direction.
3. Since the Z axis of the Base Bracket is best for tooling direction. then make point on the center of the circle.
4. Make Center line using the line command on Z axis and given name as dummy tooling direction.
5. Create a plane on YZ axis to the point and create the intersecting line through the plane.
6. Using line command selecting point to point make two lines .
7. Using line command selecting bisecting and selected the two extended lines and center point to get the tooling axis.
8. Create a Draft analysis of the Class-A surface.
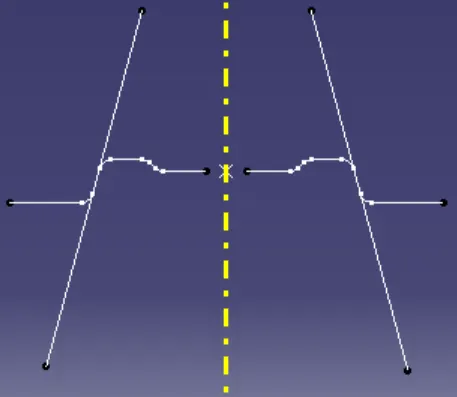
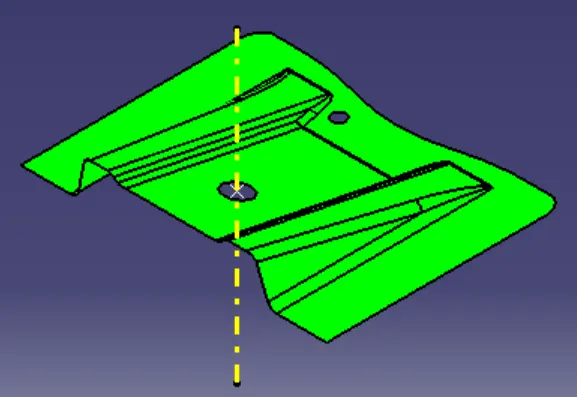
For Create Class-B surface
9. First work on ribs, Use extract command used to extract from Class A surface.
10. Untrim the extract surfaces of rib after that extrapolate the surfaces.
11. Trim the extrapolated rib surfaces and offset to 2.5mm downward to the Class-A surface.
12. Same procedure to the next rib keep it in a new geometrical set.
13. Next work on the Base surfaces, same as ribs using the command extract, untrim, offset to 2.5mm and extrapolate.
14. Final trim is done to the ribs surface and the base surfaces, Edge fillet is done on the radius need surfaces 3+2.5mm .
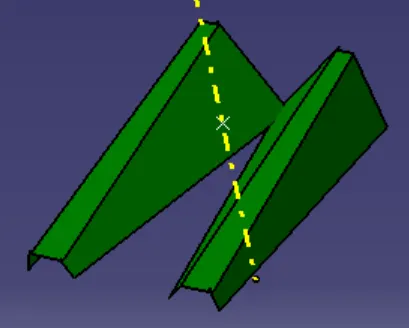
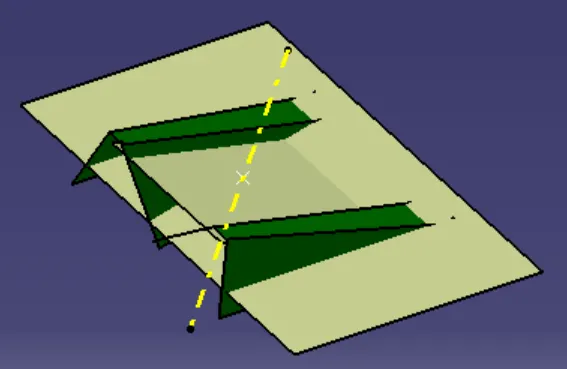
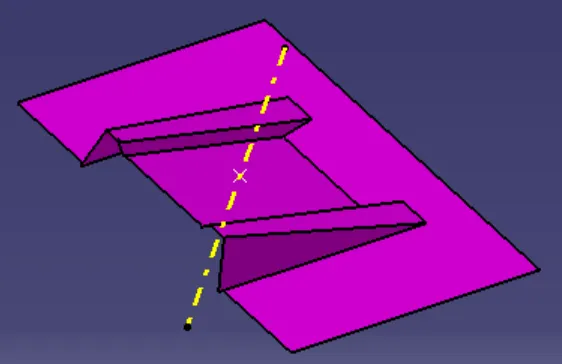
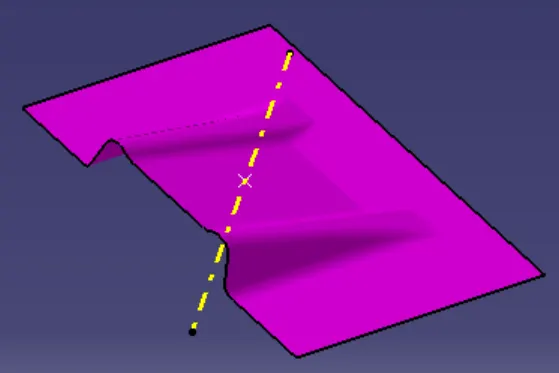
For Create Class- C surface
15. Unhide the Class-A surface, use boundary command on the surface and holes on the class-A surface.
16. Sweep the surface and holes on the class-A surface.
17. Use join command select the sweep surfaces and trim with the Class-B surface.
18. In part modeling select the close surface command use convert to soild model and draft analysis of the final plastic component.