3D Tetra Meshing in Hypermesh
Objective: To perform 3D tetra mesh on three models.
Procedure:
Model 1:
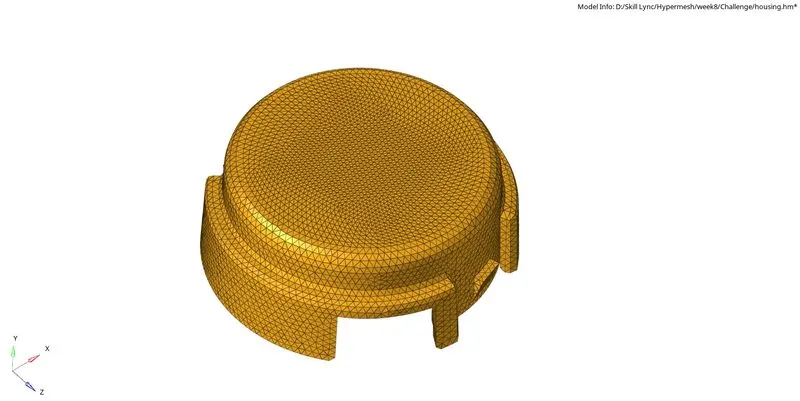
1. Importing the component into hypermesh.
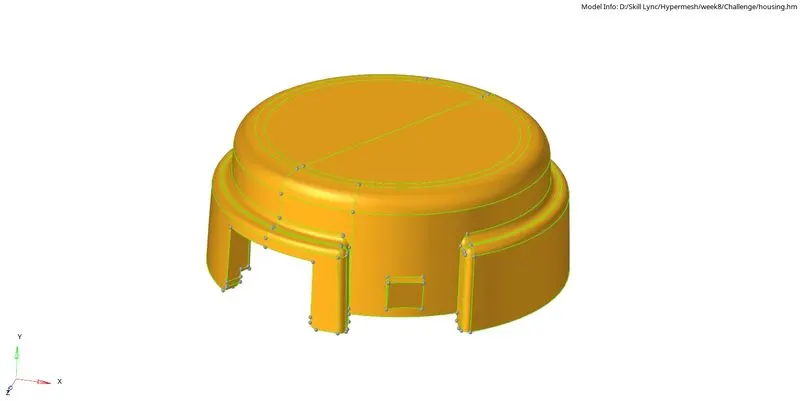
Fig 1: Imported housing model into hypermesh.
2. Performing the geometry clean-up on the model with the target element size, minimum (2 units), and maximum element size (7units) would save us some time in manual clean-up by defeating few features, which leads to element quality failure.
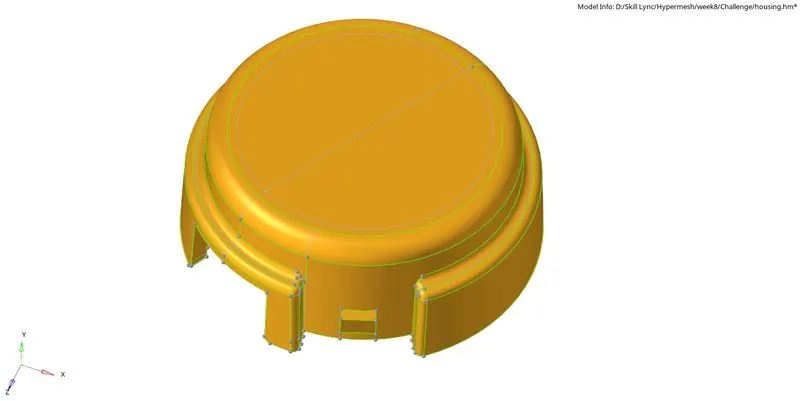
Fig 2: After performing autocleanup.
3. After auto cleanup, check the geometry for additional features where elements might fail if found any, try to alter them utilizing the clean-up tools in the geometry tab.
4. Once the clean-up process is completed, auto mesh with 2D tria elements with a target element size of 5 units.
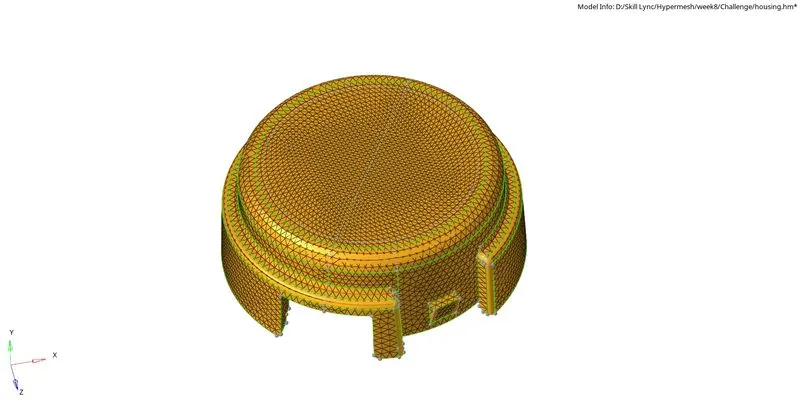
Fig 3: Generated 2D tria mesh on the component.
5. Check for the minimum and maximum element size criteria in the quality index options to visualize the failed elements. Cleanup tools in the same options are used to resolve these elements by optimizing, place nodes, and smoothing options. In some areas, additional lines must be created or toggled to achieve the required element quality.
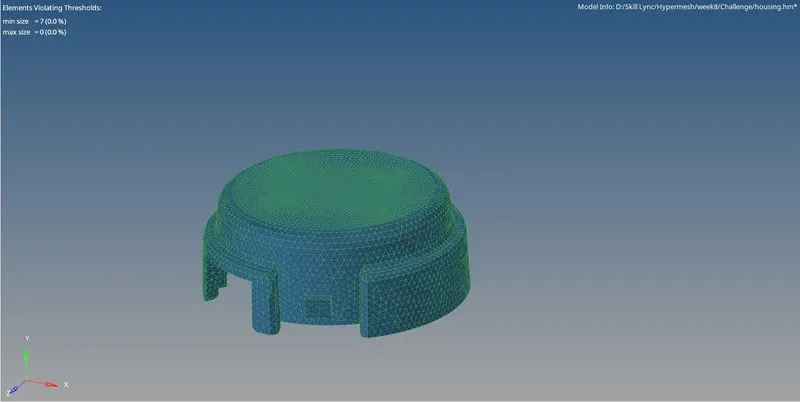
Fig 4: Elements passing all the required element criteria.
6. To generate 3D tetra elements from the 2d tia mesh, navigate to the tetra mesh option in the 3D tab. Select all the 2D elements displayed and generate the 3d mesh.
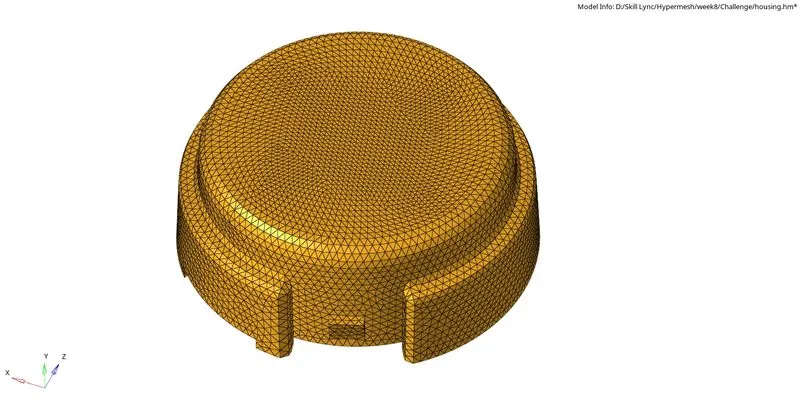
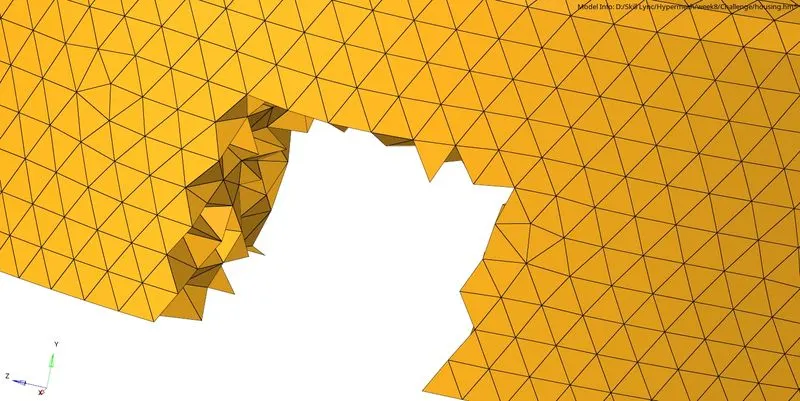
Fig 5: Generated 3d tetra mesh; Masked a few elements to visualize the 3D elements.
7. Tet collapse of the 3d elements is checked; failed elements are resolved by either remeshing those elements with the required tet collapse criteria or adjusting manually by translating the element's node until it satisfies the requirements.
Model 2:
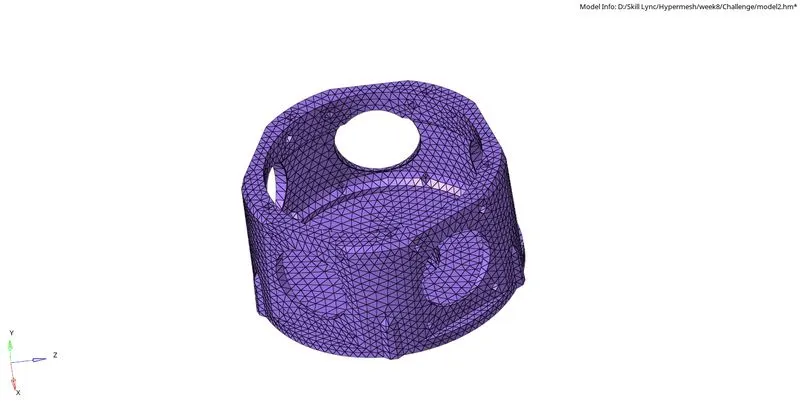
1. Import the geometry into hypermesh.
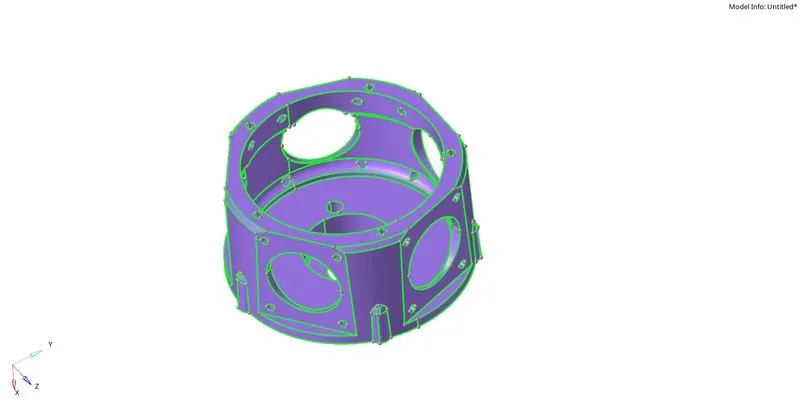
Fig 1: Imported geometry.
2. Quick tetra mesh method is used to generated mesh on this model. This option is embedded in the Geom/Mesh in the Utility menu panel. Select the component, choose an appropriate mesh size that is three units, opt for "tires only" in the mesh type, and hit mesh. Hypermesh automatically creates a 3D tetra mesh.
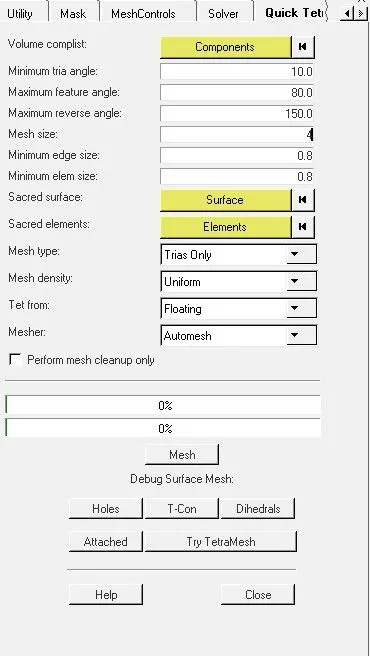
Fig 2: Quick tetra mesh settings.
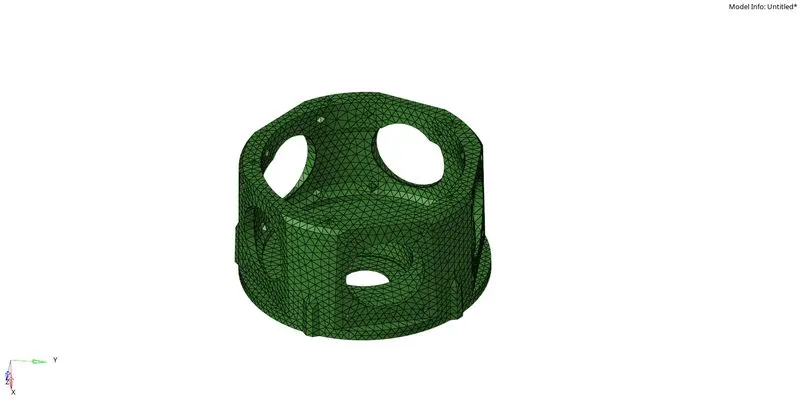
Fig 3: Generated 3D tetra mesh.
3. Check the tet collapse of the elements in the check elements options of the tools tab. It displays the failed elements, save those and mask the remaining elements.
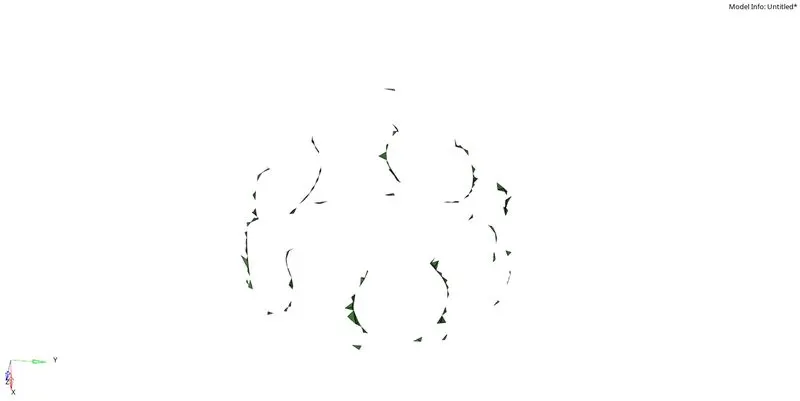
Fig 4: Failed elements for tet collapse.
4. The failed elements can be saved by either remeshing those elements with the required tet collapse criteria or adjusting manually by translating the element's node until it satisfies the requirements.
5. The above step is iterative; maximum elements would be resolved with the tetra remesh option. If there are few elements left unresolved even after tetra remesh, the manual translating method can be used to save them.
Model 3:
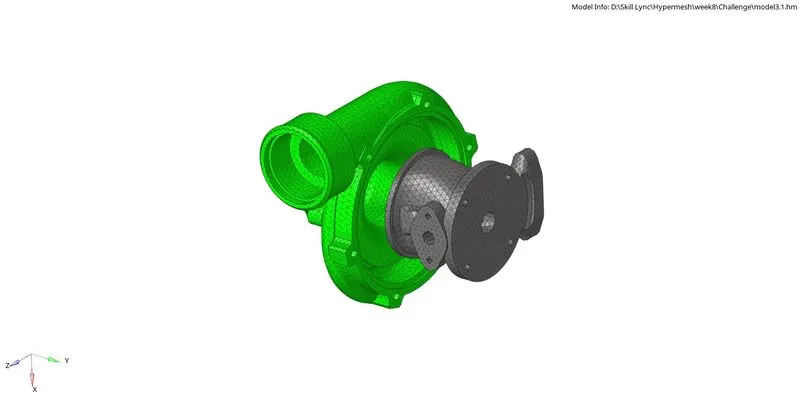
1. Import the geometry into hypermesh.
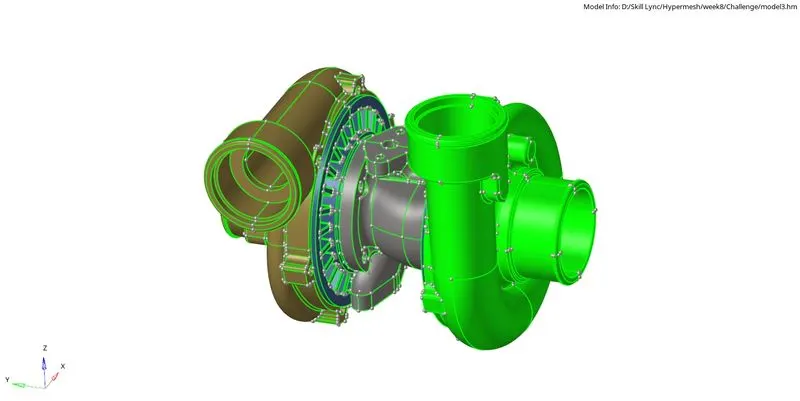
Fig 1: Imported geometry.
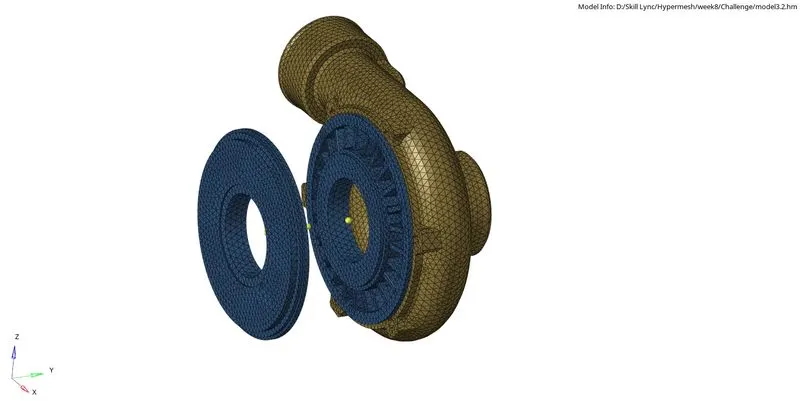
2. The geometry consists of 4 different components. Each of them should be mesh individually.
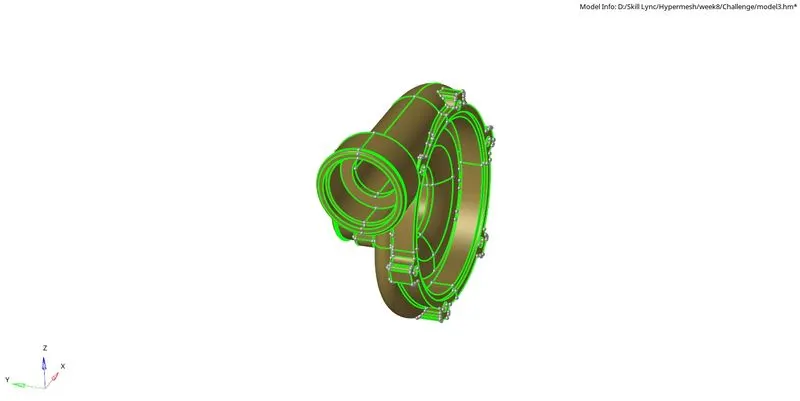
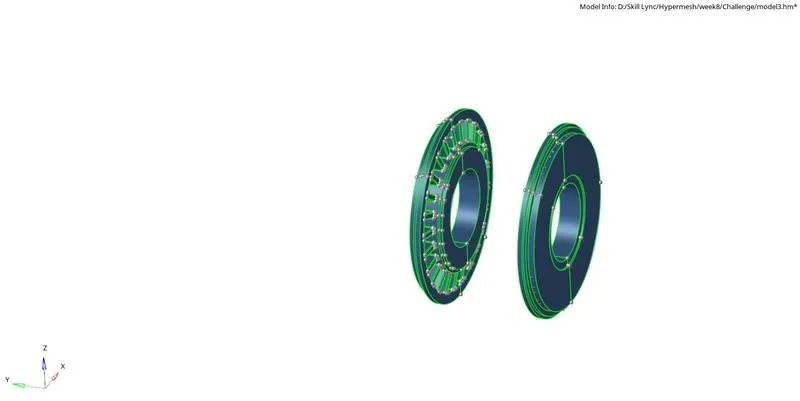
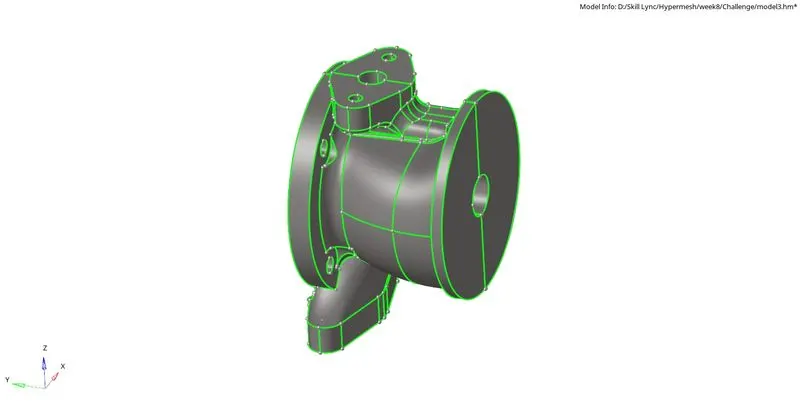
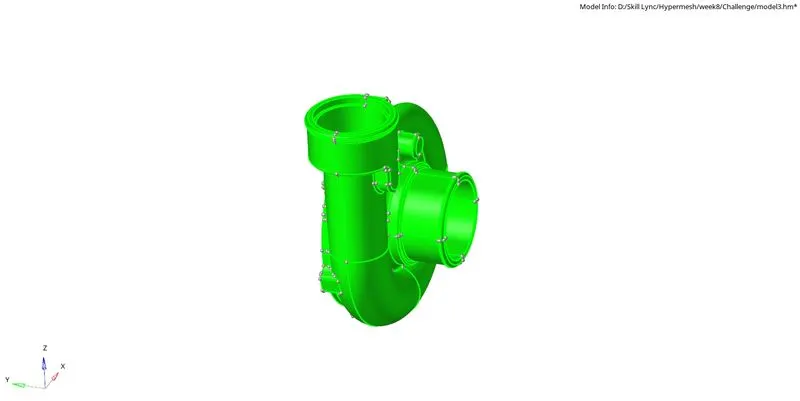
Fig 2: Different components of the geometry.
3. Hiding all the components except for one at a time, either quick tetra mesh or volume mesh from the 3D tab is performed on the components. Few components generated mesh with the quick tetra mesh, and few produced with volume tetra. Trying different meshing methods to check with which the mesh is being generated is essential. We can go with the standard procedure described with "model 1" if these two methods don't work.
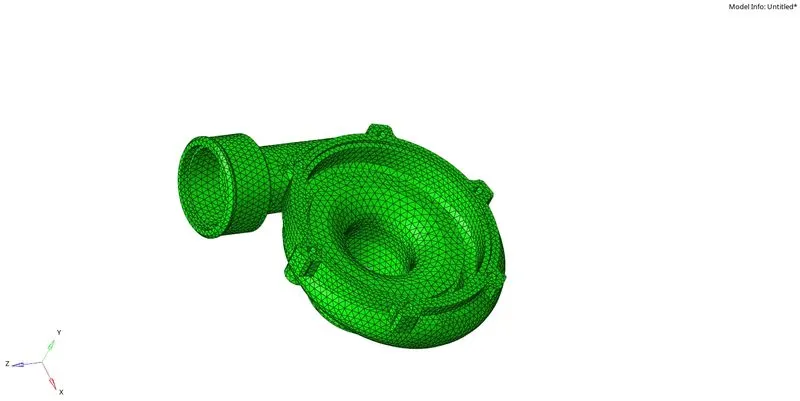
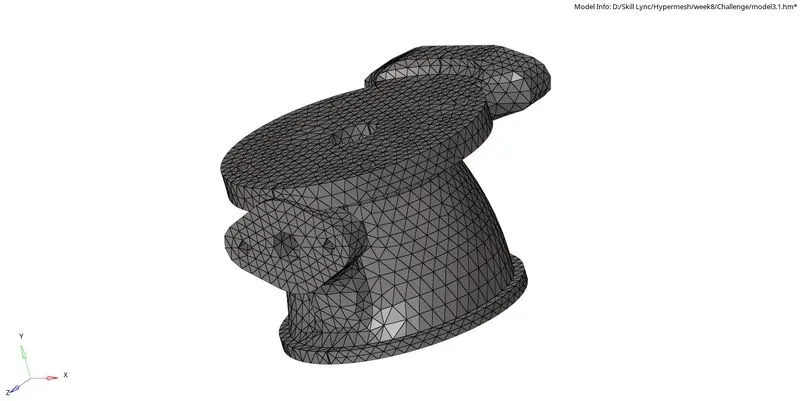
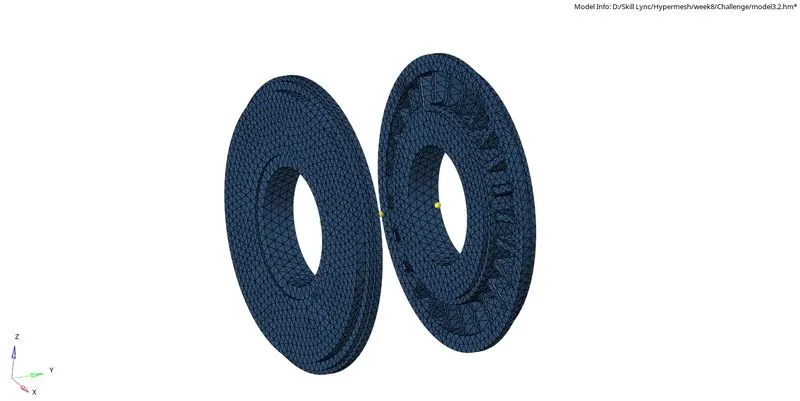
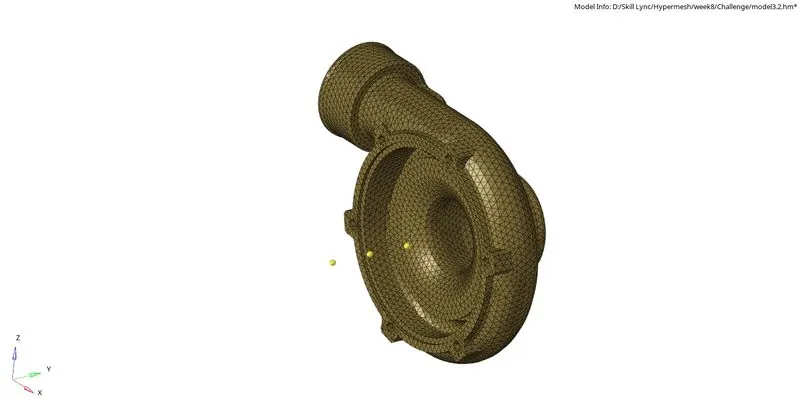
Fig 3: Tetra mesh generated on each of the components.
4. Tet collapse of the 3d elements is checked; failed elements are resolved by either remeshing those elements with the required tet collapse criteria or adjusting manually by translating the element's node until it satisfies the requirements.
Conclusion: 3D tetra mesh is generated on all three models, satisfying the desired element quality.