3D Tetra Meshing Challenge
Aim:
To perform 3D meshing for the given components with the required element sizes and quality criteria.
Objective:
- Create a Tetra mesh for Housing component with the following quality criteria.
Elements sizes: Min- 2 Units, Target- 5 Units, Max- 7 Units
Tet collapse: 0.15
Note: The minimum length and the maximum length are to be checked only for 2D elements when performing a 2D to 3D Mesh.
- For the given model, Create a 3D Tetra mesh with the following quality criteria.
Target Element size: 3 Units.
Tet Collapse: 0.15
- For the given assembly model, Create a 3D Tetra mesh with the following quality criteria.
Target Element size: 6 Units.
Tet Collapse: 0.15
Procedure:
Model 1:
At first, we will import the geometry model into Hypermesh and the component will be displayed as follows.
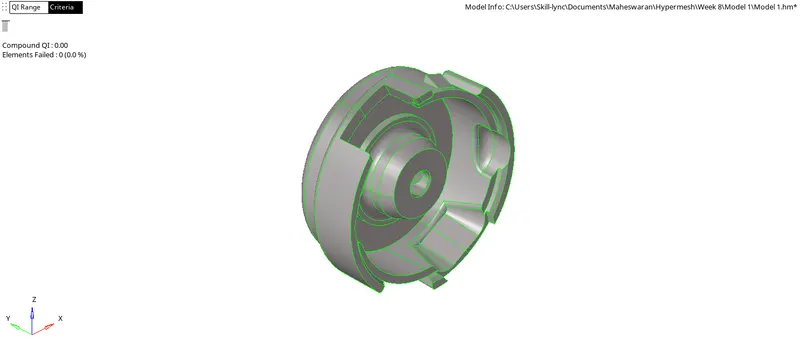
We can see that there are two components available in our model. So, we will have to mesh them separately.
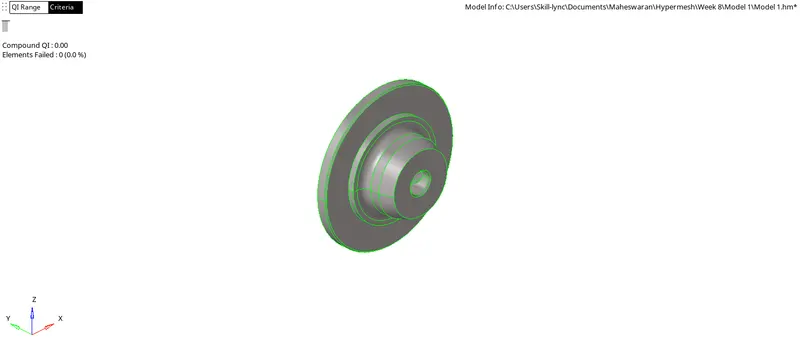
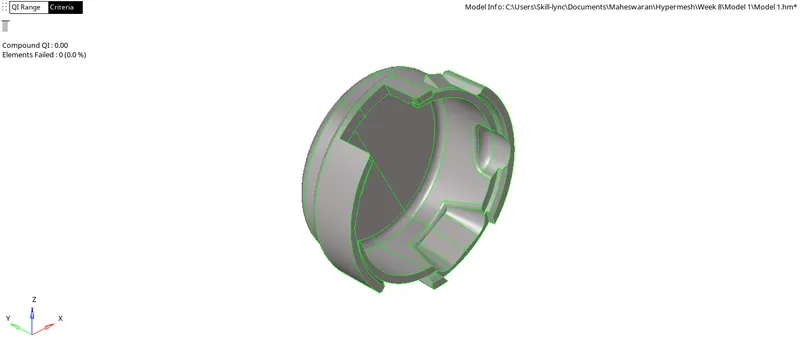
For this model we must perform 2D mesh on the surface of the component so as to create the 2D shell elements after which we will use these elements to create the 3D Tetra mesh elements. After performing 2D meshing we will check for the minimum element size and maximum element size errors and clear the same.
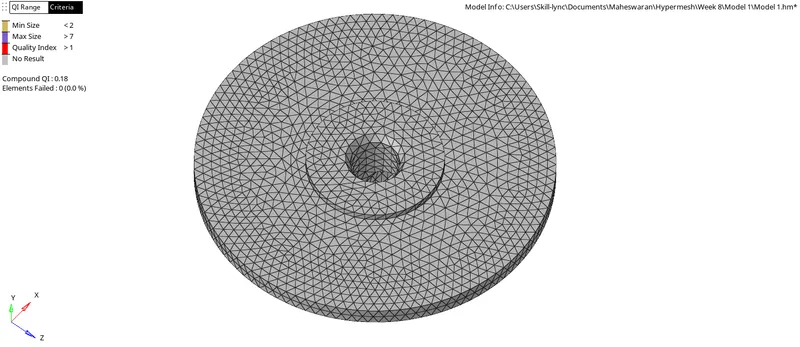
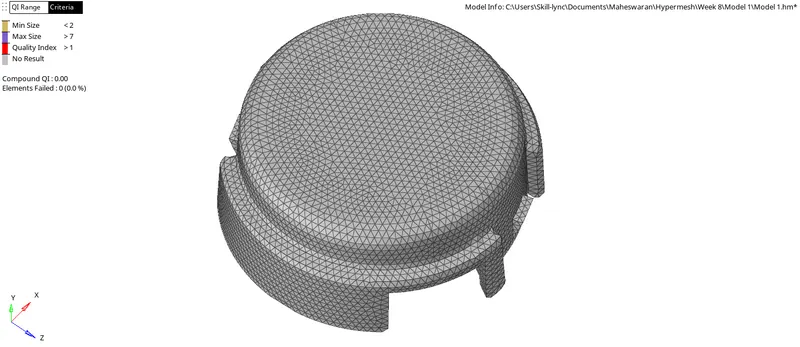
Now, we will use the 3D tetramesh option to create the volumetric mesh for the whole component. Hence, we can see that the Tetra mesh has been created for the given component as shown in the image below.
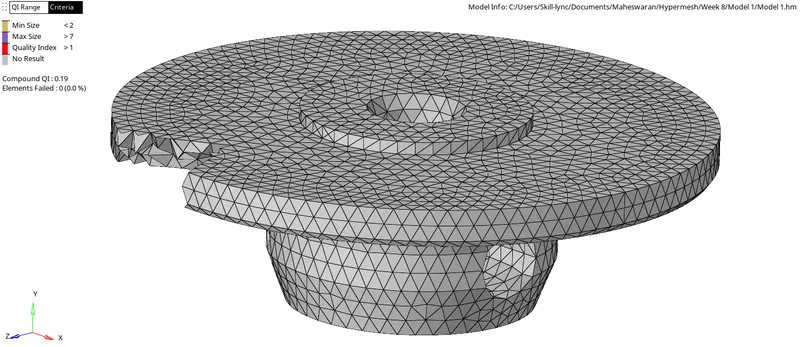
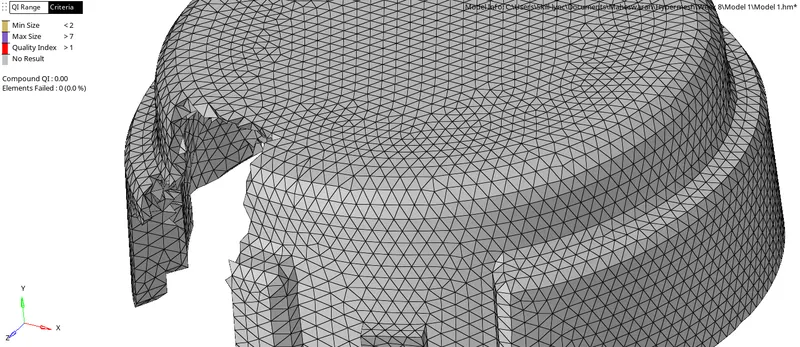
After the Tetra mesh is generated, we will check for the Tet collapse errors and the final meshed model is as shown in the image below.
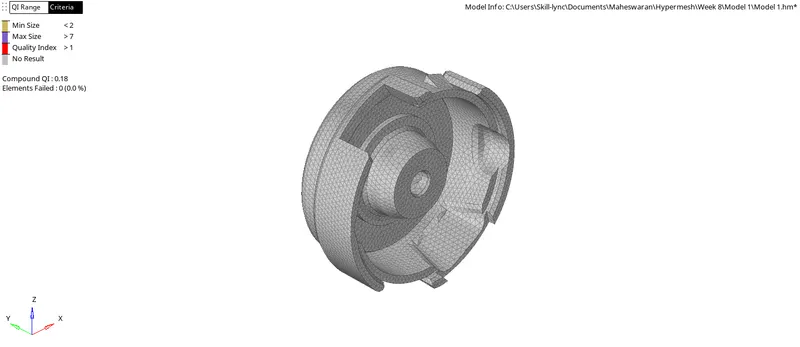
Model 2:
Now, we will import the second model into Hypermesh and check for geometrical errors by fixing it.
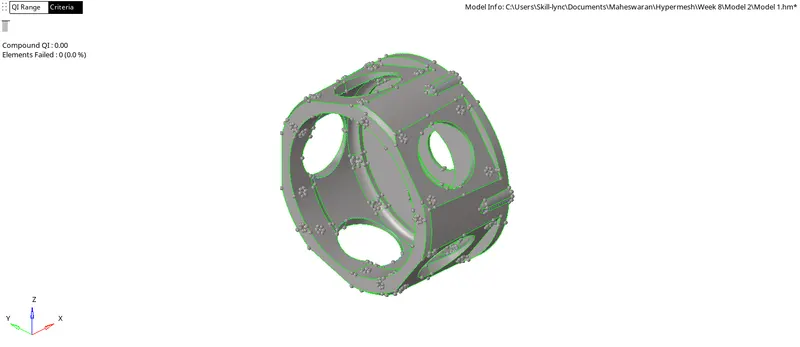
Now, we will be performing directly the Tetra mesh for the given component for the given target element size using the Quick Tetramesh option which is available in the utility option. The Tetra meshed model obtained is shown in the image below.
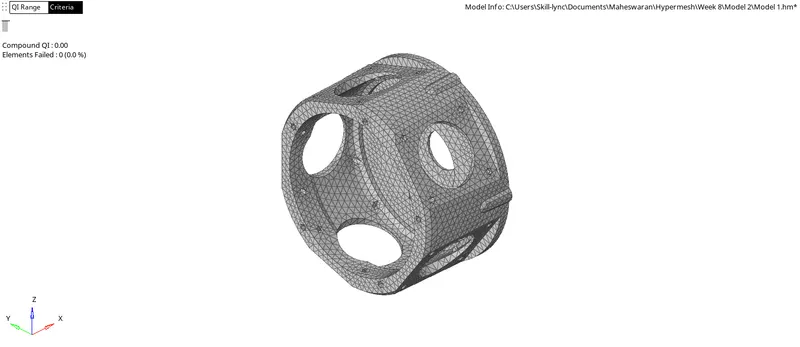
Finally, we will check for the Tet collapse errors and rectify the same.
Model 3:
For the final model, we will import the model into Hypermesh and check for free edges and fix them.
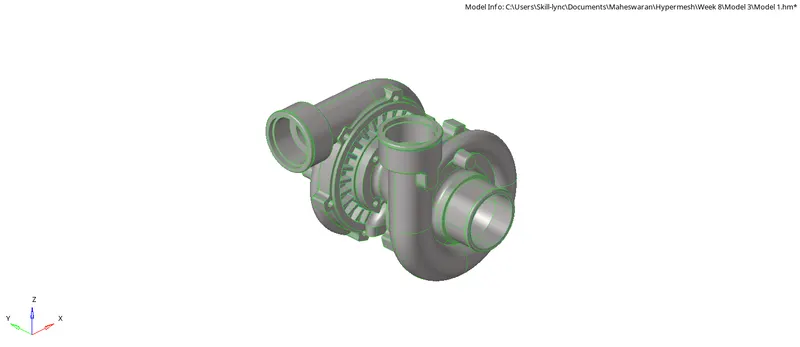
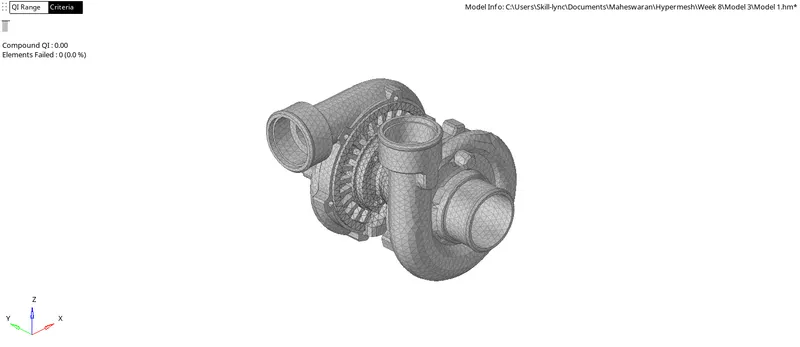
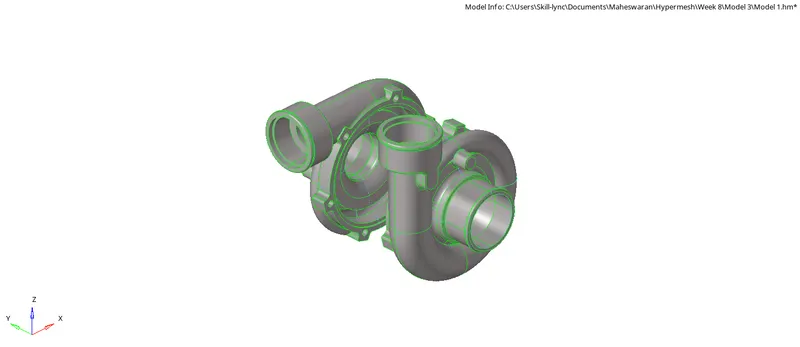
Our final model is a turbocharger which has two casings as shown in the image below.
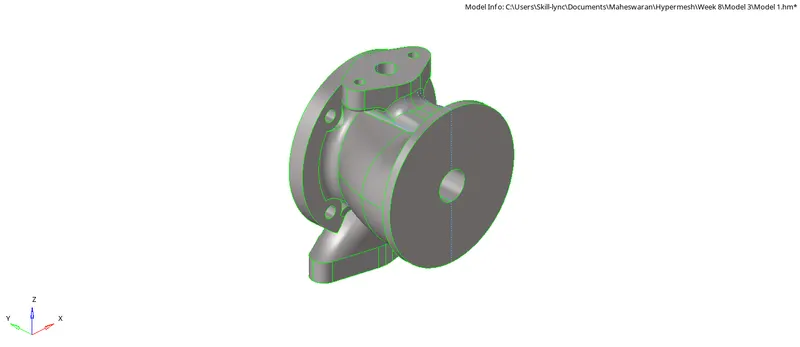
And it has a casing hub as shown in the image below.
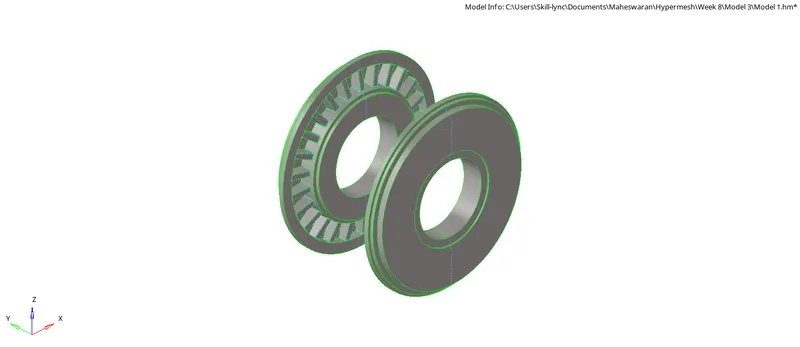
And finally, two hubs as shown in the image below.
We will be meshing all these components for the given target element size and check for the geometrical errors of Tet collapse. The obtained 3D Tetra meshed are shown in the images below.
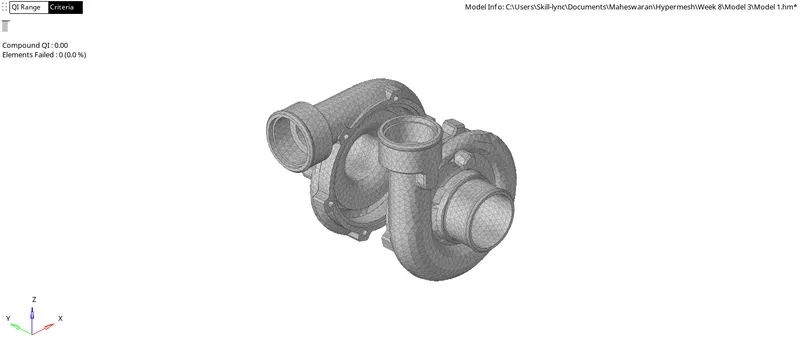
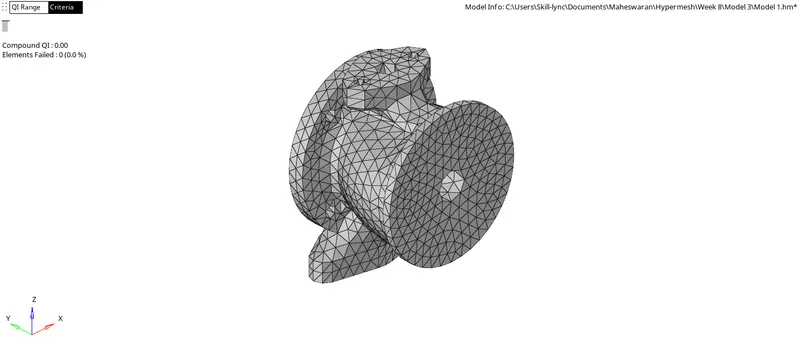
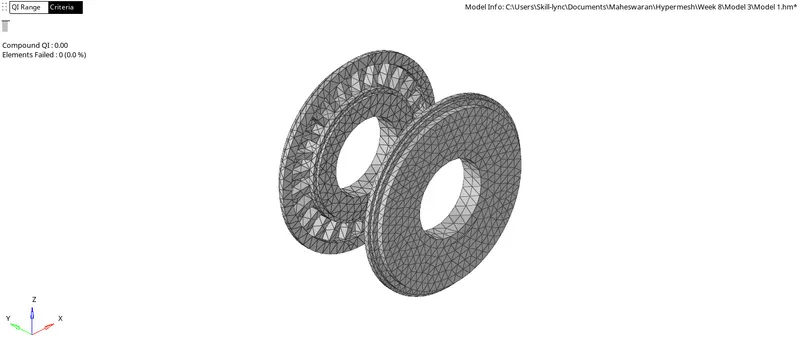
And the final meshed model of the whole component is shown in the image below.