Mid-surfacing and Meshing an Automotive Hood
Aim : To check for geometrical errors and mesh with the given element quality criteria for the given component.
Procedure :
At first we must extract the .stp downloaded model to the ANSA workspace.
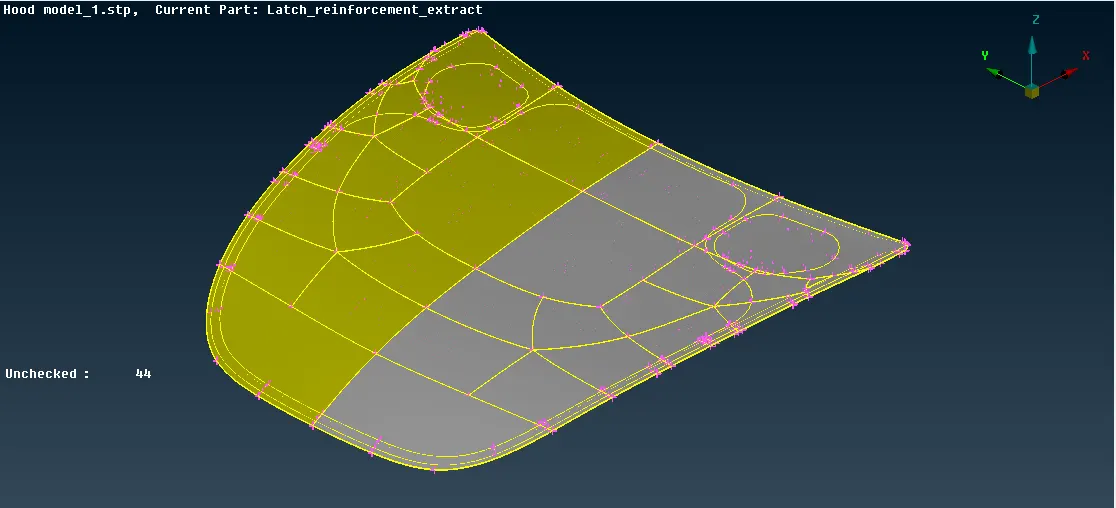
Then we must assign the element size in general, under perimeters title ---> length ---> perimeters and macros as 5 mm in mesh mode for the whole model.
After which we must do a check geometry for the model by selecting checks ---> geometry in the tools bar and fix the errors shown.
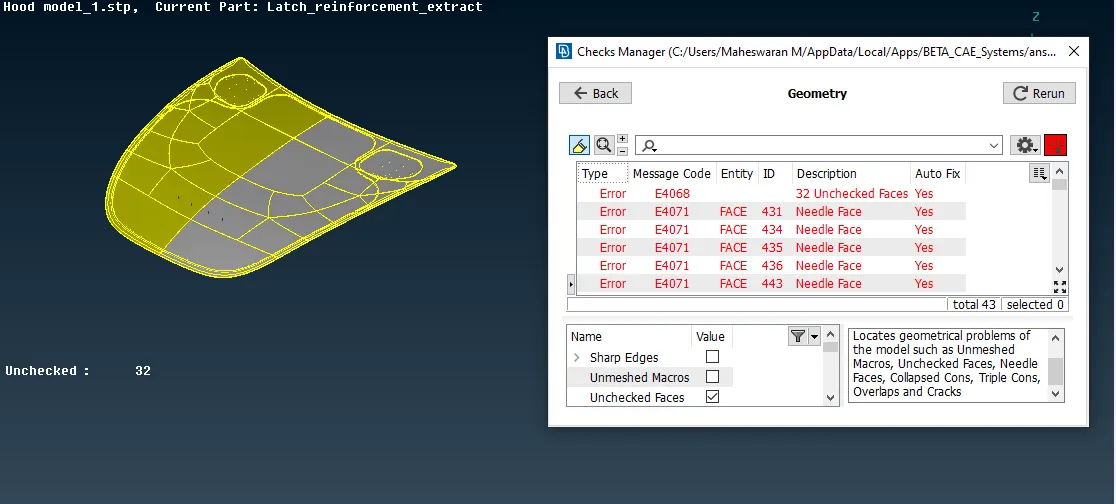
We must orient the either one of the surfaces with grey or yellow colour by faces ---> orient in topo mode. Some of the errors can be auto-fixed and some of the errors of CONS must be cleaned up using the topo command under faces title in the topo mode.
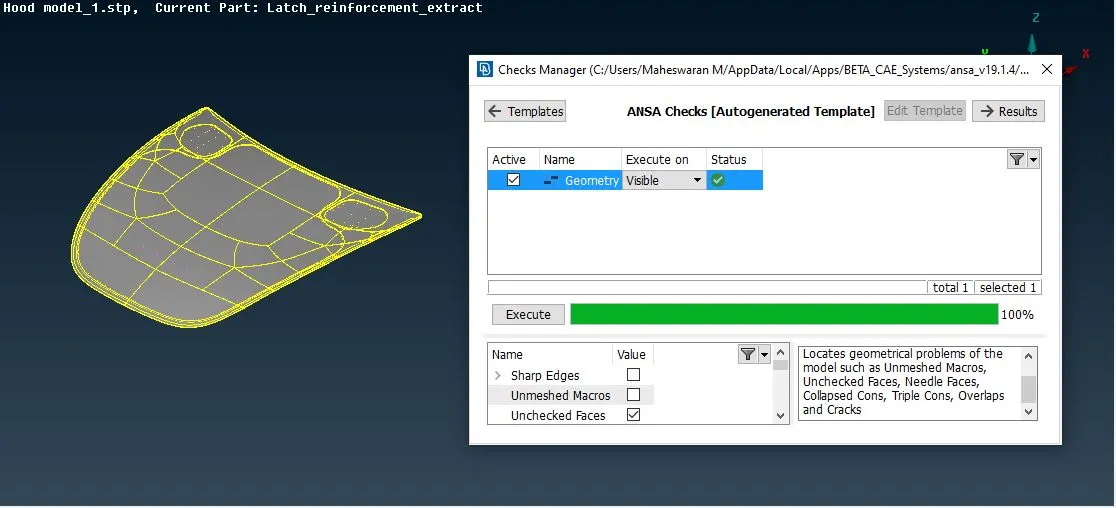
Now we are going to extract the mid-surface for the whole model which can have either different thickness or the same thickness throughout the whole model.
In order to find out the thickness of the region we can check it under measure command in the utilities bar.
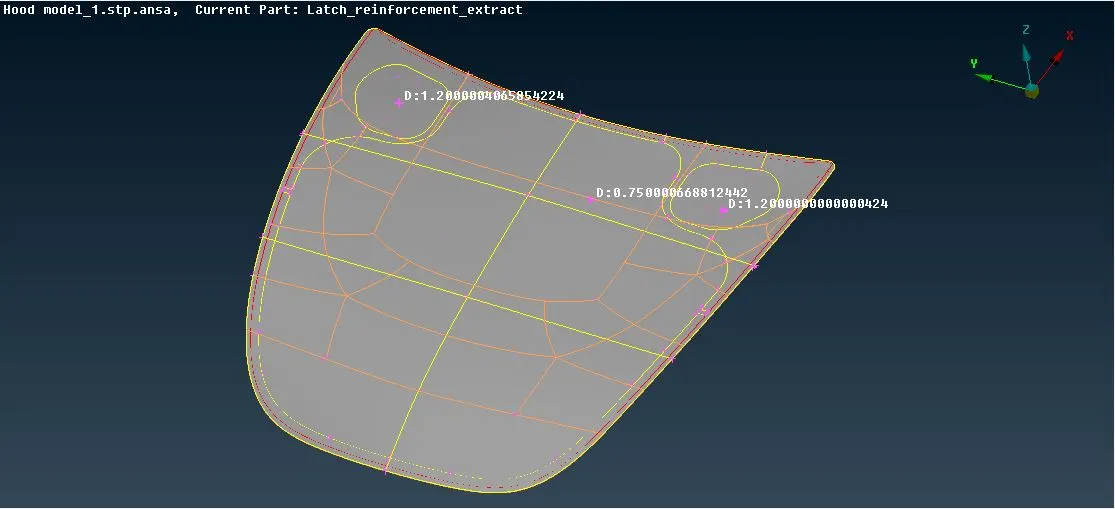
Mid-surface can be generated automatically by faces ---> mid-surface ---> skin but by doing so the parent surface will be deleted and it must be retrived later. So, we are going to manually create the mid-surface for each and every component which has varying thickness by faces ---> offset ---> faces and then selecting the faces which are to be offset based on the thickness. In order to select a surface easily click on the cross-hatch grid. The cross-hatch grid appears when you select under cross-hatch command under the faces draw bar.
After creating mid-surfaces for all the thickness varying surfaces they are assigned separate property ID's by inputting the thickness of their respective parent bodies, this operation will useful for us to mesh the different surfaces separately.
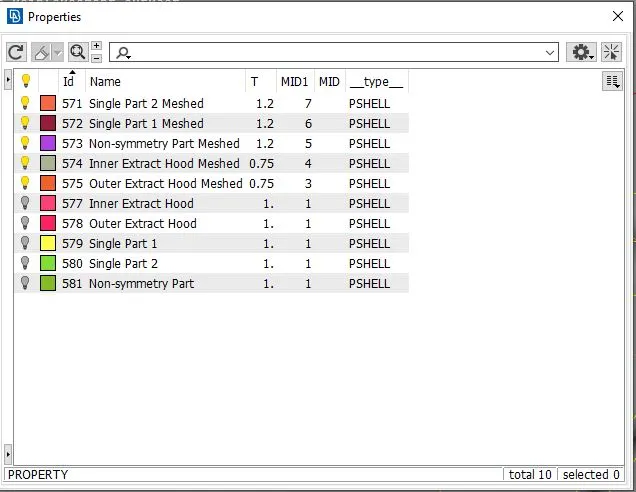
Before meshing we also have to do a geometry checkup for the mid-surface and avoid all the errors the shown.
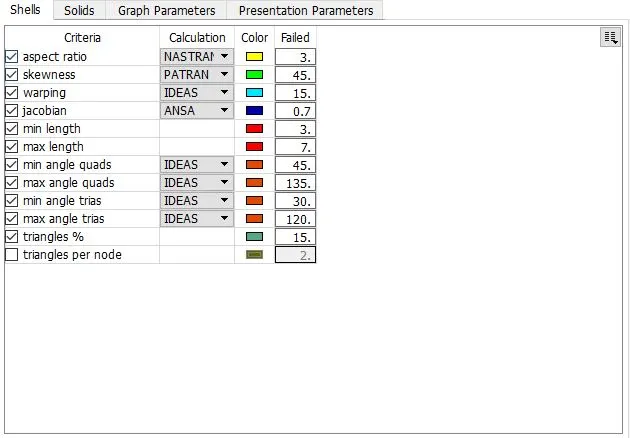
Now after we enter the mesh mode, we must assign the quality-criteria parameters (F11) as given below,
We can now start meshing the PID's one by one, the general meshing process is the best command under the mesh generation title in the mesh mode. Even after selecting this command we might have errors which does not approve the assigned quality check parameters, in order to approve them we use the reconstruction and smooth command under the shell mesh title in the mesh mode for better mesh flow also.
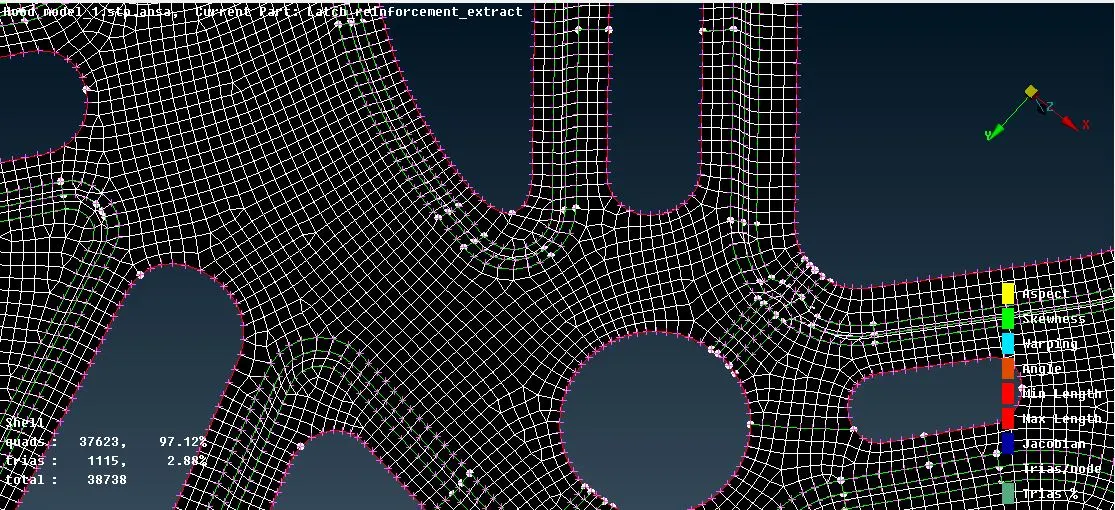
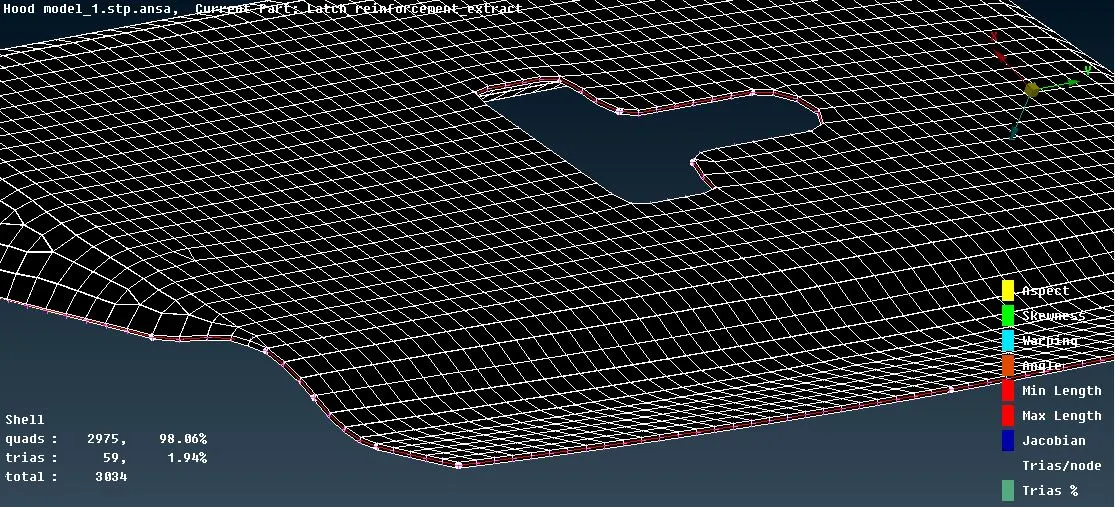
The next keep parameter for better mesh flow is to avoid the opposite trias and trias which are present near the edges or holes or on the fillets. In order avoid these the commomly used commands are split and swap commands under the elements title and also join command under the macros title in the mesh mode.
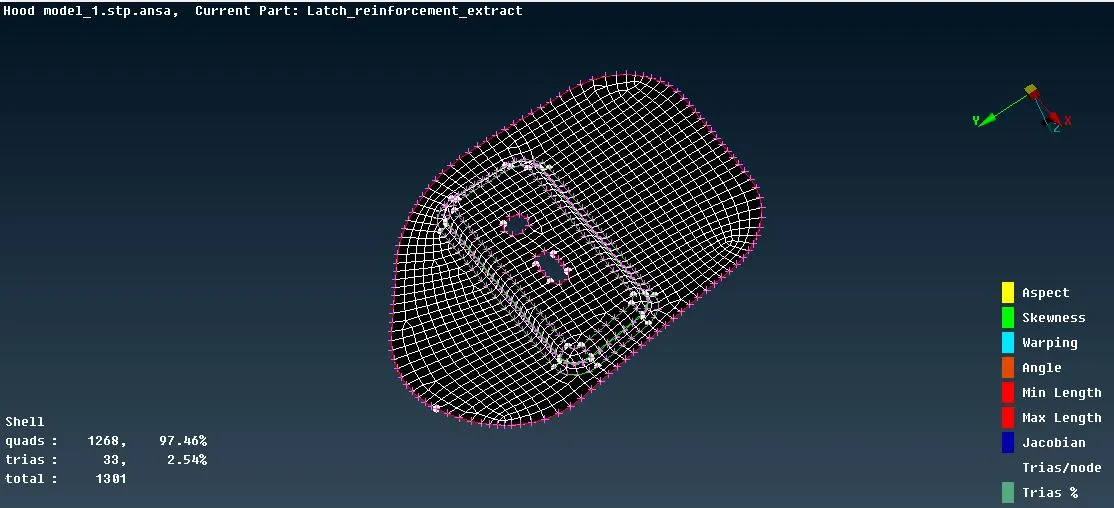
In order to avoid the concentration of the trias in a particular we must enable the triangles per node in the quality check parameters and set it to 2 which can also we reduced by using the swap command as discussed earlier.
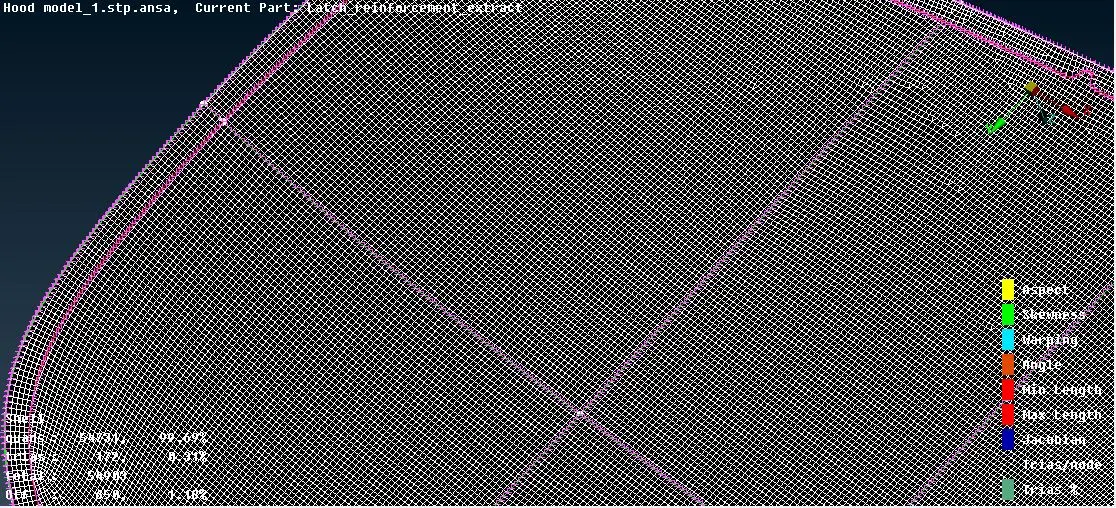
Finally we must check draw shell as solid under presentation parameters in the quality criteria dialogue box.
Learning Outcomes :
Hemming :
Hemming is a forming operation in which the edges of the sheet are folded or folded over another part in order to achieve a tight fit. Normally hemming operations are used to connect parts together, to improve the appearance of a part and to reinforce part edges.
In car part production, hemming is used in assembly as a secondary operation after deep drawing, trimming and flanging operations to join two sheet metal parts (outer and inner) together. Typical parts for this type of assembly are hoods, doors, trunk lids and fenders.
In this model on the outer panel, we are following this hemming process to achieve better mesh flow and avoid the trias on it.
Mesh Flow :
The importance of trias on the corners and the opposite trias are learnt. Importance of a better mesh flow must be attained even though some changes are done on the model the features present on the model are retained.
Conclusion :
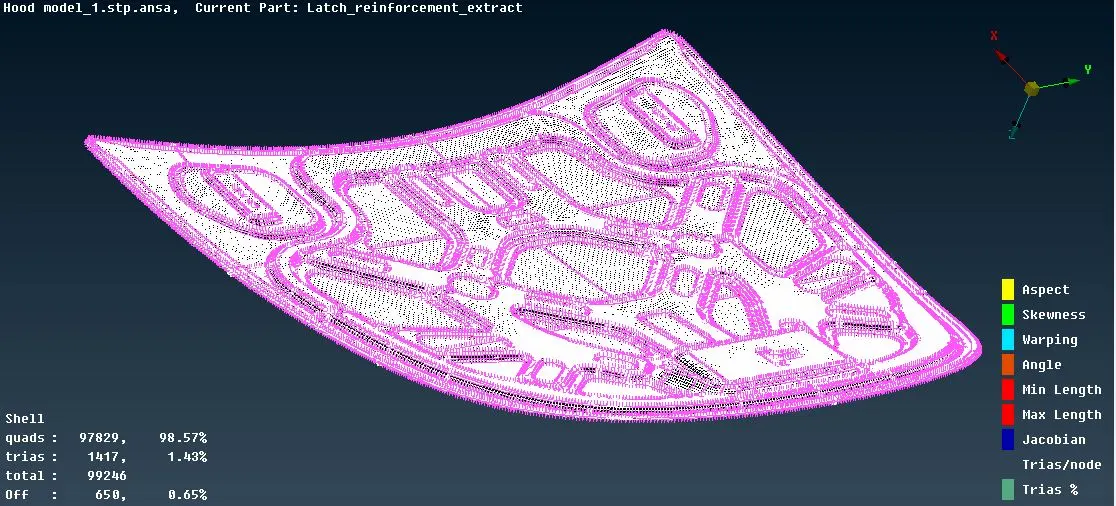
The given geometry model has been cleaned up and meshed up fully by using the process of mid-surface extraction of 2D geometry.
https://drive.google.com/file/d/1d7eCQiuhlZMuQea1fELTZpmba5nQa2RF/view?usp=sharing