Week 8-3D Tetra Meshing Challenge
OBJECTIVE
- Use standard tetramesh technique to mesh the components
- Generate 2D tria elements mesh on the hub and cover
- Check the quality of the tetra elements
PRODECURE
- Import the housing file using the import tool option
- Using the geometry menu in the menu bar use the geometry cleanup tools to ensure a fully enclosed volume.Check the topology and verify if we still have free edges
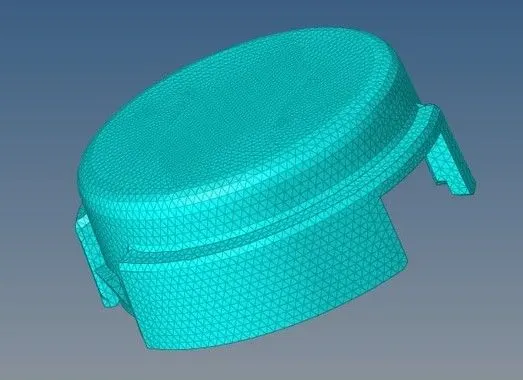
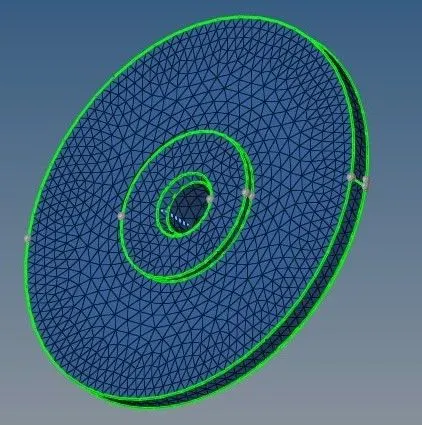
- Click on the automesh panel from the 2D elements page.Select the surfaces and put element type as trias .We will set the target element size
- After meshing the surface and ensuring that no elements are failing for minimum and maximum element length we can proceed to convert the 2D tria elements to 3D tria elements
- Access the tetramesh panel from 3D pages and then click on tetramesh subpanel
- Select the elements selector under fixed trias quads to tetramesh .Click mesh to generate the tetrahedral elements
- Use check elements panel and go to the 3D subpanel .Identify elements having a tet collapse value smaller
- Remesh the hub displayed tetra elements to improve thier tetra collapses .Under tetramesh parameter .Check the minimum tetra and maximum tetra element length box
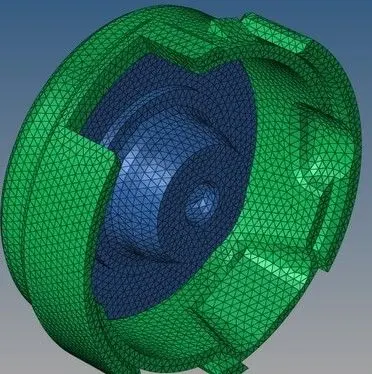
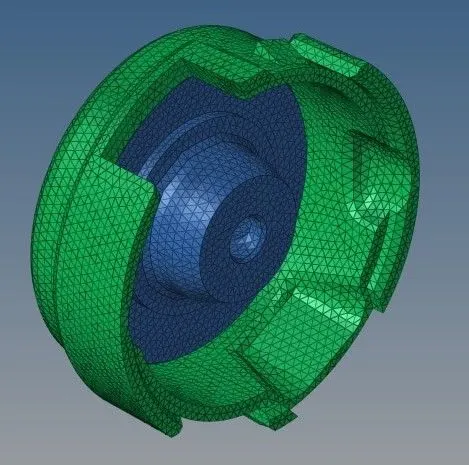
- Another method to improve the tet collapses is by using disatnce option.The elements that failed the tetra collapsesis by using distance option.The elements that failed tetra collapse check is saved in the user mark by clicking on save failed and can be retrived in mask ppanel using extended selection menu
- We can increase the distance to improve the test collapse value
CONCLUSION
- Performed tetrahedral mesh generation by converting the 2D elements into 3D
- Achieve a better mesh by cleaning the 3D mesh quality errors
CREATING TETRAMESH FOR CRANK HOUSING
OBJECTIVE
- Use the quick tetramesh to mesh the geometry
- Understand the 3D mesh of the tetramesh error and cleaning
PRODECURE
- Import the Crankhousing file using the import tool option
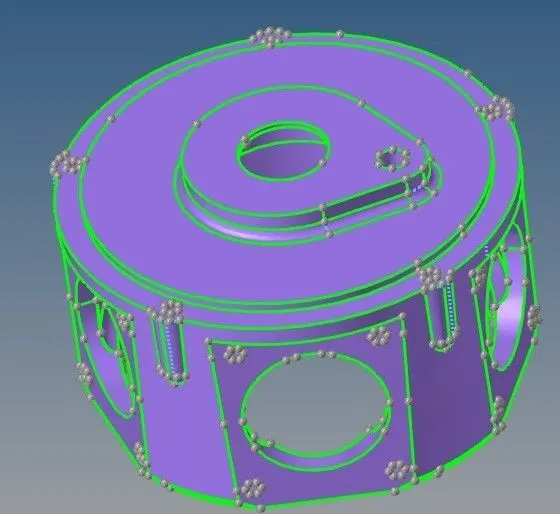
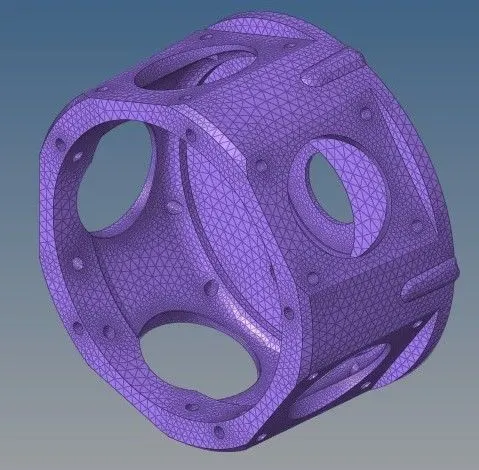
- Observe the topology of the geometry by using the visualization option.Make sure that there are no free edges
- We can access the quick tetra menu under view -Browser-Hypermesh-Utility.Go to the geometry mesh and select quick tetramesh under mesh tools
- Select the component and put trias only as mesh type .Fill mesh ,Click the mesh button to mesh the component
- Use check elements panel and go to the 3D subpanel .Identify elements having a tet collapse value smaller
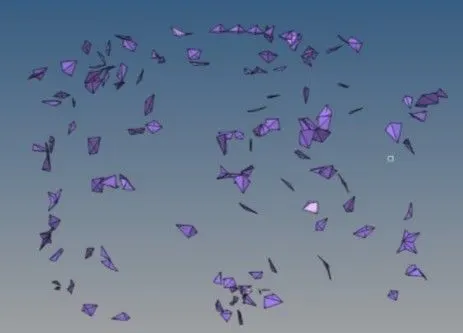
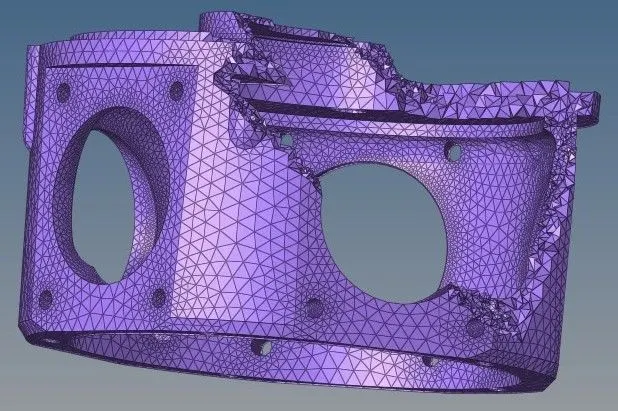
- Remesh the crank housing displayed tetra elements to improve thier tetra collapse .Under tetramesh parameters .Check the minimum tetra and maximum tetra element length box.
- We can increase the distance to improve the tet collapses value
CONCLUSION
- 3D mesh generated using the quick tetra method
- Performed 3D quality check and removed all the the elements failing tet collapse
CREATING TETRAMESH FOR ASSEMBLY COMPONENTS
OBJECTIVE
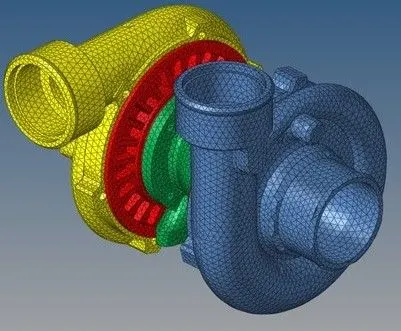
- Mesh the components using uick and volume tetra mesh techniques
- Perform elements quality check on each of the component'
PRODECURE
- Import geometry go to the file-Import-model geometry
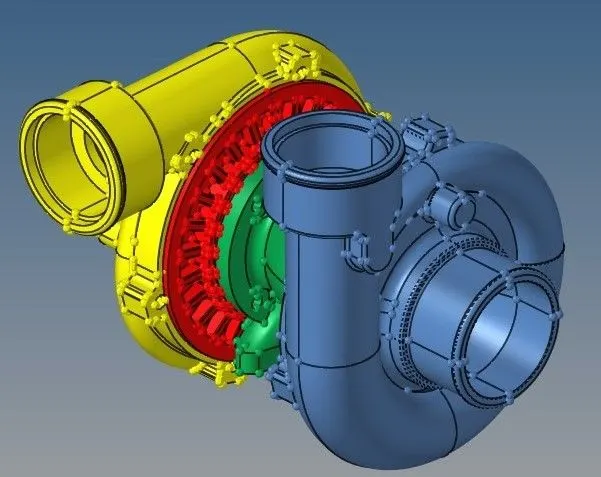
- Volume tetra mesh goto -3D-tetramesh-volume mesh
- Tick curvature and proximity options for better feature capturing of mesh
- Select the required solids or surface of each component individually
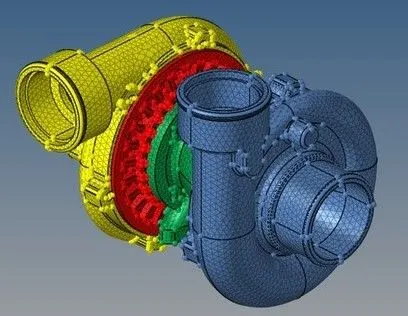
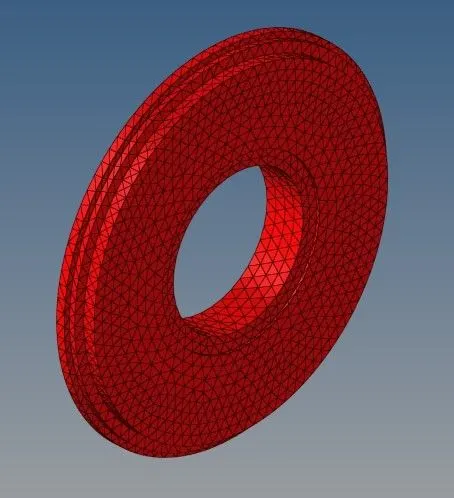
- 3d mesh is generated and there are 1803 elements failing for tet collapse
- Now go to tetramesh fix-3D elements
- Select all the elements and give tetra collapse value and number of iteration and click fix
- The majority of the elements are solved automatically
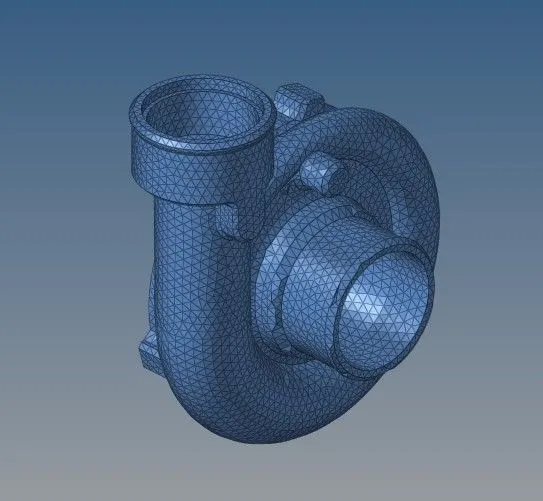
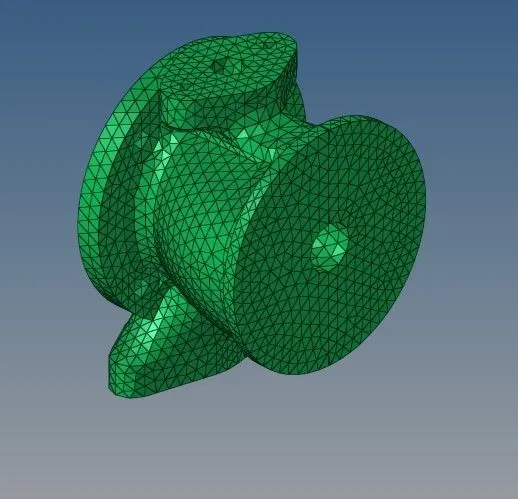
CONCLUSION
After completion volume mesh is successfully generated for all the 3 Model and there are no quality issuse or tet collapses found