Week-7 Head Impact
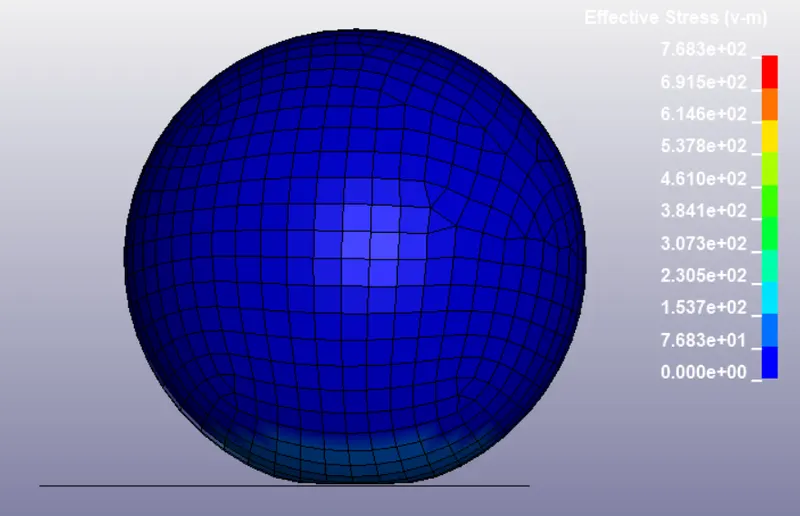
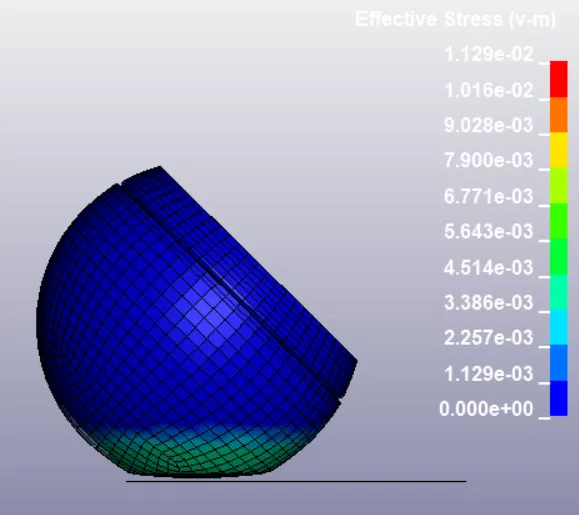
AIM: The main aim of this week challenge is to perform a head impact challenge.Start the head impact with a simple model and develop the model and perform the impact test against rigid wall and hood.Compare the resut on all the cases and give an explanation about the change in stress and strain plot.
PROCEDURE:
CASE1: SIMPLE MODEL VS RIGID WALL:
STEP 1: Open the LS-DYNA pre post and import the basic file containing the nodes and element.
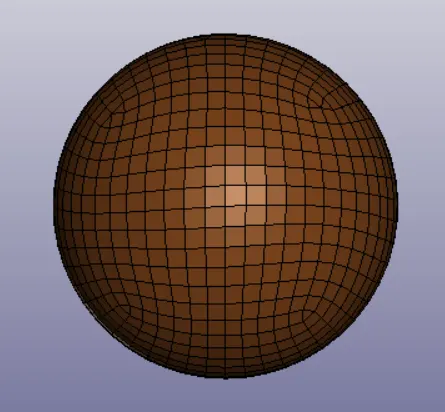
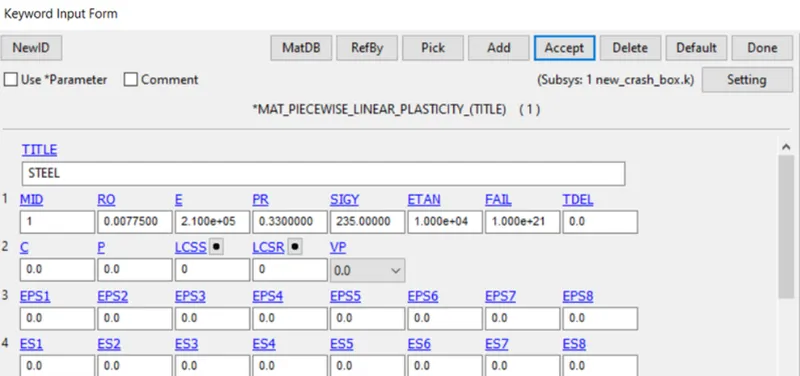
STEP 2:Now create material and section cards for the part.
STEP 3:Open the keyword manager and check the all button.Under the MAT keyword select the MAT 24 PIECEWISE_LINEAR_PLASTICITY.
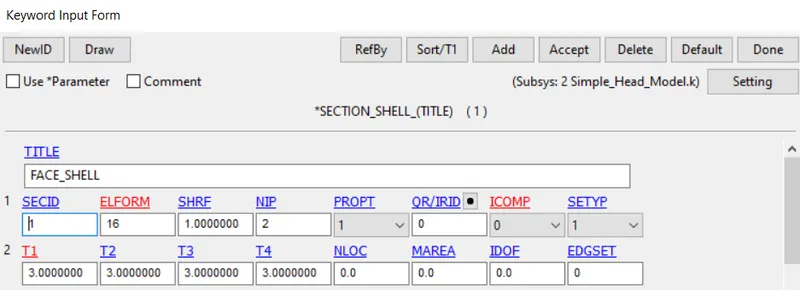
STEP 4:Open the keyword manager and check the all button.Under the SECTION keyword select the SHELL card for wall.Now give the properties of shell as desired.
STEP 5: Now go to PART keyword and assign the part with the desired material and section cards.
STEP 6:Open the keyword manager and check the all button.Under the RIGIDWALL keyword select the SHELL card for wall.Now give the properties of shell as desired.
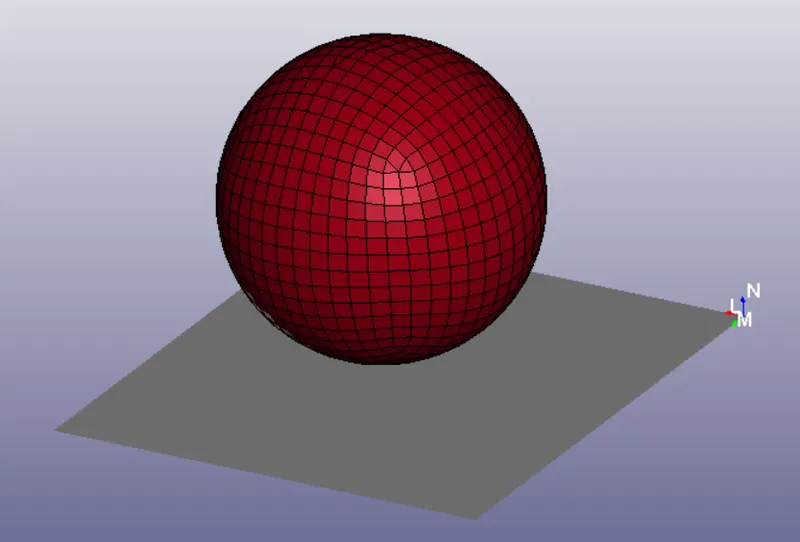
STEP 7: To give the initial velocity first create a node set. Go to create section and select the node set. click the create button and select the nodes to which you need to create the set.
STEP 8: Open the keyword manager and check the all button.Under the INITIAL keyword select the VELOCITY card and give the initial velocity.
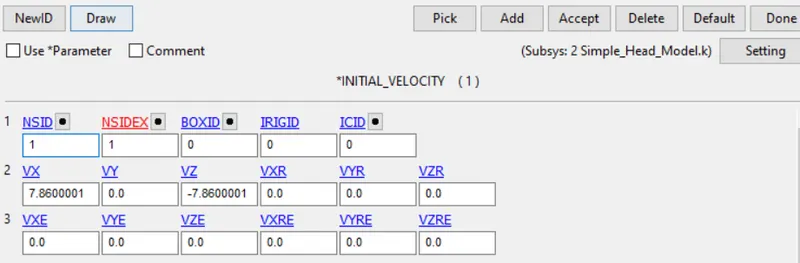
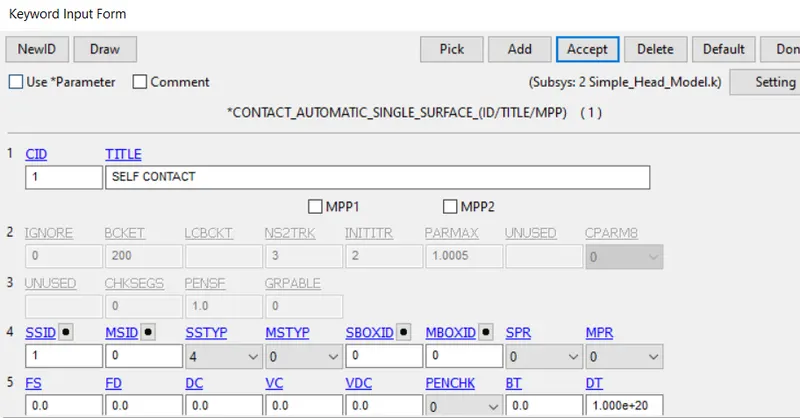
STEP 10:Open the keyword manager and check the all button.Under the CONTACT keyword and select AUTOMATIC_SINGLE_SURFACE.
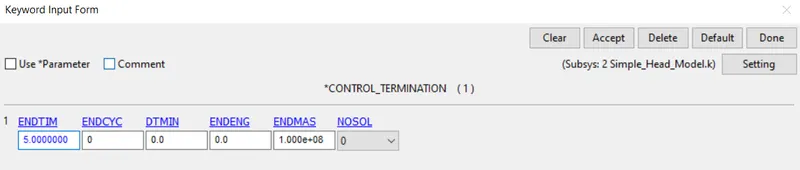
STEP 11: Open the keyword manager and check the all button.Under the CONTROL keyword and select TERMINATION.Now give the total time of the simulation.
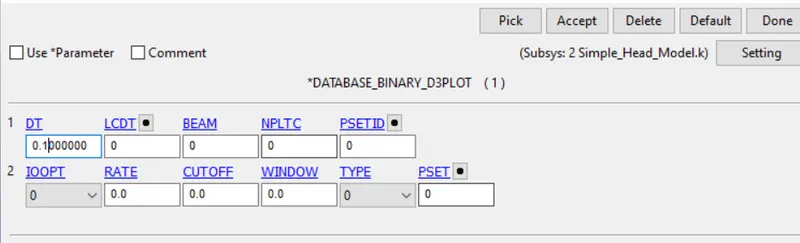
STEP 12:Open the keyword manager and check the all button.Under the DATABASE keyword and select BINARY_D3PLOT
CASE2: HEADFOAM MODEL VS RIGID WALL:
Follow the same step as before but instead of simple model use the headfoam model.
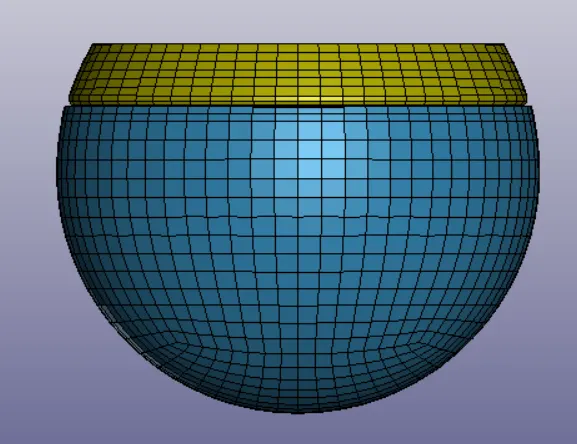
Repeat the steps from 6 to 12 and run the simulation.
CASE3: HEADFOAM MODEL VS HOOD:
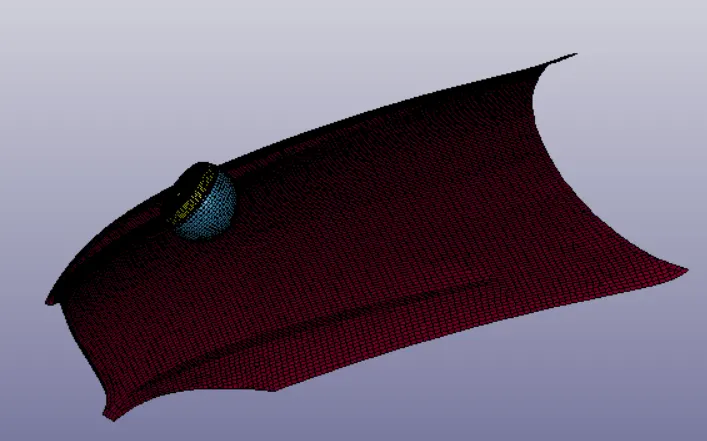
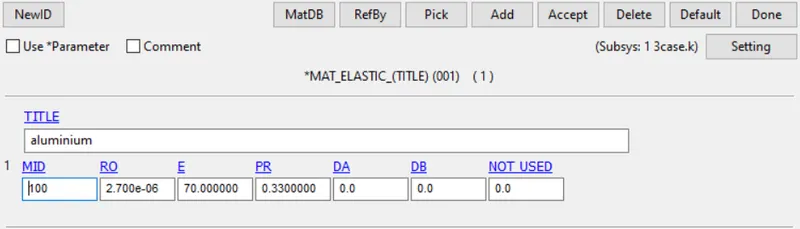
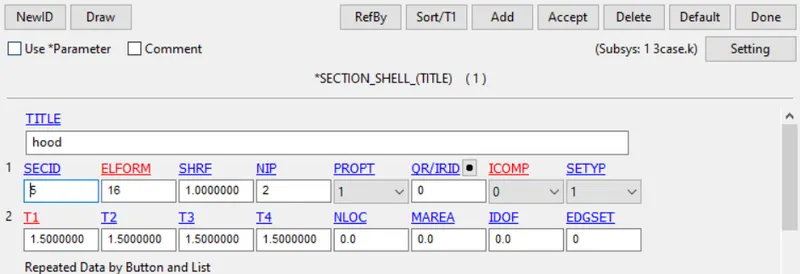
Provide material and section card for the hood and repeat the steps from 7 to 12 and run the simulation.
output result:
STRESS PLOT:
Case1:
case 2:
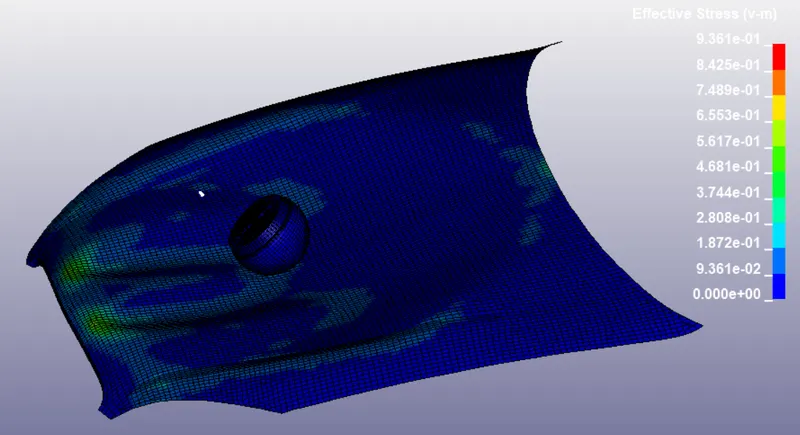
case 3:
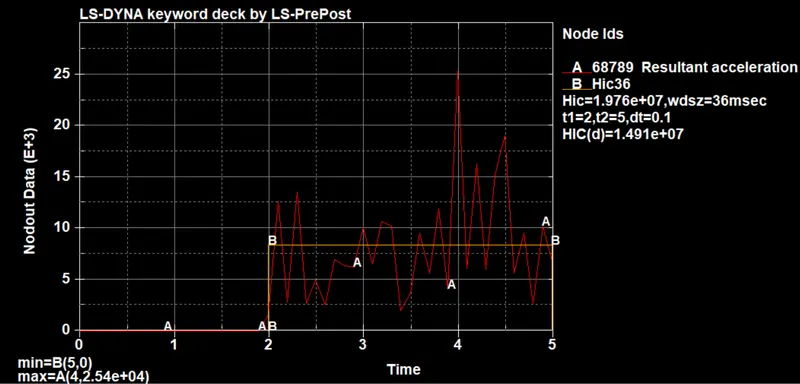
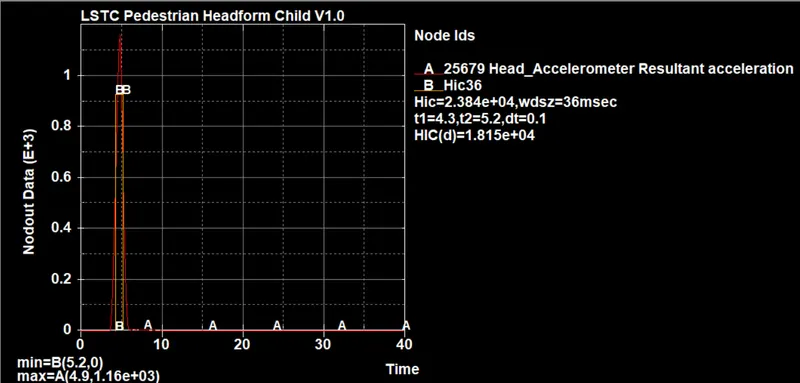
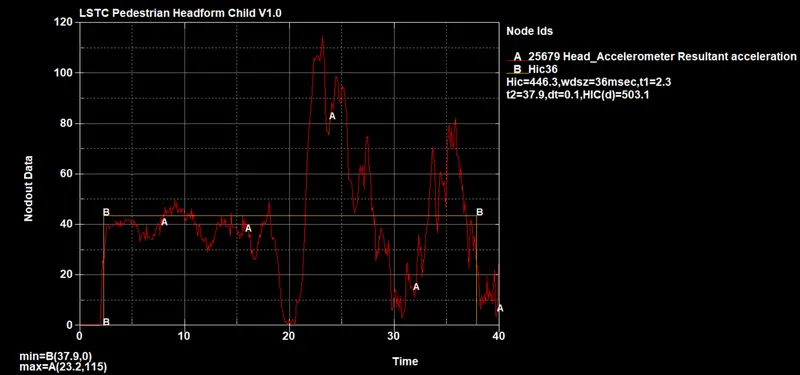
ACCELERATION AND HIC PLOT:
CASE 1:
CASE 2:
CASE 3:
CONCLUSION:
As you can see that the hic value of headfoam is much greater against a rigid wall but when it hits a hood the value is much lower. Hence this shows us that the hood must be designed in such a ways that it should not be stiff as much as possible so that the hic value is lower as possible.