Week 7 - Creating connection for Rear door
Connection for Rear Door
Aim: To assign the different PID’s and to perform suitable connection using ANSA for the given rear door component
Procedure:
-
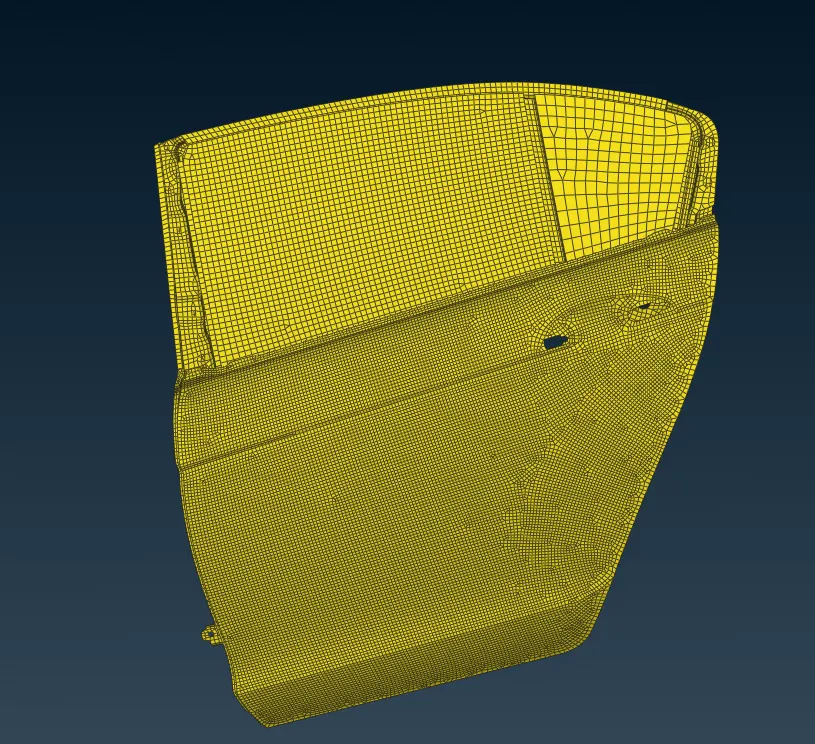
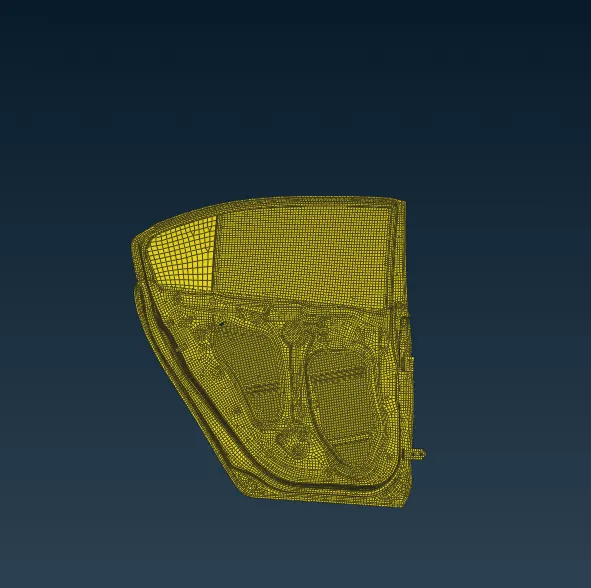
To import the given FE model to ANSA GUI, the imported model is as shown in figure below
-
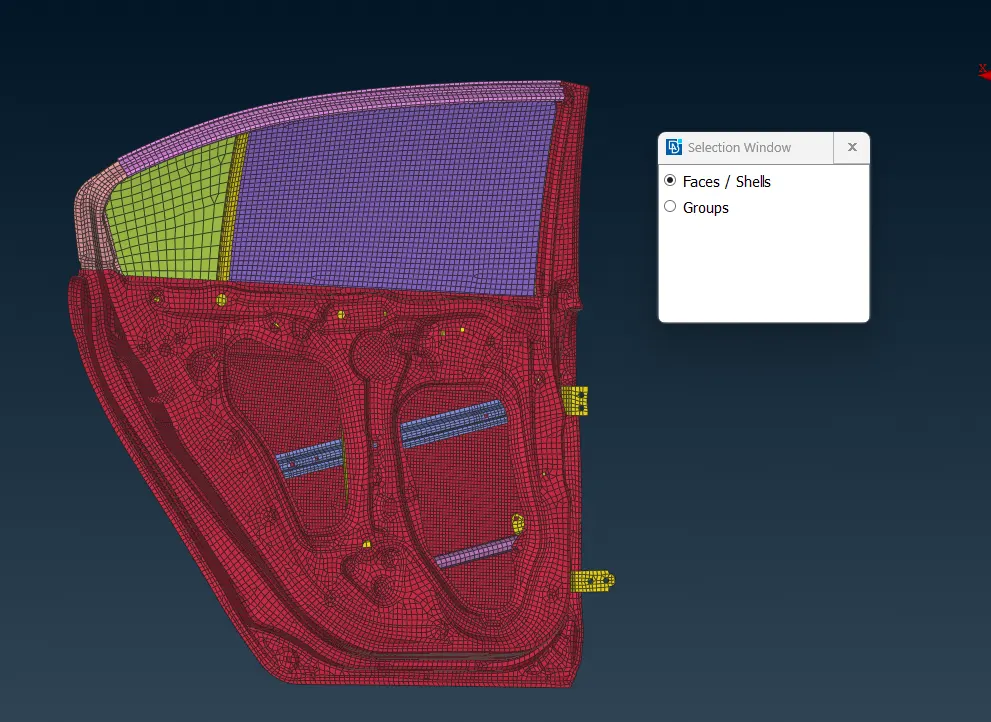
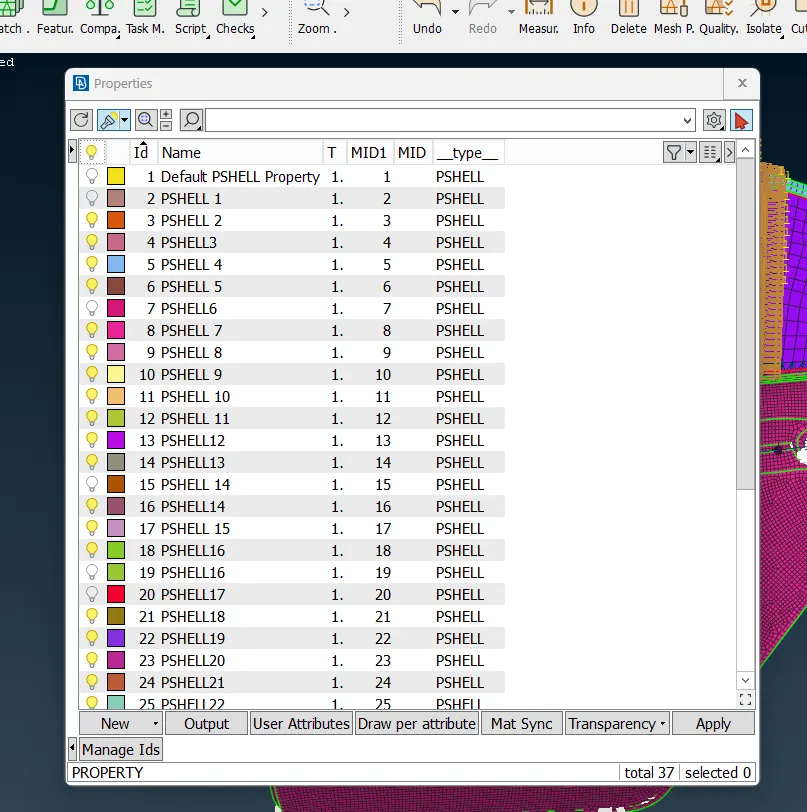
Now create different PID’s for given rear door model
-
By using Classic Mesh>>>Macros>>>Set PID as shown below
Connection:
-
Connections can be done either Manually or Automatically
Manual connection for Bolts
-
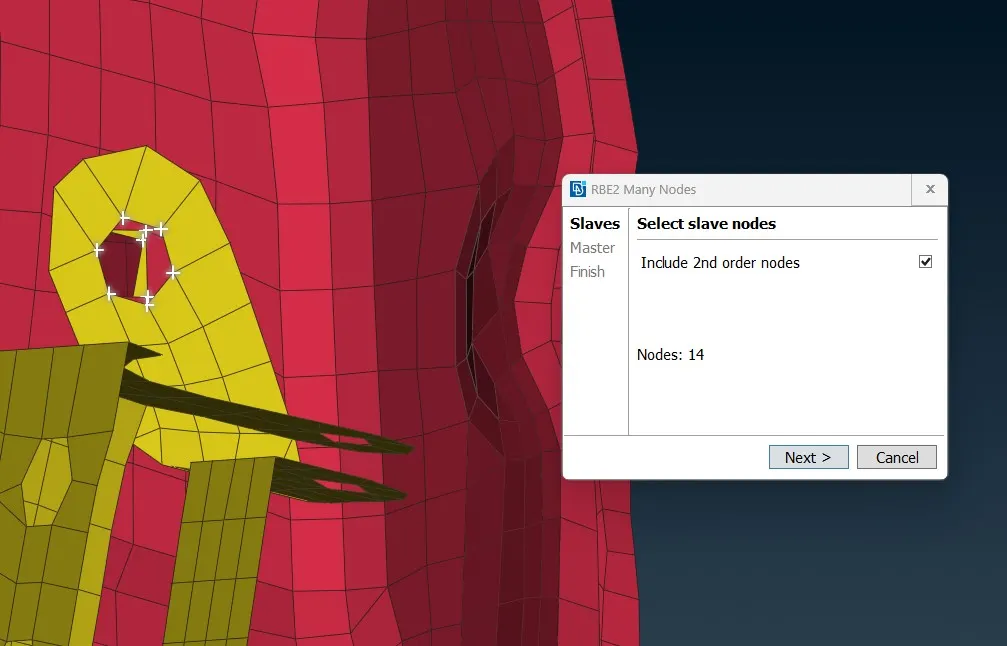
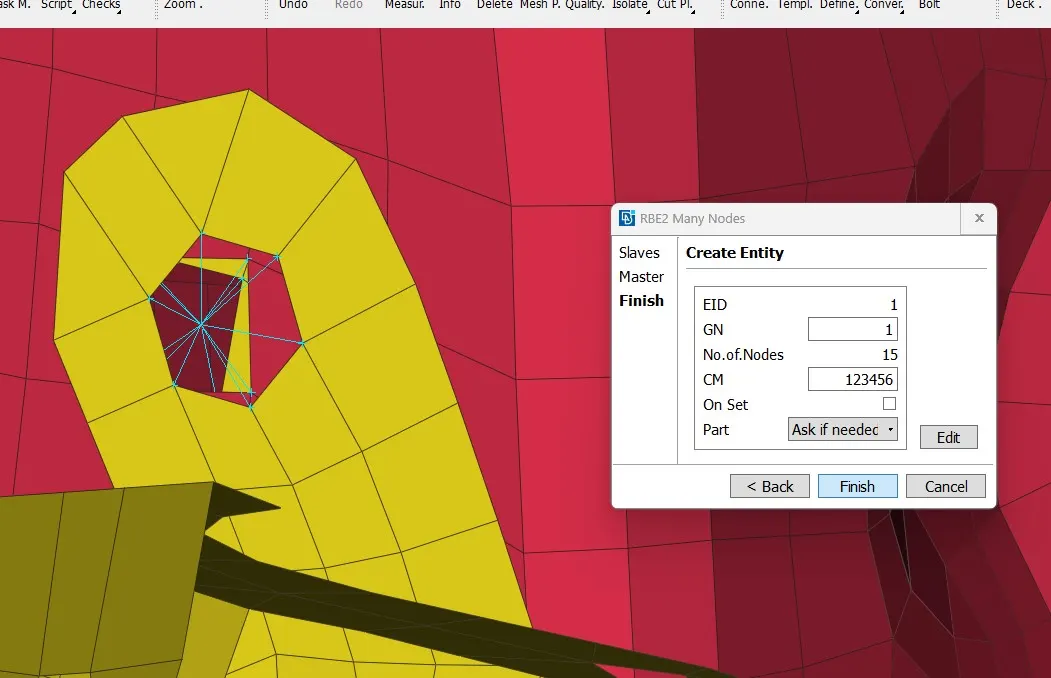
To perform manually Select Nastran Deck>Elements>RBE2>Many Nodes, then select Node or Entity and then proceed next, connection will be created between the two holes
Automatically:
-
For Bolts
-
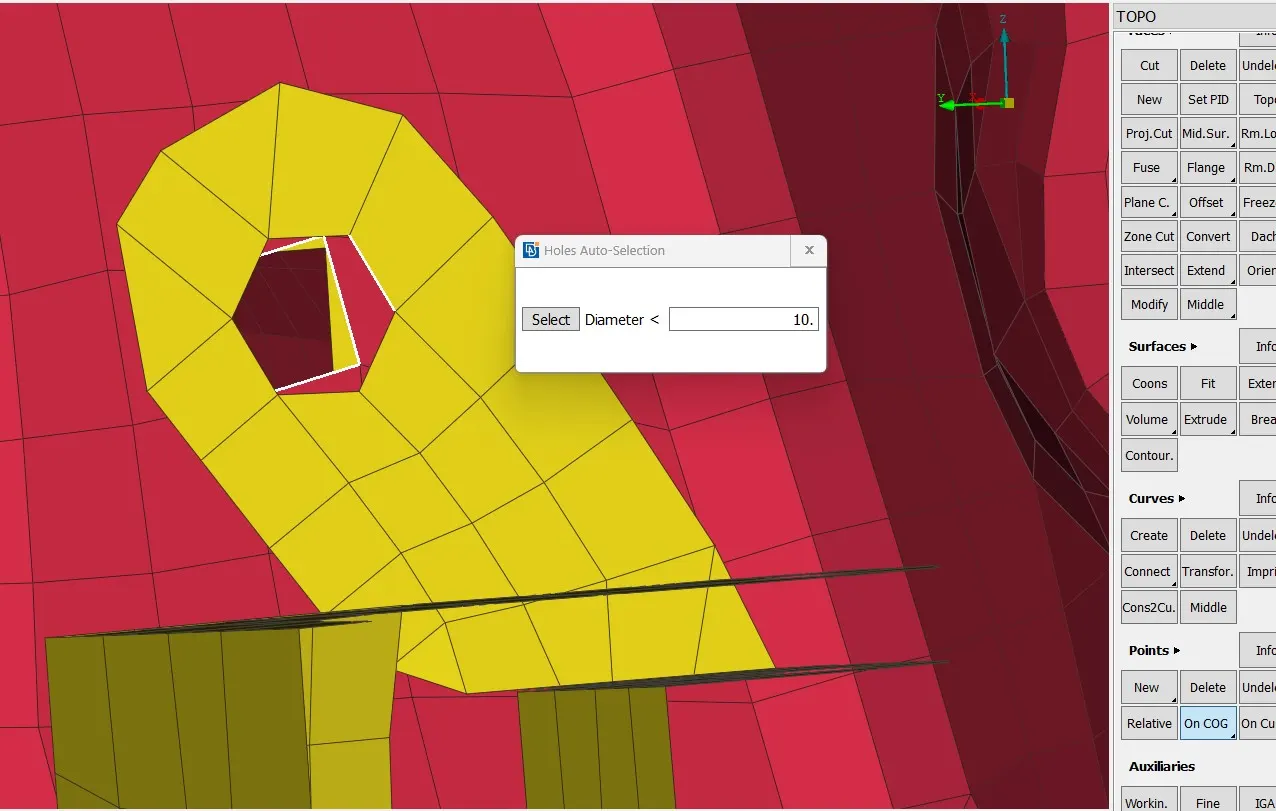
Go to Topo>>Points>>On COG>>select the hole edge>>middle click
-
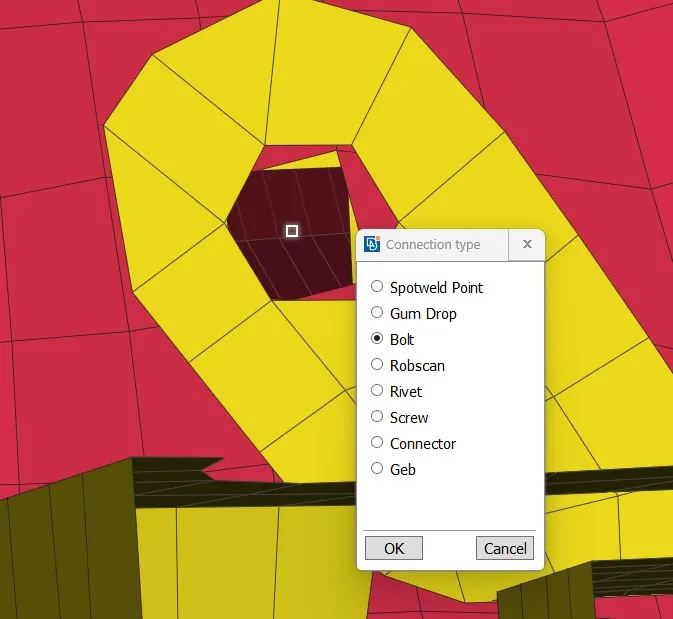
Next go to Convert>>3D point and select the type as Bolt as shown below
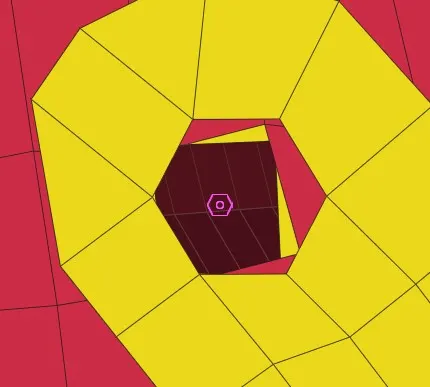
-
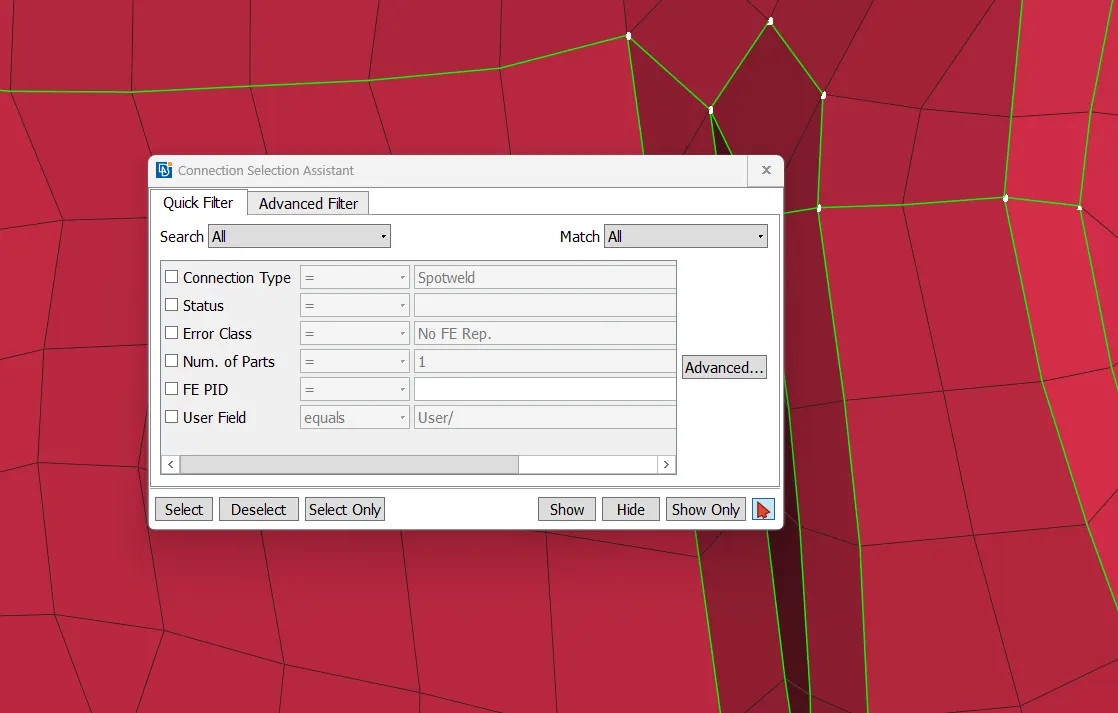
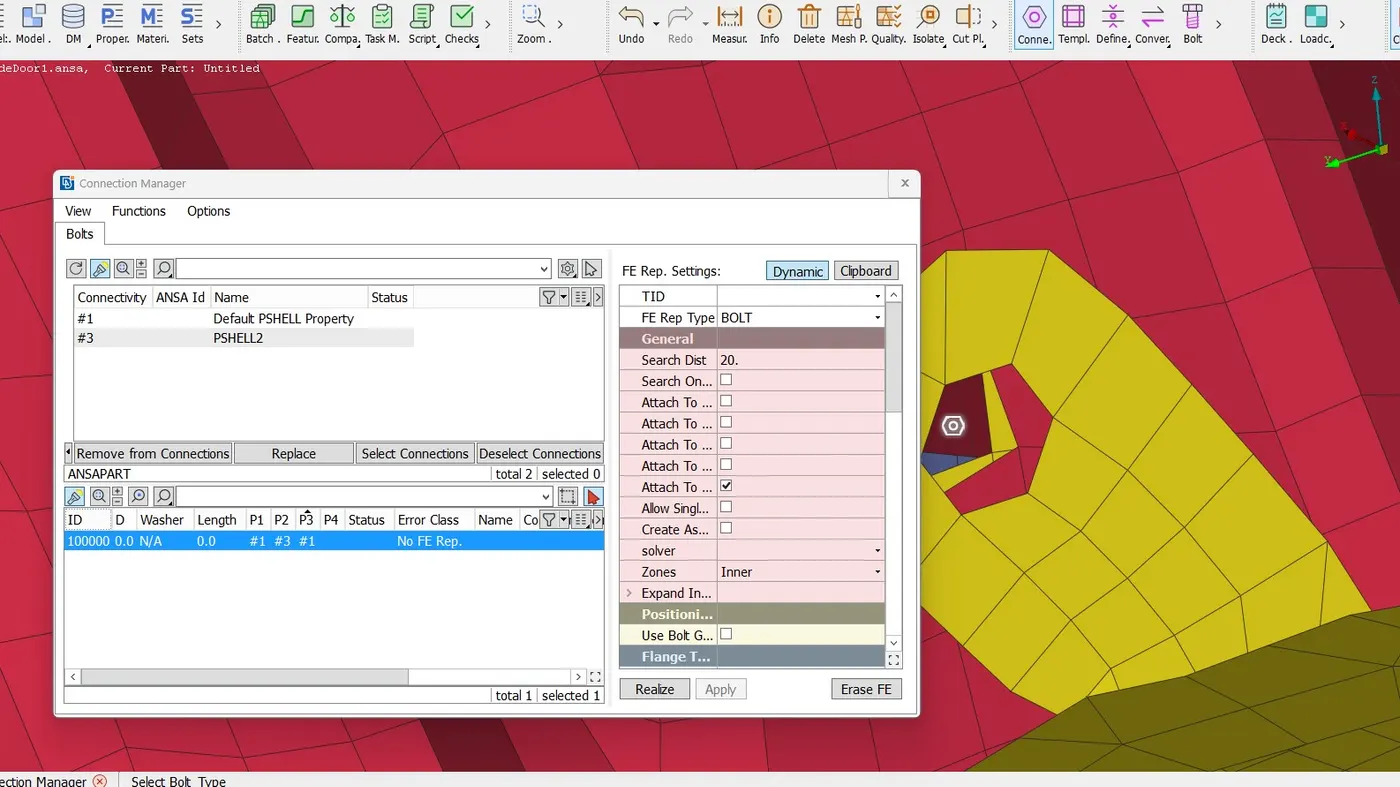
Now go to connection and click on the bolt ,so that the connection Manager gets open,now select P1,P2, &P3 where the Bolt connections are to be made as shown below
-
Select the FE Rep Type as Bolt ,select the Zone as inner, outer,in-out and then select the body and then Apply and Realize, now connections will be created between the holes as shown below
Inner Zone
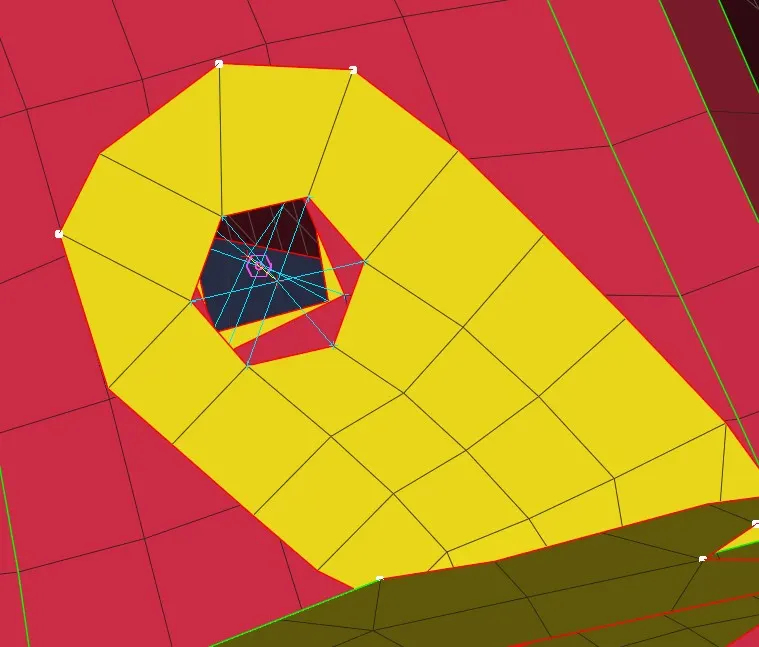
Outer Zone
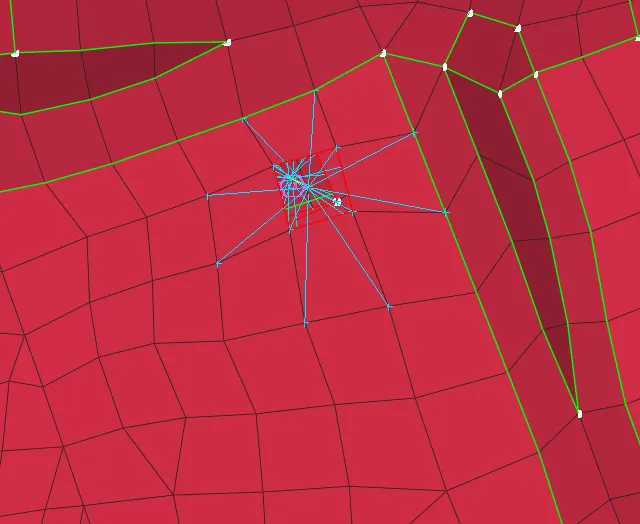
-
For Spot Weld Connection
-
Create a point at the center, go to TOPO>>Points>>On COG>>select the element>>hit middle button
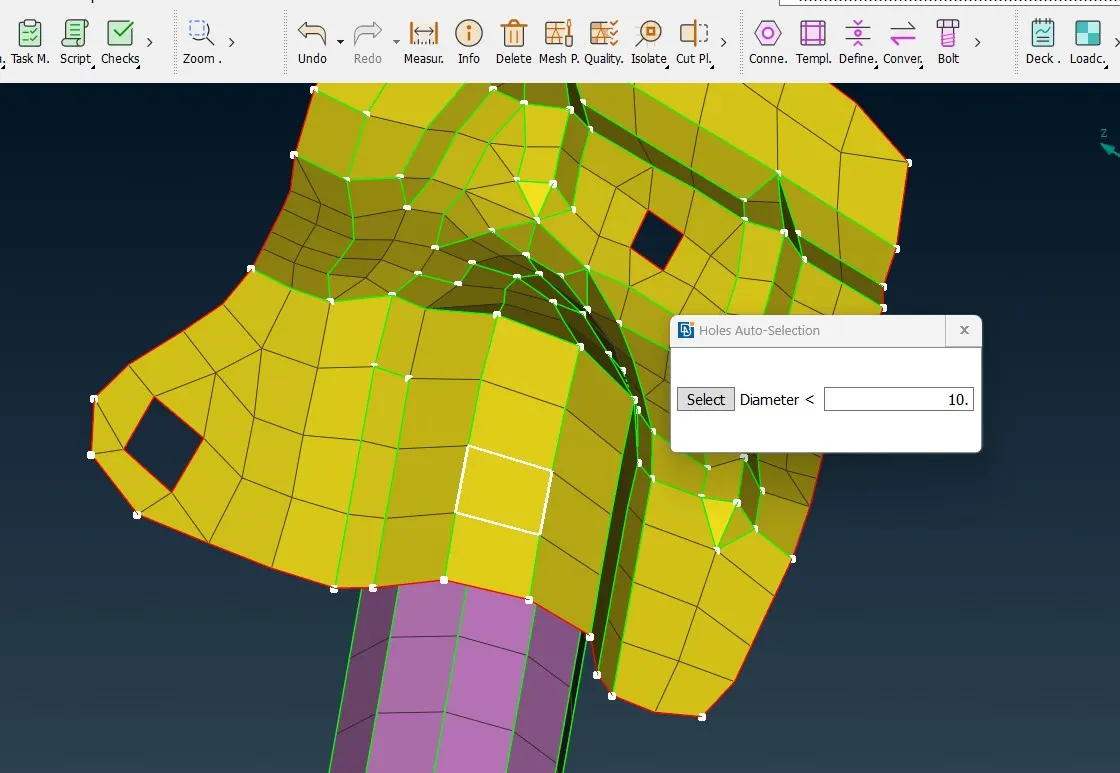
-
Next go to Convert>>3D point and select the type as Spot weld point as shown below
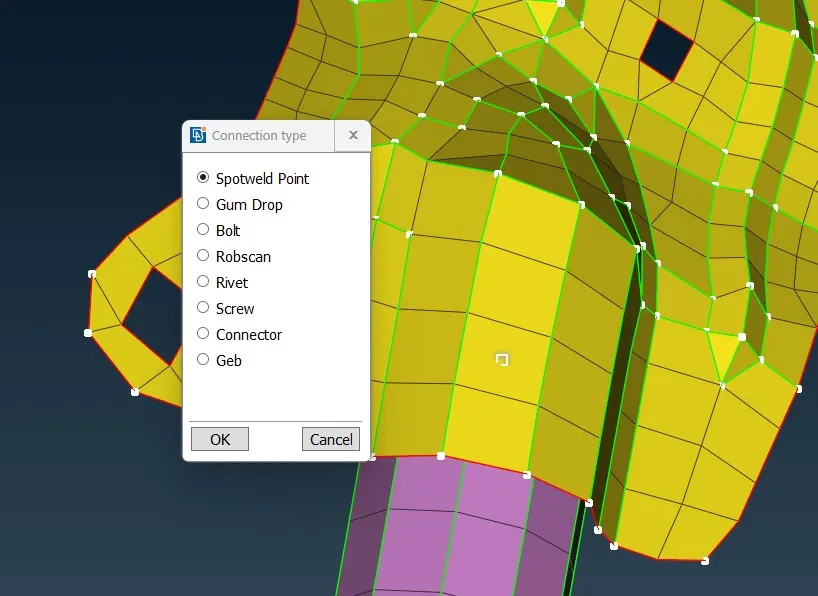
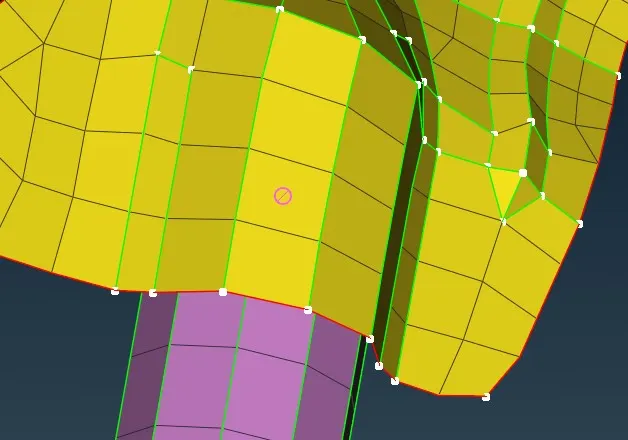
-
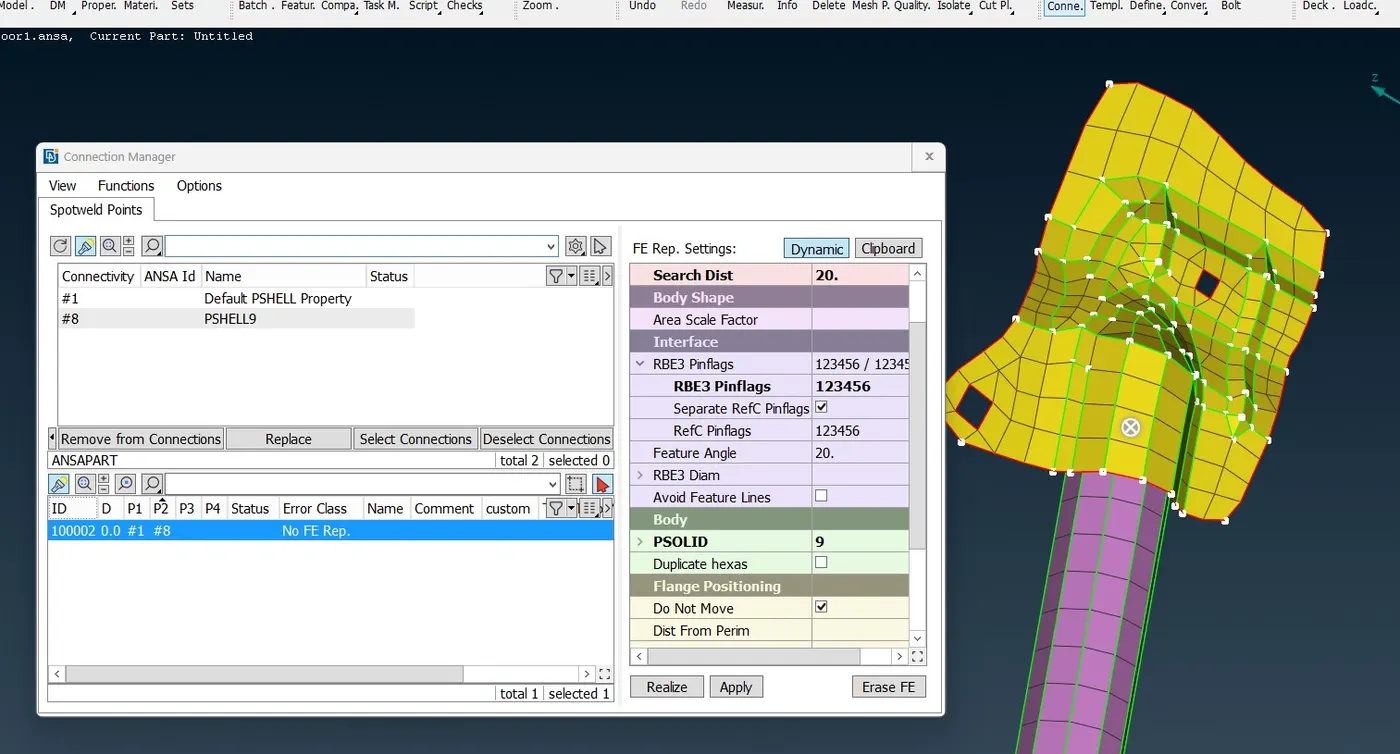
Now go to connection and click on the spot weld ,so that the connection Manager gets open,now select P1&P2, where the spot weld connections to be made as shown below
-
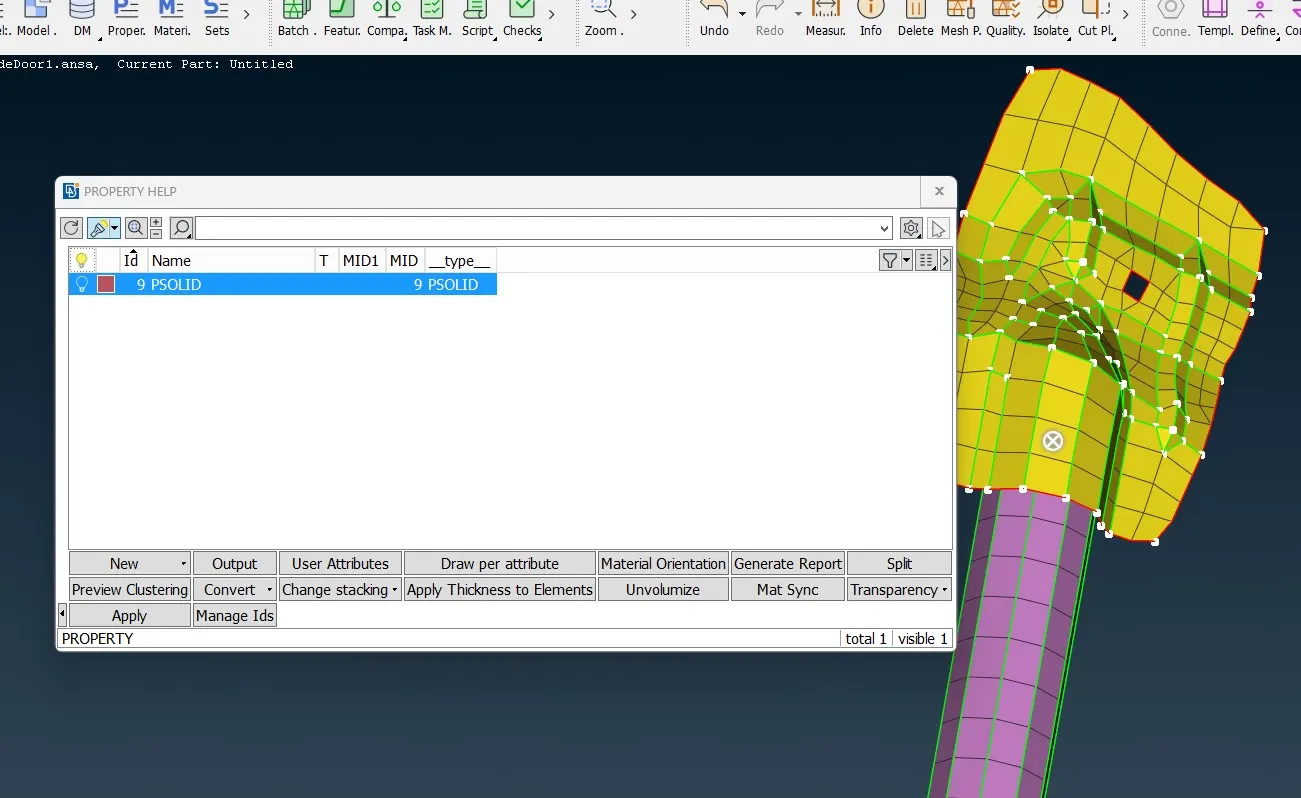
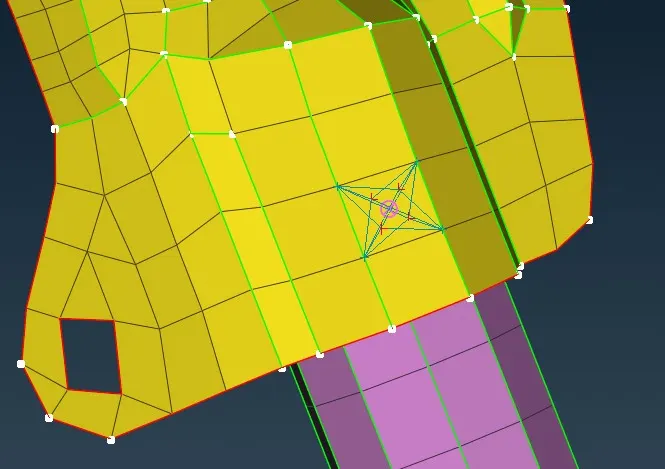
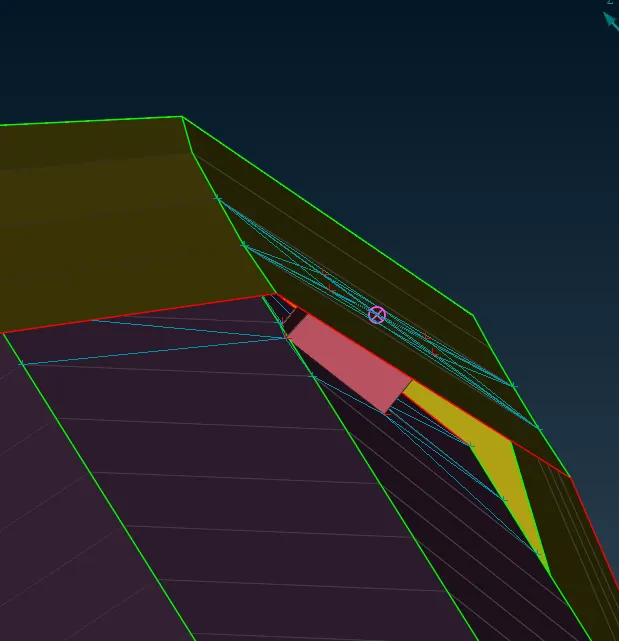
Select the FE Rep Type as RBE3 HEXA RBE3,give the search distance of the PID’s to be spot welded and then provide RBE3 pinflange as123456, now create new PSolid for the two parts to be spot welded and then Apply and Realize, now connections will be created between the parts as shown below
-
For Seam Weld Connection
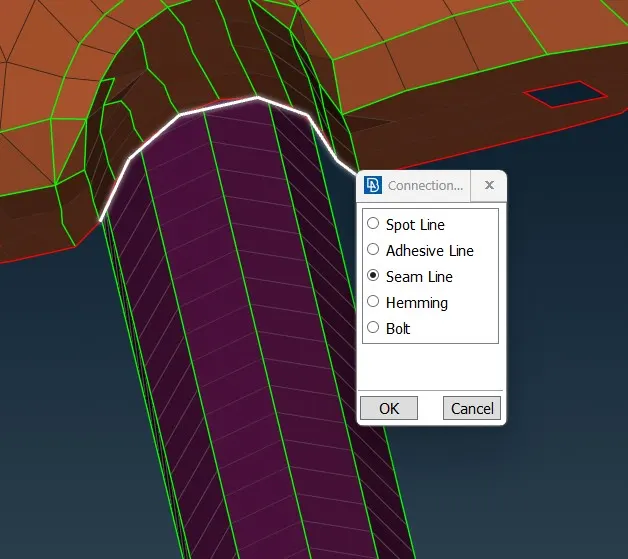
Create a curve using Mesh>>Perimeter>> FEat2Curve, Now convert the curve to Seam line as shown below
-
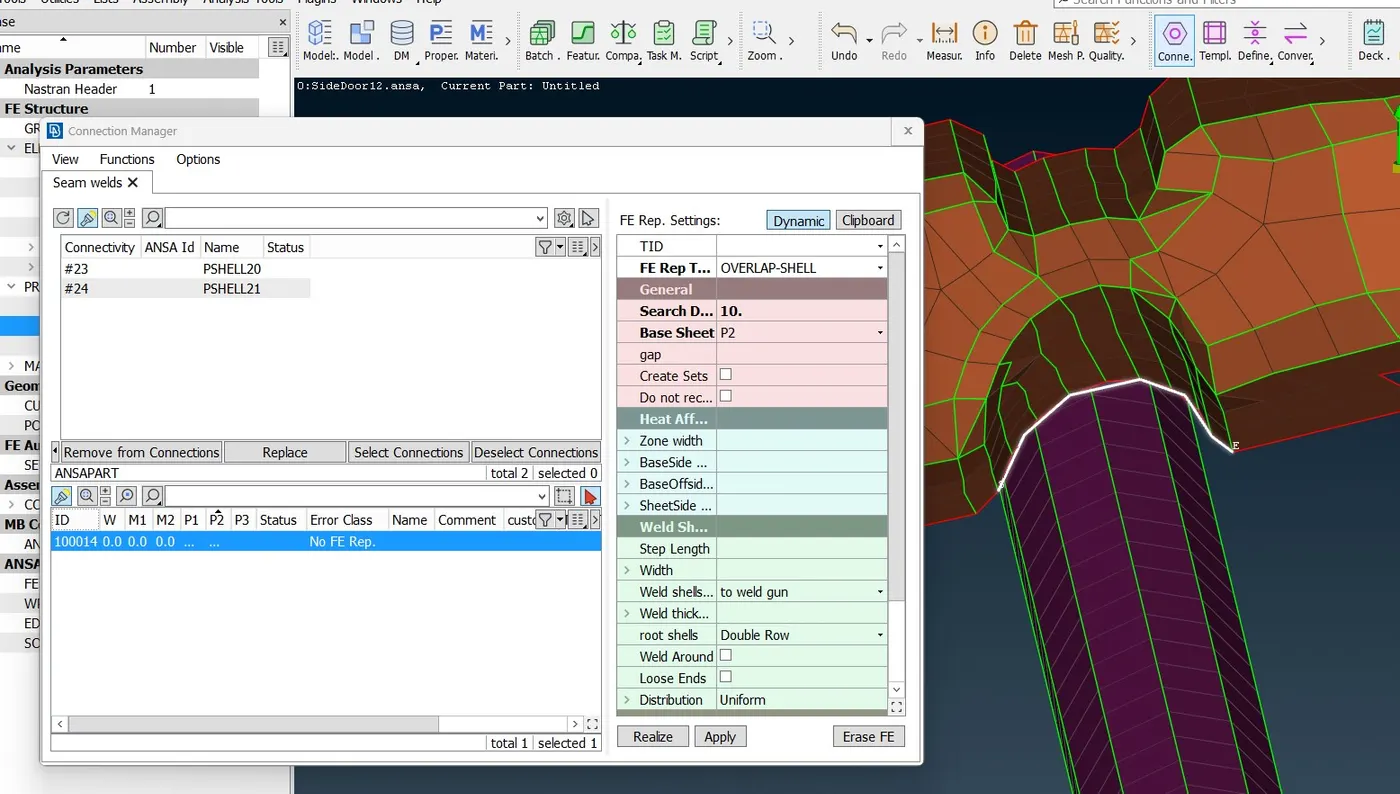
Now go to connection and click on the seam line ,so that the connection Manager gets open,now select P1&P2, where the seam weld connections to be made as shown below
-
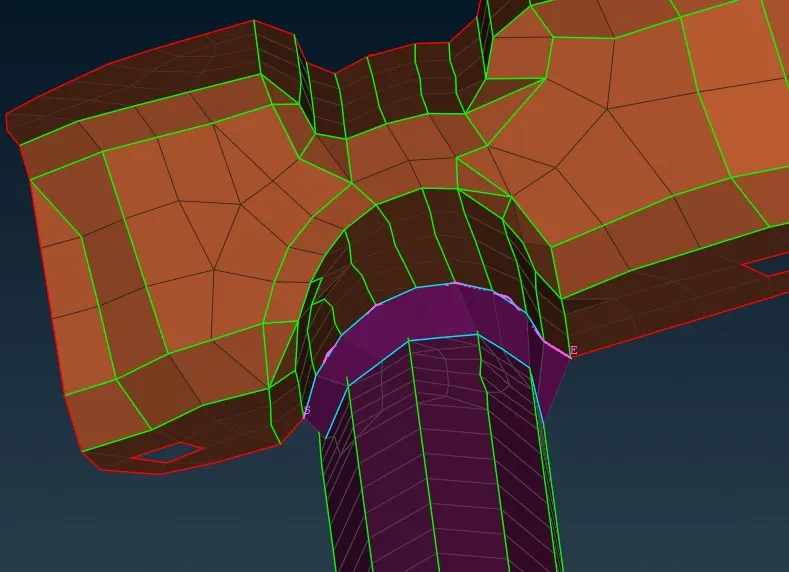
Select the FE Rep Type as OVERLAP SHELL,give the search distance and base sheet as P2, root shell as Double Row and then Apply and Realize, now connections will be created between the parts as shown below
-
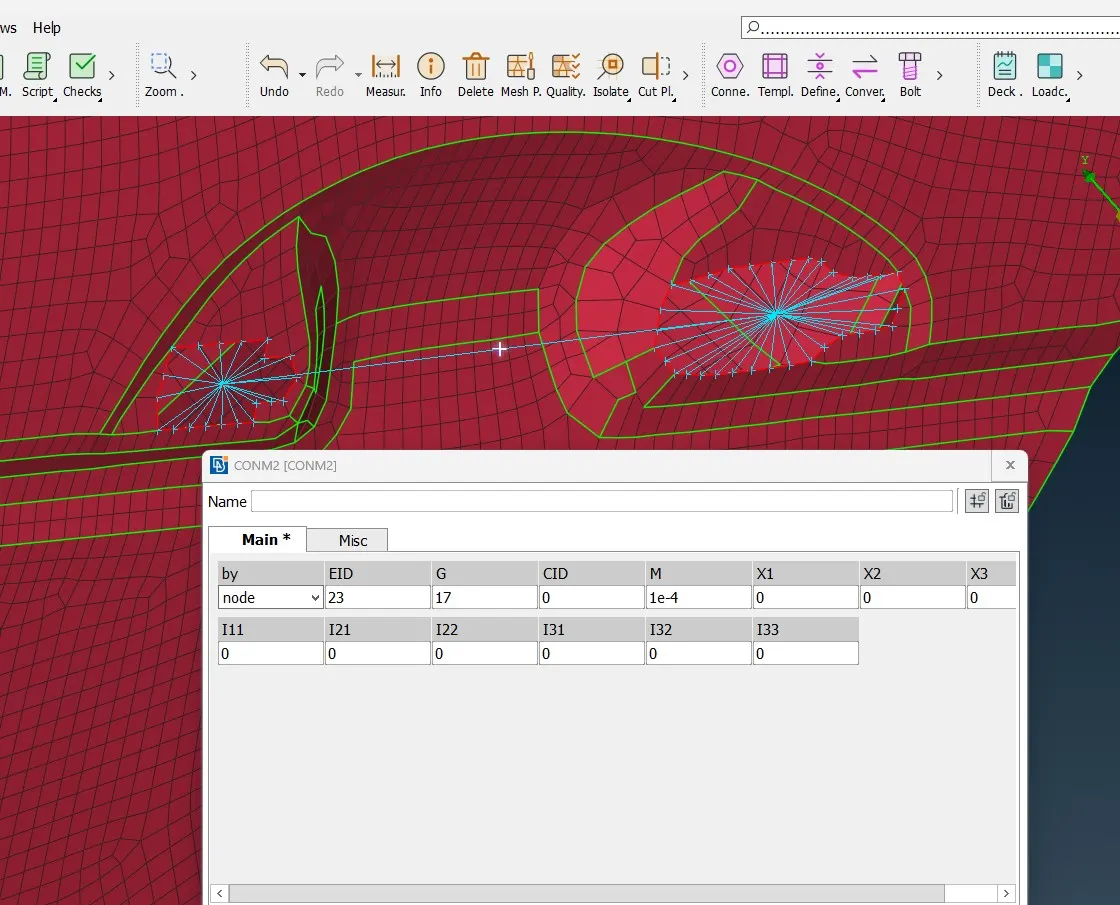
Mass Element Connection For Car Handle
-
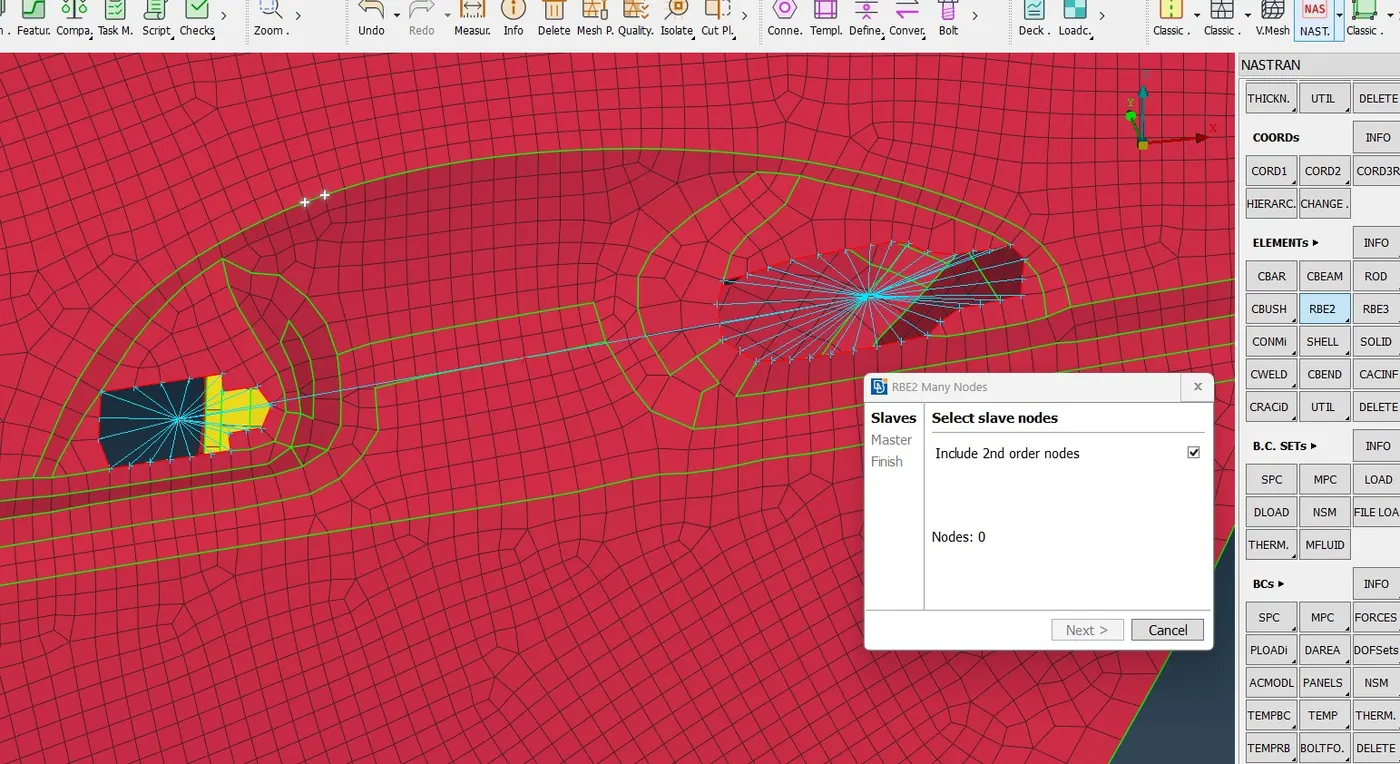
By using RBE2 Many nodes, create Master and Slave nodes at both the slots of the car handle,now connect the Two master nodes by using REB2 which will act as a COG point for both the slots of the handle
-
Now assign mass at COG point of the car handle
-
BY using Nastran Deck>>Elements>>CONMi>>CONMI2>>Nodes>>click the middle button, here the window pop ups now enter the Mass value of 100gm in Tonnes as 1e-4, mass is defined at the node
-
RBE3-CBUSH-RBE3
-
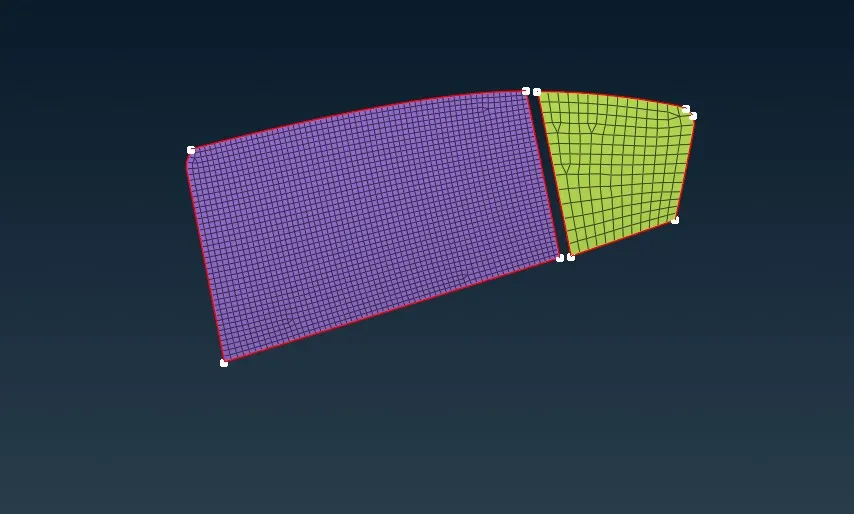
To create Cbush connection between Door window and weatherstrip, first create a curve of the window glass gy using Mesh>>Perimeter>>Feat2curves as shown below
-
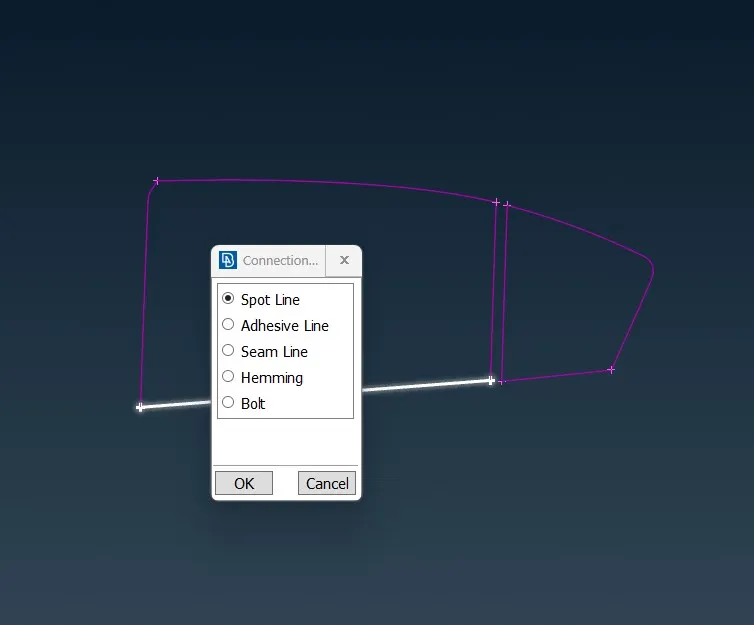
Now go to convert>>Curve>>Spot line as shown below
-
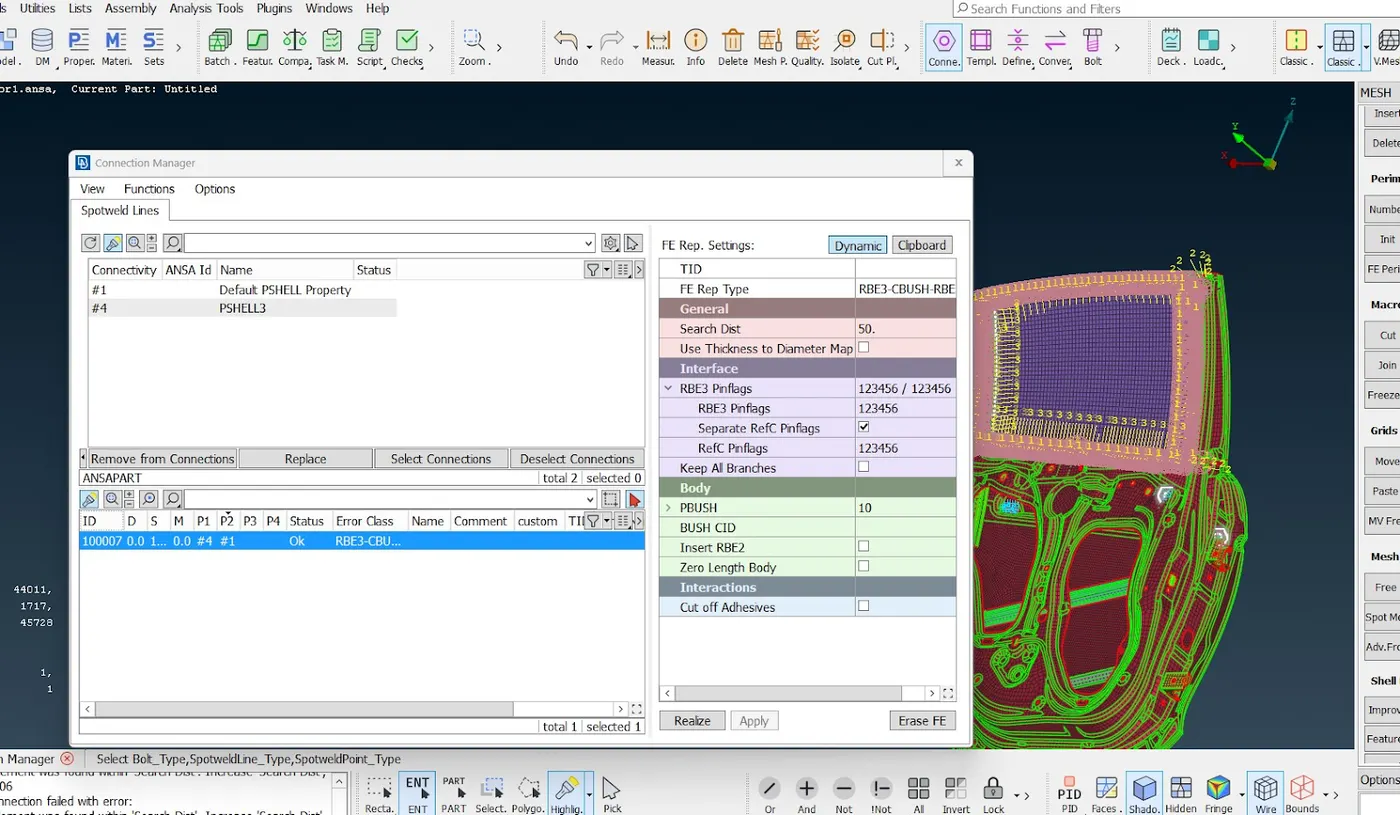
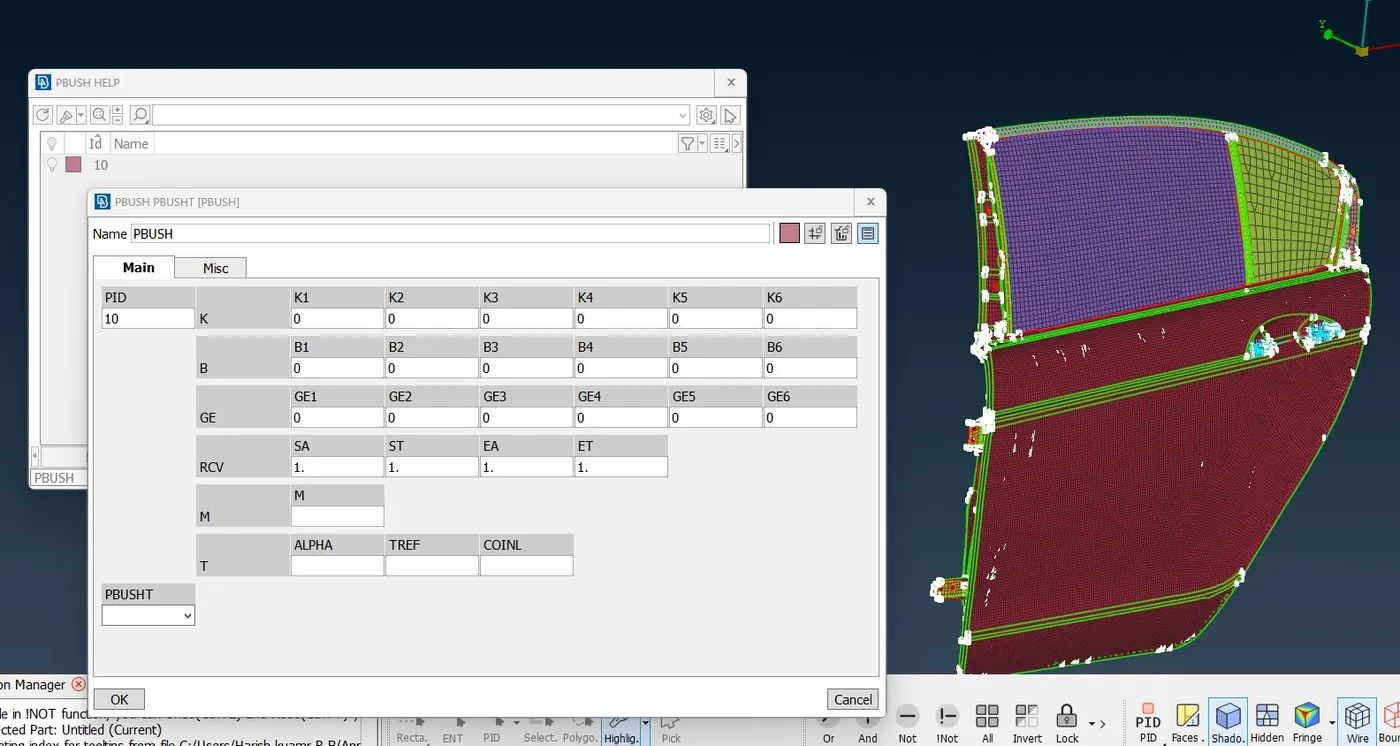
Connection Manager>>Select the curve >>assign the values for S, P1 & P2 respectively. Select FE Rep Type as RBE3-CBUSH-RBE3, select the search distance and then select Pbush, assign the value for K-K1,K2,K3,K4,K5,K6 ok and then apply and Realize
-
Connection will be deployed as shown below
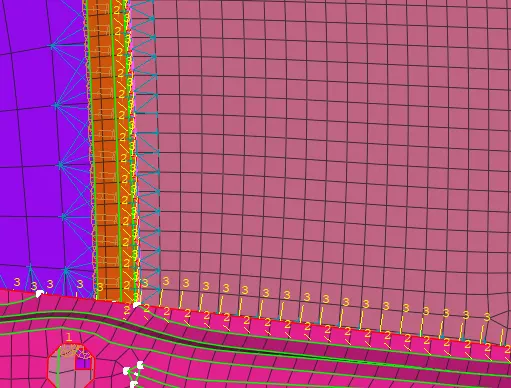
Now the Orientation will be in Local Coordination ,so change it to global coordination system
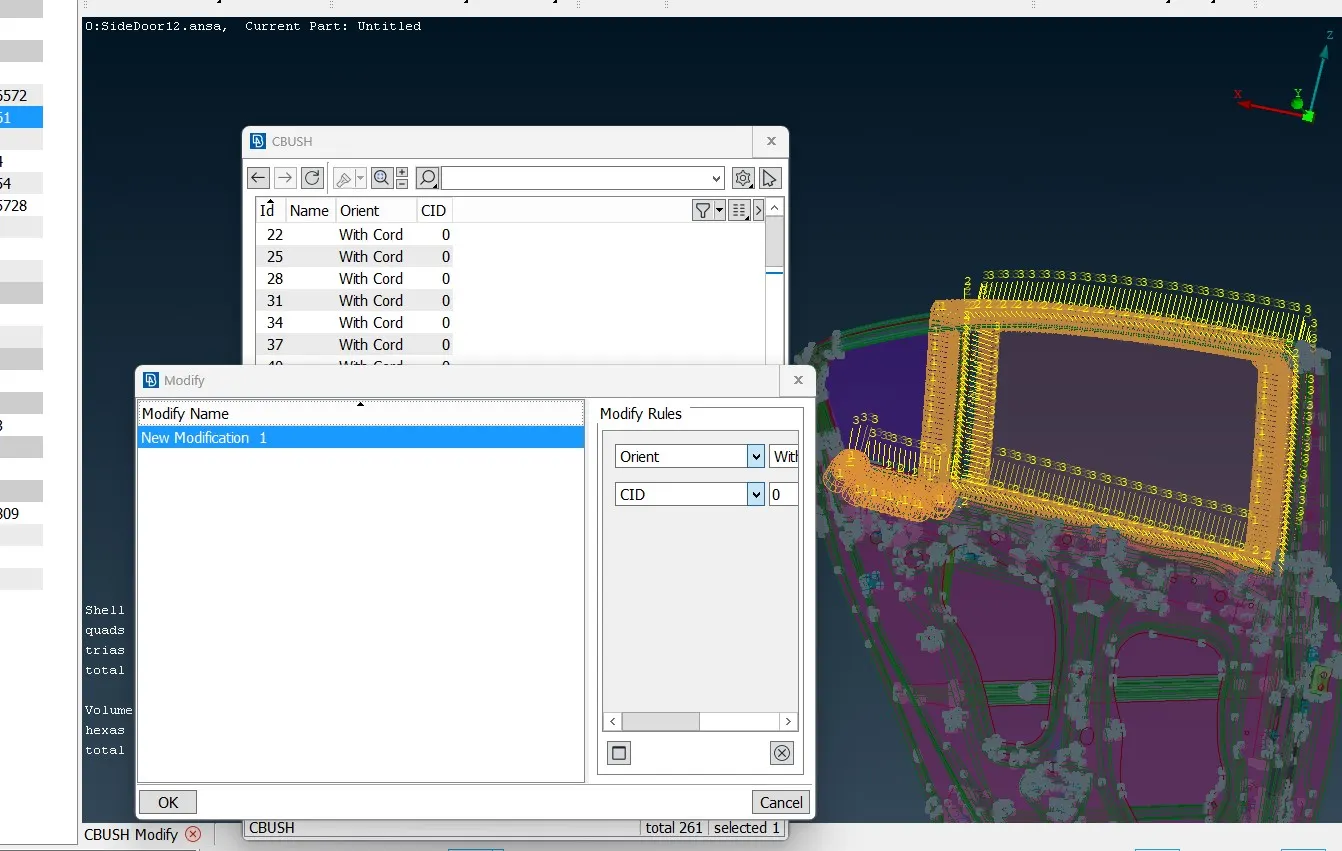
By using DataBase>>Elements>>CBUSH >>select all the CBUSH>>Modify
Now assign Orient as with Cord and CID as 0
.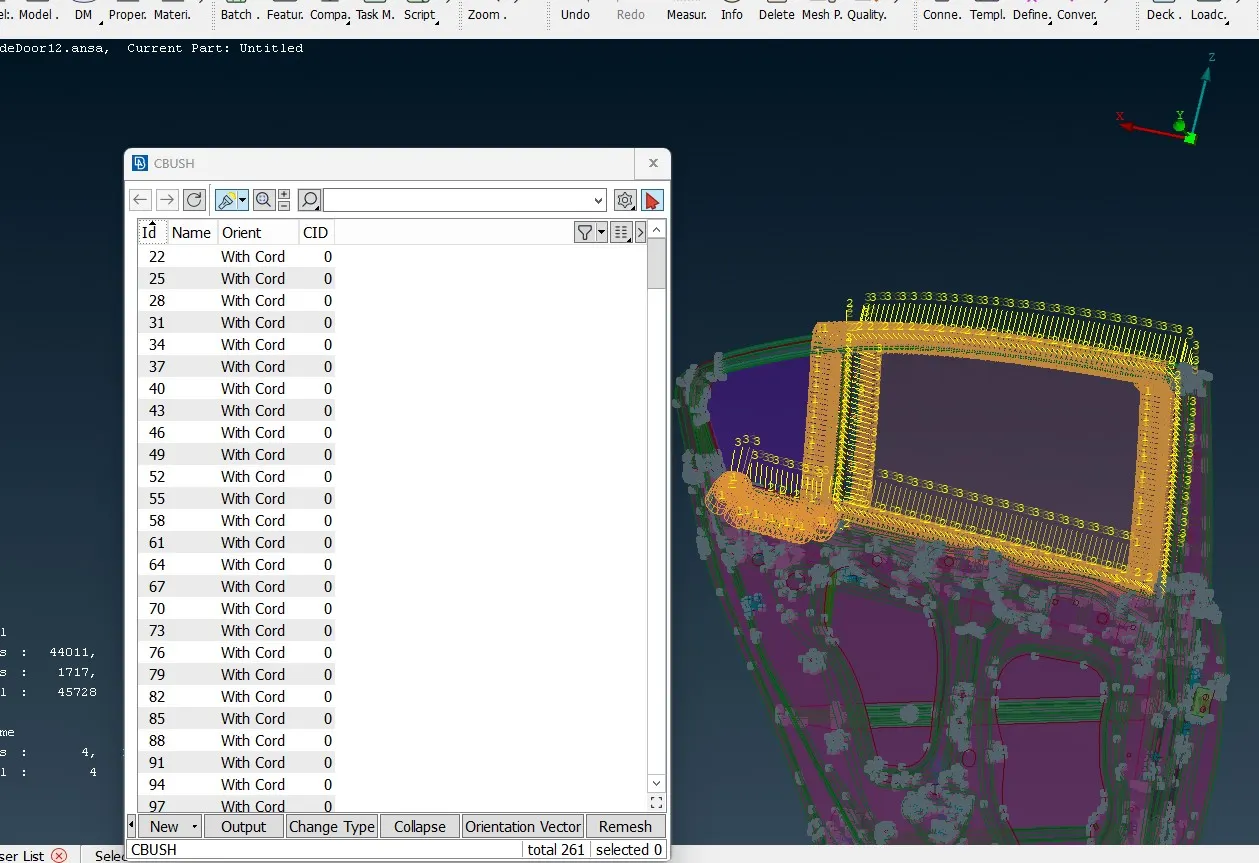
Now the local coordination will be changed to Global Coordination
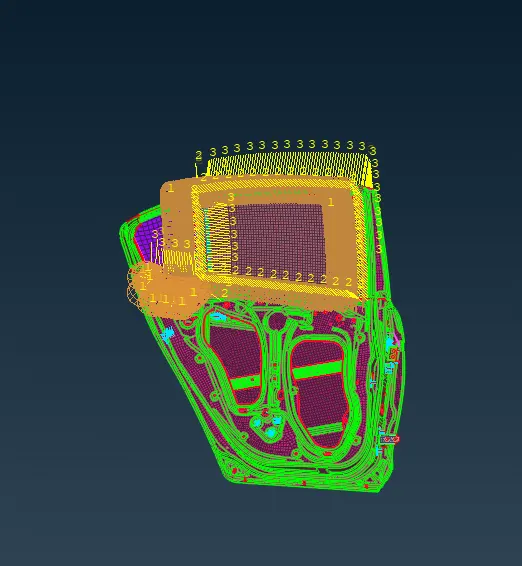
Final connection of Rear Door Model
Learning Outcome:
-
Learnt to connect different connections like Bolt, REB2, RBE3 and CBUSH
-
Learnt to connect Manual and Automatic Connection
-
Learnt to assign Mass for Door Handle
-
Learnt to connect Seam weld and Spot Weld
Conclusion:
Created and assigned the different PID’s for the different components of the Rear Door Model and the different connections like Bolt, REB2, RBE3,CBUSH,Seam Weld And Spot Weld as been deployed.