Week 7 Challenge - Assembly Workbench
AIM:
To create the individual part files and then create a complete assembly of those part files in the assembly workbench. After creating the assembly make use of the drafting tools to create a 2D drawing similar to the one given in the assignment folder.
ASSEMBLY WORKBENCH:
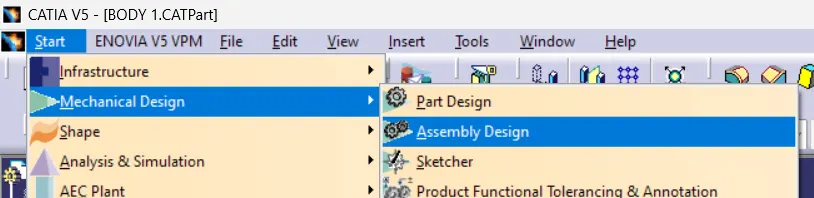
Select the Start-> Mechanical Design -> Assembly Design command to launch the required workbench.
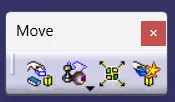
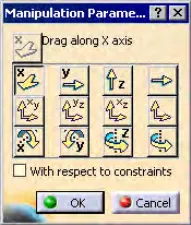
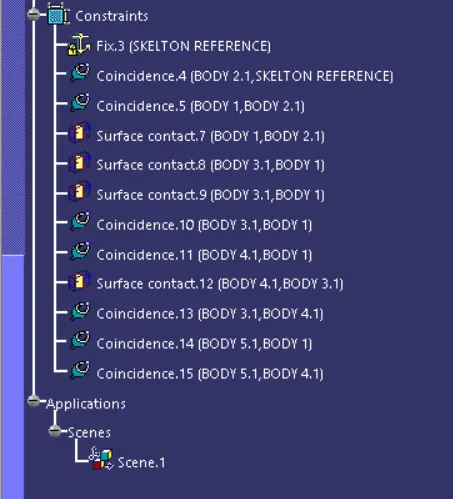
The assembly constraints allow you to restrict the degrees of freedom of components on their respective work positions. The assembly files in CATIA are called Product files. We assemble the part models in the Assembly Workbench according to the given 2D drawings using some basic assembly commands such as Coincidence, Offset and Manipulate.
COMMENDS USED:
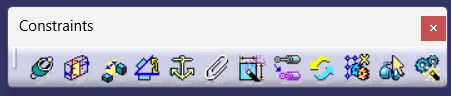
- Coincidence Constraint – this command create a coincidence constraint between two components of the active component;
- Contact constrain – creates a contact constraint between two components of the active component;
- Offset Constraint – creates an offset constraint between two components of the active component;
- Angle Constraint – creates an angular, parallelism or perpendicularity constraint between two components of the active component.
- Fix Component – Fix the component position in the active component.
DRAWING-1 (QUICK RETURN MECHANISM):
BODY 1:
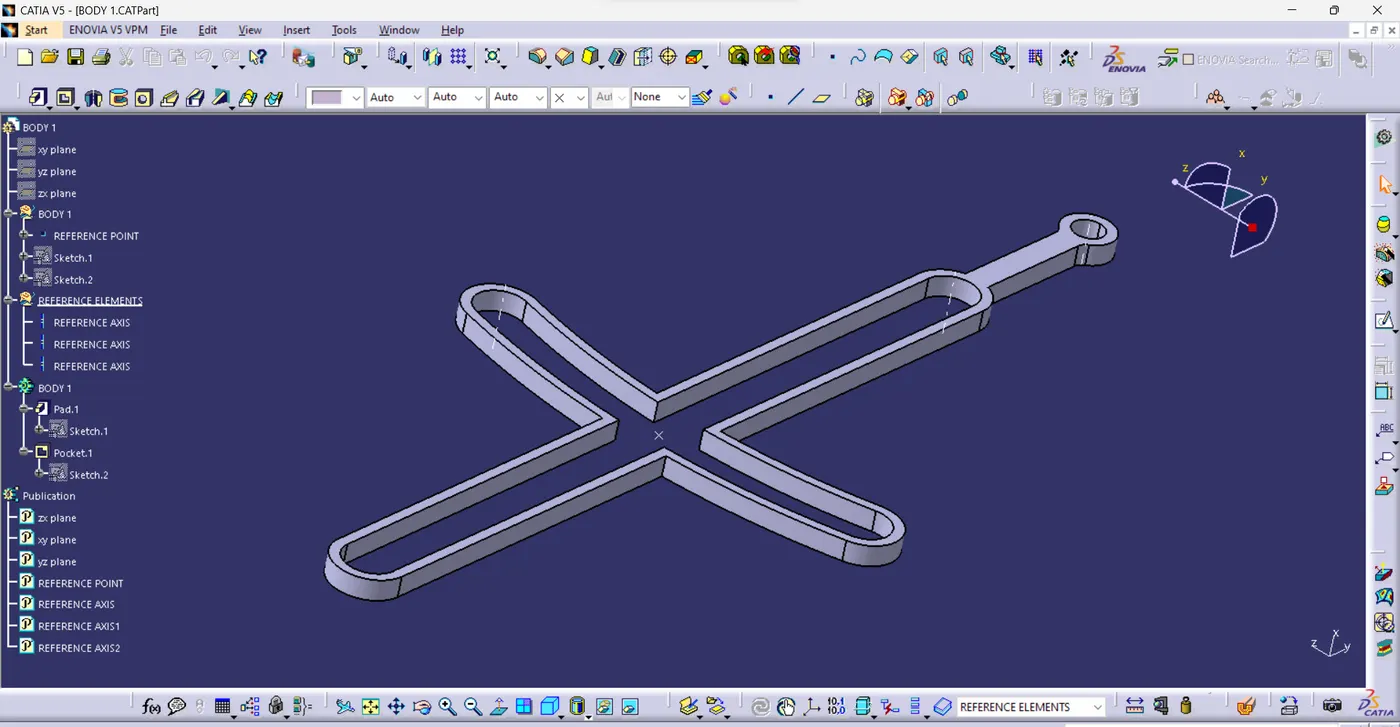
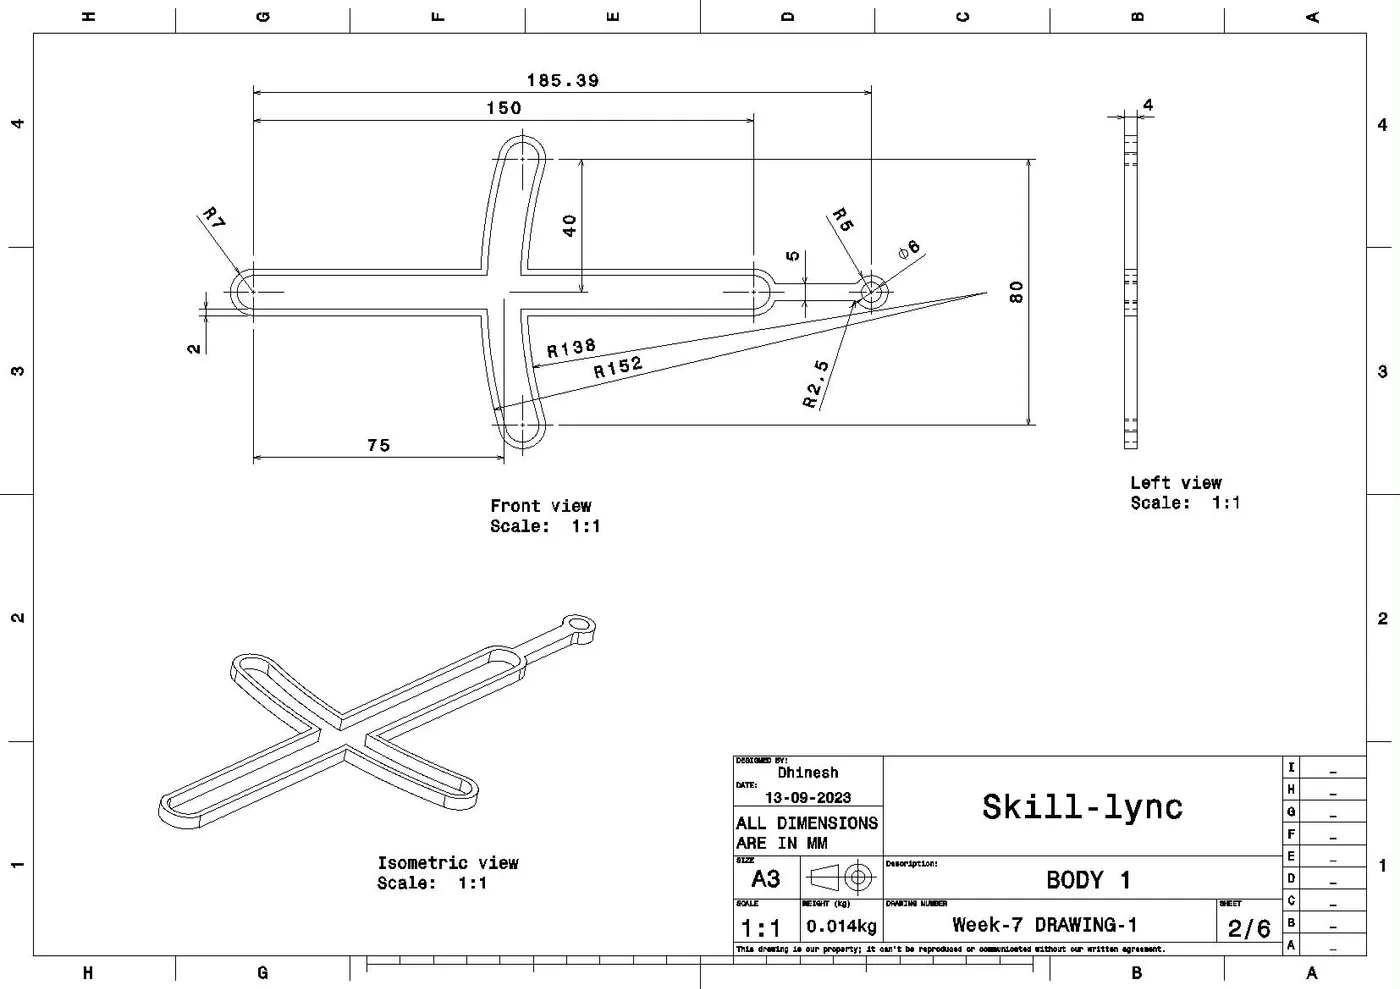
DRAFTING:
BODY 2:
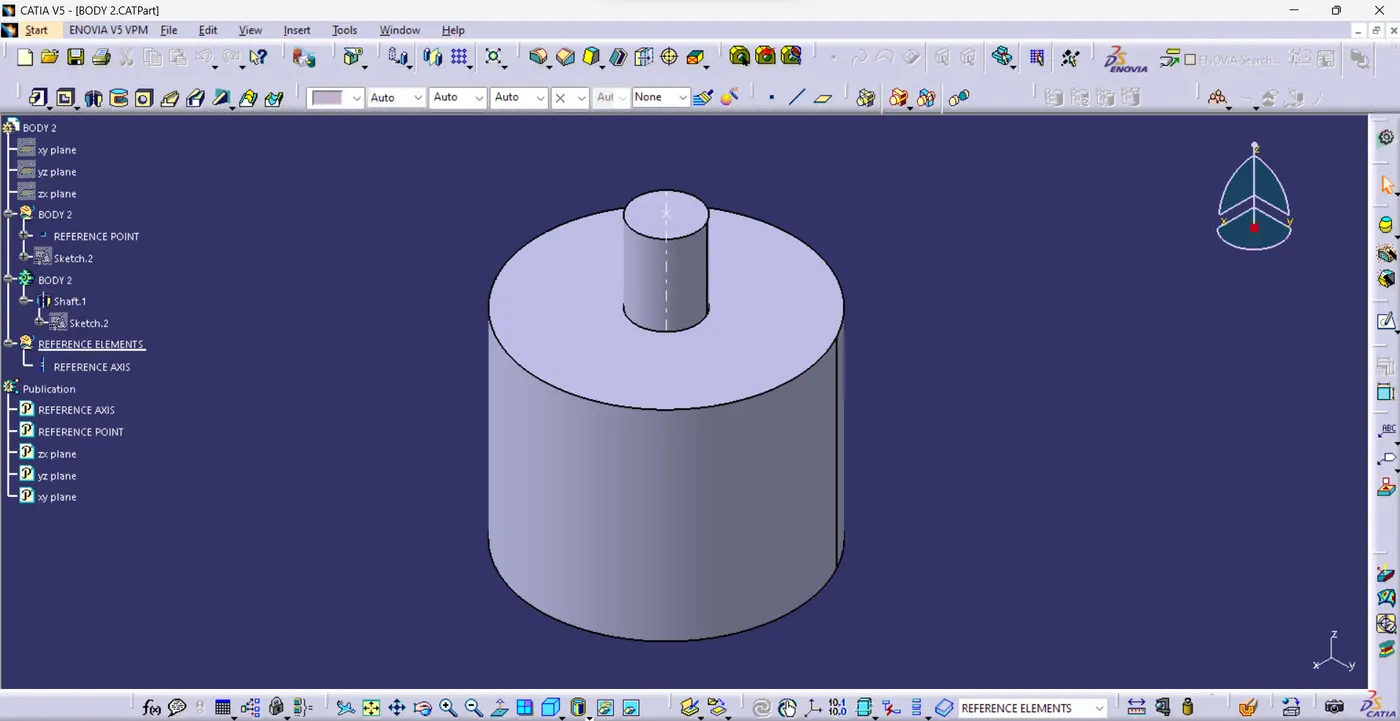
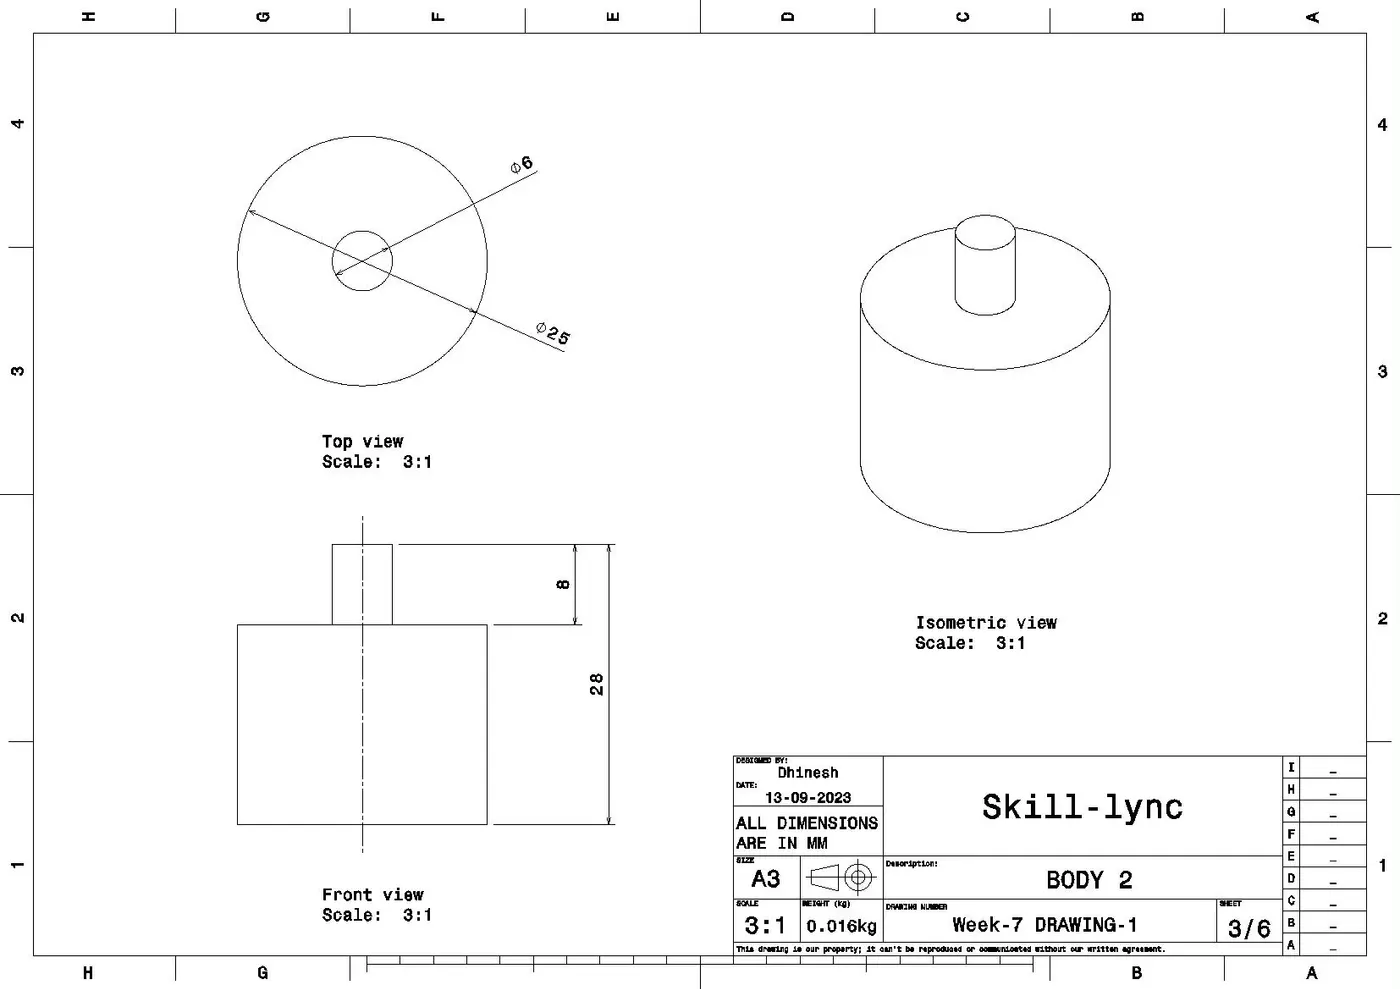
DRAFTING:
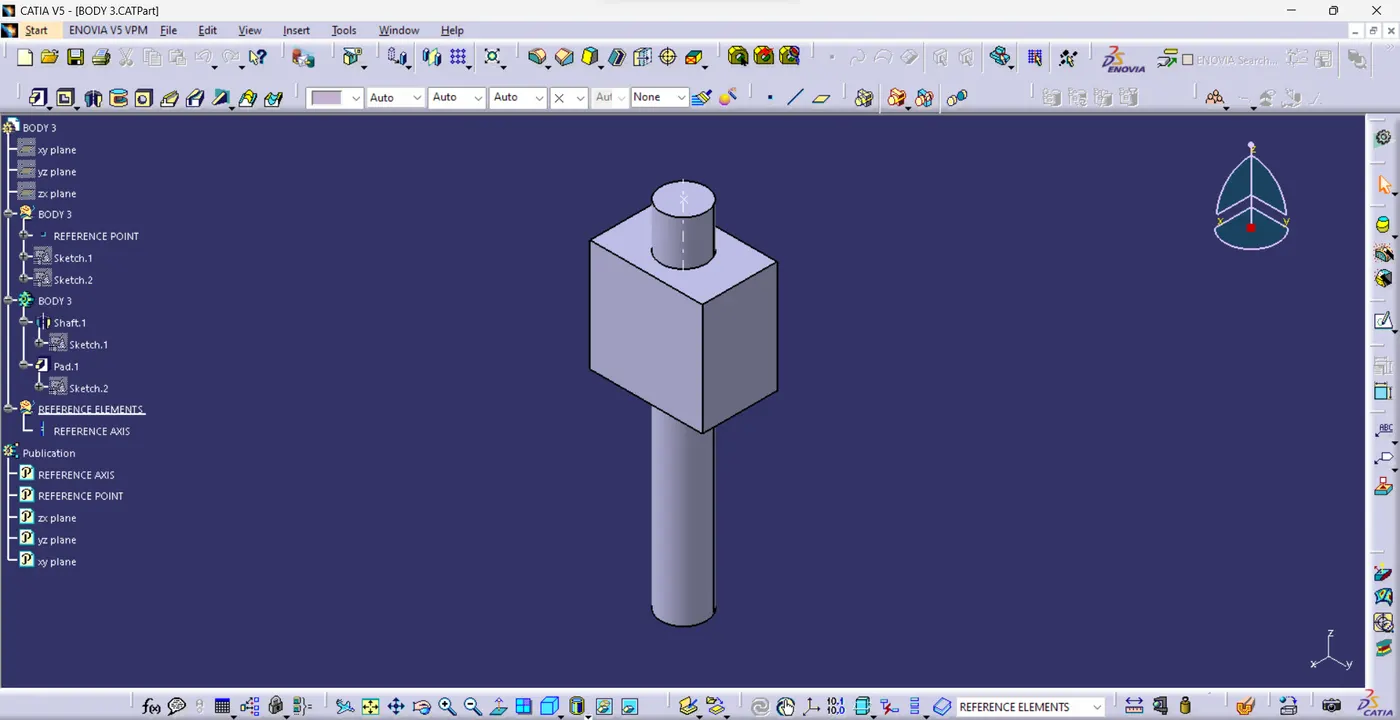
BODY 3:
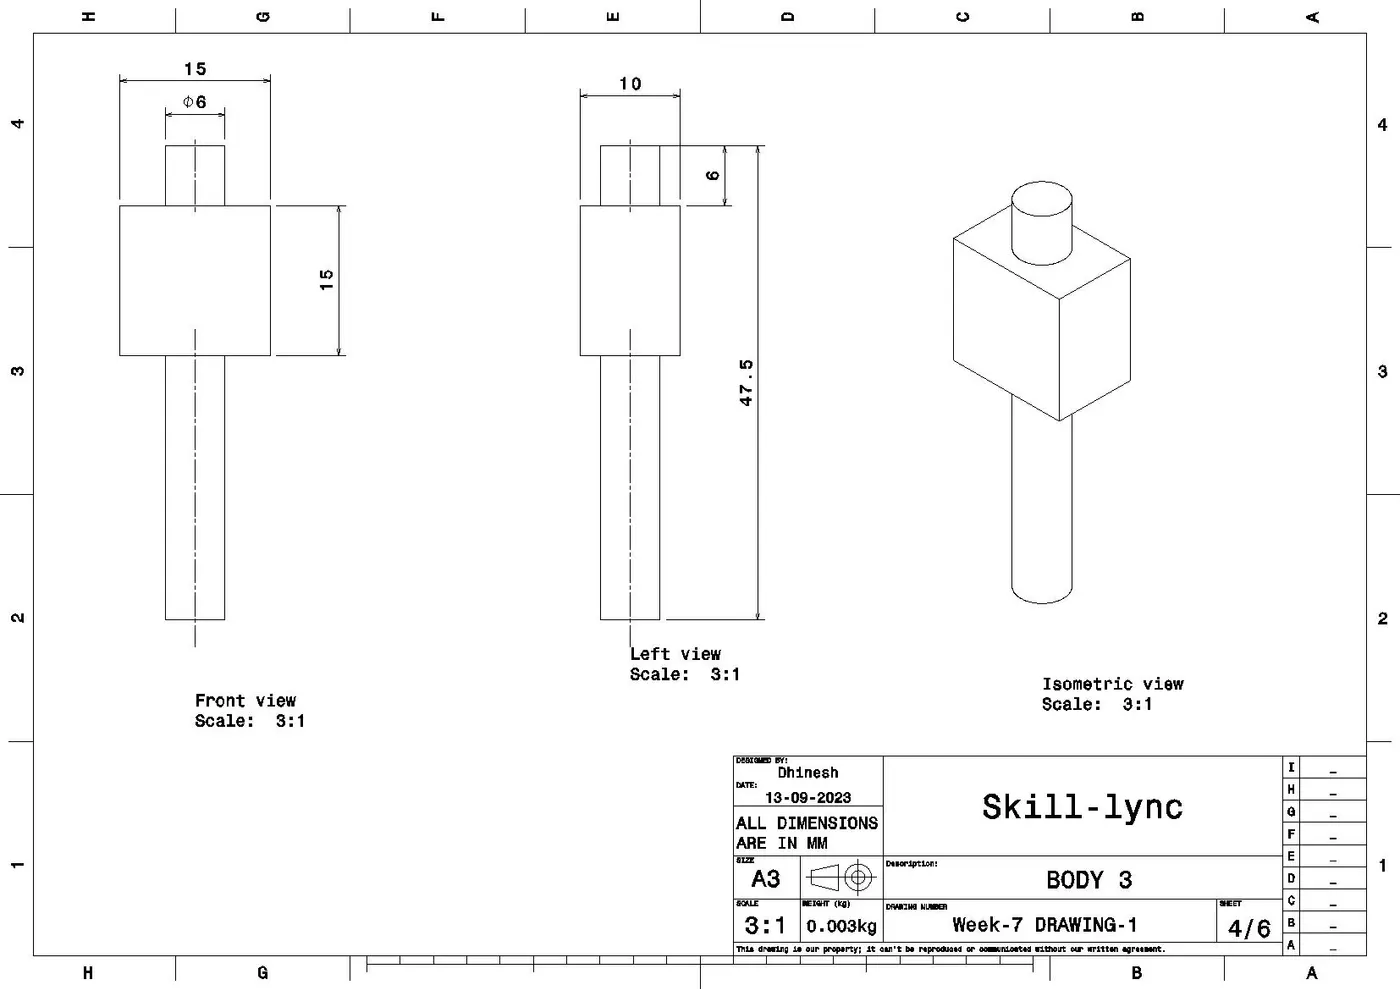
DRAFTING:
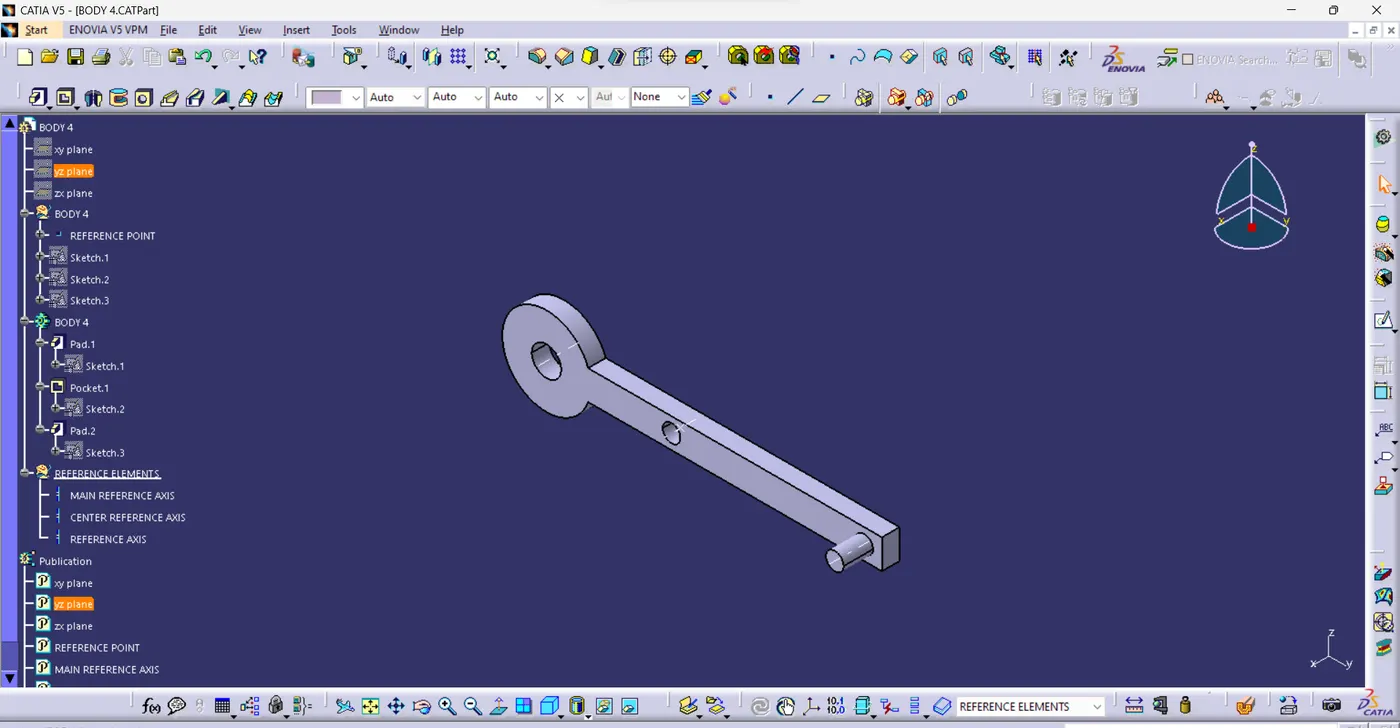
BODY 4:
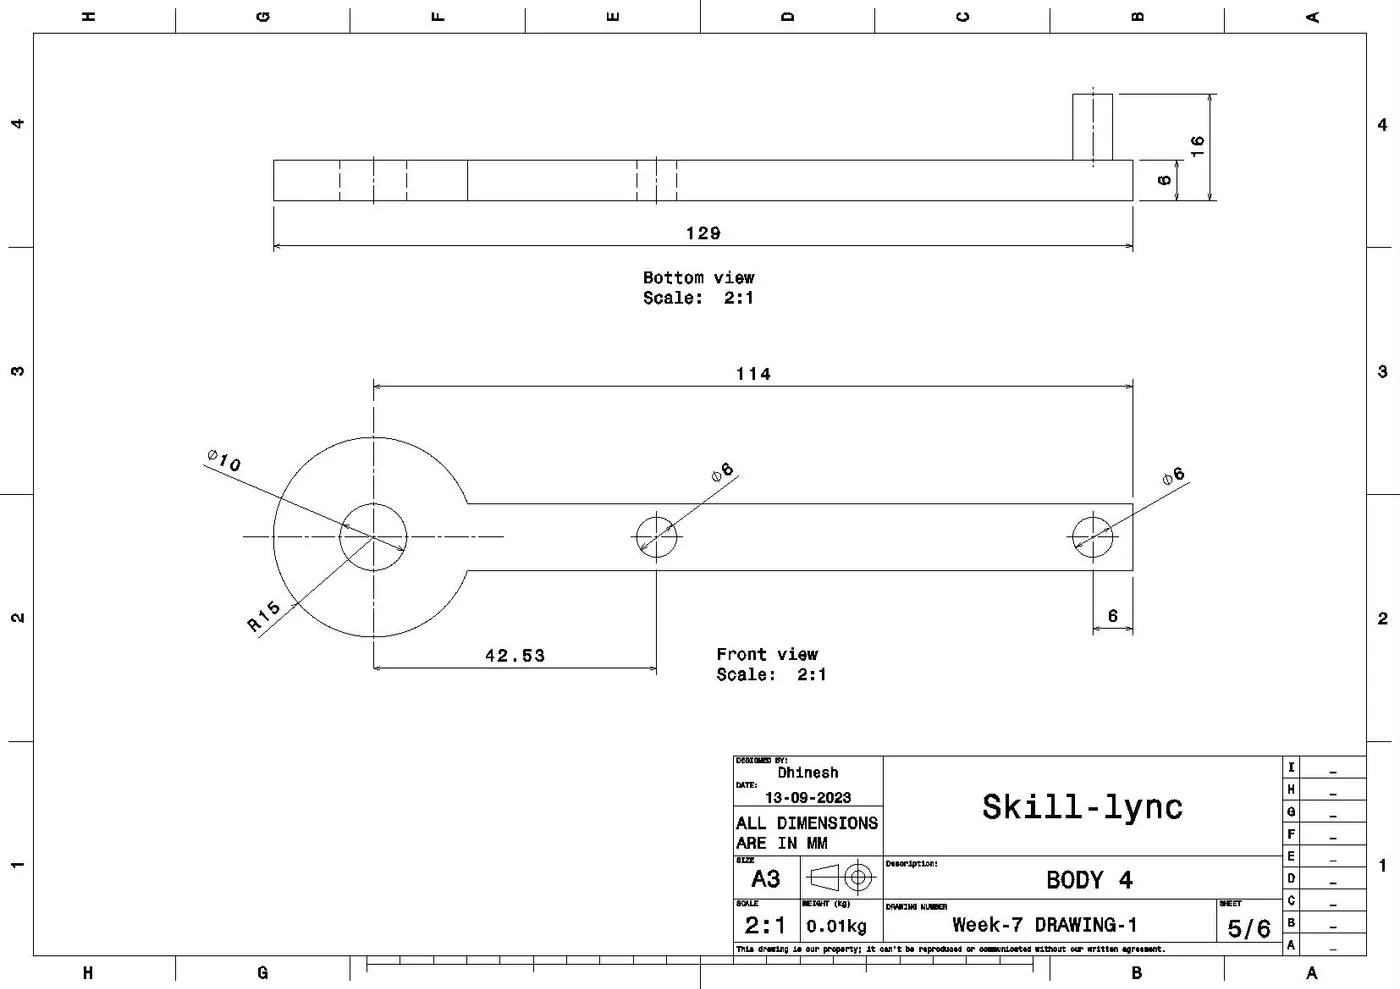
DRAFTING:
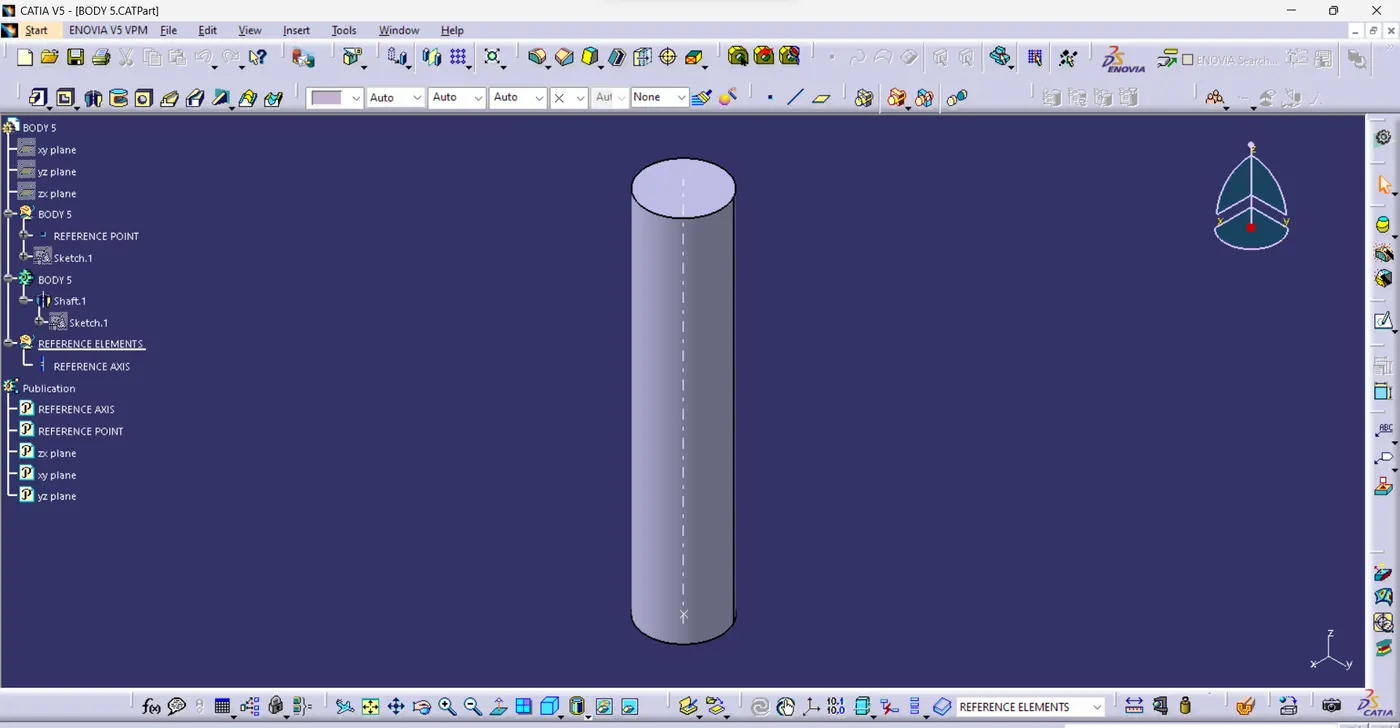
BODY 5:
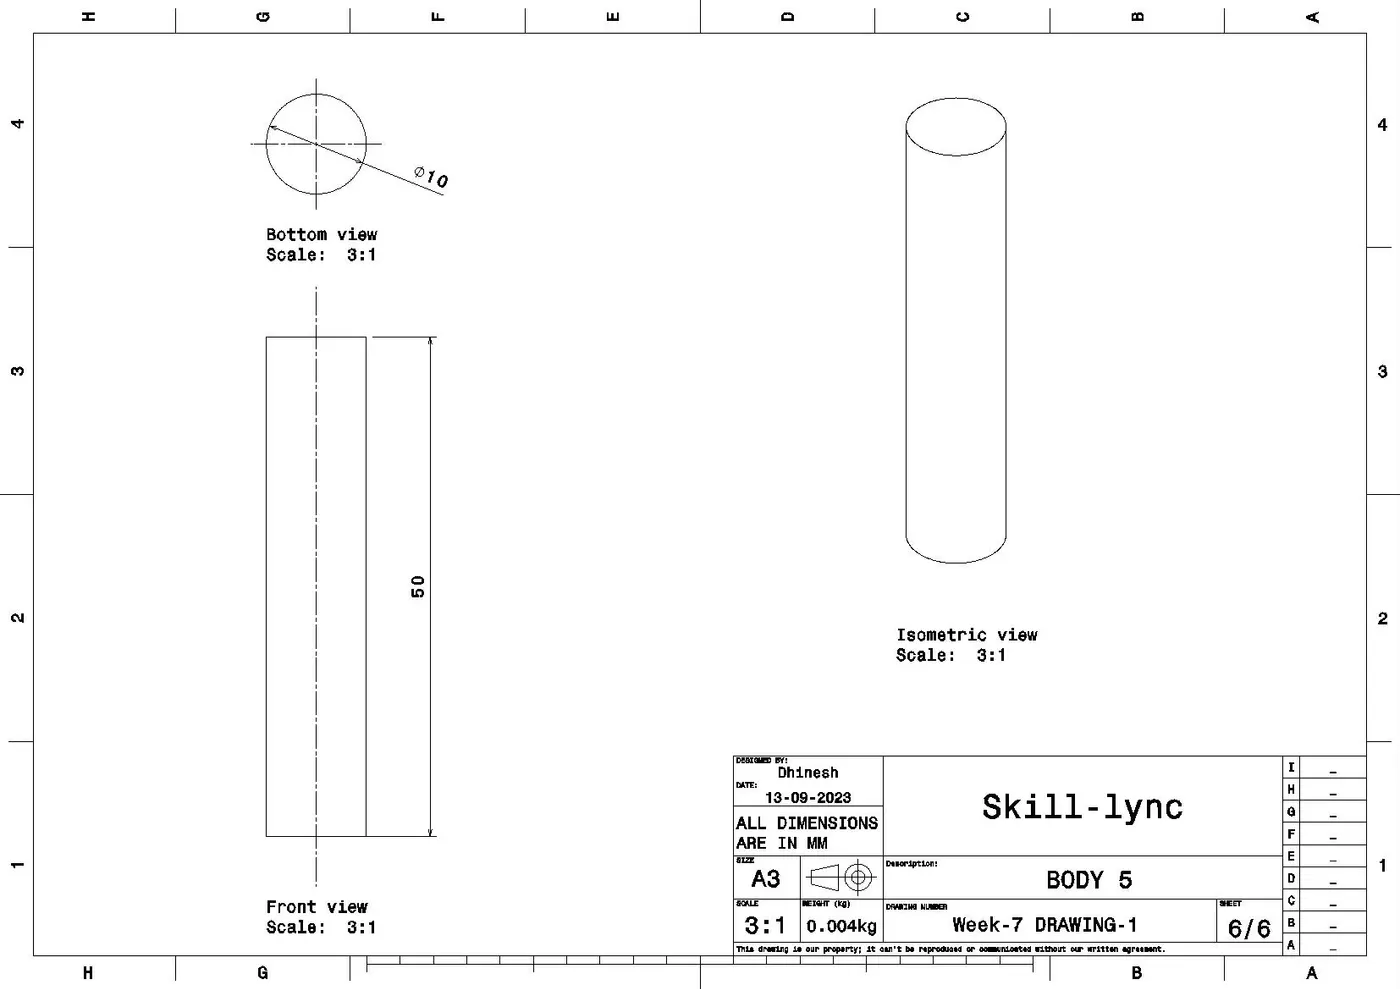
DRAFTING:
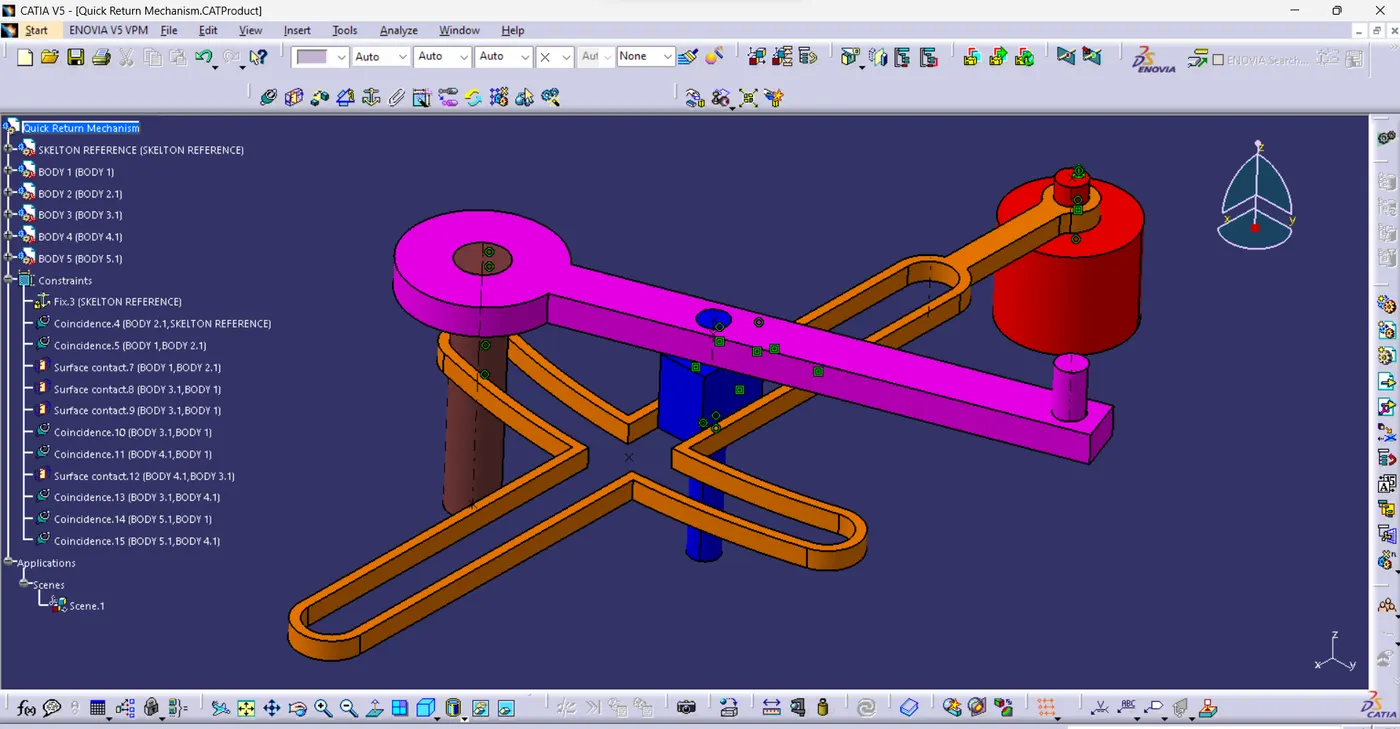
QUICK RETURN MECHANISM ASSEMBLY:
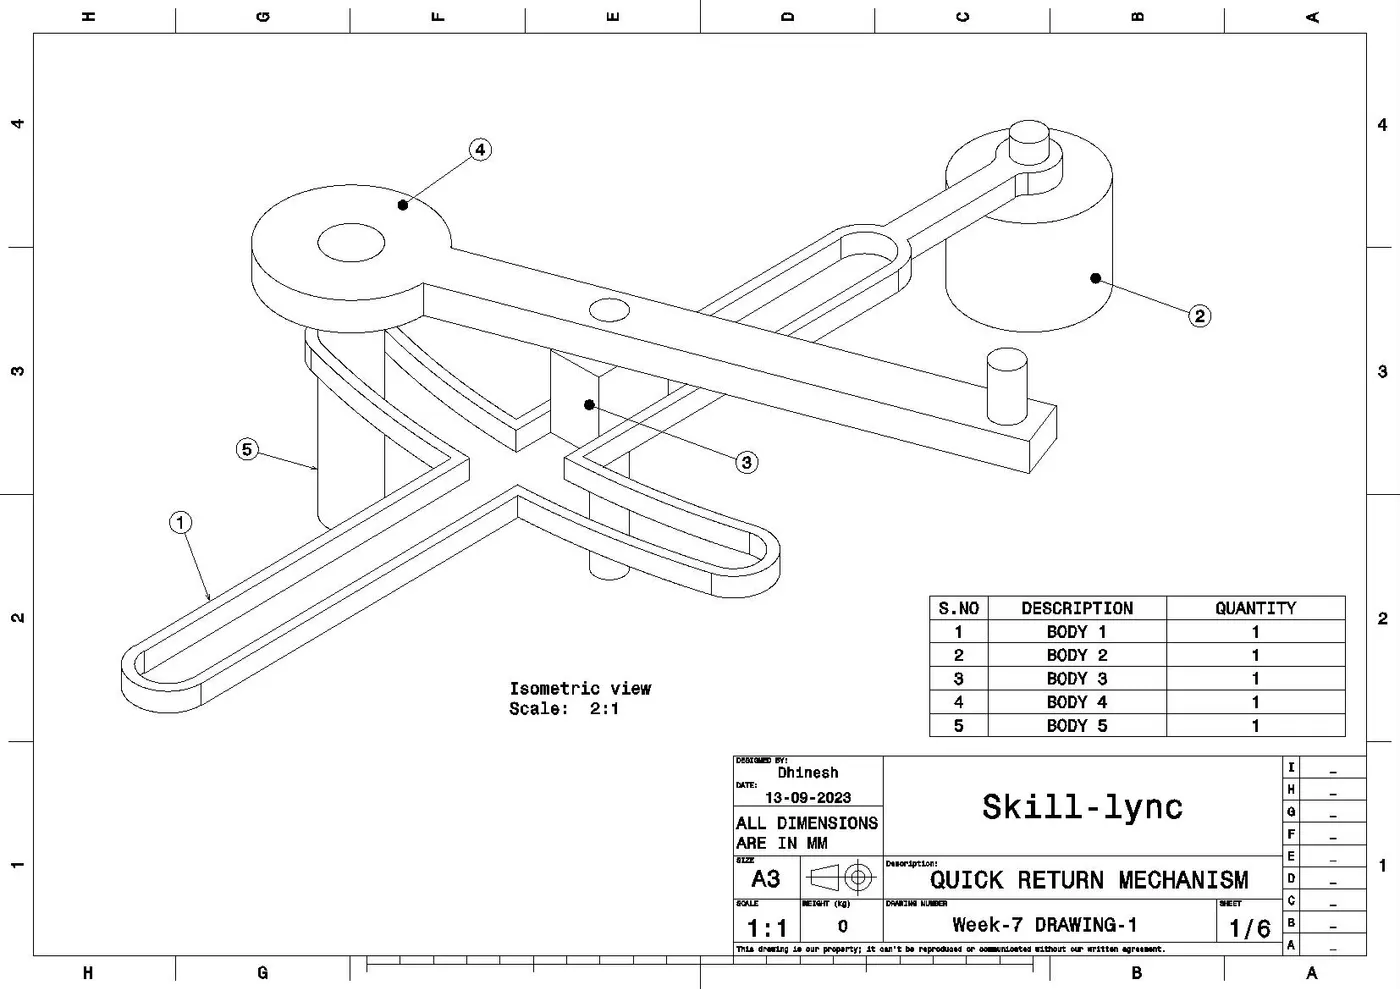
DRAFTING:
EXPLODED VIEW:
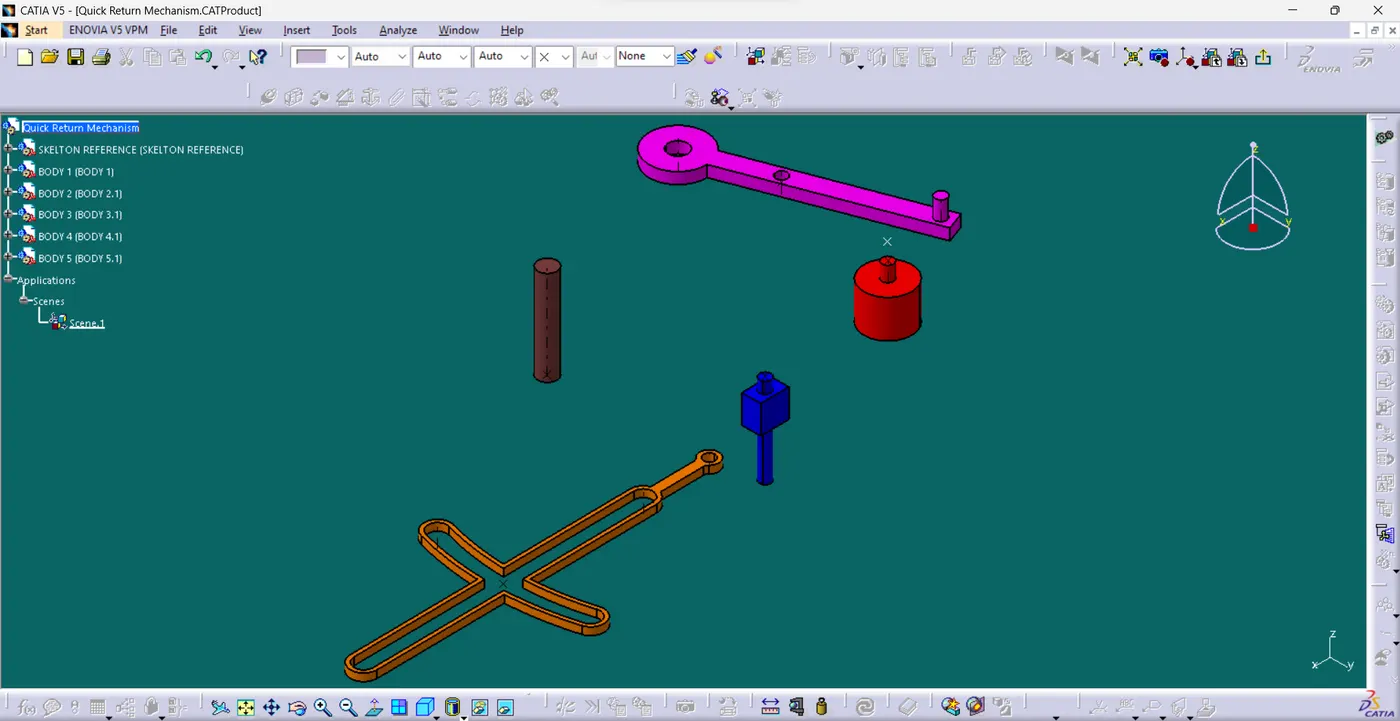
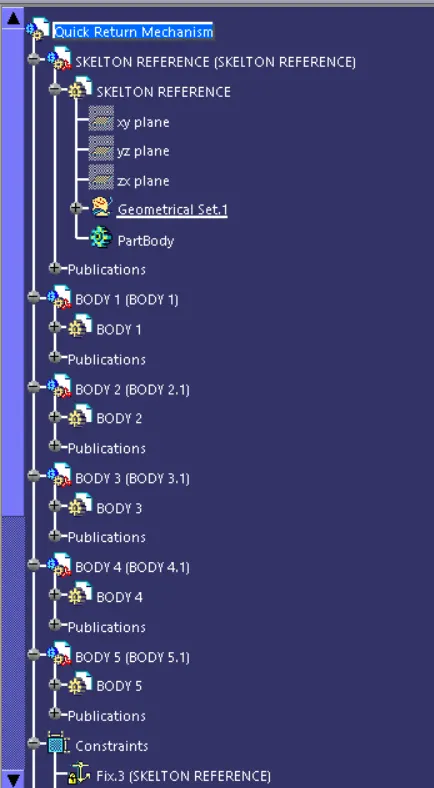
TREE STRUCTURE:
DRAWING-2 (CV JOINT):
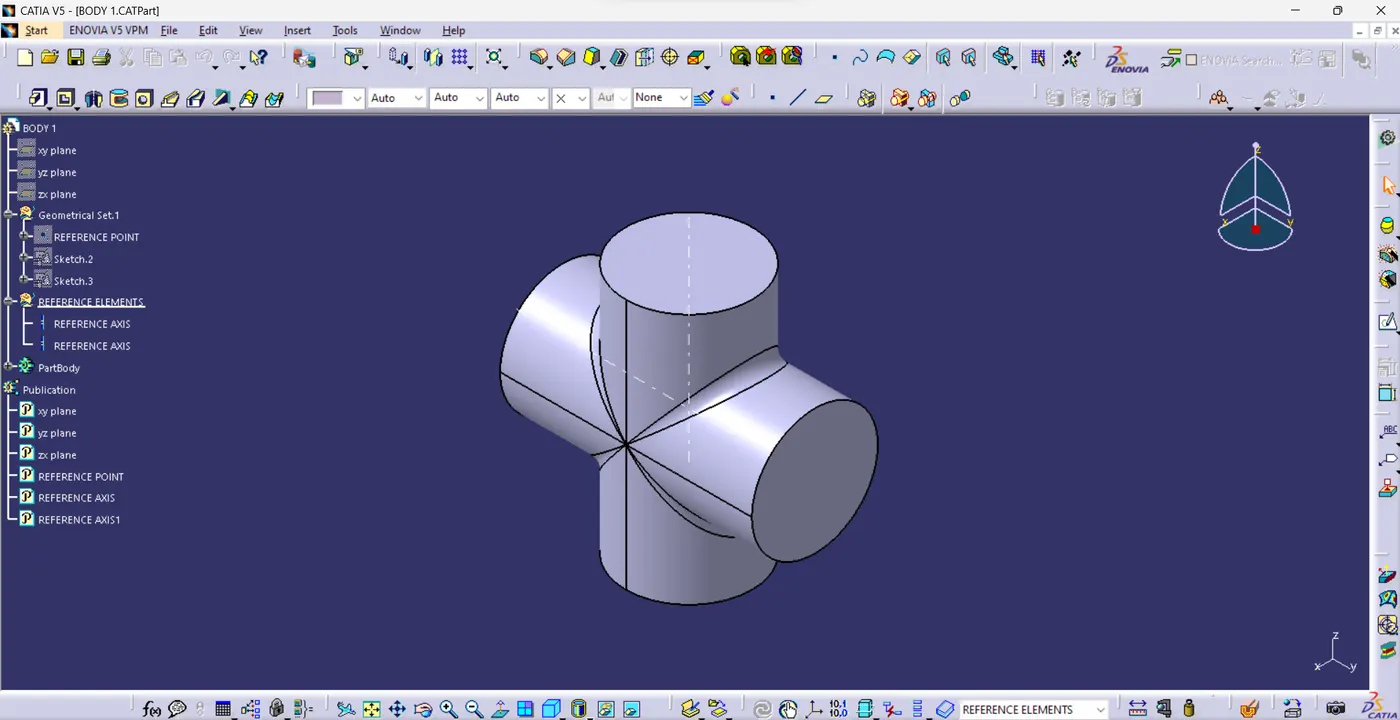
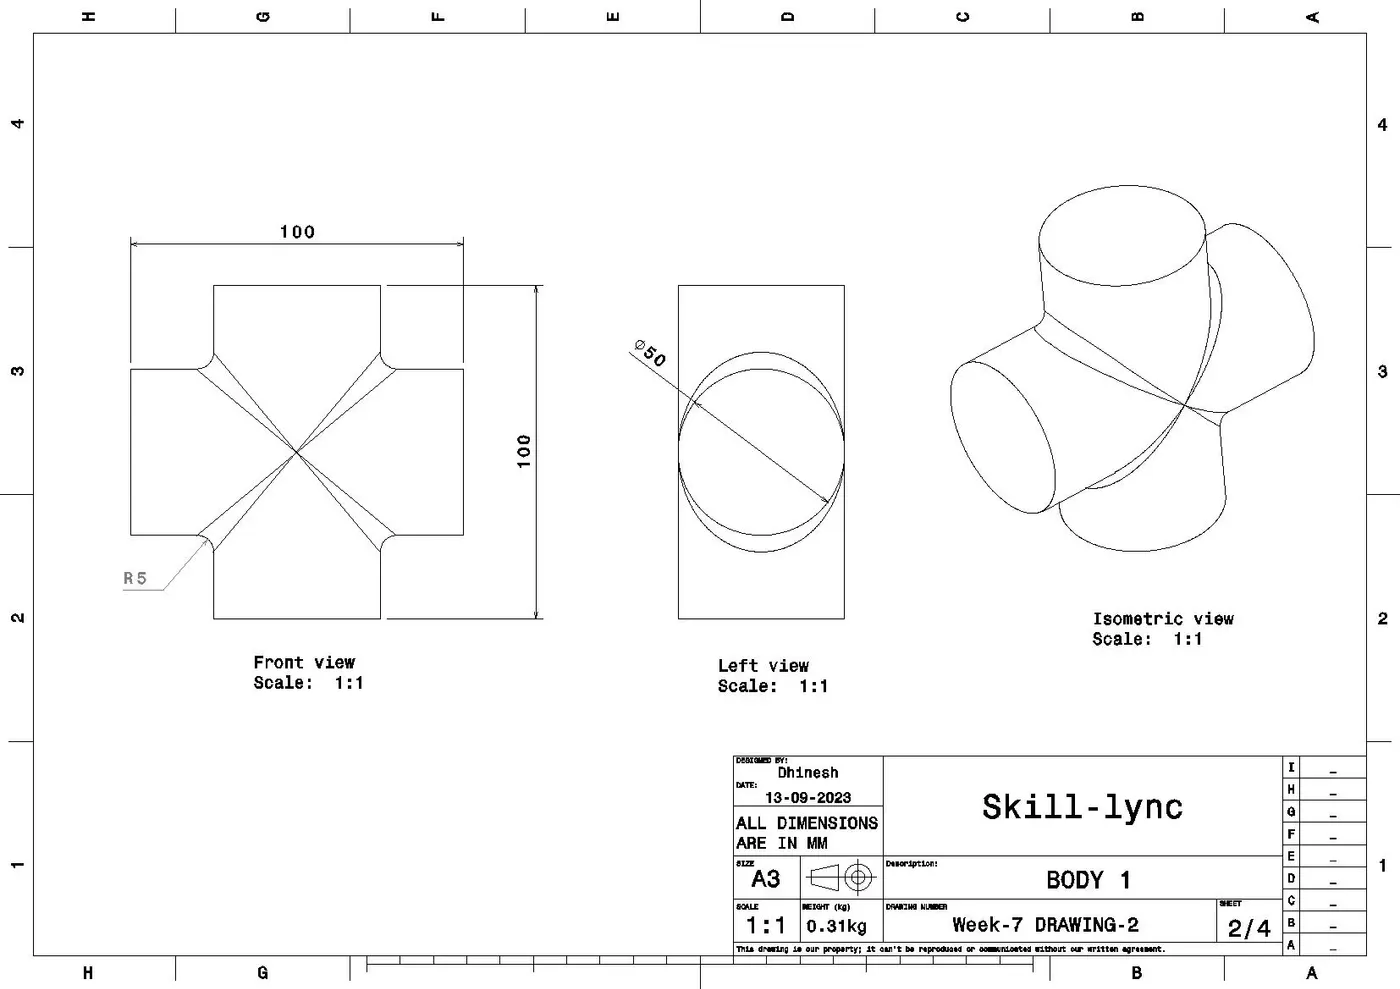
BODY 1:
DRAFTING:
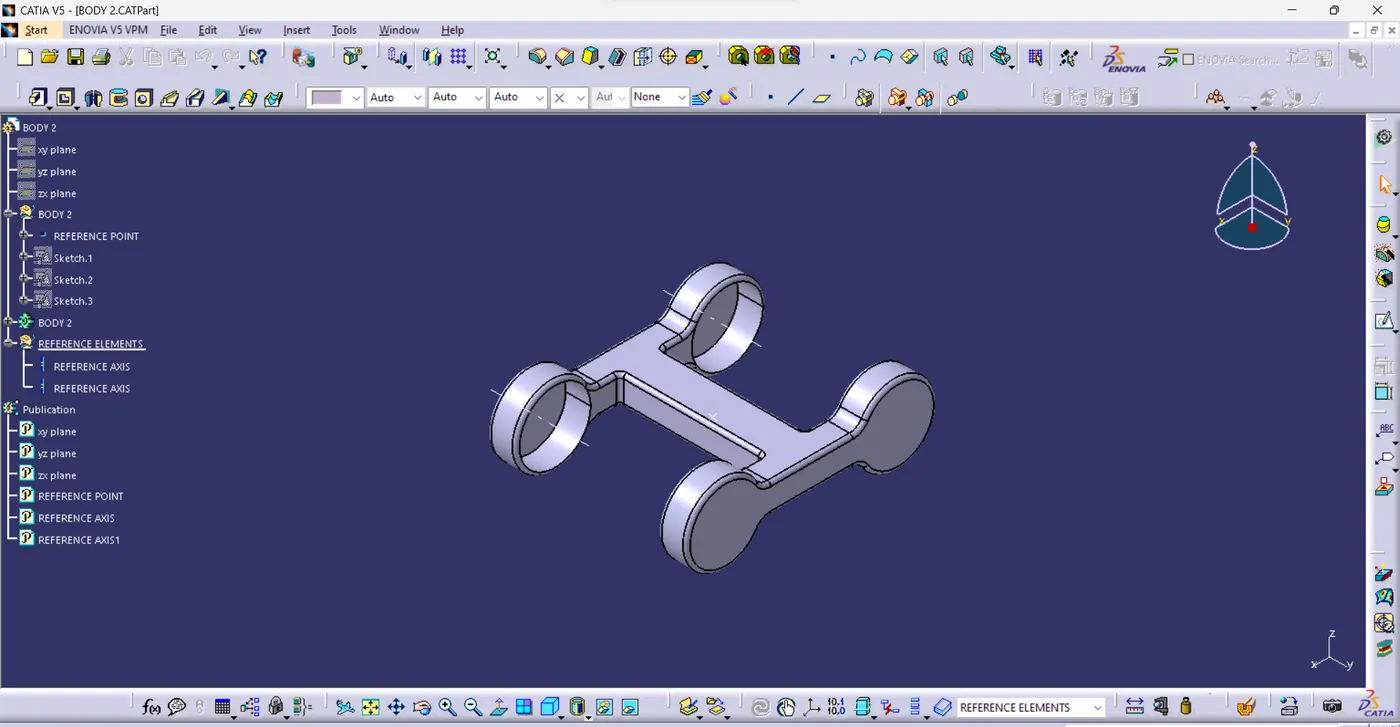
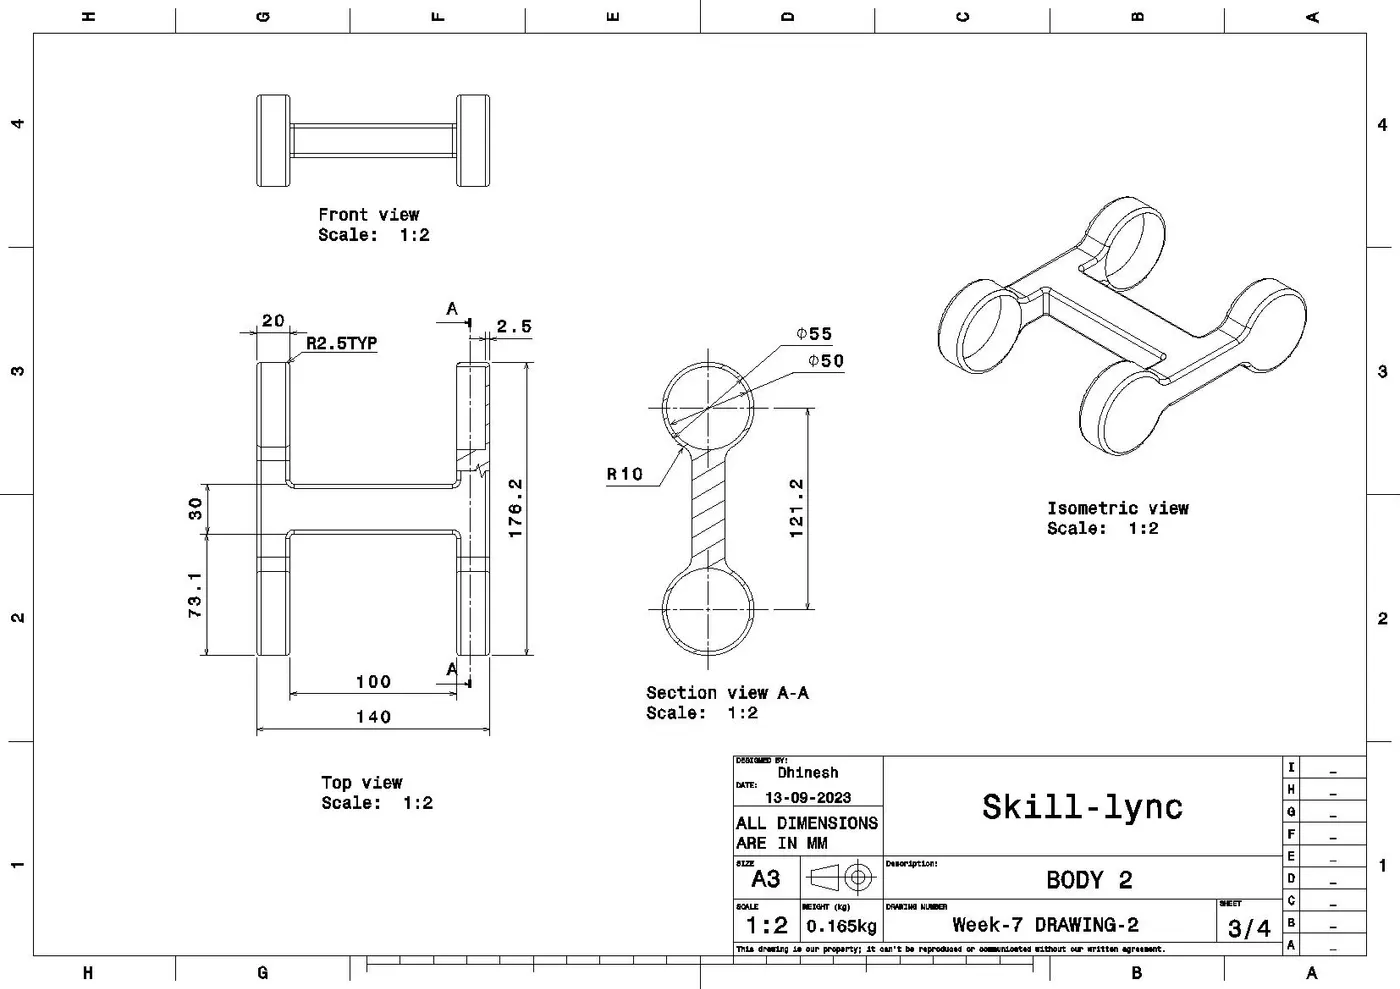
BODY 2:
DRAFTING:
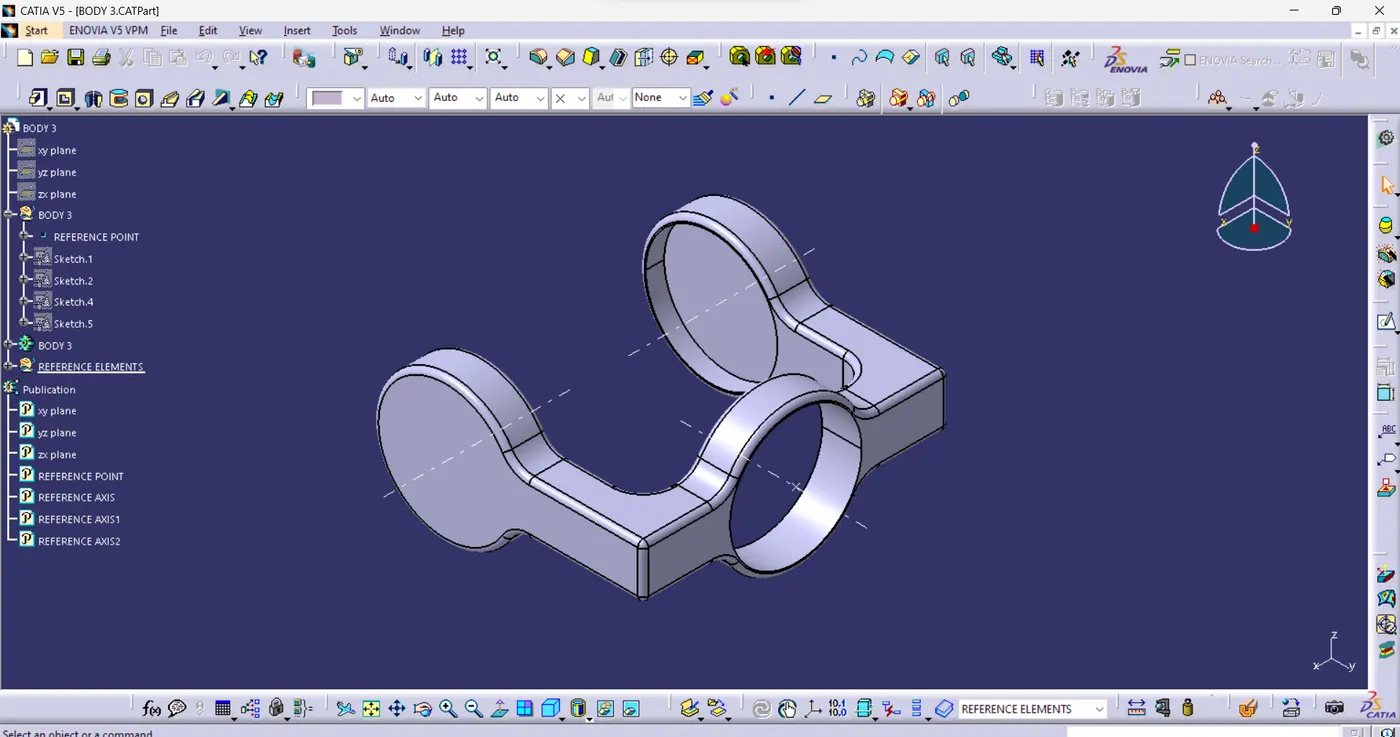
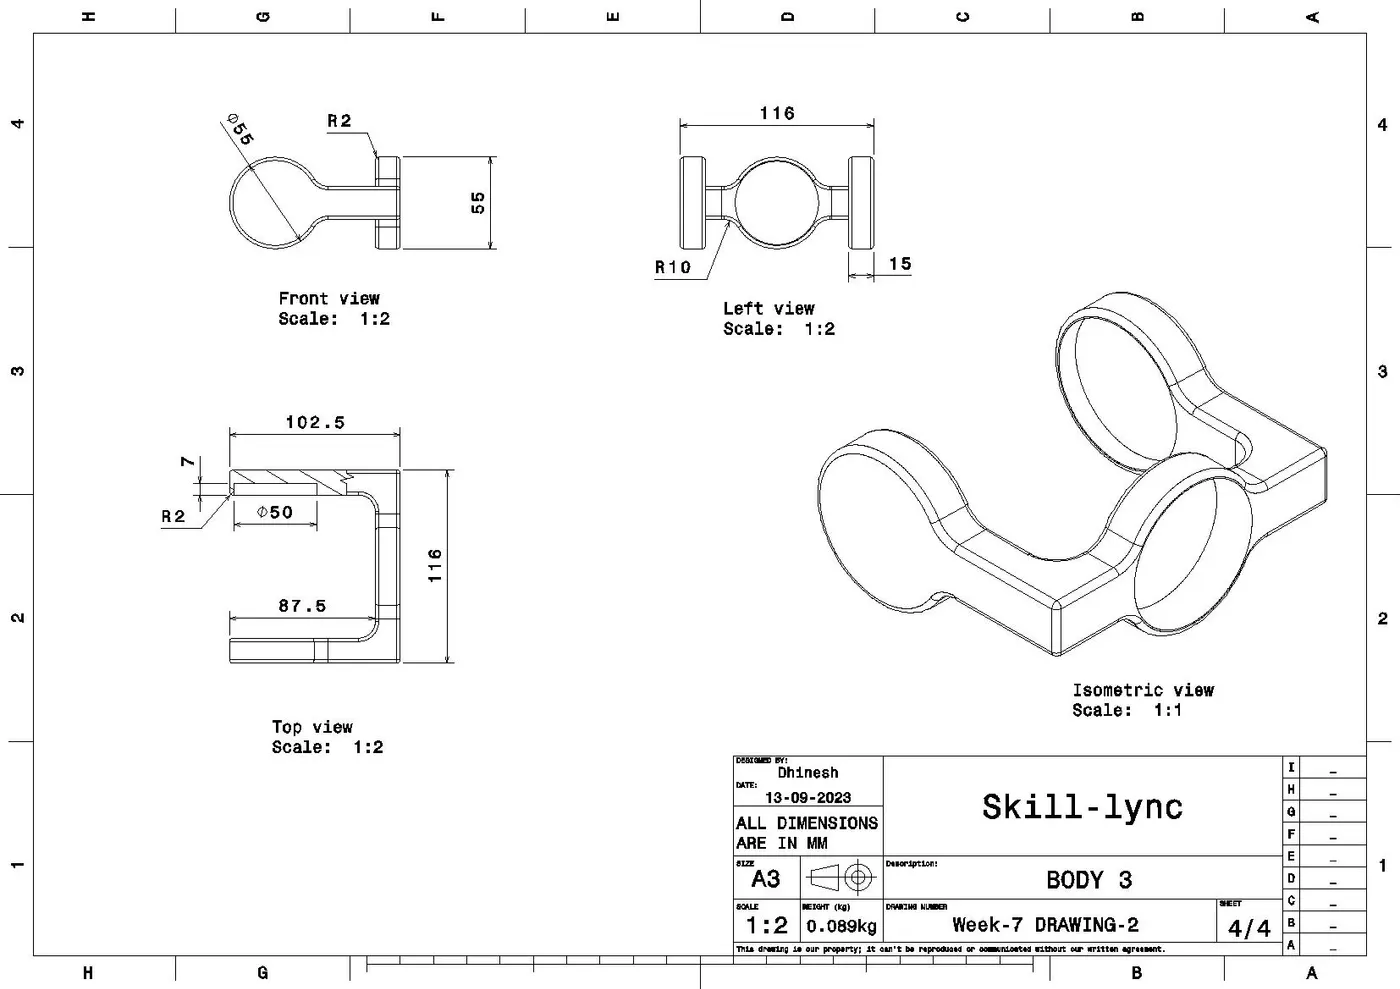
BODY 3:
DRAFTING:
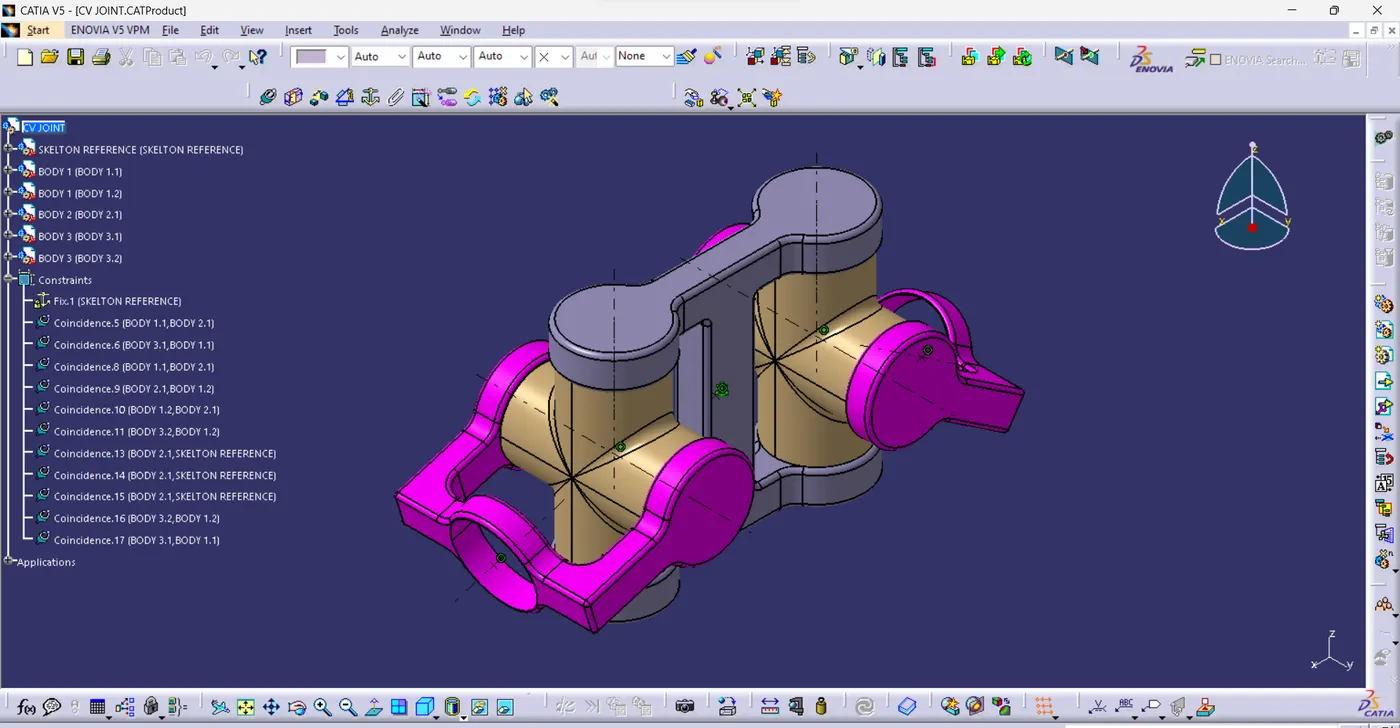
CV JOINT:
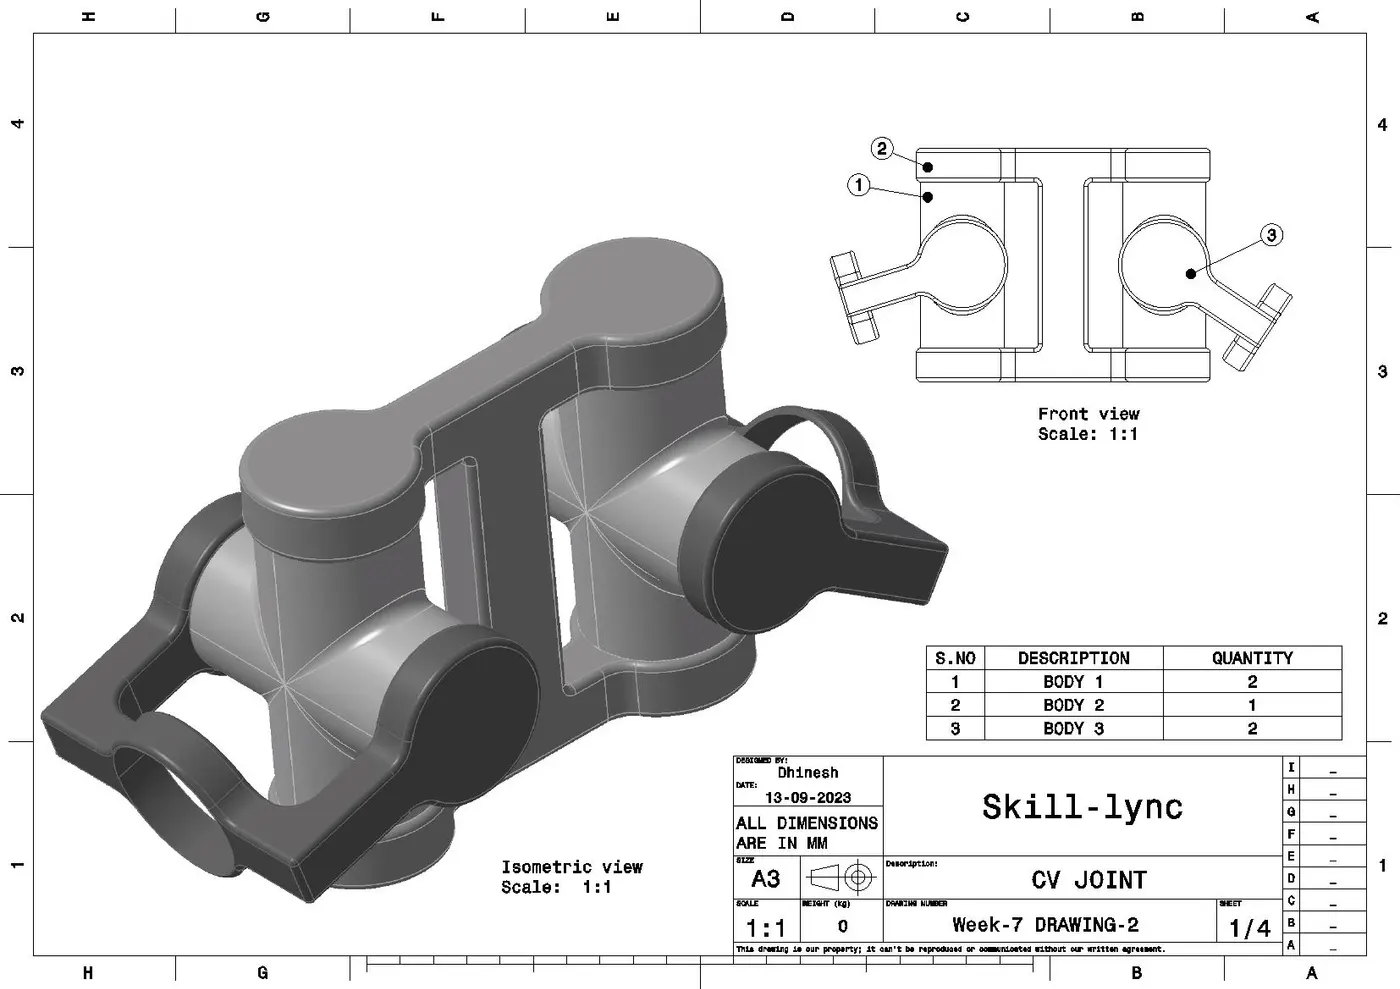
DRAFTING:
EXPLODED VIEW:
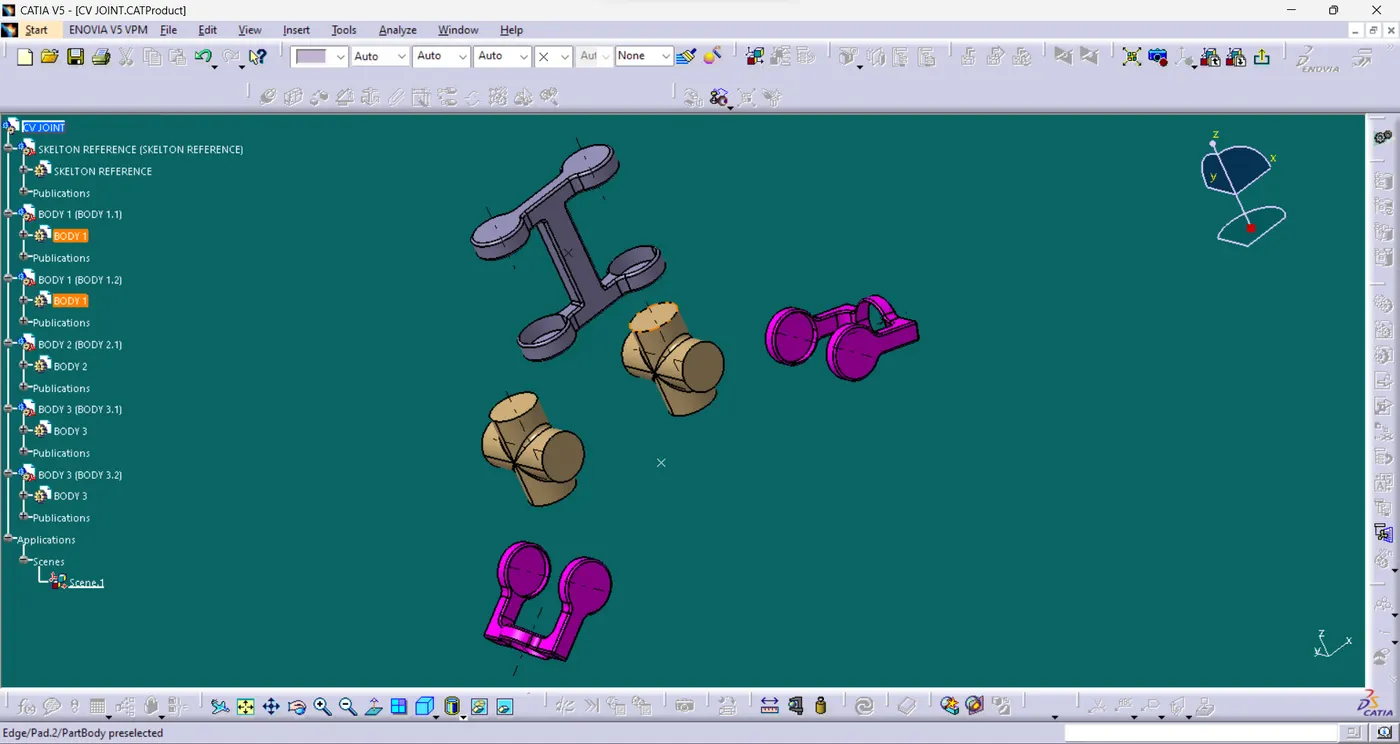
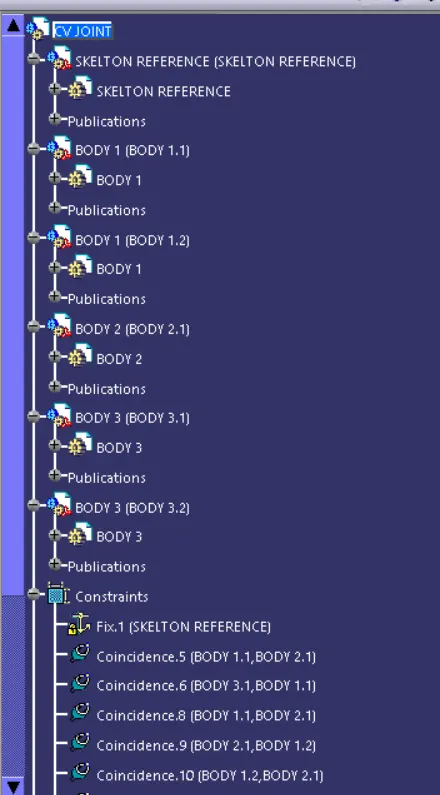
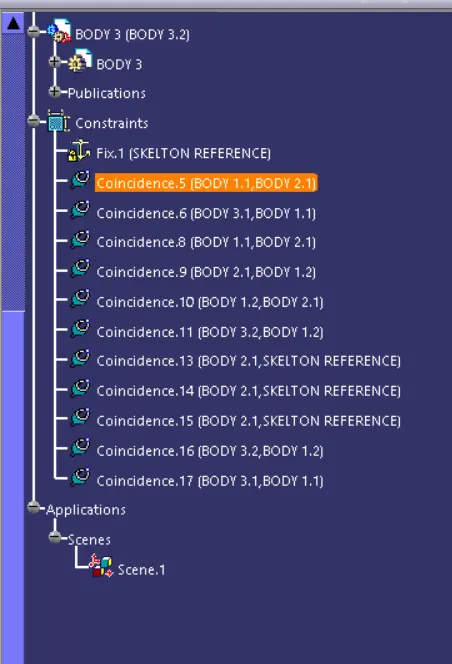
TREE STRUCTURE:
CONCLUSION:
The above report contains the preparing the part bodys and complete the assembly in CATIA Software. And created the 2D Draftings.