Week 7 Challenge - Assembly Workbench
ASSEMBLY WORKBENCH CHALLENGE (WEEK 7)
For Week 7 Challenge, we were tasked to create 2 assemblies based on the 2D diagrams of the components. First, the individual parts of the assembly were created and then the complete product was assembled by providing the necessary constraints in the Assembly Workbench. Finally, a 2D drawing of the assembled product and the individual parts was created in the Drafting Workbench.
1) Quick Return Motion Mechanism Assembly:-
The Quick Return Motion mechanism assembly consist of 5 individual parts. The process followed to create these parts is the same.
- A complete part is broken down into smaller and simpler sub-divisions which are then sketched in separate Geometrical sets using the Sketcher Workbench.
- The sketches are used in the Part Design Workbench to create a 3D solid.
- These sub-divisions are then added, removed or trimmed from the Part Body using Boolean Operations to create the complete Part.
- Body 1:
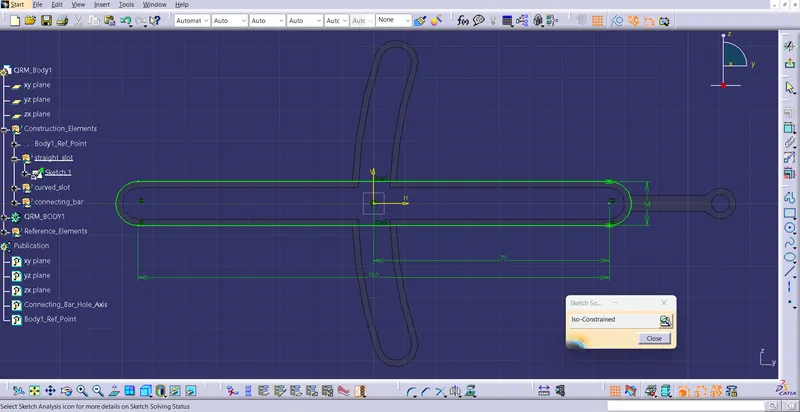
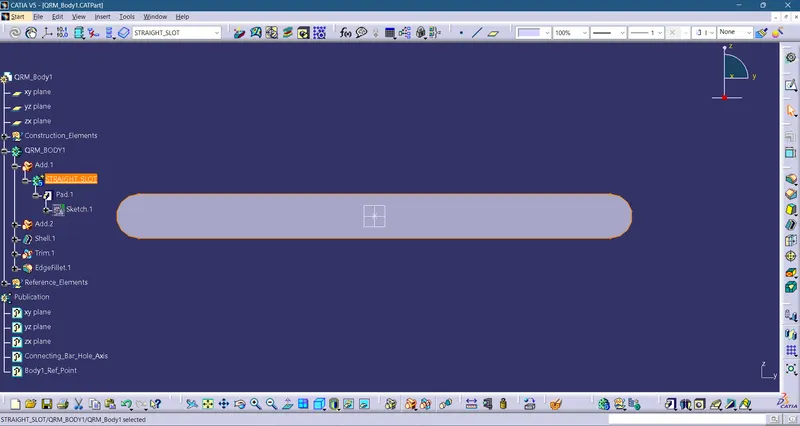
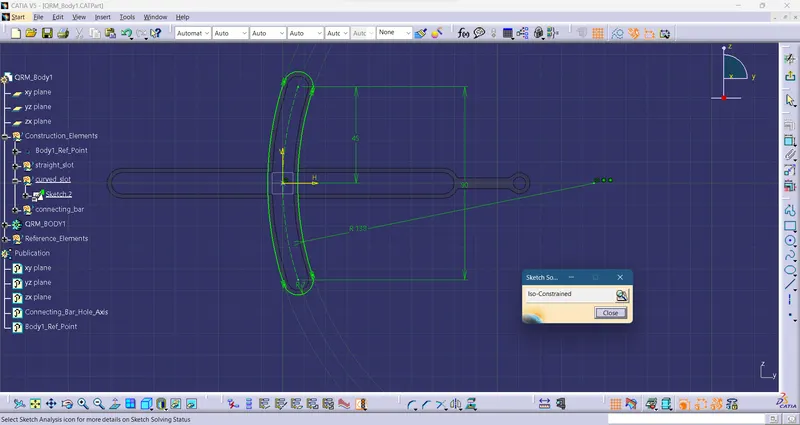
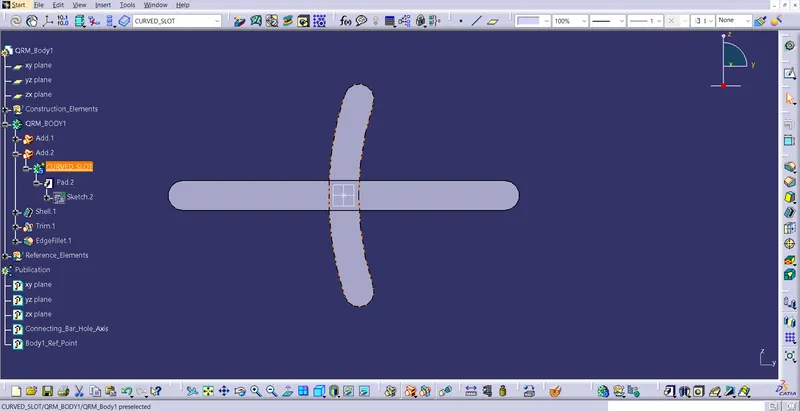
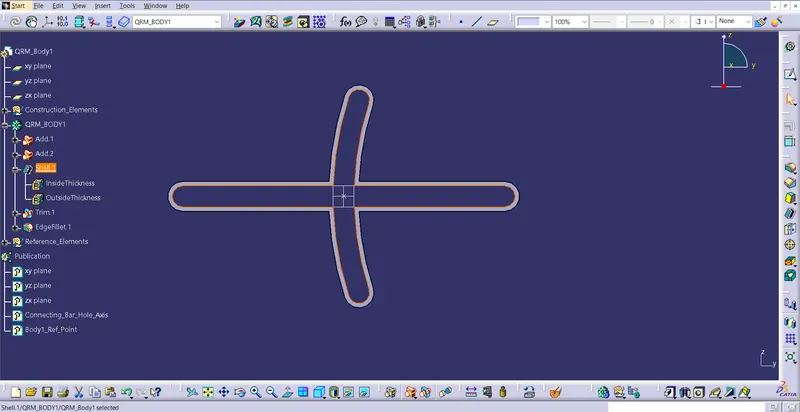
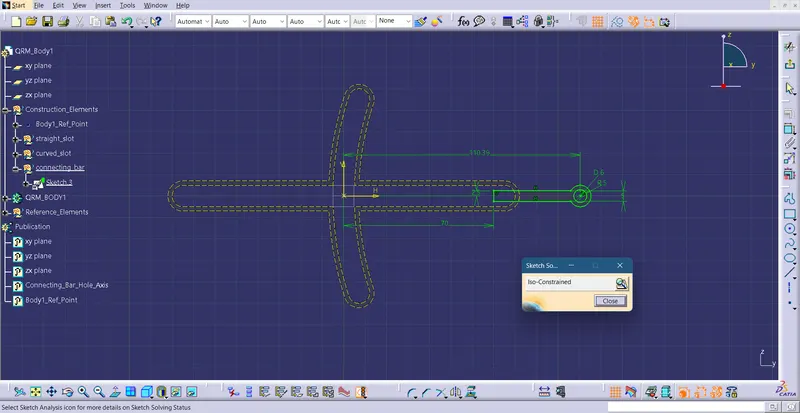
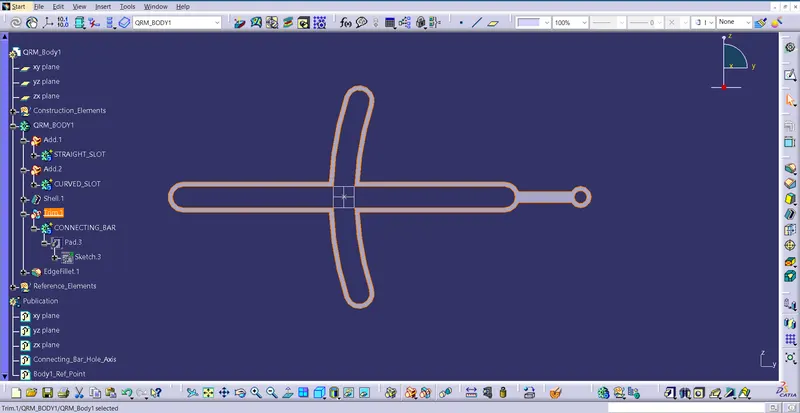
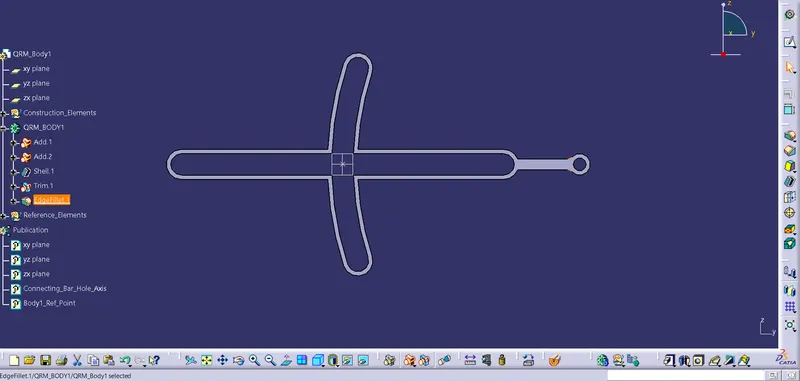
=> The complete part is imported into the Assembly Workbench.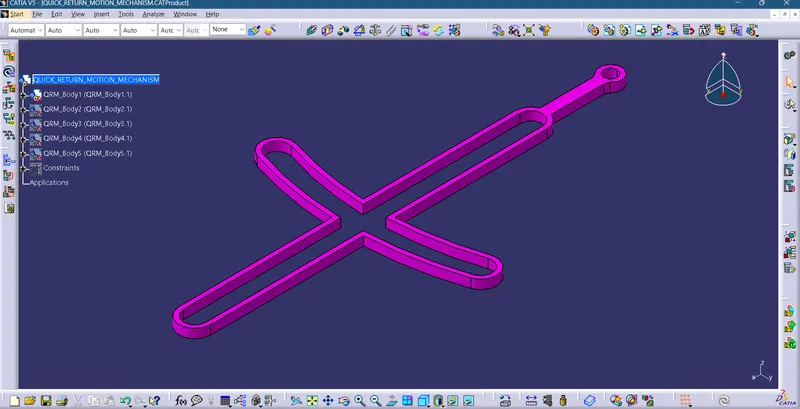
- Body 2:
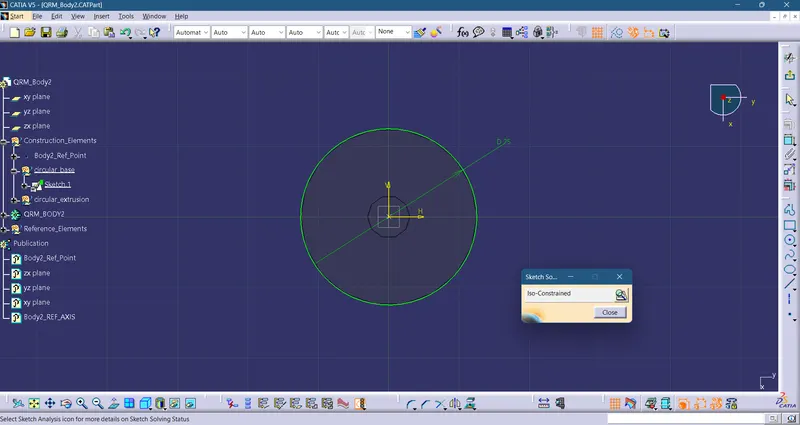
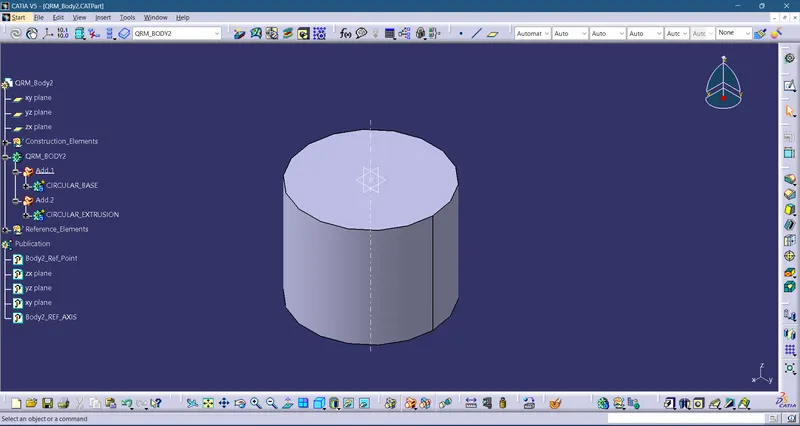
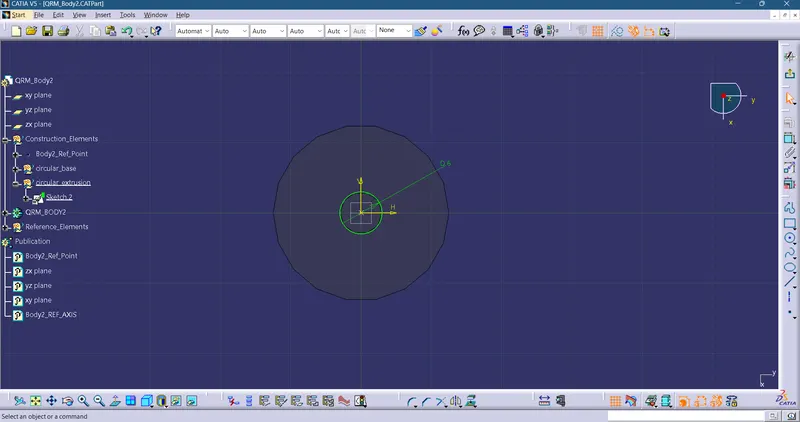
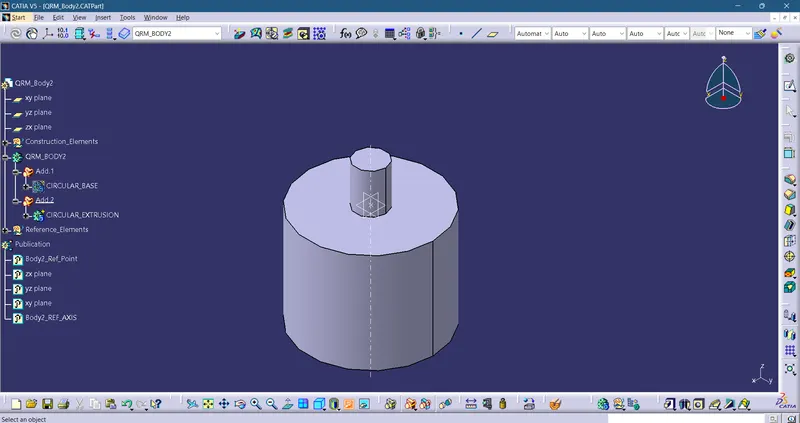
=> The complete part is imported into the Assembly Workbench.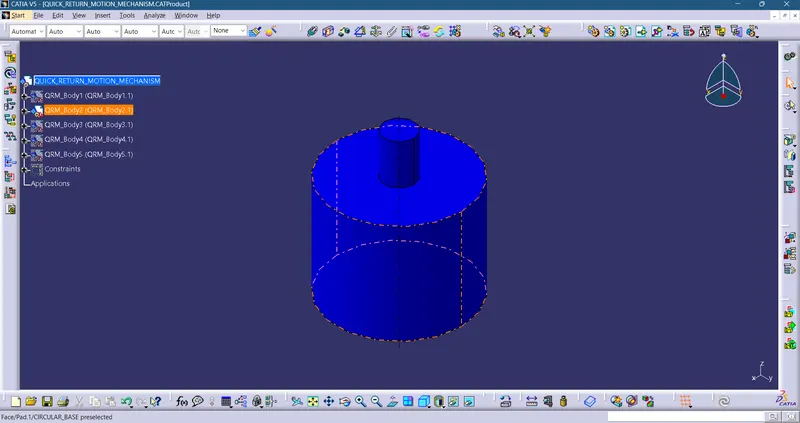
- Body 3:
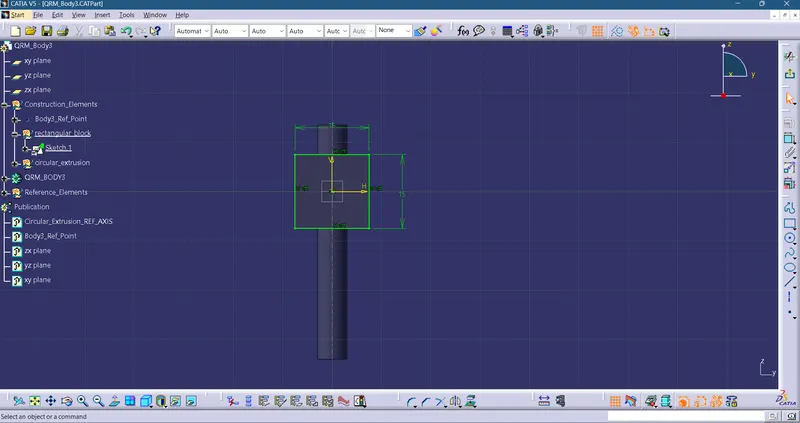
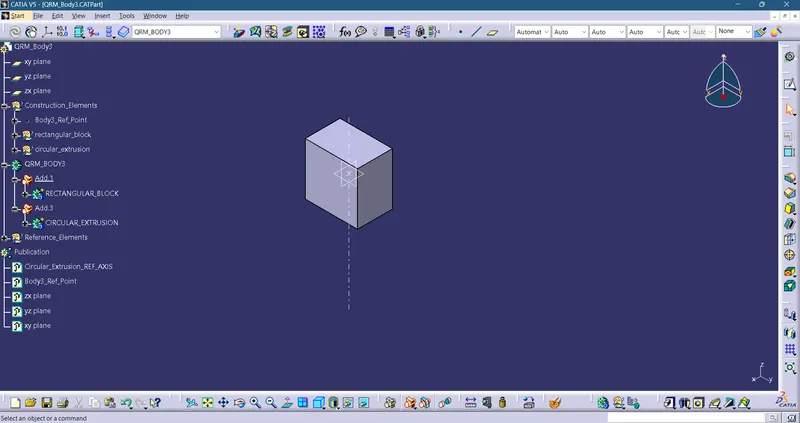
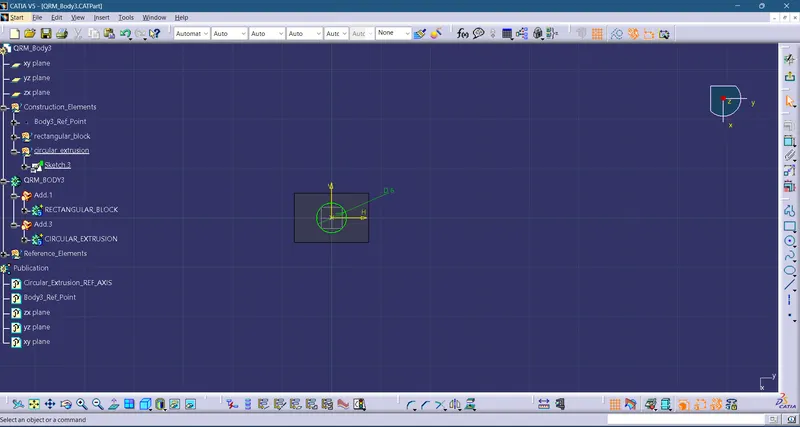
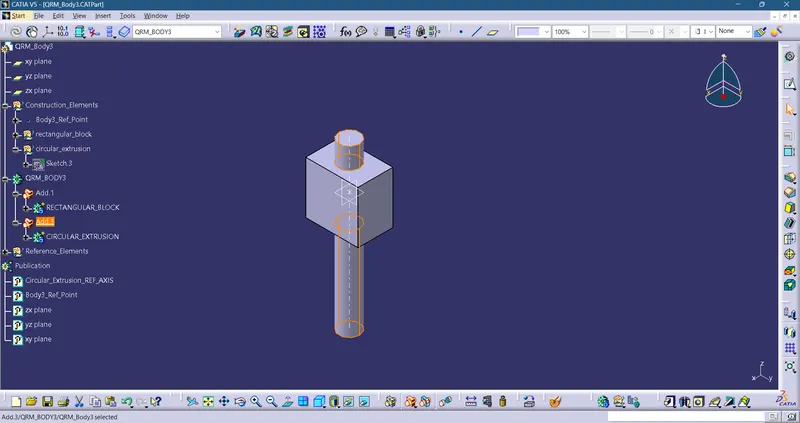
=> The complete part is imported into the Assembly Workbench.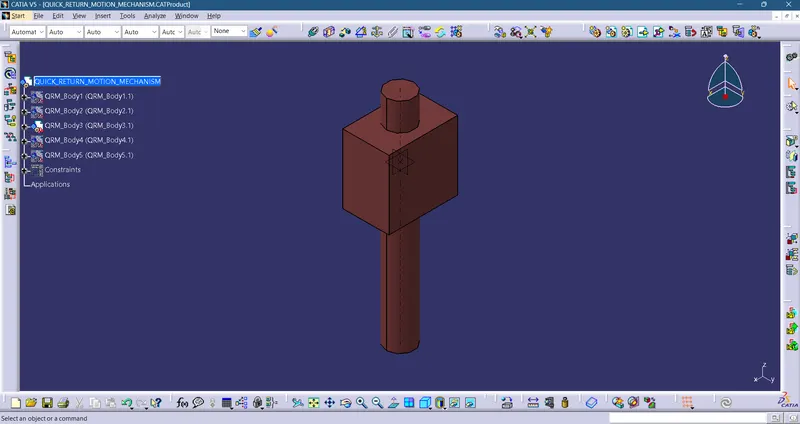
- Body 4:
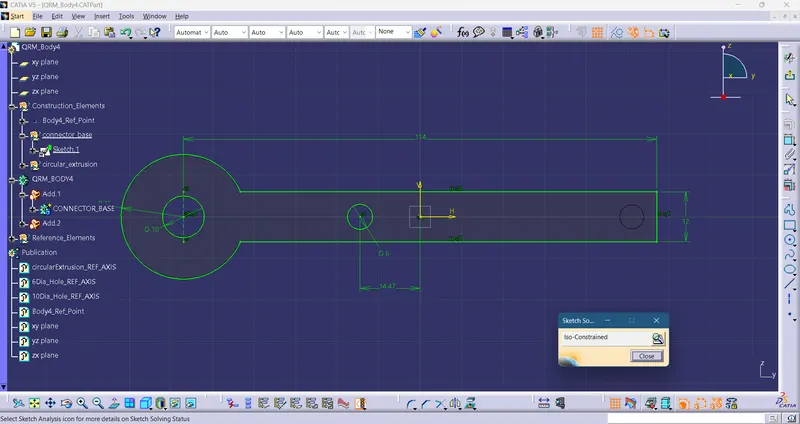
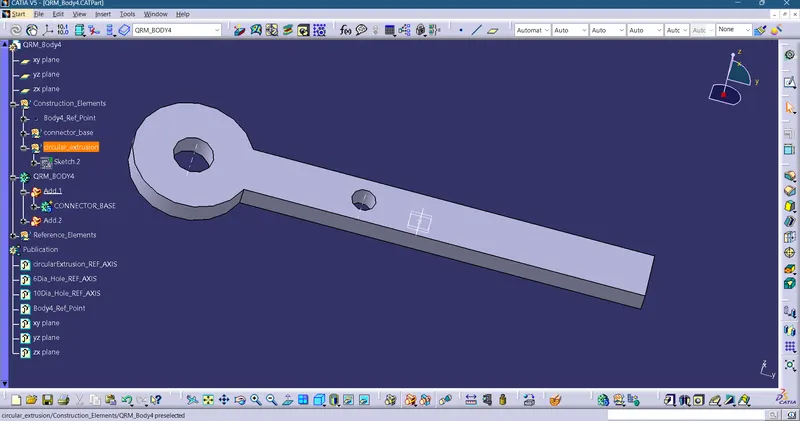
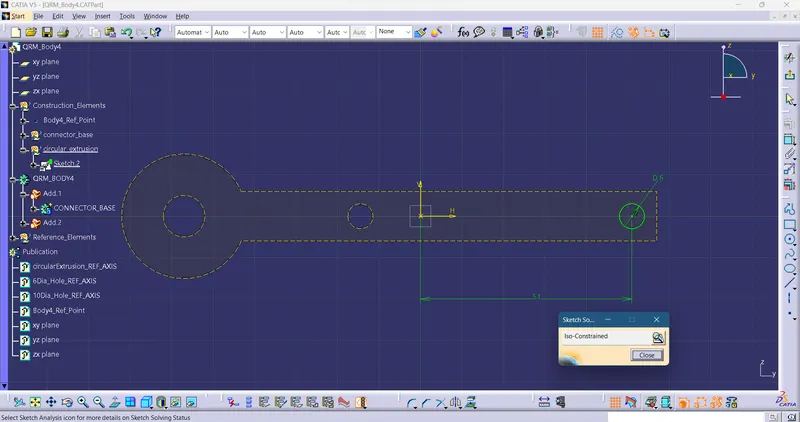
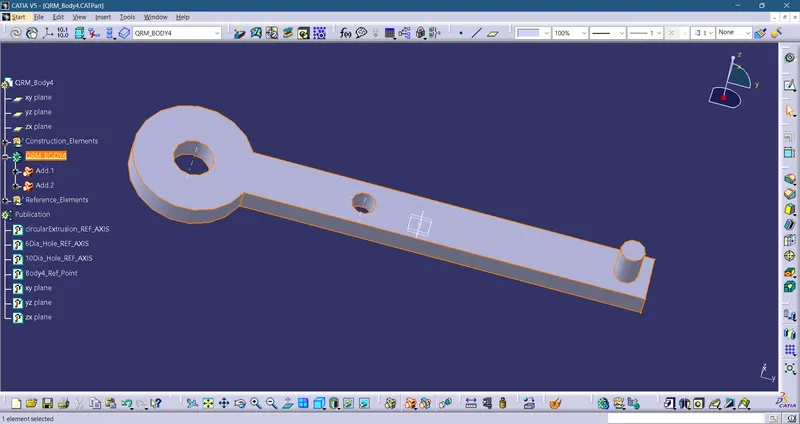
=> The complete part is imported into the Assembly Workbench.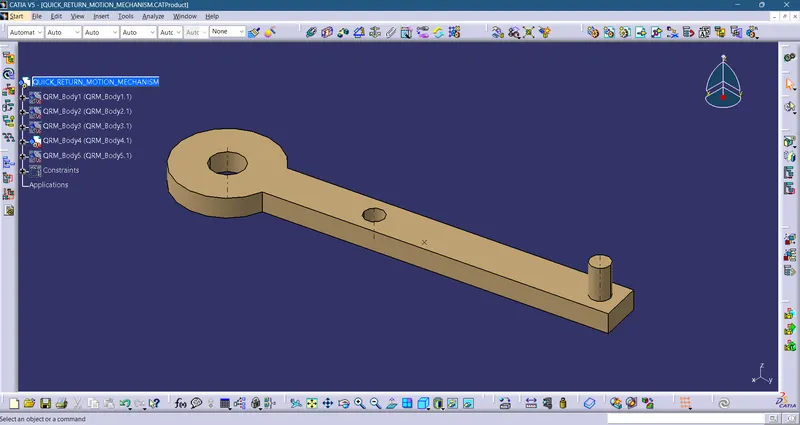
- Body 5:
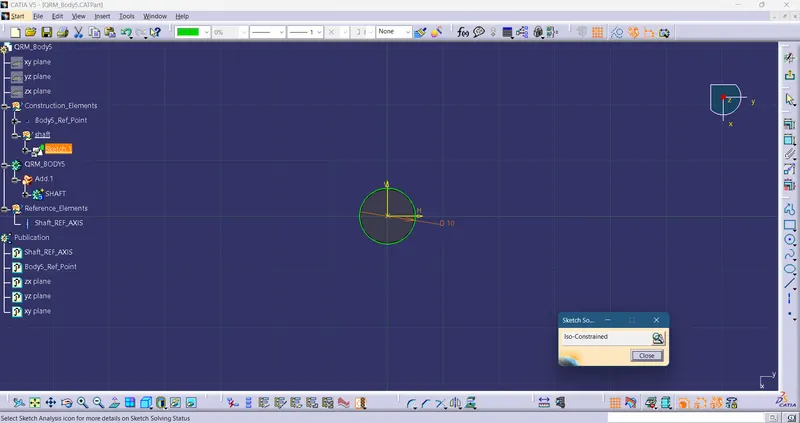
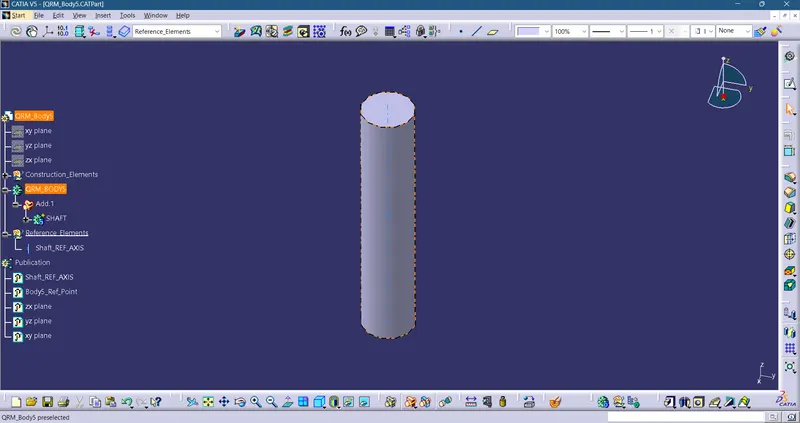
=> The complete part is imported into the Assembly Workbench.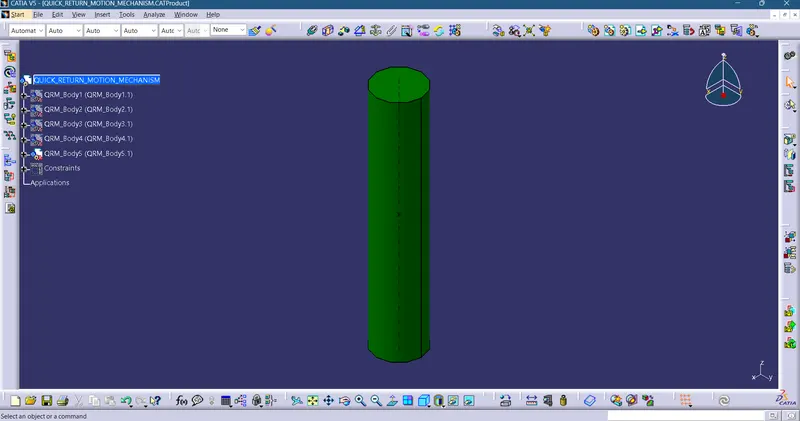
Now that the parts have been created, they can be imported into the Assembly Workbench. Parts are assembled by applying appropriate Constraints.
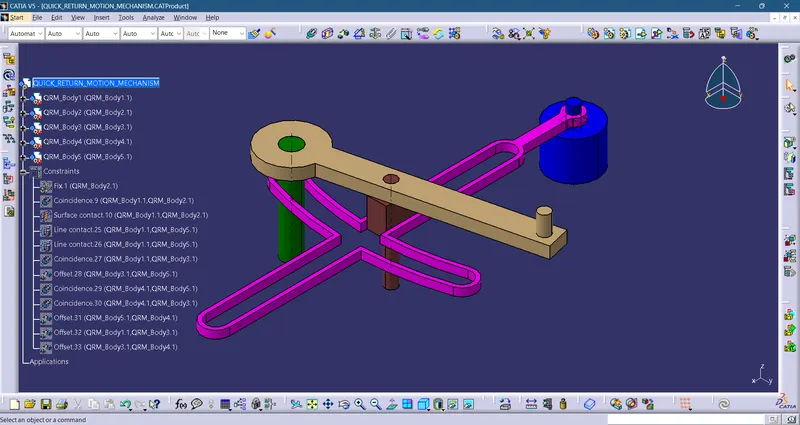
Constraints define the part's position and its degree of freedom. For Quick Return Motion mechanism assembly, the constraints used are shown below;
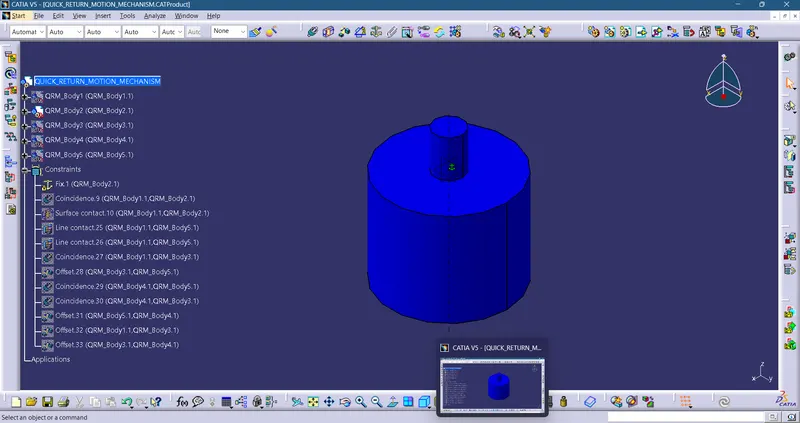
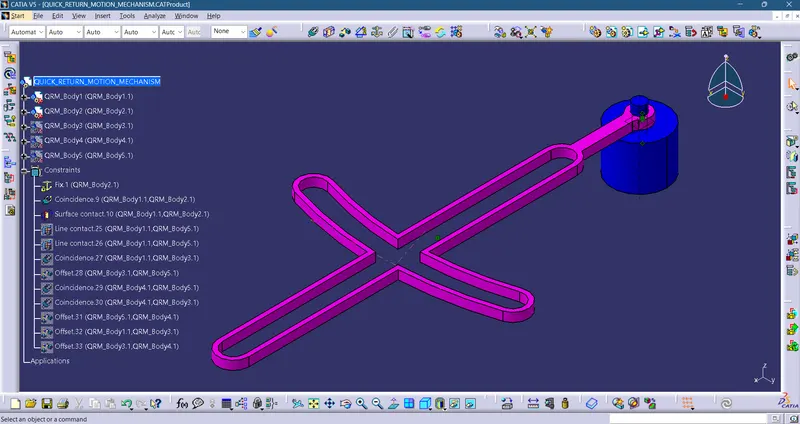
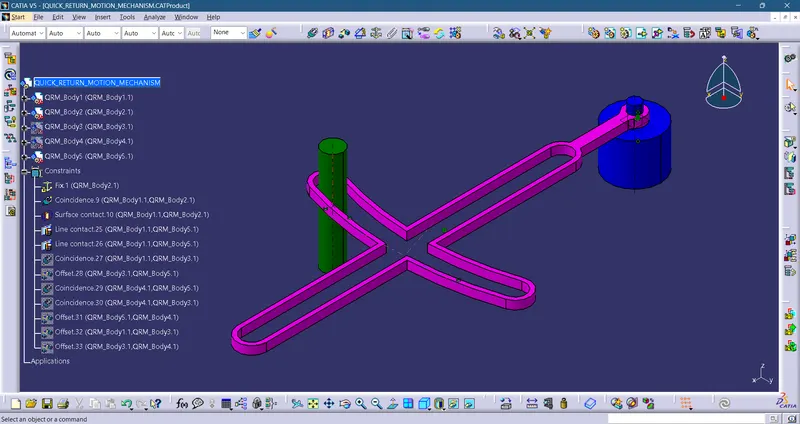
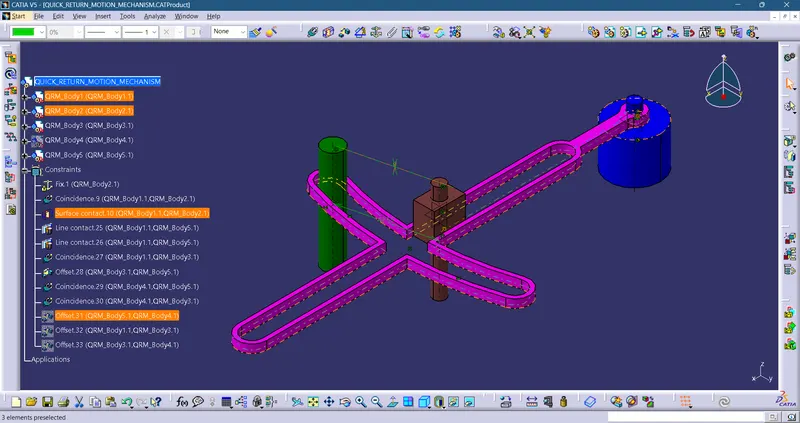
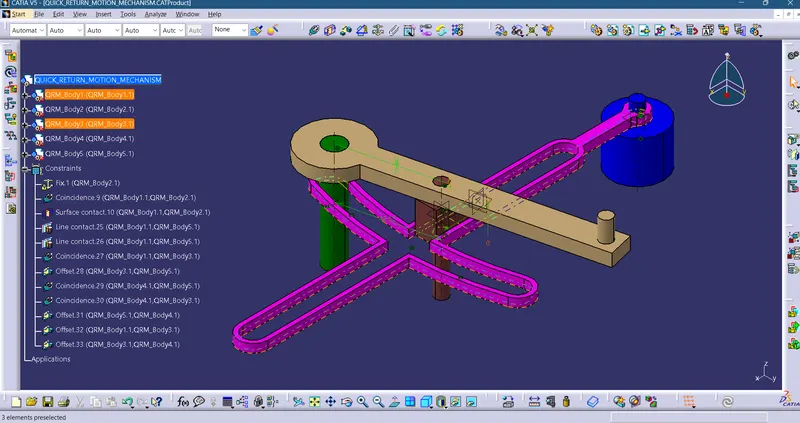
=> The complete assembly for quick return motion mechanism.
The following screenshot shows the motion of the constituent parts of the assembly with respect to the constraints.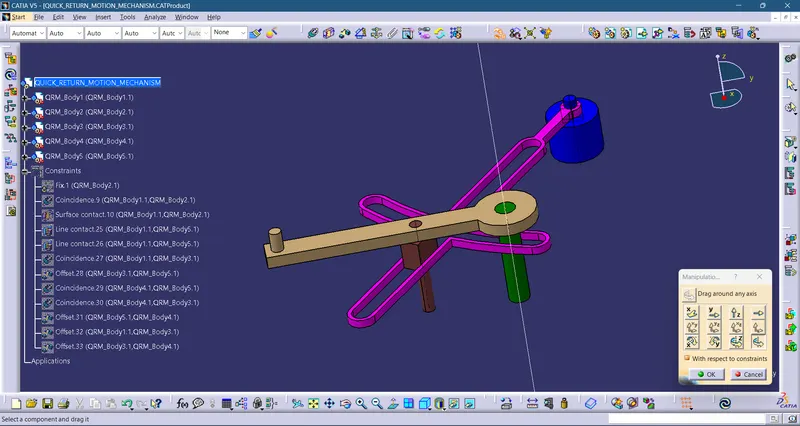
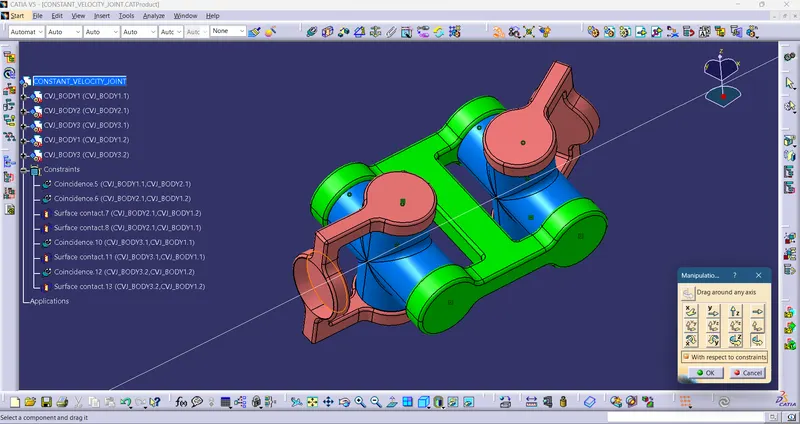
2) Constant Velocity Joint Assembly:-
The Constant Velocity Joint assembly consist of 5 parts (3 unique). The process followed to create these parts is shown below;
- Body 1:
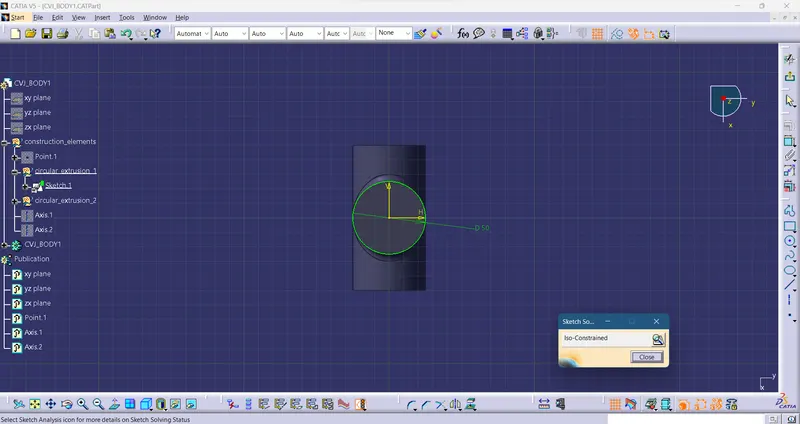
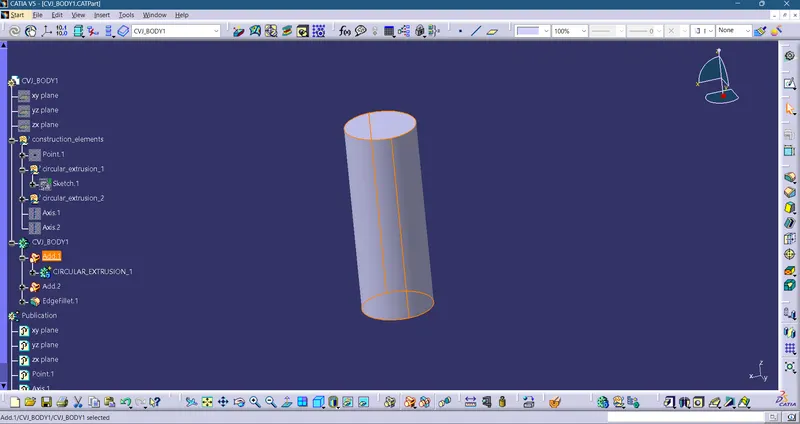
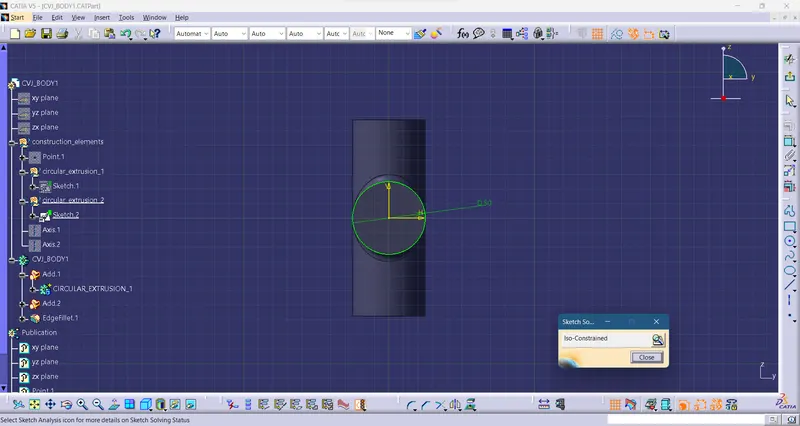
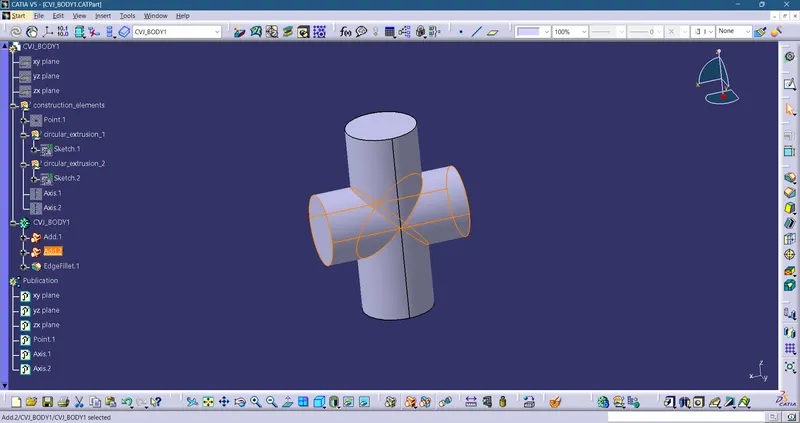
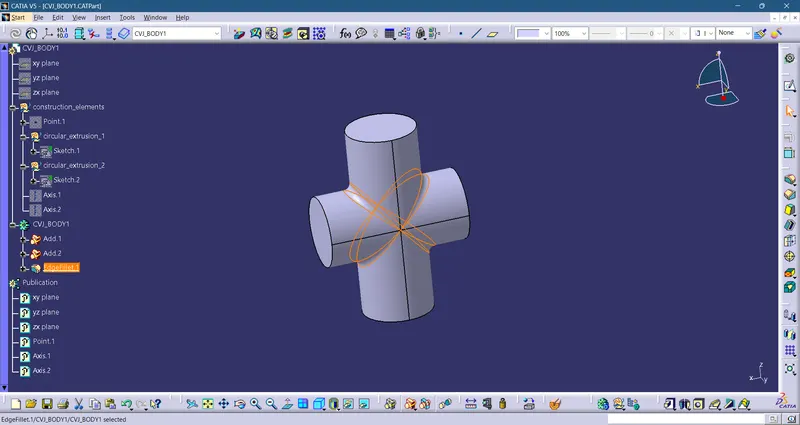
=> The complete part is imported into the Assembly Workbench.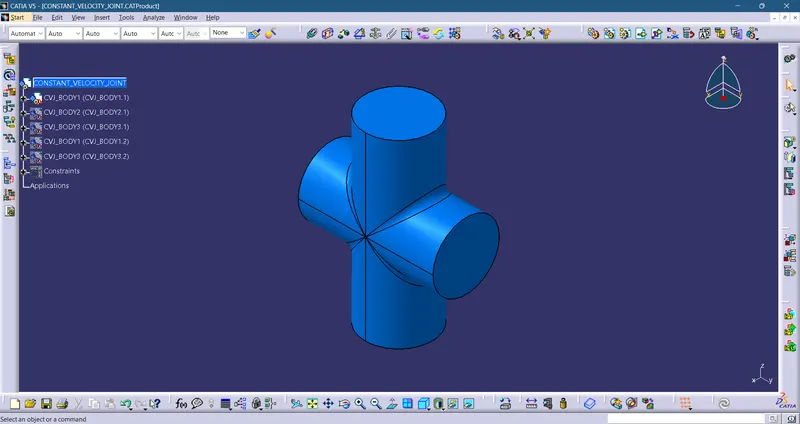
- Body 2:
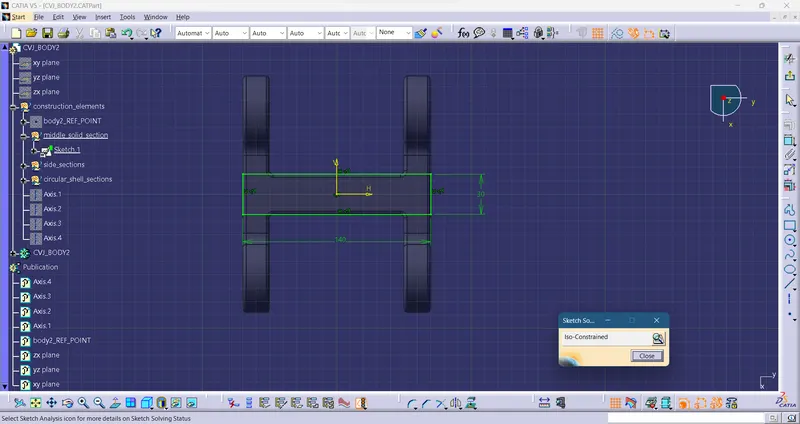
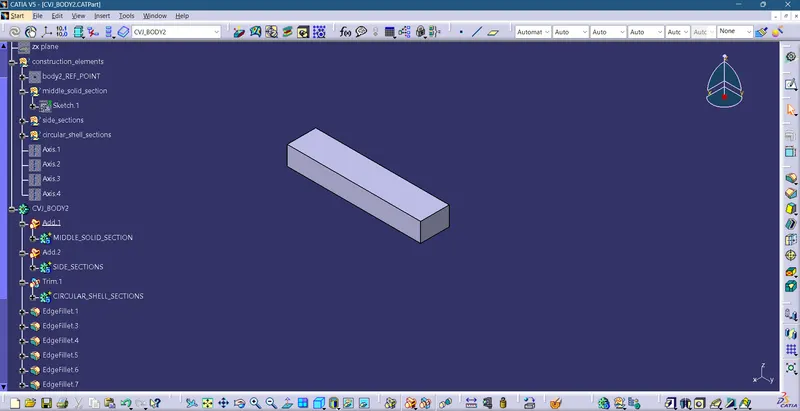
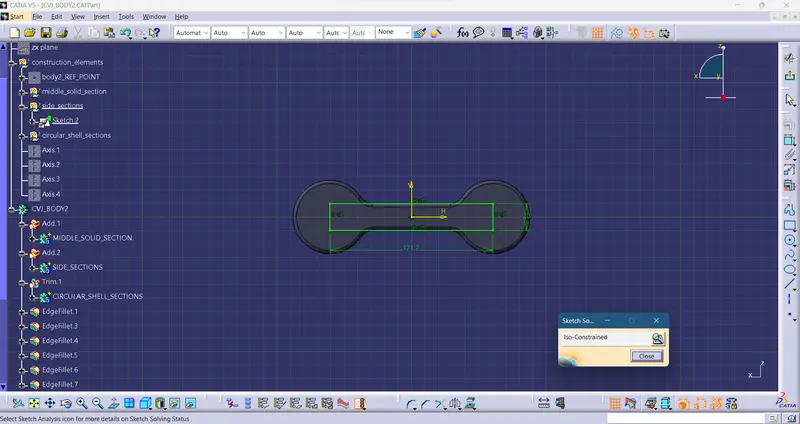
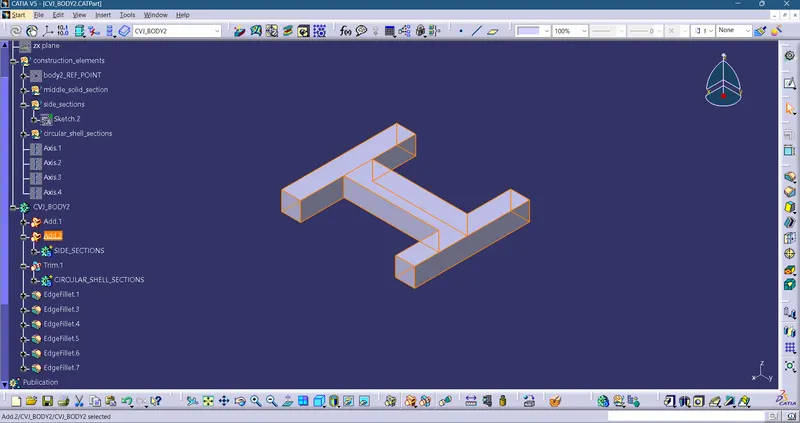
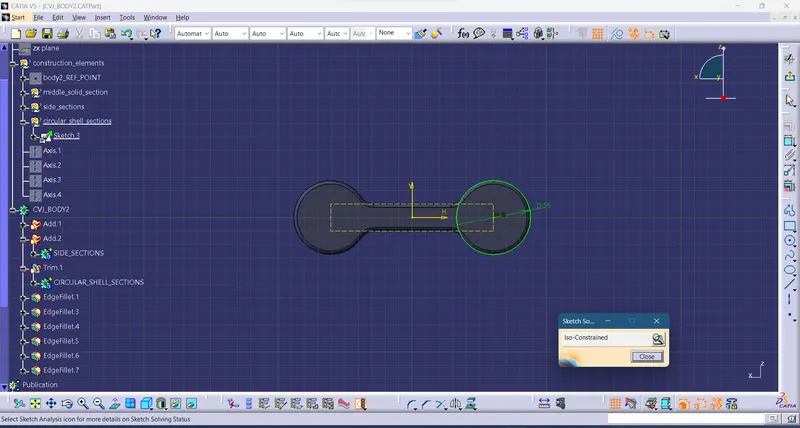
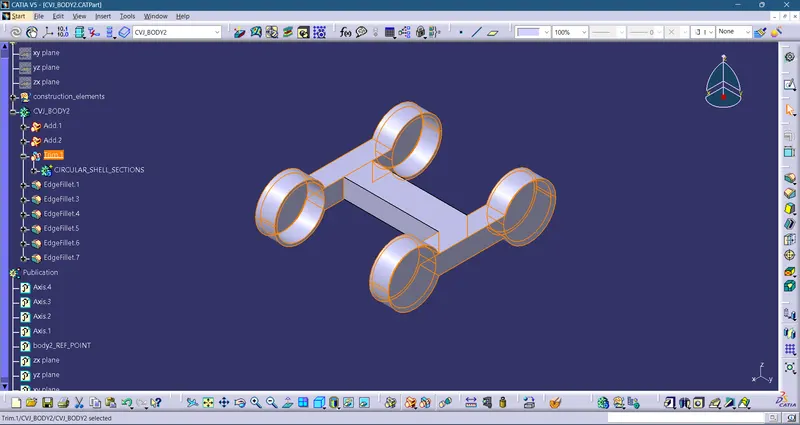
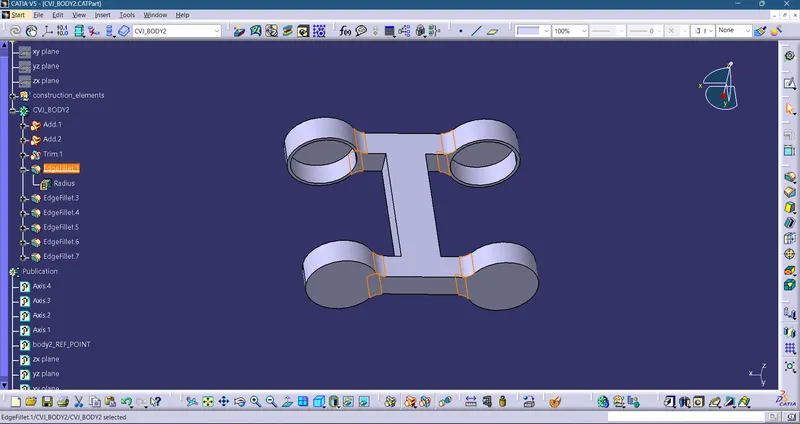
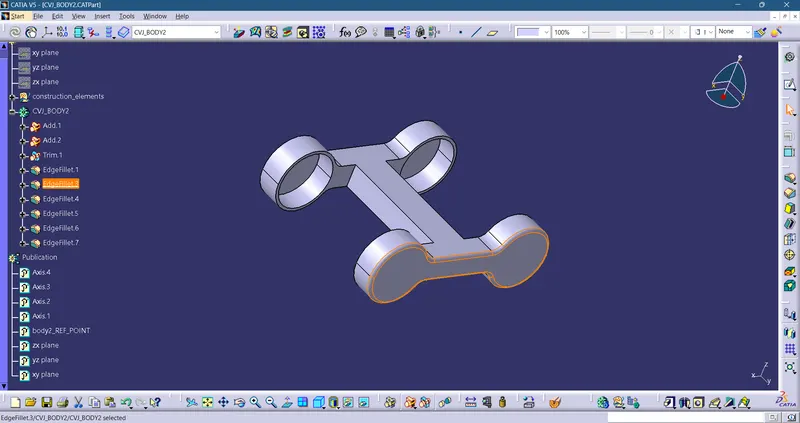
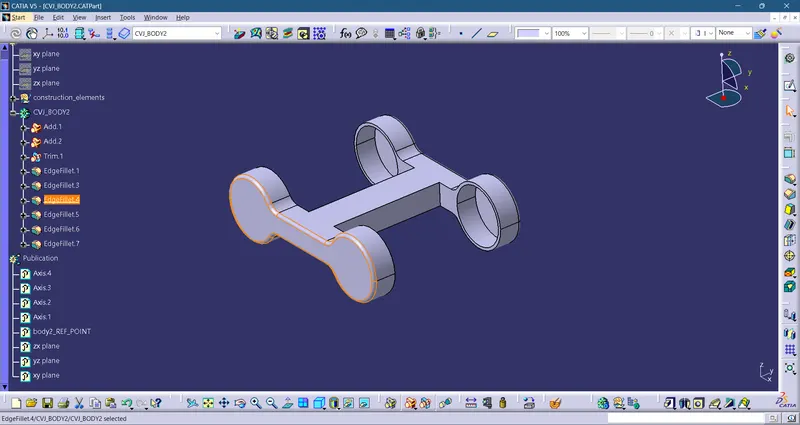
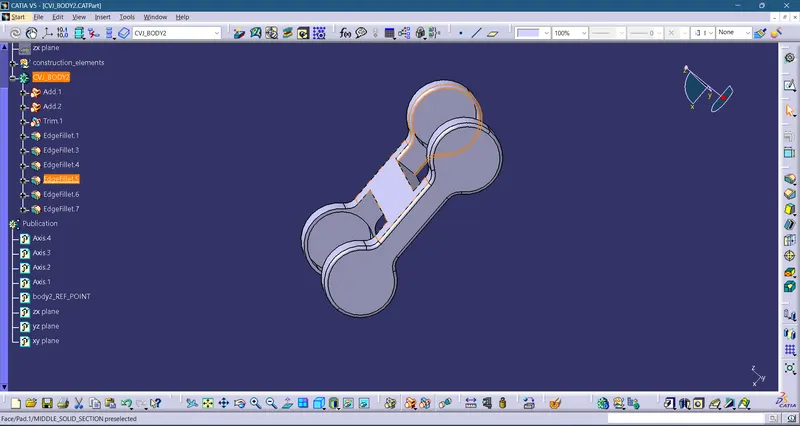
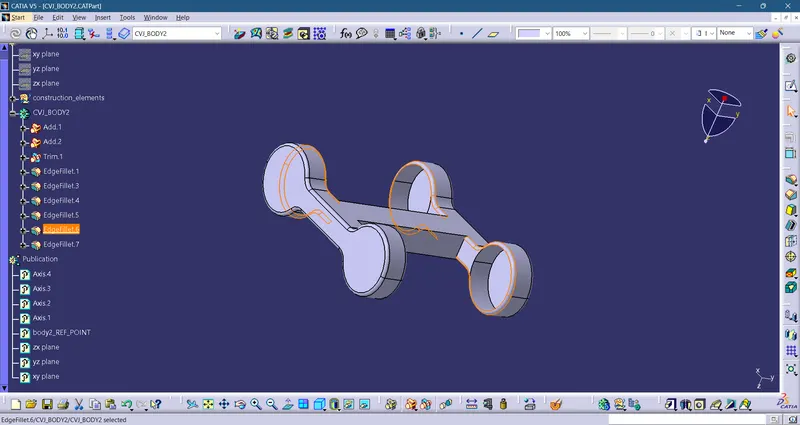
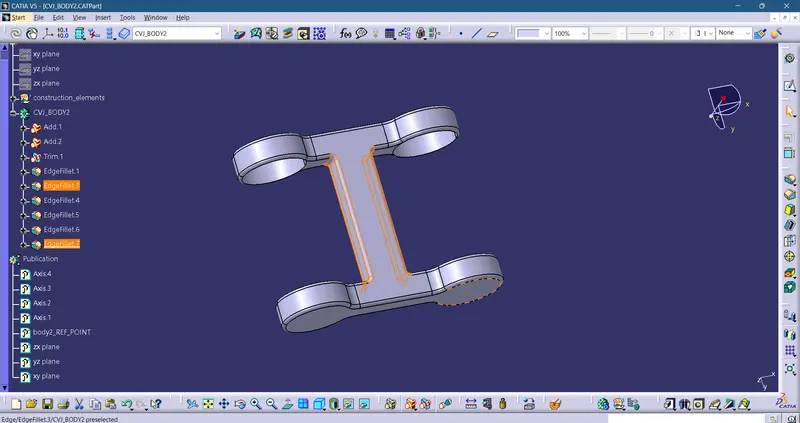
=> The complete part is imported into the Assembly Workbench.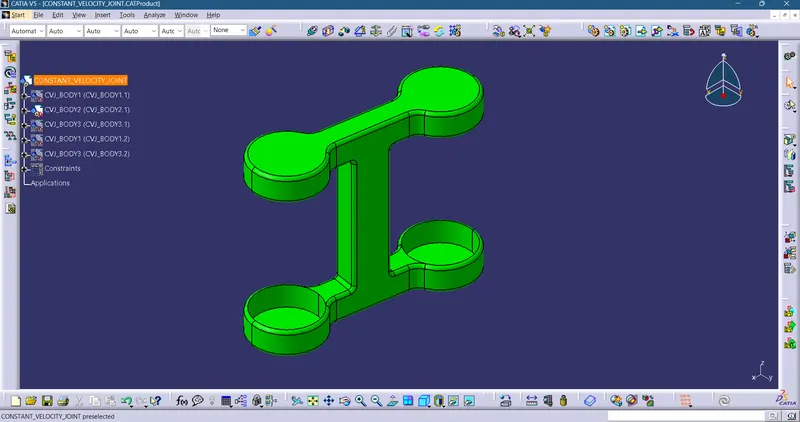
- Body 3:
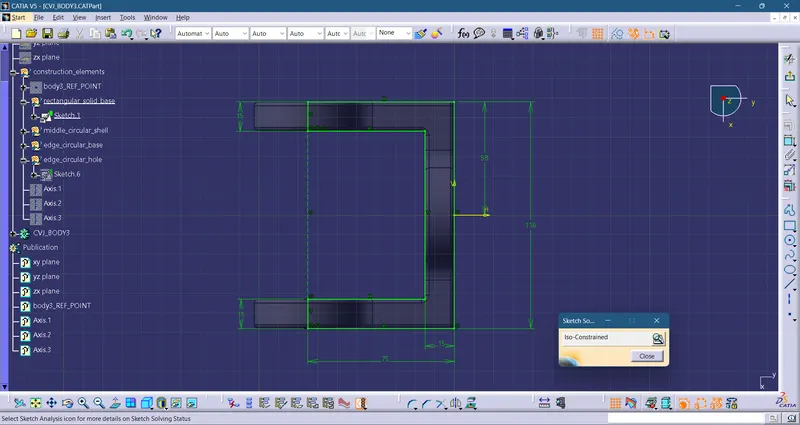
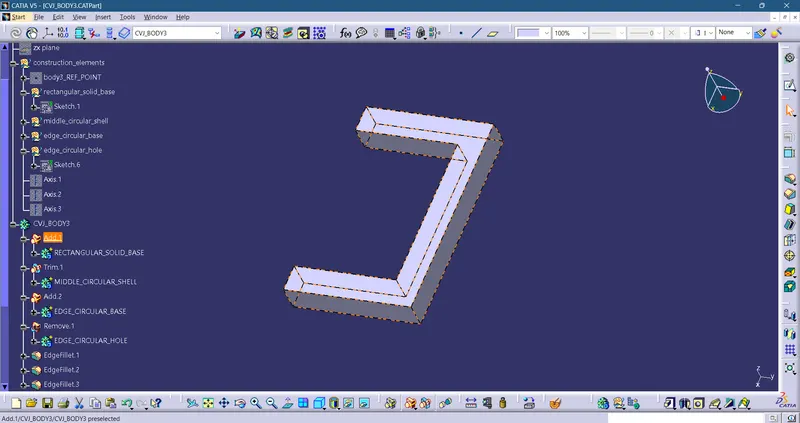
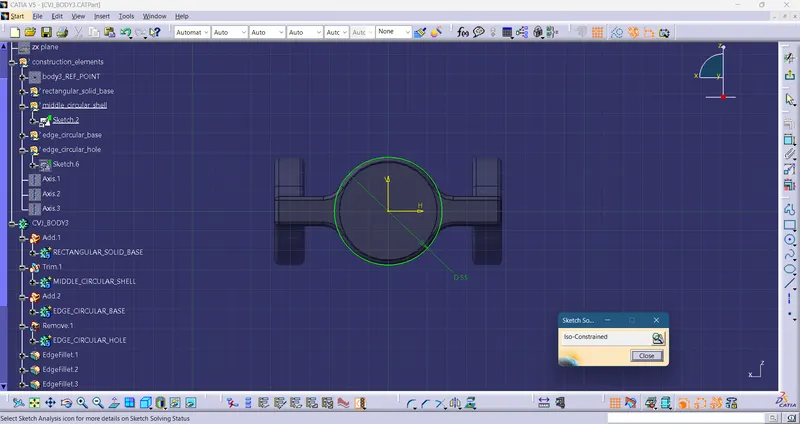
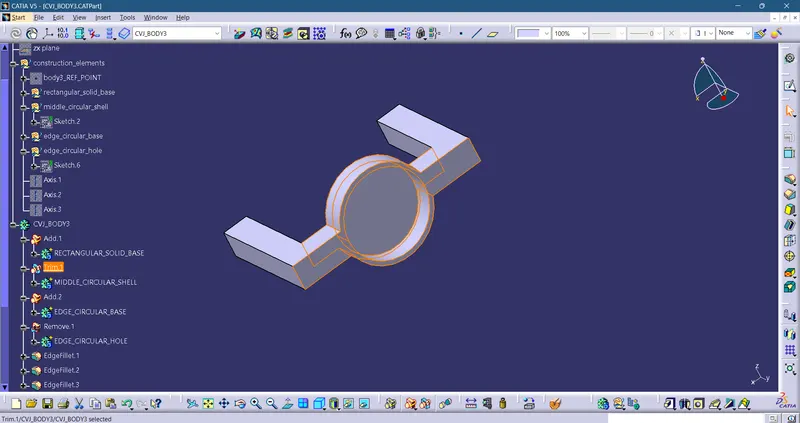
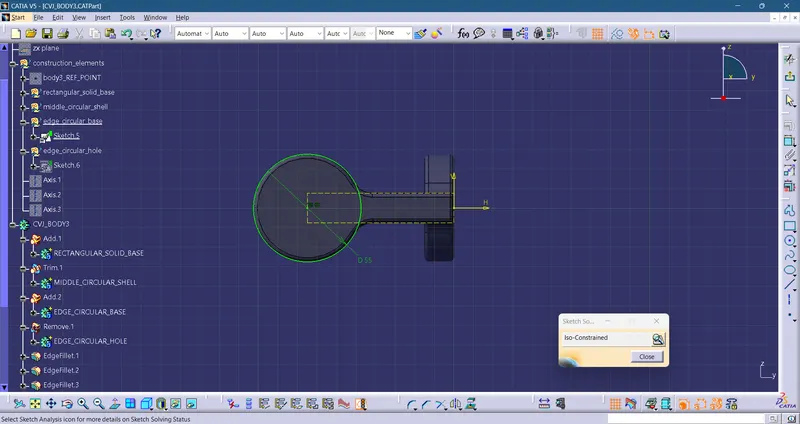
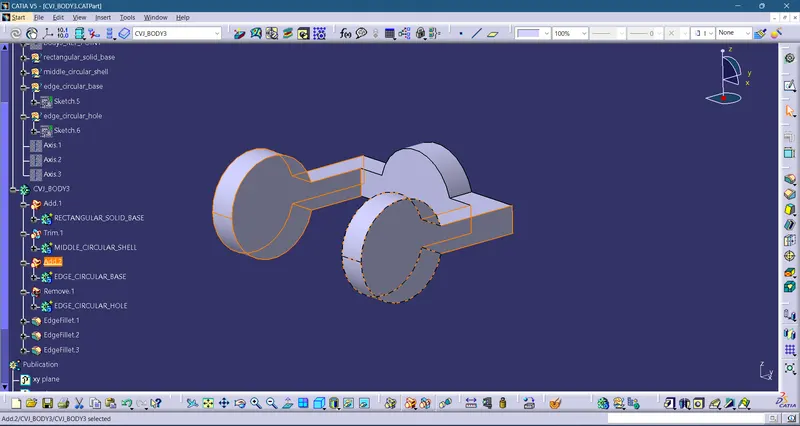
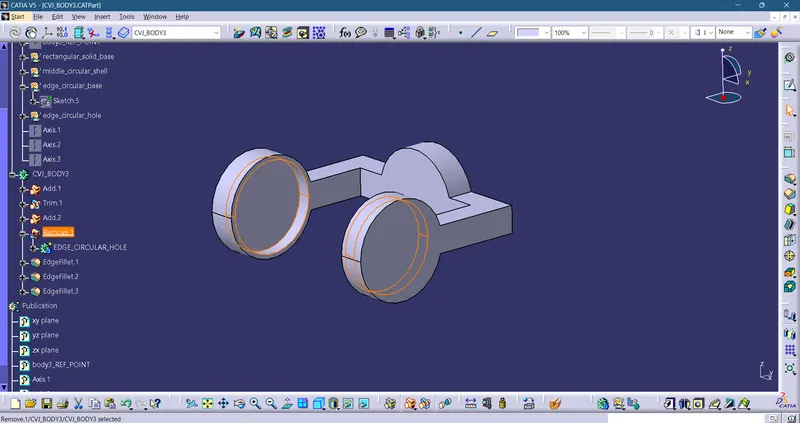
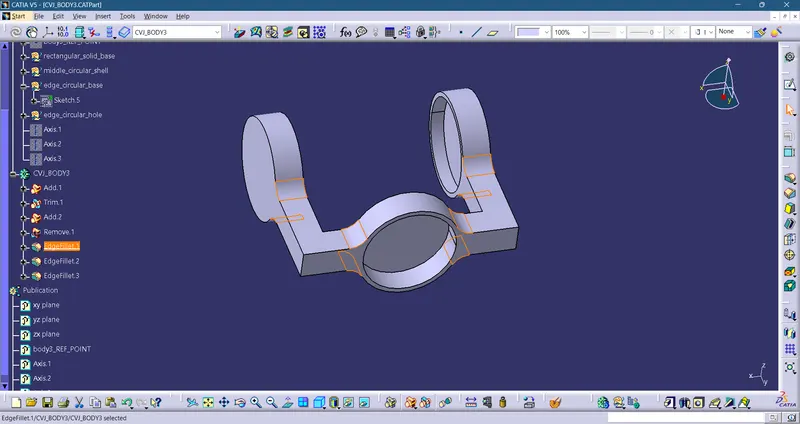
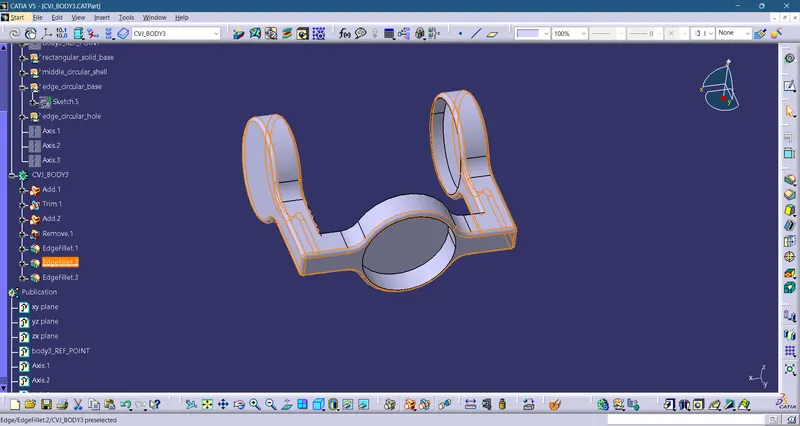
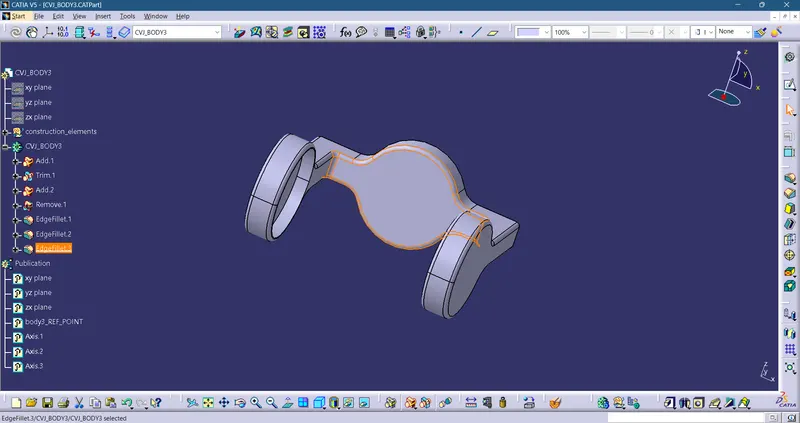
=> The complete part is imported into the Assembly Workbench.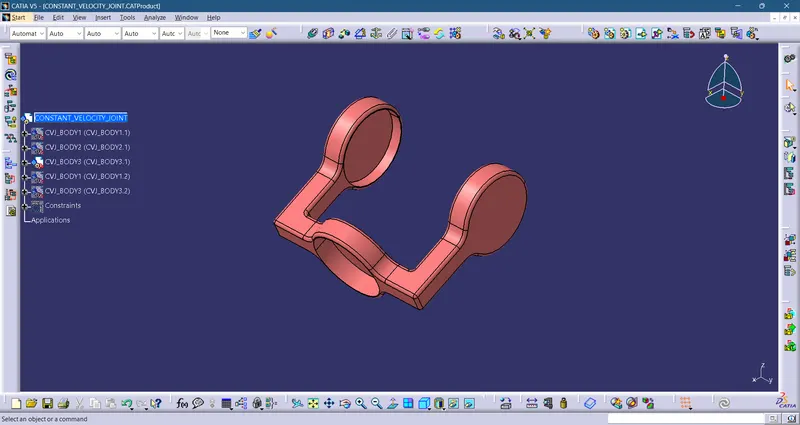
Now that the parts have been created, they can be imported into the Assembly Workbench. Parts are assembled by applying appropriate Constraints.
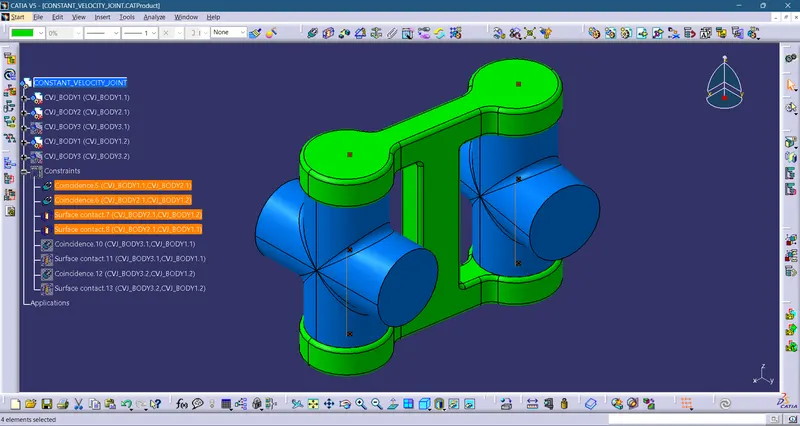
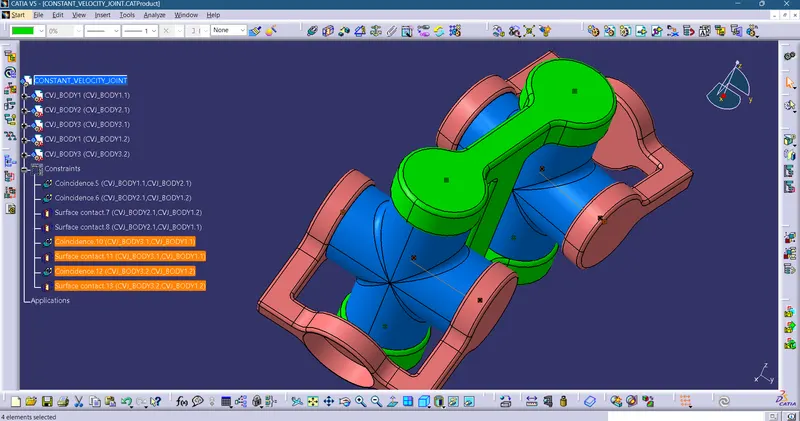
=> The complete assembly for constant velocity joint.
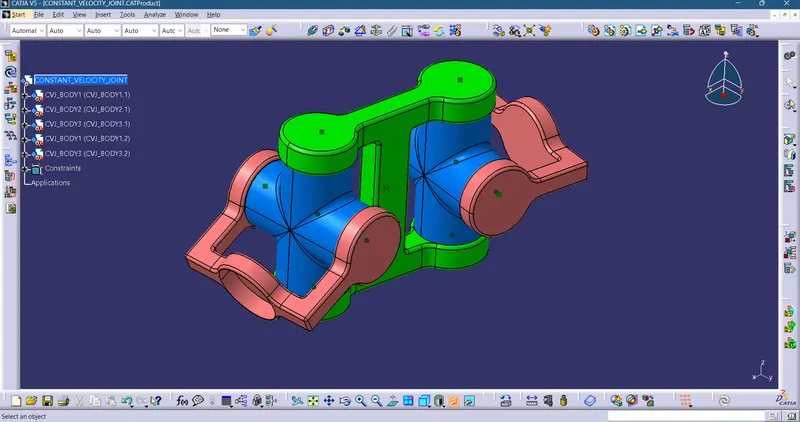
The following screenshot shows the motion of the constituent parts of the assembly with respect to the constraints.